
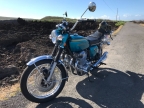
1973 Z1 Maui
- Wookie58
-

- Away
- Moderator
-

Registered
- Posts: 6104
- Thanks: 3844
Re: 1973 Z1 Maui
10 Sep 2021 10:35
As I R.E.M. er Avon Roadrunners where the tyre of choice in the late 70's and where excellent in the wet ( I just looked and they are still available on the net)
1982 KZ1000 Ltd
www.kzrider.com/forum/11-projects/617631...-82-begins?start=192
kzrider.com/filebase-alias?view=download...d-fault-diagnosis&ca
www.kzrider.com/forum/11-projects/617631...-82-begins?start=192
kzrider.com/filebase-alias?view=download...d-fault-diagnosis&ca
Please Log in or Create an account to join the conversation.
- MauiZ1
-
 Topic Author
- Offline
- User
-

Registered
- Posts: 235
- Thanks: 25
Re: 1973 Z1 Maui
12 Sep 2021 12:18
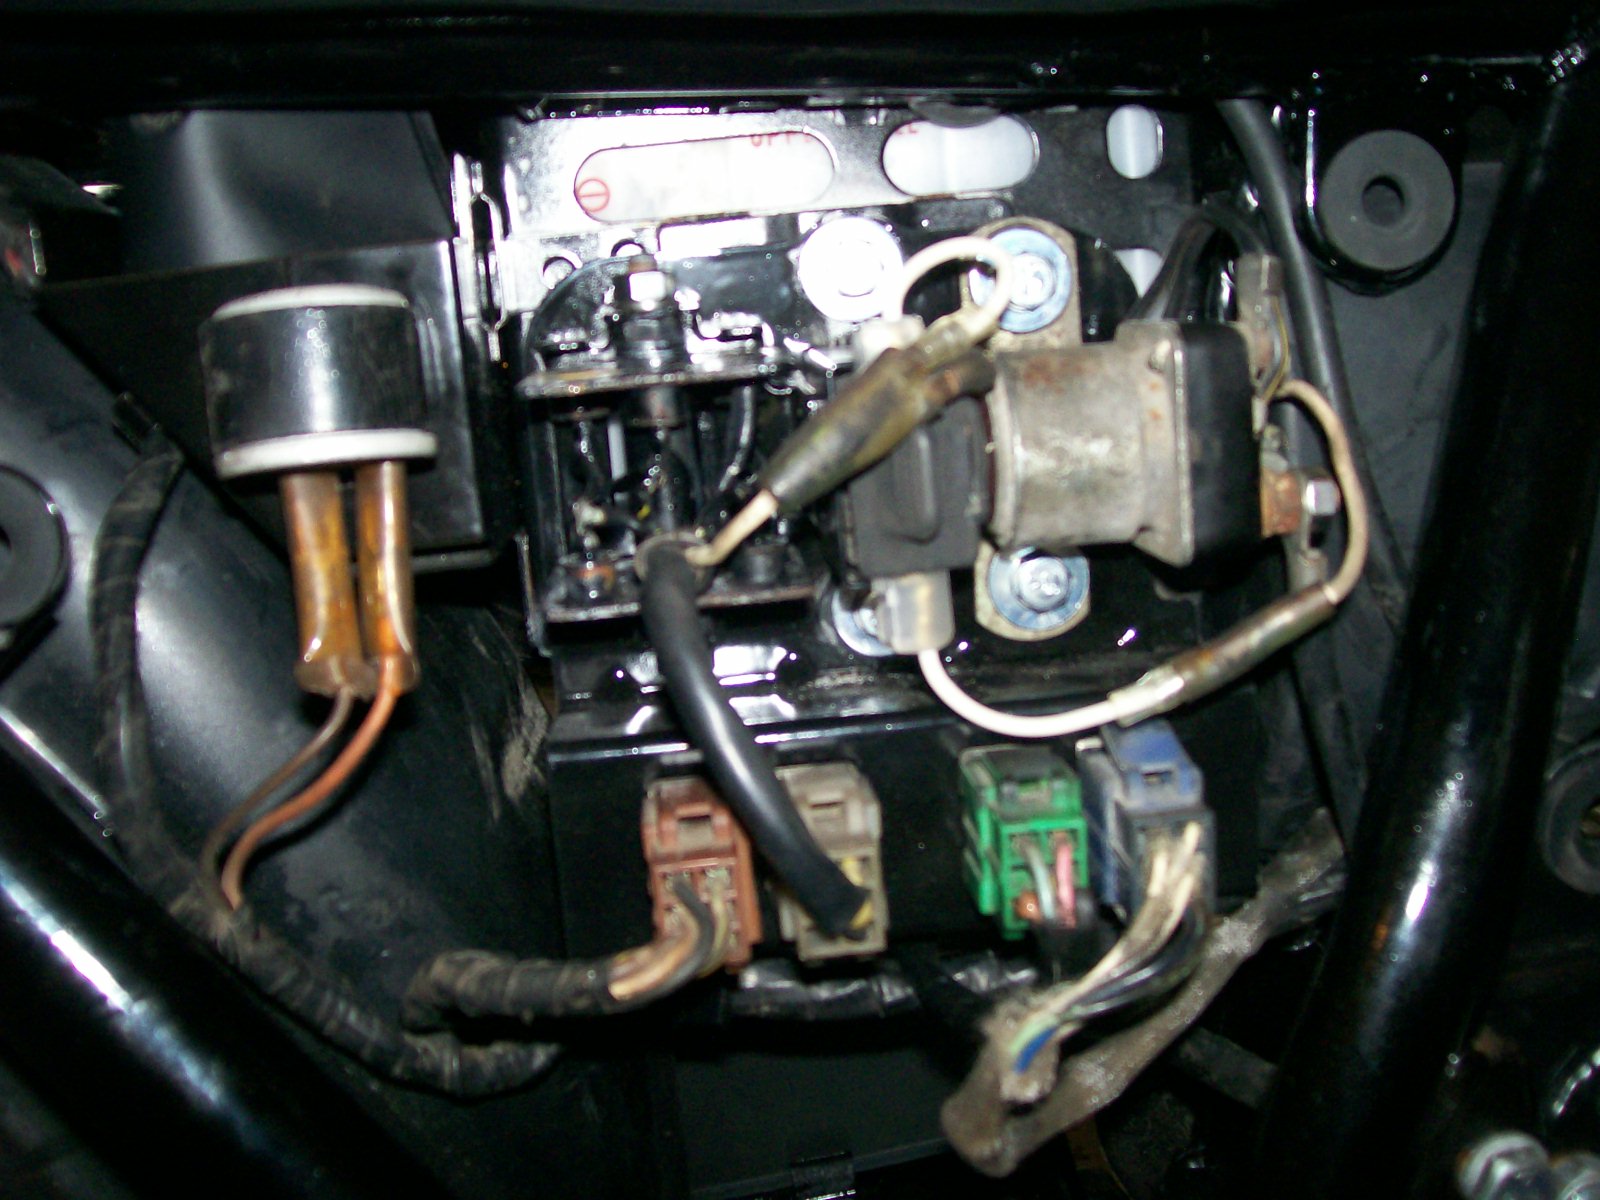
As I slowly get ready to assemble things I'm finding a few issues. Of course I did not take enough photos, at least of the things I need to see now and this bike had a lot of stuff that was not "as built" so I'm having trouble with the battery box/ regulator/center harness/starter solenoid area. I've got most of it figured out with the help of Marsden and Brookes books and the parts and shop manuals but it would be great to get a few photos of an early Z1 in this area. Mine was built in 10/72. I'd like to see, if I can, exactly how the little wiring tab is mounted. Piece 58 on page 41 of the parts manual. Also I don't think I've got the start solenoid bracket properly sorted out. I have new rubber bushings for it but they don't seem right, do they have metal collars in them?
Any photos in this area will be greatly appreciated.
Thank you
Any photos in this area will be greatly appreciated.
Thank you
Please Log in or Create an account to join the conversation.
- 73z1
-

- Offline
- Sustaining Member
-

Registered
- Posts: 509
- Thanks: 146
Re: 1973 Z1 Maui
12 Sep 2021 13:36
There are two hooks for the harness under the four connectors.
There is a hook for the tail light harness harness on back of tool tray.
There is a hook for the tail light harness harness on back of tool tray.
Please Log in or Create an account to join the conversation.
- MauiZ1
-
Topic Author
- Offline
- User
-
Registered
- Posts: 235
- Thanks: 25
Re: 1973 Z1 Maui
13 Sep 2021 08:05
How about the start solenoid? I assume there is rubber grommets under the fender washers? Are there metal bushings in the grommets if they are there or is the solenoid just bolted down metal to metal?
Thank you for the photo
Thank you for the photo
Please Log in or Create an account to join the conversation.
- slmjim+Z1BEBE
-

- Offline
- User
-
Registered
- Enjoy Life! IT HAS AN EXPIRATION DATE!
- Posts: 1428
- Thanks: 923
Re: 1973 Z1 Maui
14 Sep 2021 06:19
There are steel sleeves inside the grommets.
Good Ridin'
slmjim & Z1BEBE
Good Ridin'
slmjim & Z1BEBE
A biker looks at your engine and chrome.
A Rider looks at your odometer and tags.
1973 ('72 builds) Z1 x2
1974 Z1-A x2
1975 Z1-B x2
1993 CB 750 Nighthawk x2
2009 ST1300A
www.kawasaki-z-classik.com
A Forum tightly focused on all things Z1 and Z2.
A Rider looks at your odometer and tags.
1973 ('72 builds) Z1 x2
1974 Z1-A x2
1975 Z1-B x2
1993 CB 750 Nighthawk x2
2009 ST1300A
www.kawasaki-z-classik.com
A Forum tightly focused on all things Z1 and Z2.
Please Log in or Create an account to join the conversation.
- MauiZ1
-
Topic Author
- Offline
- User
-
Registered
- Posts: 235
- Thanks: 25
Re: 1973 Z1 Maui
14 Sep 2021 20:01
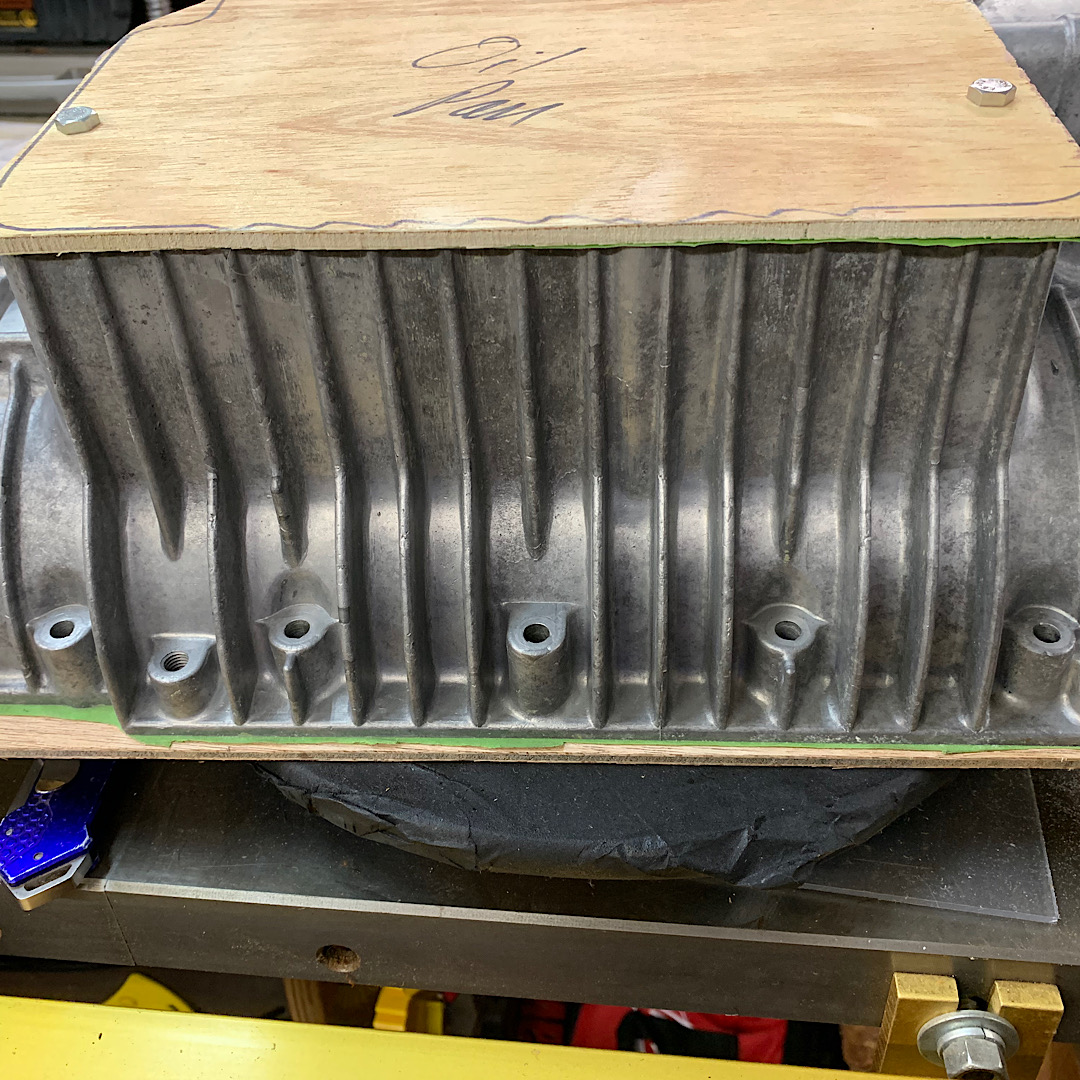
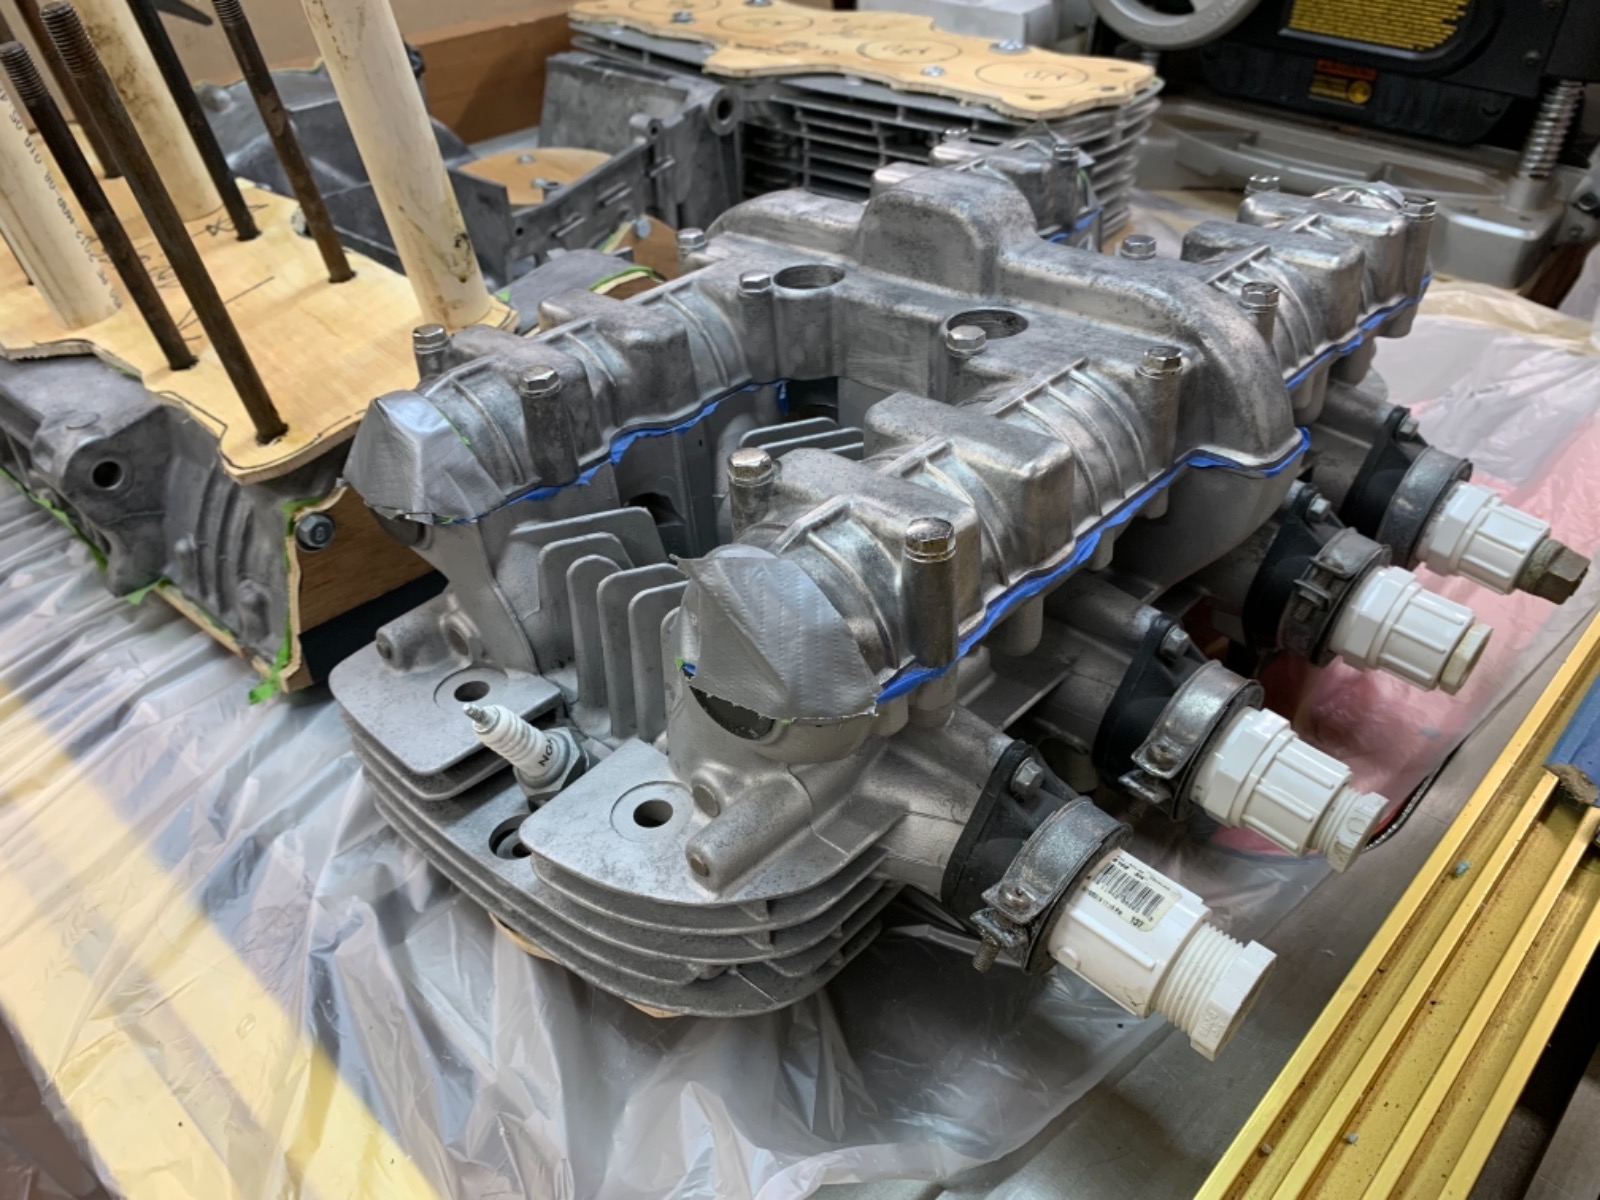
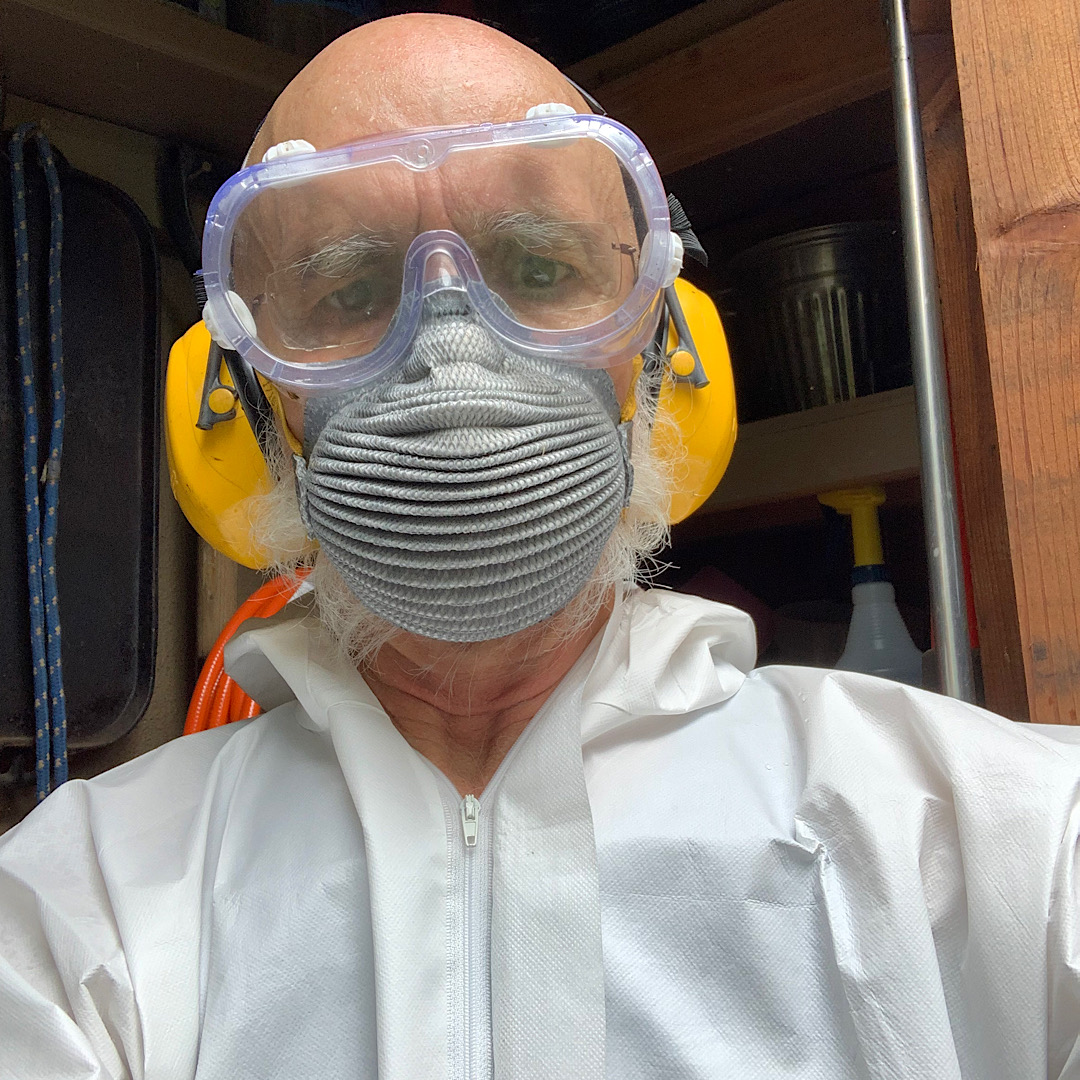
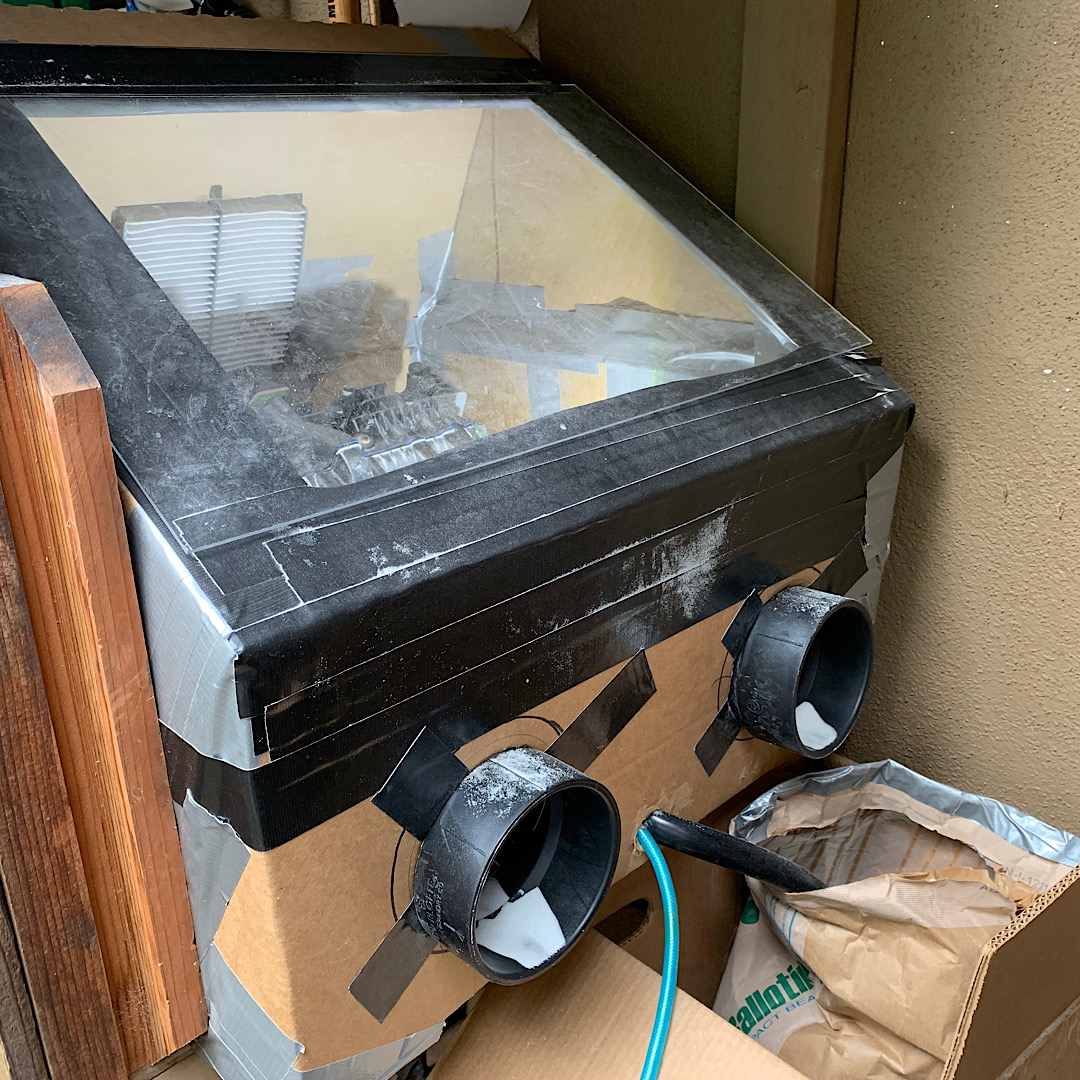
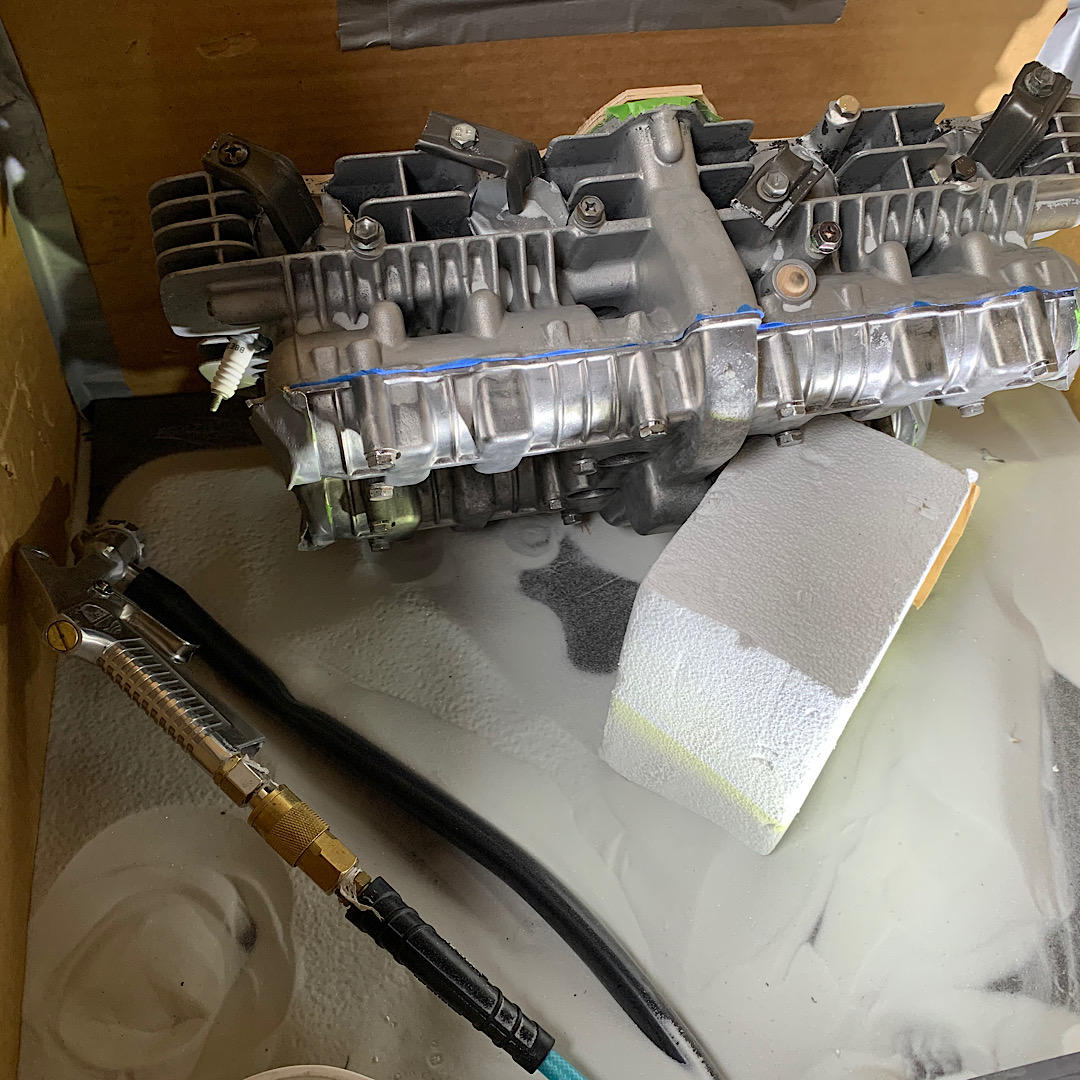
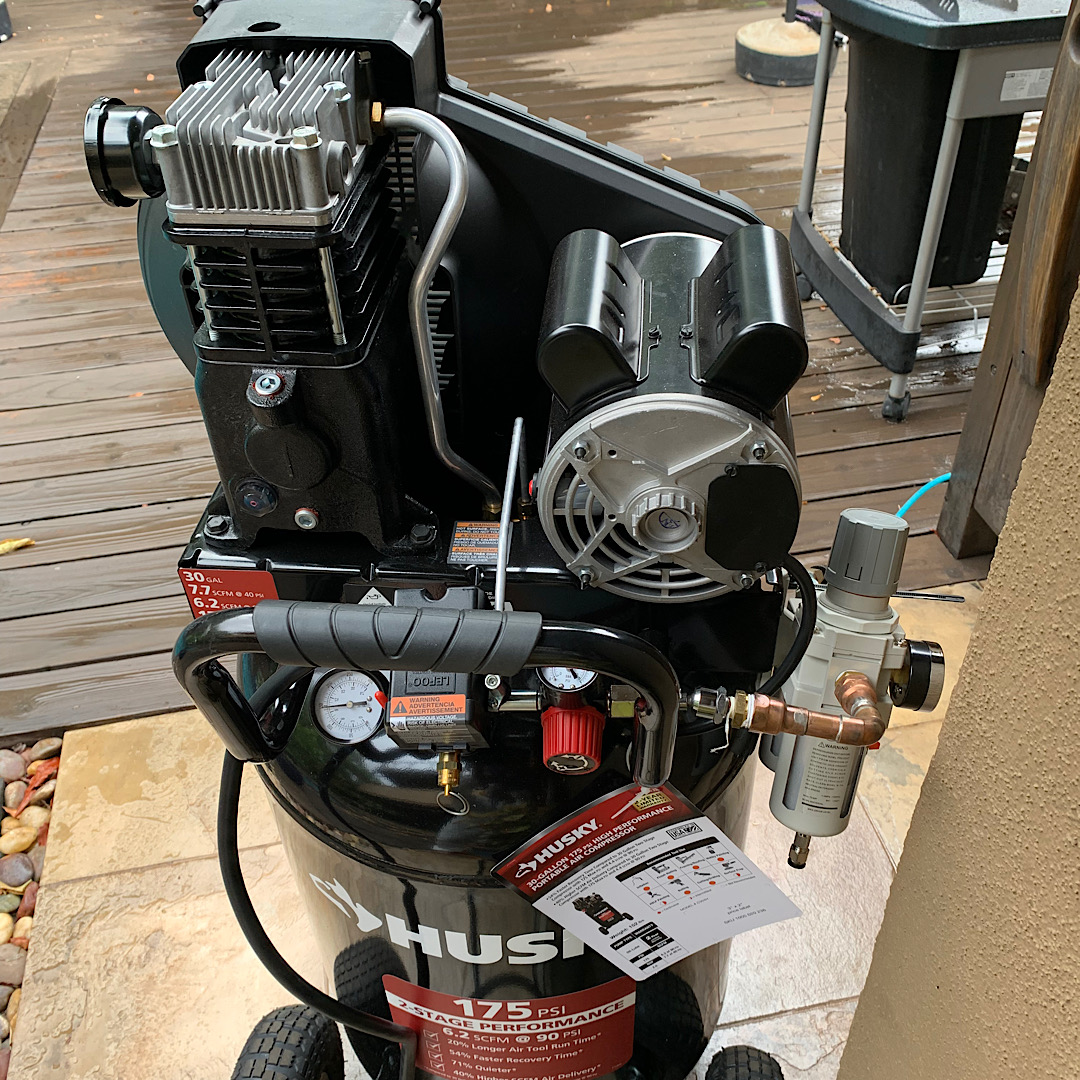
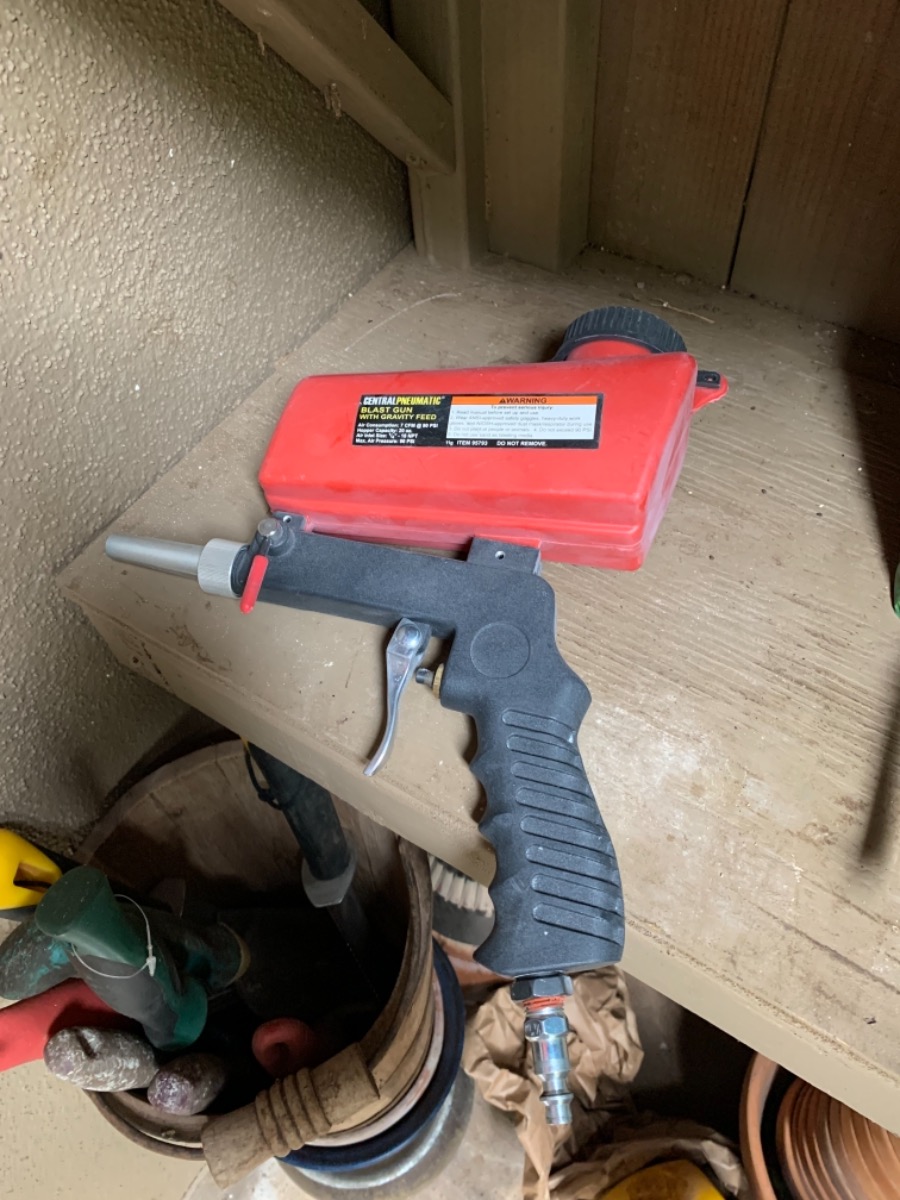
I made a blast cabinet from the cardboard box the compressor came in. It was very crude but for a first attempt it did what I wanted it to do and that is limit (somewhat) the loss and spread of glass beads. I started with a little hopper gun which was terrible. It worked but it was too bulky for the box. My siphon gun arrived which worked much better. I had installed gloves in the box but they were way too hard to use, I abandoned them. I learned from this that had I purchased a blast cabinet It would have been too small, it takes a pretty good size box to wrestle the engine parts around. Good learning experience. I achieved what I feel is a paintable surface which is what a 73 needs. Had it been a 74 I would have needed more aggressive media to get a nice clean bare alloy surface. The head was by far the hardest part with the deep fins. The glass gets everywhere. Just for fun I’m going to try some baking soda to compare. The compressor was fine, I had to let it catch up every 10 minutes or so but I also needed a break to to reposition and scoop up beads. My filter drier seems to work well. Had I wanted a bigger compressor the price really goes up between 30 gallons and 60 gallons, and I don’t have room for one. All in all, a sweaty, hard work success. Now for the intensive clean up. I used about 15 pounds of fine glass some of which I’ll strain and recover.
The following user(s) said Thank You: BCScott
Please Log in or Create an account to join the conversation.
- MauiZ1
-
Topic Author
- Offline
- User
-
Registered
- Posts: 235
- Thanks: 25
Re: 1973 Z1 Maui
15 Sep 2021 14:54
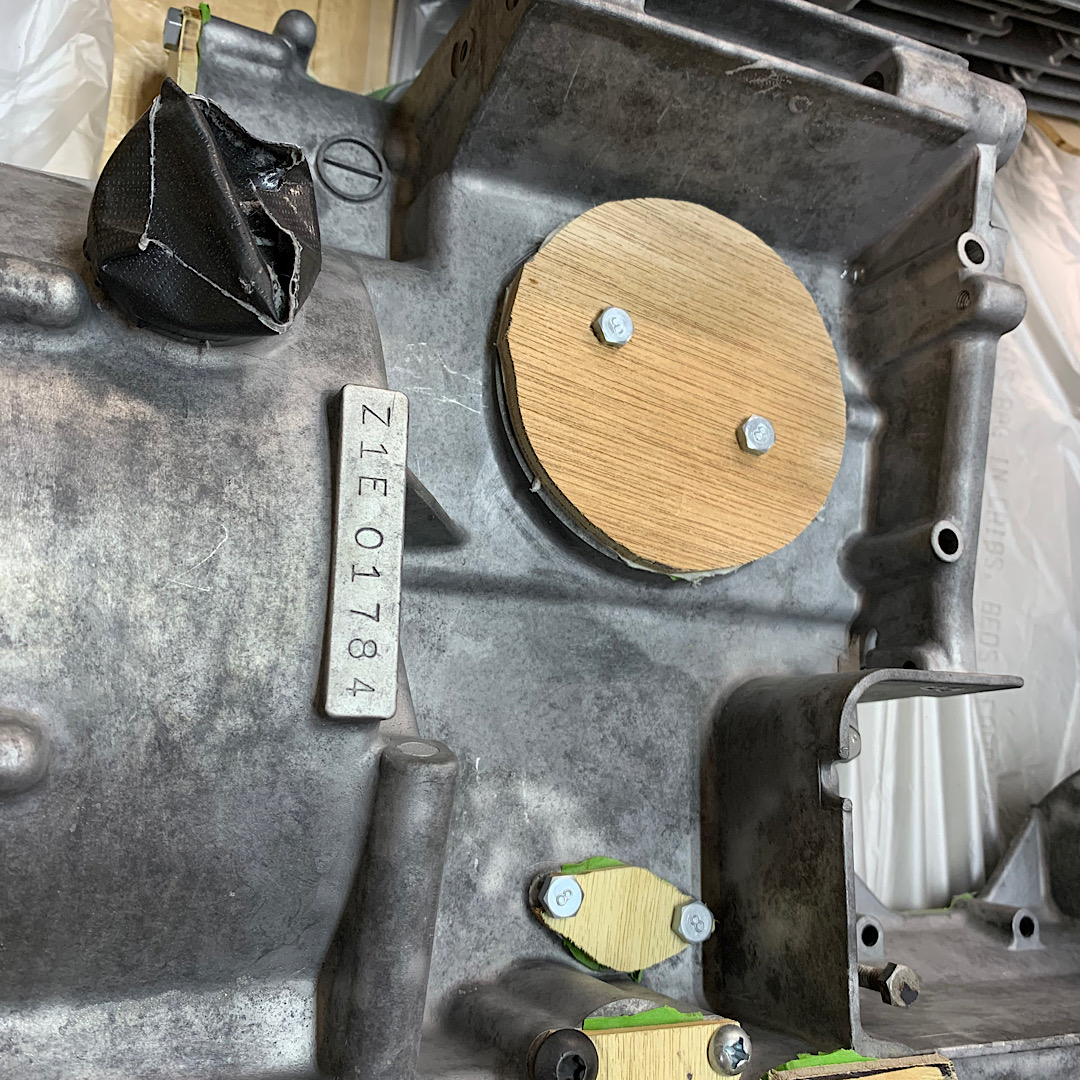
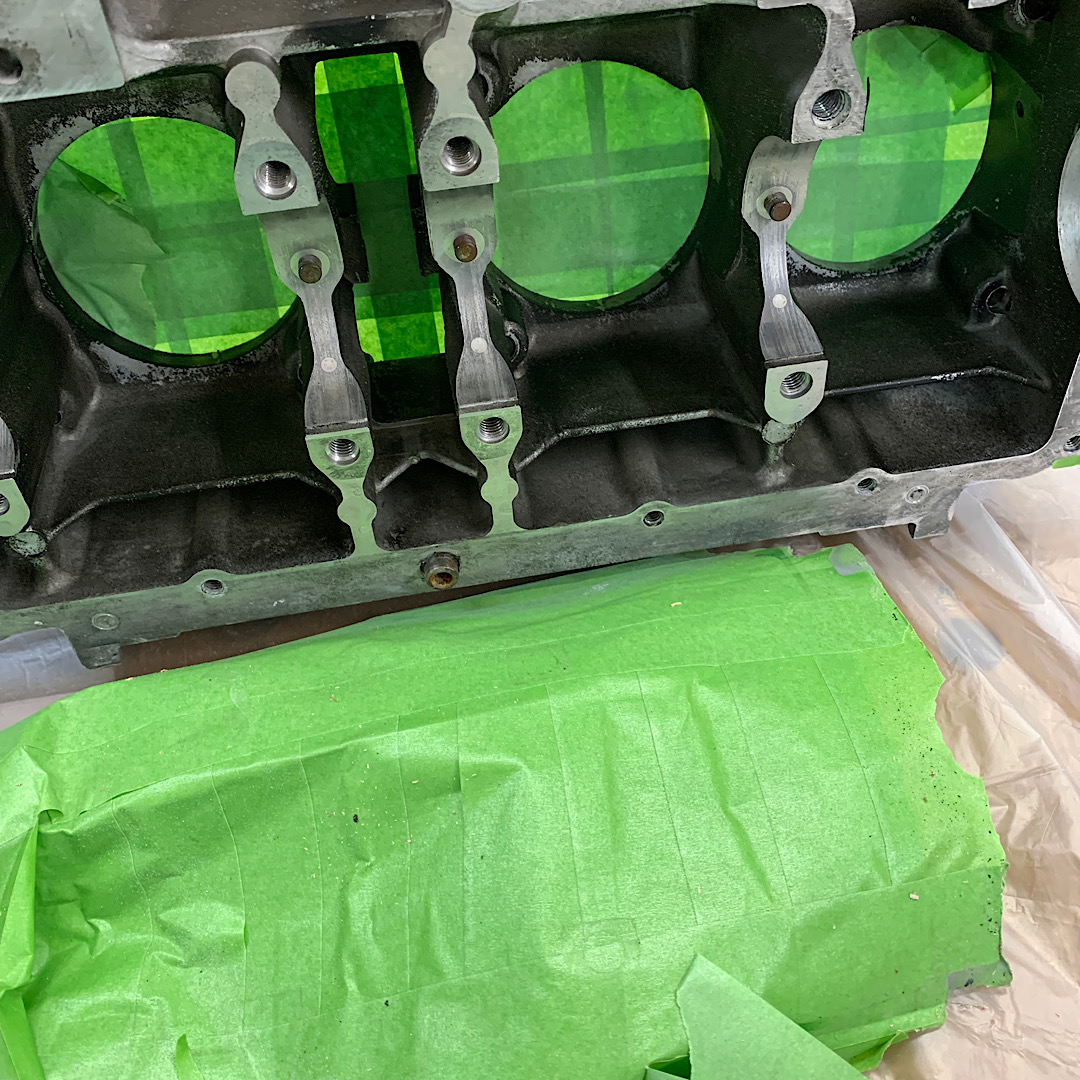
I’m removing the blanks and my system has only leaked a very small amount of glass near the starter hole. I’ll still clean it thoroughly but it’s nice to know it’s not packed with beads.
Please Log in or Create an account to join the conversation.
- 750 R1
-
- Offline
- User
-
Registered
- Posts: 1150
- Thanks: 389
Re: 1973 Z1 Maui
15 Sep 2021 15:46
Good job, I'm not far off going through this process myself...
Please Log in or Create an account to join the conversation.
- howardhb
-

- Offline
- Sustaining Member
-
Registered
- God, I trust
- Posts: 472
- Thanks: 508
Re: 1973 Z1 Maui
16 Sep 2021 07:37
Another fine use of duct tape! Nice!
'81 GPz 550 D1
'81 GPz 1100 B1 ELR "Tribute" www.kzrider.com/forum/11-projects/617040...-elr-tribute?start=0
'82 Yamaha YB100 Fizzie
'79 Suzuki GT200 X5 TWO STROKE TWIN - SMOKER!
'81 GPz 1100 B1 ELR "Tribute" www.kzrider.com/forum/11-projects/617040...-elr-tribute?start=0
'82 Yamaha YB100 Fizzie
'79 Suzuki GT200 X5 TWO STROKE TWIN - SMOKER!
Please Log in or Create an account to join the conversation.
- Mikaw
-
- Offline
- Sustaining Member
-
Registered
- Posts: 4825
- Thanks: 1852
Re: 1973 Z1 Maui
16 Sep 2021 07:49
Fine job your doing there Doc Brown. Do you compressor run off of 1.21 gigawatts.

1976 KZ 900 A4
kzrider.com/forum/11-projects/613548-1976-kz-900-a4
1976 KZ 900 B1 LTD
1978 KZ 1000 B2 LTD
1980 KZ 750 E1
Kowledge Speaks, But Wisdom Listens.
Jimi Hendrix.
1976 KZ 900 B1 LTD
1978 KZ 1000 B2 LTD
1980 KZ 750 E1
Kowledge Speaks, But Wisdom Listens.
Jimi Hendrix.
Please Log in or Create an account to join the conversation.
- MauiZ1
-
Topic Author
- Offline
- User
-
Registered
- Posts: 235
- Thanks: 25
Re: 1973 Z1 Maui
16 Sep 2021 08:07
Compressor is 115v. I'm thinking of converting it to 240v and making a long extension of heavy wire to the nearest plug I have which is a 30 amp twist lock I run my table saw from. It worked ok for the job though, I only had to wait a little bit.
I must have used $25 of cloth tape!
I've used many rolls of painters tape on this project. More to come in preparation for painting,
I must have used $25 of cloth tape!
I've used many rolls of painters tape on this project. More to come in preparation for painting,
Please Log in or Create an account to join the conversation.
- MauiZ1
-
Topic Author
- Offline
- User
-
Registered
- Posts: 235
- Thanks: 25
Re: 1973 Z1 Maui
17 Sep 2021 14:51
So I’m checking the valves out. The guides and valves were done in 2009 and I’m sure there wasn’t much wear since then. The exhaust seem fine but the intakes seem loose. I just ordered a small bore gauge to get an accurate measurement but in the mean time I used the dial indicator method in the shop manual. The exhausts come out at the top of the service limit using that method. I’m not too sure that’s accurate but they also feel loose. I’m going to coat the stems with oil and see how they feel then.
They blue checked fine but I will still do a light lapping to clean the seats and faces up a bit.
I have new seals for it but I will wait to take accurate measurements of clearance.
They blue checked fine but I will still do a light lapping to clean the seats and faces up a bit.
I have new seals for it but I will wait to take accurate measurements of clearance.
Please Log in or Create an account to join the conversation.
Moderators: Street Fighter LTD