
KZ750H Restoration
- mopguy
-
- Offline
- Sustaining Member
-

Registered
- Posts: 727
- Thanks: 167
Re: KZ750H Restoration
20 Apr 2020 15:50
If you haven't painted the tank yet, you might want to consider purchasing a paintless dent removal kit on e-bay, sooner or later it will come in handy.
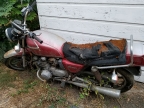
I have a 1980 Kawasaki KZ750 Ltd. I bought new. I recently managed to get it out of my garage after 28 years and put it on the road again (2010). I feel like a kid all over again. Since I have acquired 3 78 KZ1000 Ltd, 1 1981 KZ1000 Ltd, and another 1980 KZ750 Ltd. Love the LTD's.
The following user(s) said Thank You: calum
Please Log in or Create an account to join the conversation.
- calum
-
 Topic Author
- Offline
- User
-

Registered
- Posts: 1144
- Thanks: 415
Re: KZ750H Restoration
20 Apr 2020 17:13
I did consider pulling the dent but the old bog was pretty hard so I just filled it back up instead of cleaning it out. I also wasn't too sure about the creases around the edges of the dent, I didn't want any cracks to develop when pulling it. Probably would have been fine but I didn't want to risk it.
Basically I'm taking the easy way out on this one: instead of pulling the dent or filling with tin I'm just using what I have lying around and hoping to get a couple of years out of it")
Basically I'm taking the easy way out on this one: instead of pulling the dent or filling with tin I'm just using what I have lying around and hoping to get a couple of years out of it
KZ1000 Restomod (
www.kzrider.com/forum/11-projects/614517-1977-kz1000-restomod
)
1977 KZ1000A1 ( www.kzrider.com/forum/11-projects/616901...-spare-parts-project )
1980 KZ750H ( kzrider.com/forum/11-projects/612054-kz750h-restoration )
2000 BMW F650GS
1977 KZ1000A1 ( www.kzrider.com/forum/11-projects/616901...-spare-parts-project )
1980 KZ750H ( kzrider.com/forum/11-projects/612054-kz750h-restoration )
2000 BMW F650GS
Please Log in or Create an account to join the conversation.
- Mikaw
-
- Offline
- Sustaining Member
-
Registered
- Posts: 4825
- Thanks: 1851
Re: KZ750H Restoration
20 Apr 2020 20:26
Great job on the coil mounting. I looking into those mini coils. Just more for the look. What did you install over the plug wire as an exterior sheath.
1976 KZ 900 A4
kzrider.com/forum/11-projects/613548-1976-kz-900-a4
1976 KZ 900 B1 LTD
1978 KZ 1000 B2 LTD
1980 KZ 750 E1
Kowledge Speaks, But Wisdom Listens.
Jimi Hendrix.
1976 KZ 900 B1 LTD
1978 KZ 1000 B2 LTD
1980 KZ 750 E1
Kowledge Speaks, But Wisdom Listens.
Jimi Hendrix.
Please Log in or Create an account to join the conversation.
- Skidmark
-
- Offline
- User
-
Registered
- Posts: 1087
- Thanks: 312
Re: KZ750H Restoration
20 Apr 2020 20:35
I can only hope my engine turns out looking that nice. Doubtful the turd polishing will go that well!
Retired gearhead
'81 KZ-750 E2
'87 Suzuki Savage 650 Street Tracker (lost in the shop fire)
'81 KZ-750 E2
'87 Suzuki Savage 650 Street Tracker (lost in the shop fire)
Please Log in or Create an account to join the conversation.
- calum
-
Topic Author
- Offline
- User
-
Registered
- Posts: 1144
- Thanks: 415
Re: KZ750H Restoration
21 Apr 2020 12:10 - 21 Apr 2020 12:11The boots came with the coils and the sheath over the wire was pulled from the original wires before they went in the bin.Mikaw wrote: What did you install over the plug wire as an exterior sheath.
Looking at the photo from earlier today, the head already looks better than mine did. That crankcase should clean up fine as wellSkidmark wrote: I can only hope my engine turns out looking that nice.
KZ1000 Restomod (
www.kzrider.com/forum/11-projects/614517-1977-kz1000-restomod
)
1977 KZ1000A1 ( www.kzrider.com/forum/11-projects/616901...-spare-parts-project )
1980 KZ750H ( kzrider.com/forum/11-projects/612054-kz750h-restoration )
2000 BMW F650GS
1977 KZ1000A1 ( www.kzrider.com/forum/11-projects/616901...-spare-parts-project )
1980 KZ750H ( kzrider.com/forum/11-projects/612054-kz750h-restoration )
2000 BMW F650GS
Last edit: 21 Apr 2020 12:11 by calum.
Please Log in or Create an account to join the conversation.
- calum
-
Topic Author
- Offline
- User
-
Registered
- Posts: 1144
- Thanks: 415
Re: KZ750H Restoration
23 Apr 2020 10:43Nessism wrote: The head bolts that install down inside the cam chain tunnel area ARE stretch bolts. I bought brand new ones for my 750 and they would not reach the minimum torque as listed in the service manual before serious yielding occurred so I stopped short to avoid breaking them.

Going back to this. When I put the head back on the last time I cleaned all the oil off the threads and torqued two new bolts up incrementally (22.5Nm, 25Nm, 27.5Nm, 30Nm). Each increment required about 30°. The front one tightened up without yielding but the back one went through about 90° when gong from 27.5 to 30Nm (a pretty stressful 90°). I was curious so I backed it off and retightened incrementally. The second time it tightened up normally so it had definitely yielded and it wasn't the threads giving in
Technically I should have replaced the back bolt as they are single use. I'm pretty sure it will hold until the head is back off next winter. Interesting that both times I have put new bolts in only the back one has yielded.
KZ1000 Restomod (
www.kzrider.com/forum/11-projects/614517-1977-kz1000-restomod
)
1977 KZ1000A1 ( www.kzrider.com/forum/11-projects/616901...-spare-parts-project )
1980 KZ750H ( kzrider.com/forum/11-projects/612054-kz750h-restoration )
2000 BMW F650GS
1977 KZ1000A1 ( www.kzrider.com/forum/11-projects/616901...-spare-parts-project )
1980 KZ750H ( kzrider.com/forum/11-projects/612054-kz750h-restoration )
2000 BMW F650GS
Please Log in or Create an account to join the conversation.
- calum
-
Topic Author
- Offline
- User
-
Registered
- Posts: 1144
- Thanks: 415
Re: KZ750H Restoration
30 Apr 2020 08:35
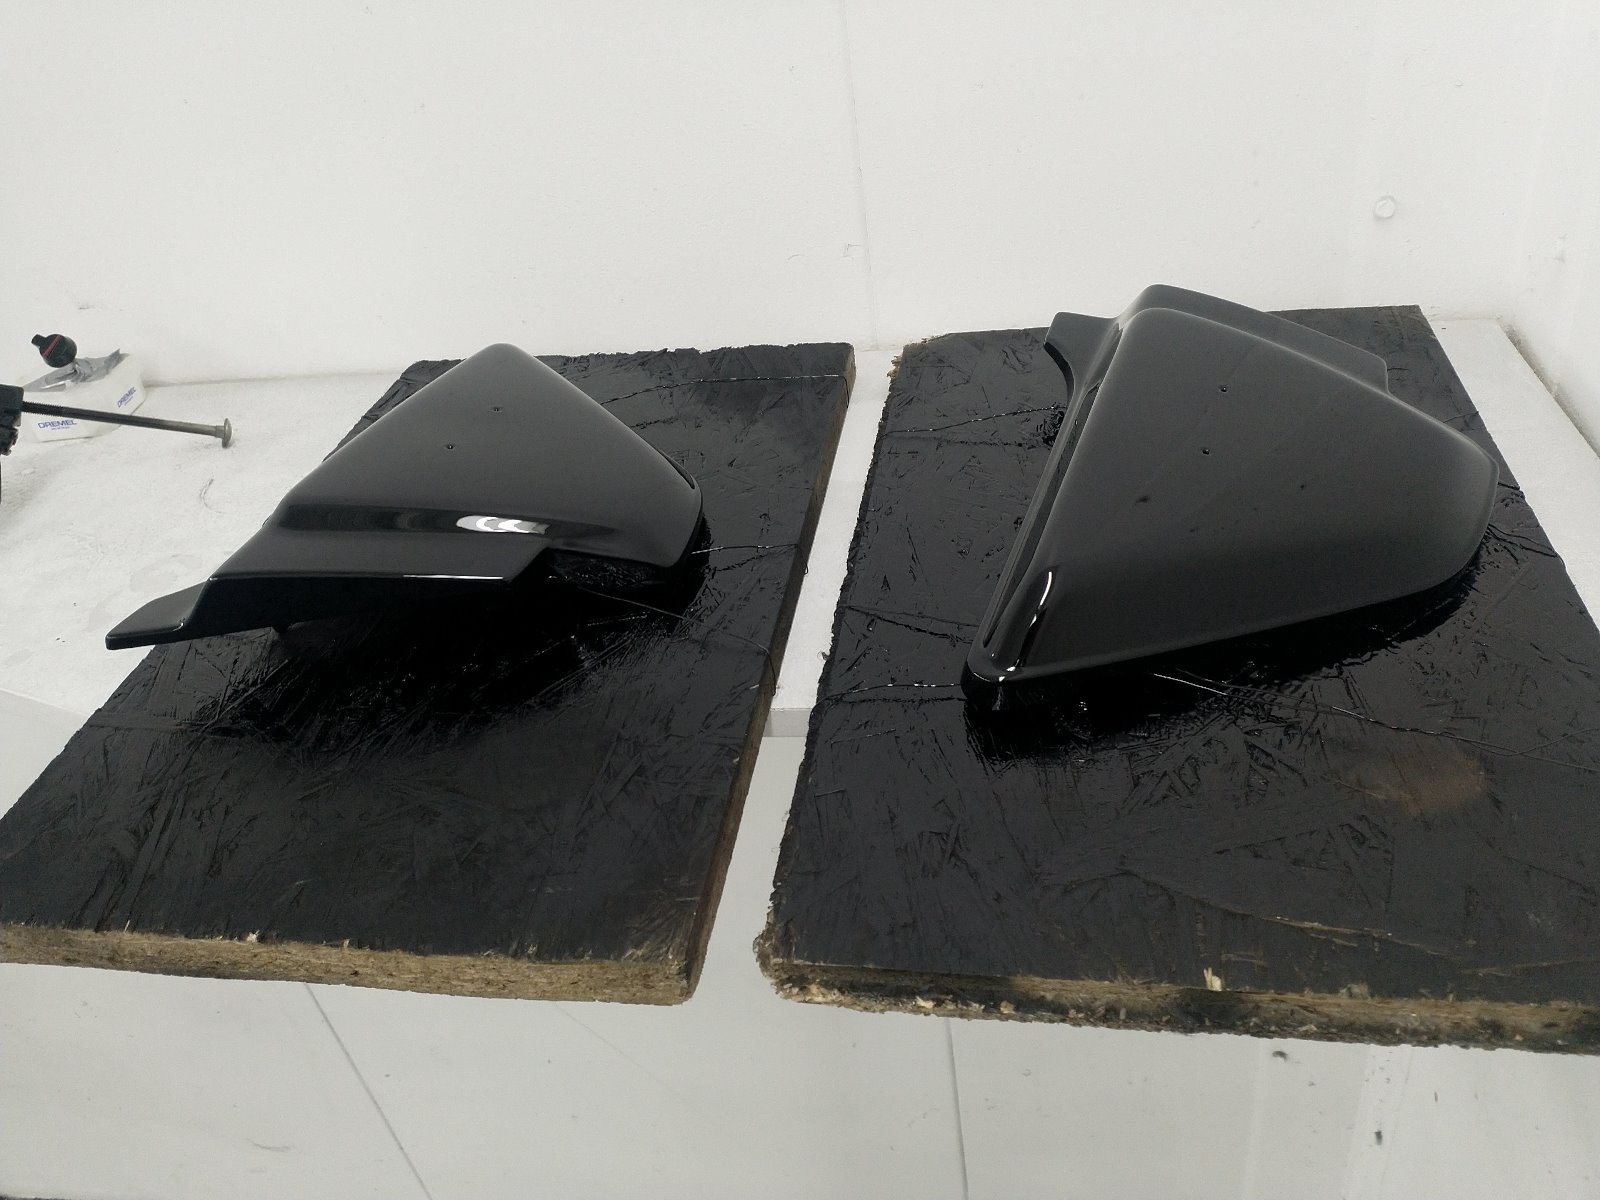
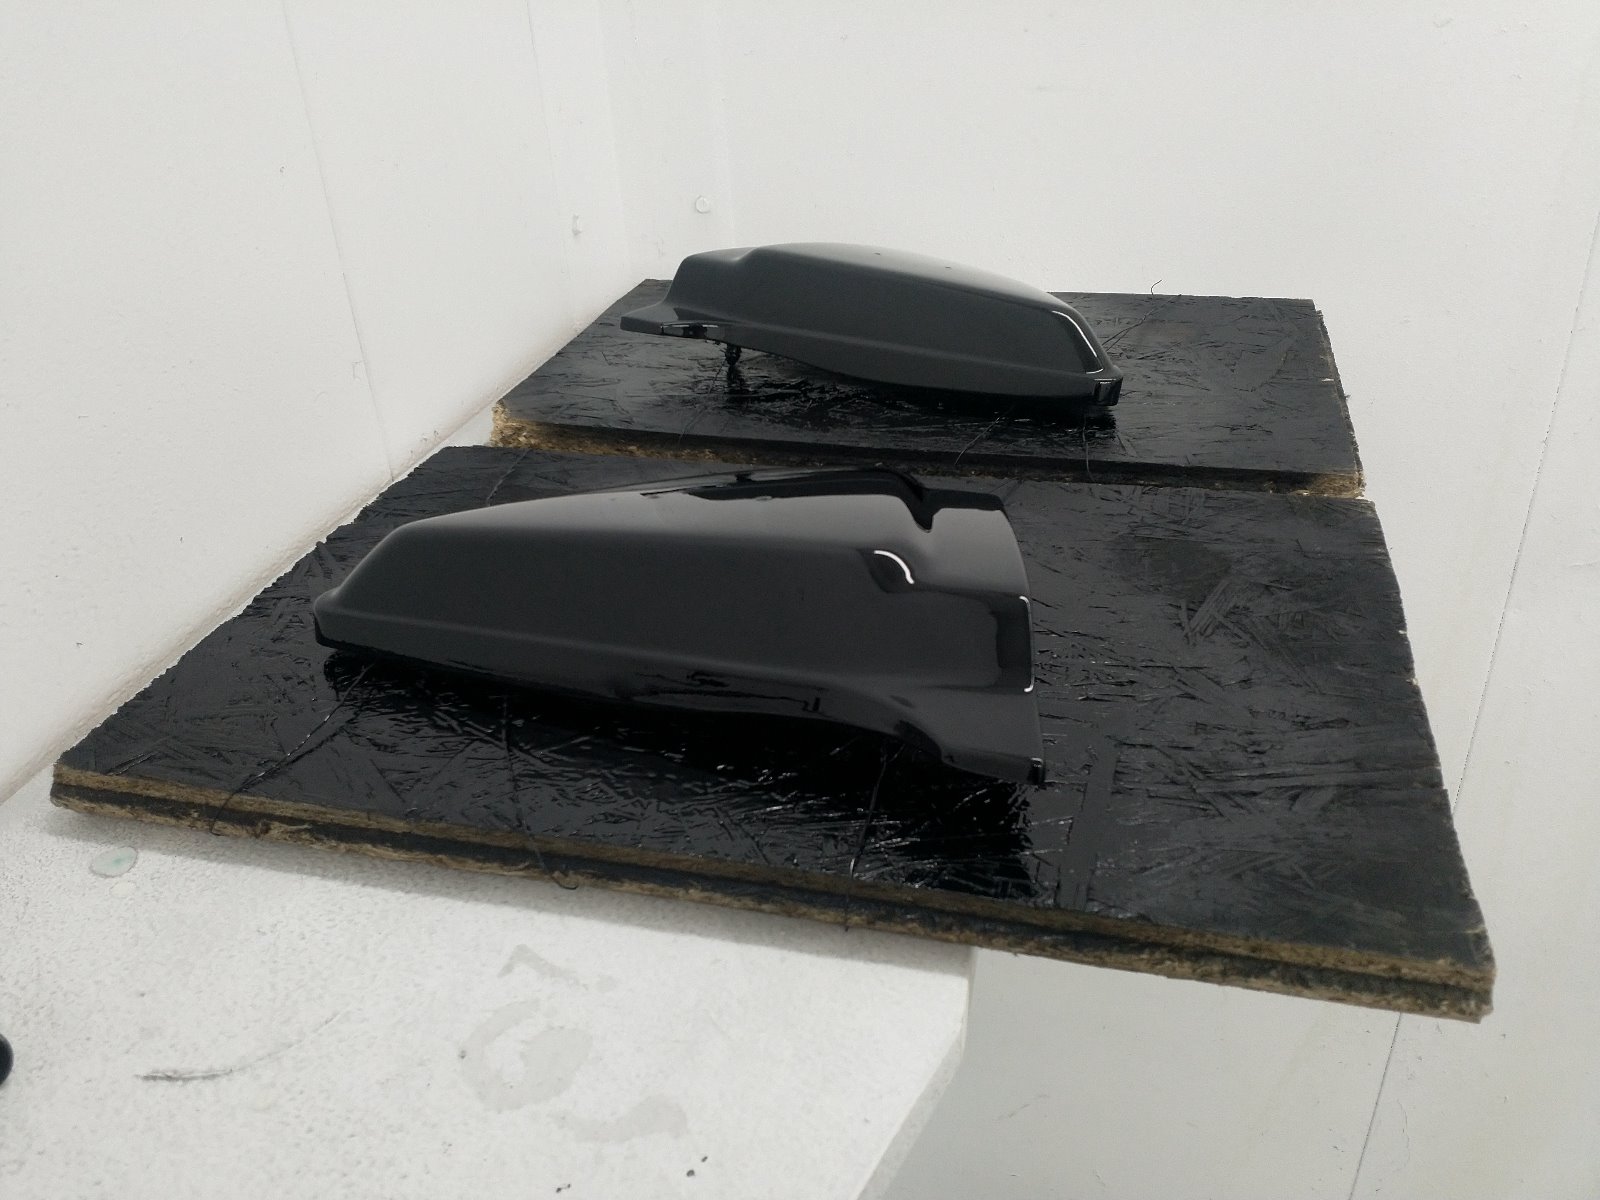
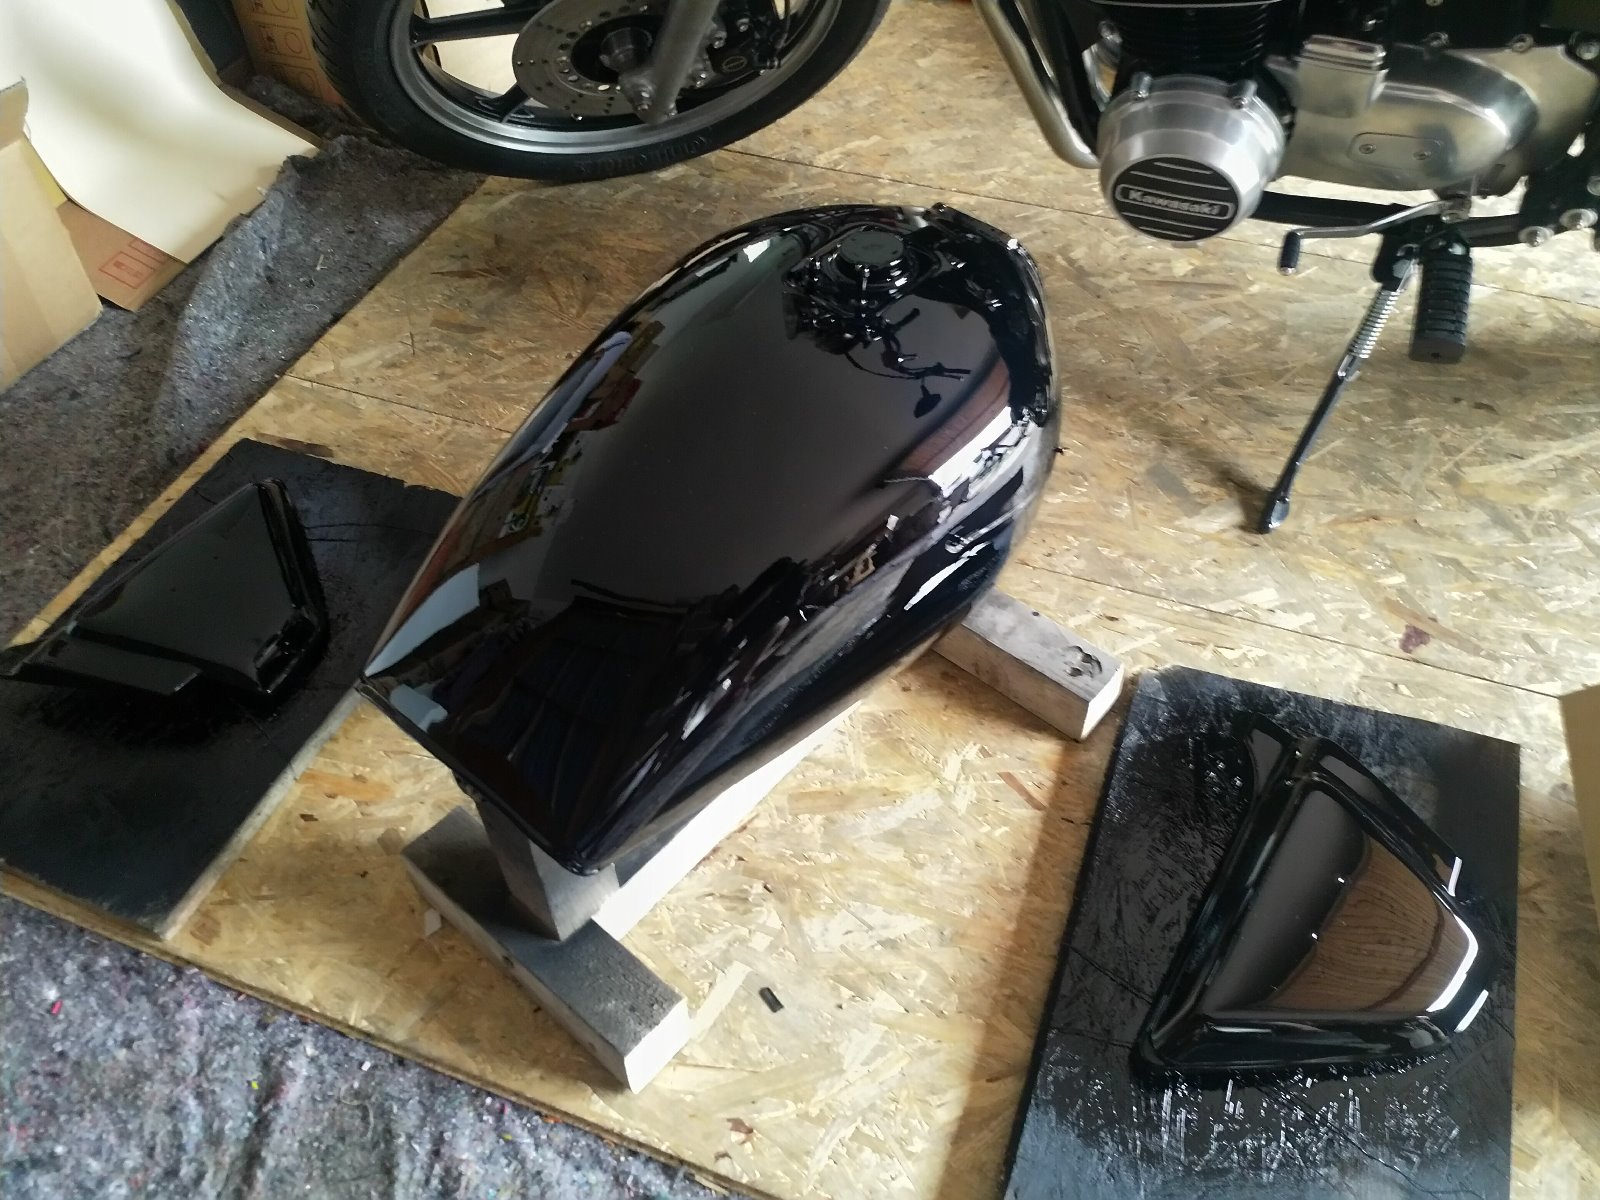
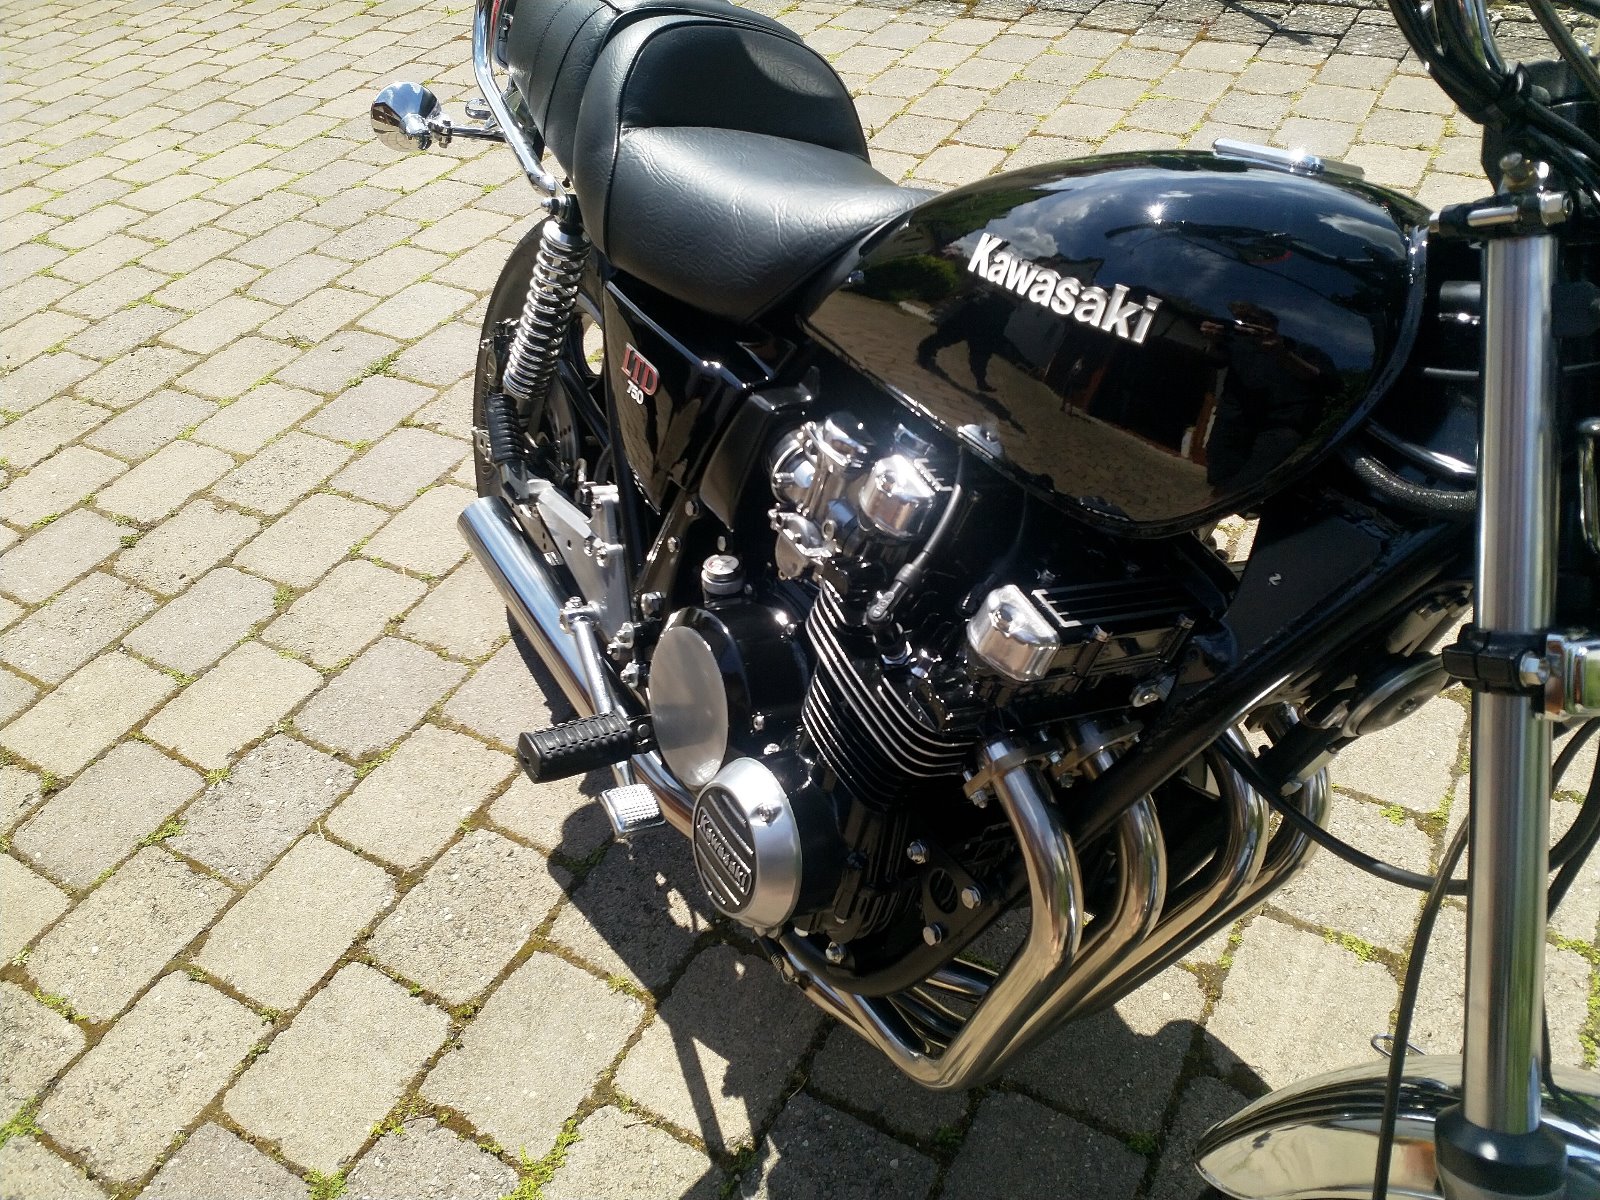
Last piece of the puzzle done today: painted the tank and side covers. The room I have been using wasn't available so I rented a room for a couple of hours.
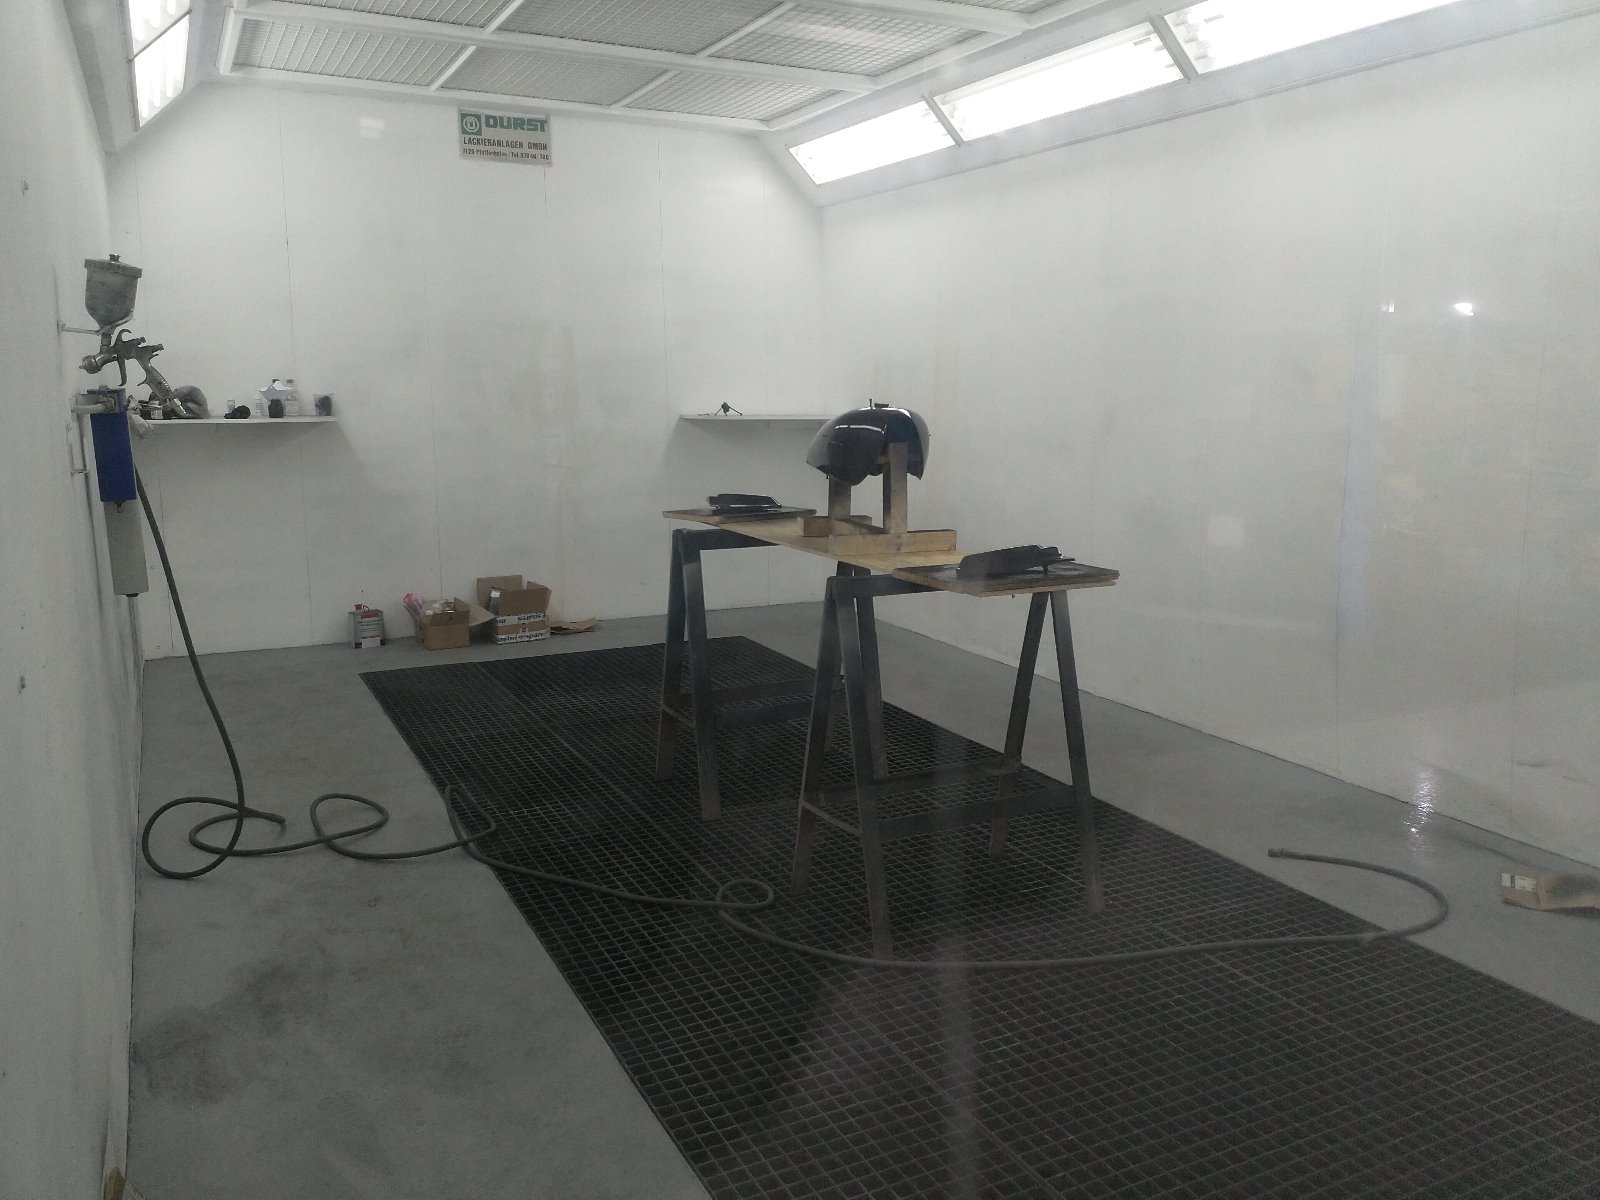
The results are a lot better than I could have got in the other room. The lighting alone made a huge difference, not to mention the ventilation and heating system. You can see that I didn't quite get the lines right with the bog on the right hand side of the tank (look at the reflections), but it's good enough considering what it looked like after sandblasting.
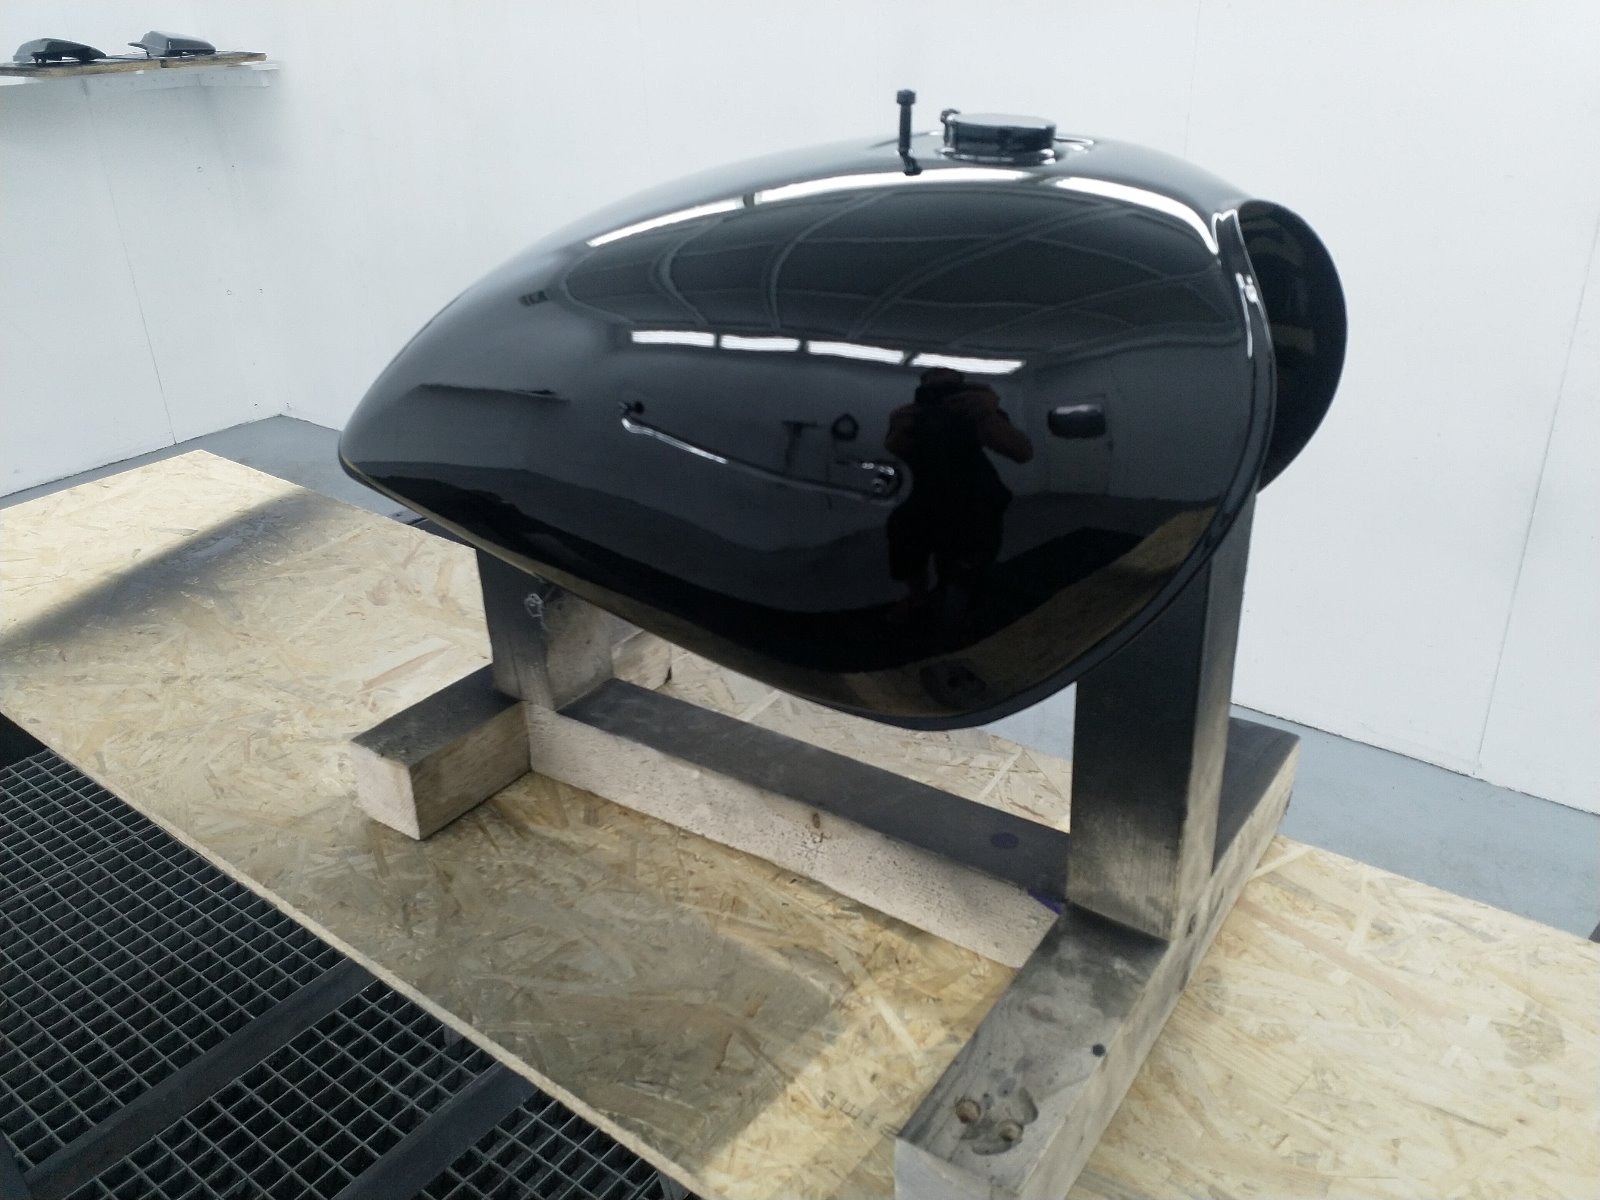
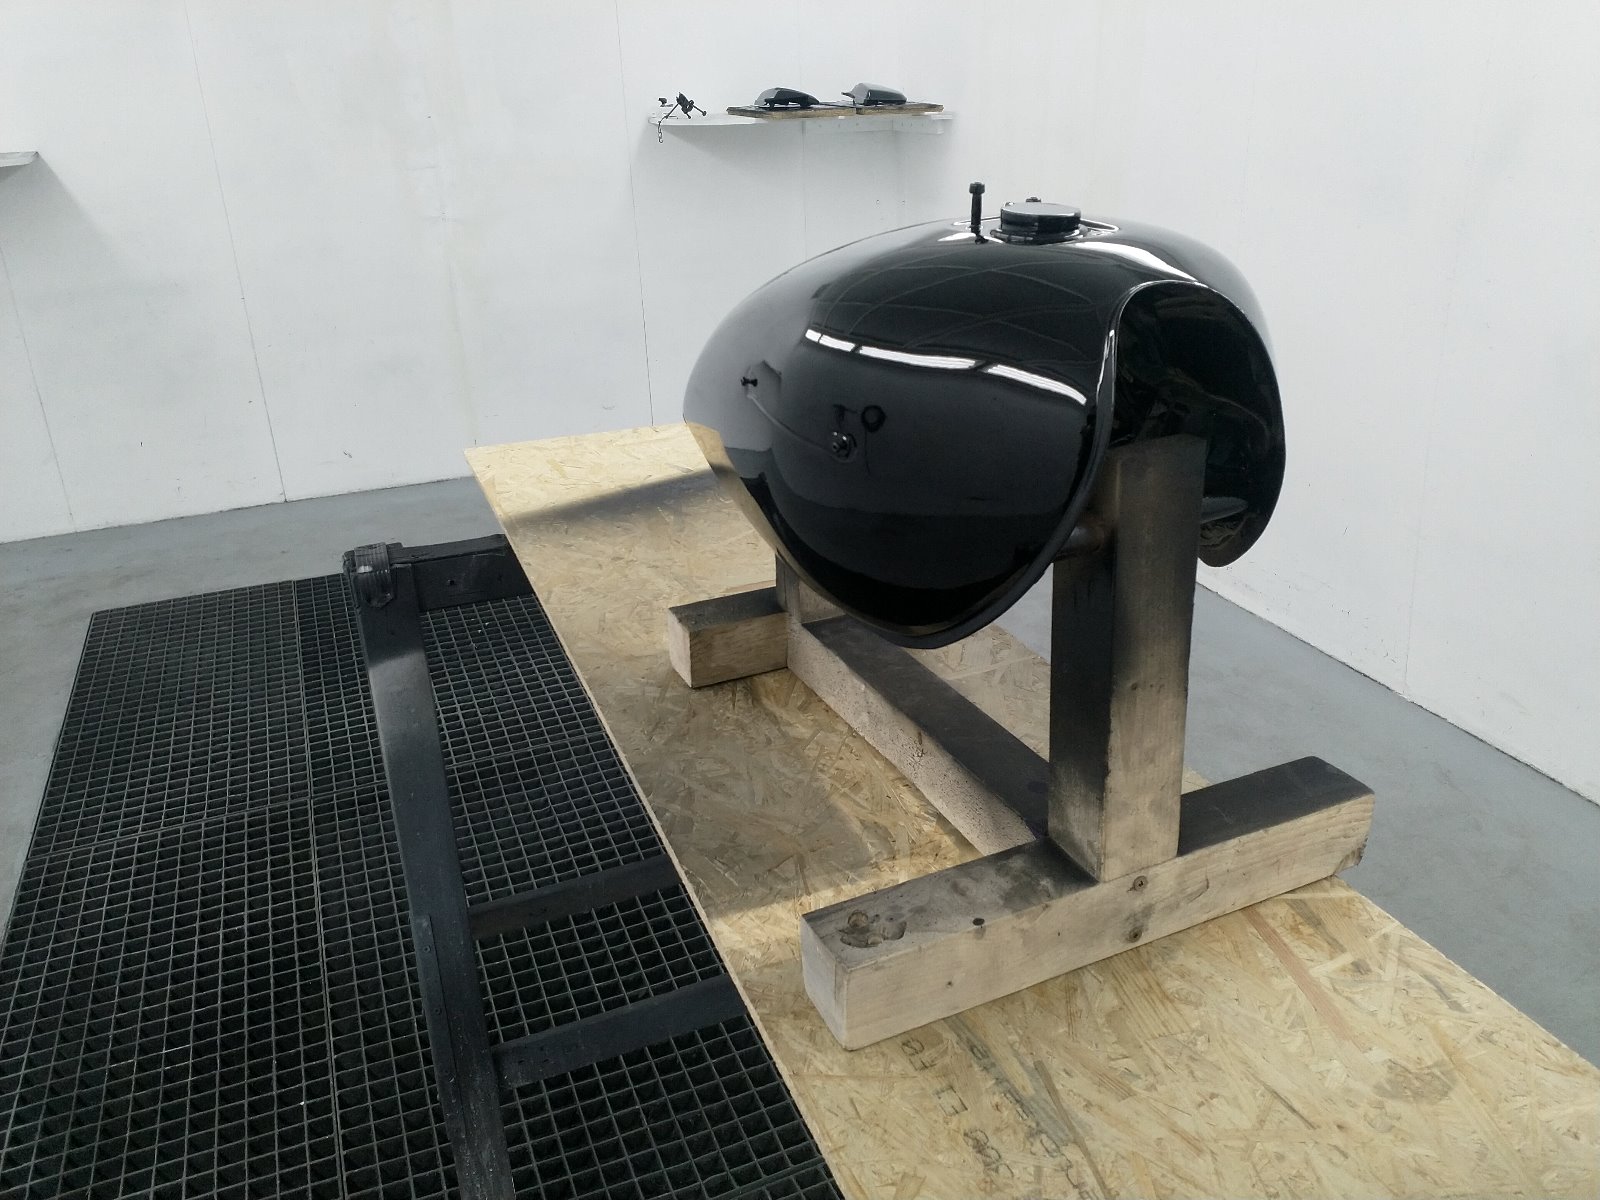
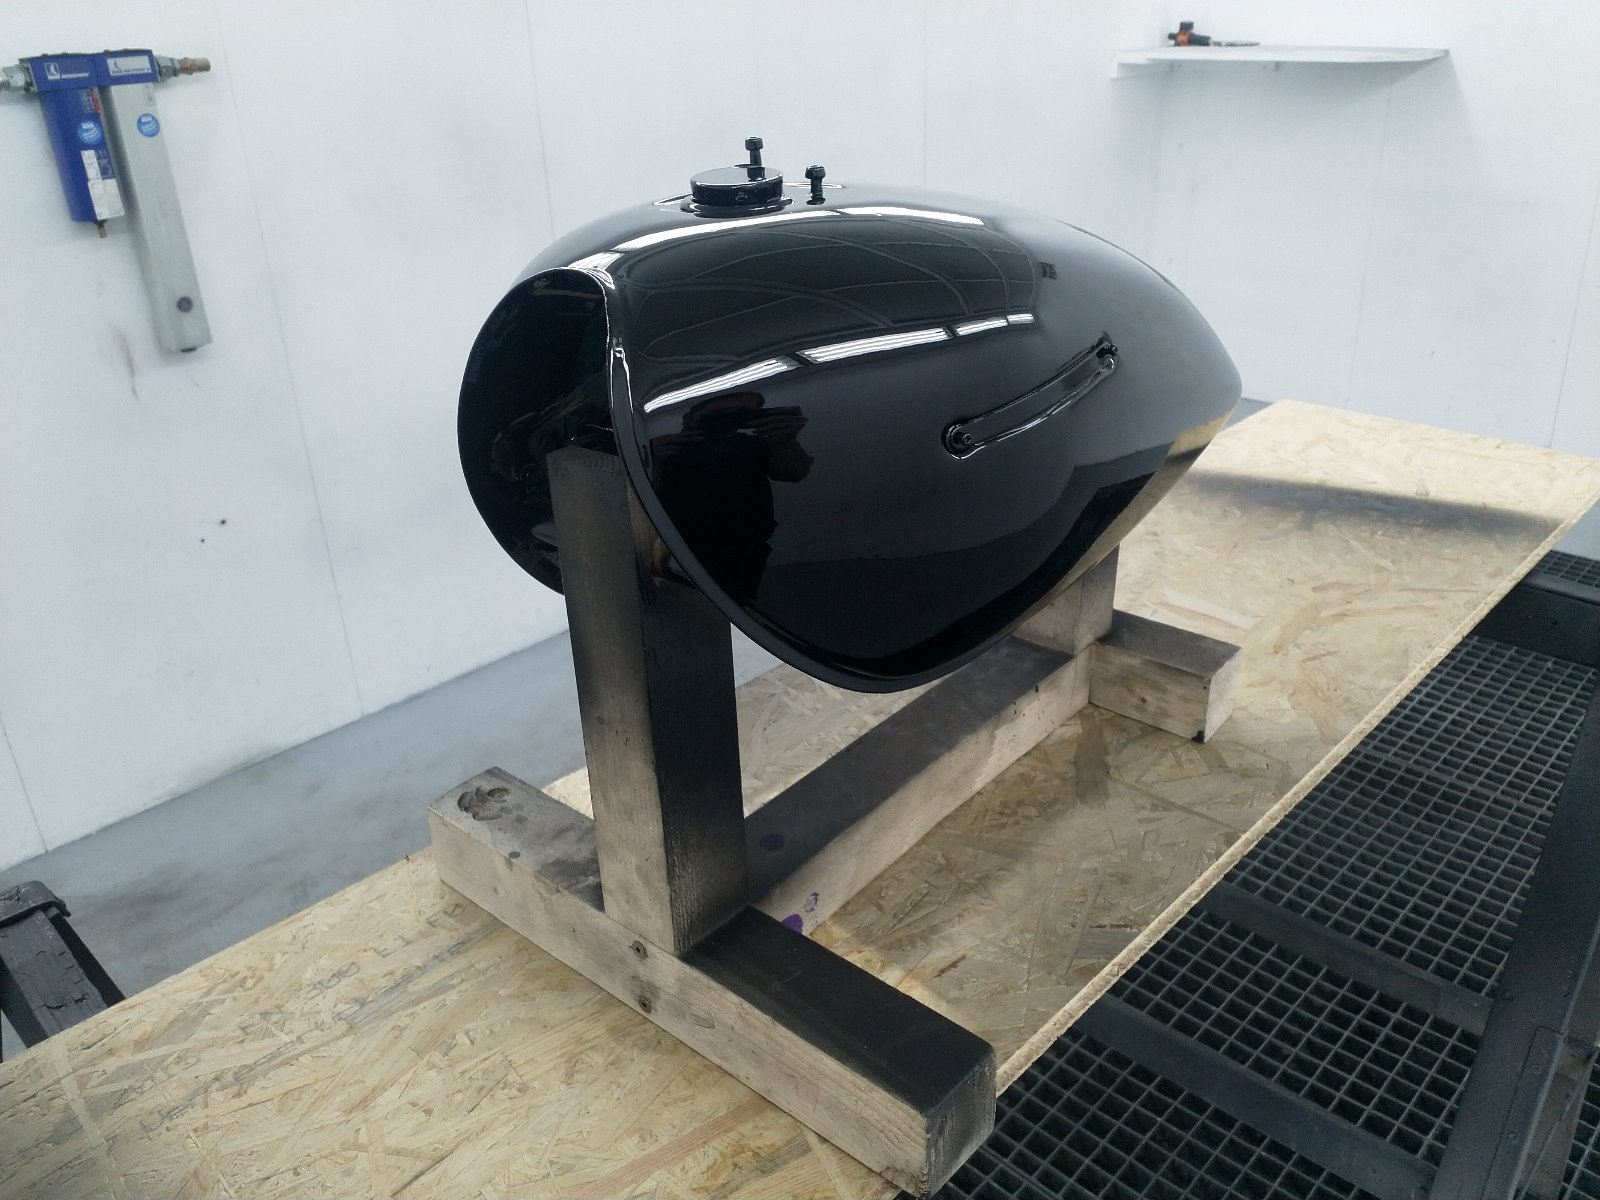
Everything is safe back in the garage now (stressful drive home). Will leave it for a couple of days before I put the cap, petcock, etc. on.
The results are a lot better than I could have got in the other room. The lighting alone made a huge difference, not to mention the ventilation and heating system. You can see that I didn't quite get the lines right with the bog on the right hand side of the tank (look at the reflections), but it's good enough considering what it looked like after sandblasting.
Everything is safe back in the garage now (stressful drive home). Will leave it for a couple of days before I put the cap, petcock, etc. on.
KZ1000 Restomod (
www.kzrider.com/forum/11-projects/614517-1977-kz1000-restomod
)
1977 KZ1000A1 ( www.kzrider.com/forum/11-projects/616901...-spare-parts-project )
1980 KZ750H ( kzrider.com/forum/11-projects/612054-kz750h-restoration )
2000 BMW F650GS
1977 KZ1000A1 ( www.kzrider.com/forum/11-projects/616901...-spare-parts-project )
1980 KZ750H ( kzrider.com/forum/11-projects/612054-kz750h-restoration )
2000 BMW F650GS
The following user(s) said Thank You: Nessism
Please Log in or Create an account to join the conversation.
- Skidmark
-
- Offline
- User
-
Registered
- Posts: 1087
- Thanks: 312
Re: KZ750H Restoration
30 Apr 2020 08:50
I'm impressed! I have never tried painting with the exception of rattle cans. Great job!
Retired gearhead
'81 KZ-750 E2
'87 Suzuki Savage 650 Street Tracker (lost in the shop fire)
'81 KZ-750 E2
'87 Suzuki Savage 650 Street Tracker (lost in the shop fire)
The following user(s) said Thank You: calum
Please Log in or Create an account to join the conversation.
- calum
-
Topic Author
- Offline
- User
-
Registered
- Posts: 1144
- Thanks: 415
Re: KZ750H Restoration
30 Apr 2020 12:10
Thanks. To be honest, using a spray gun is so much more forgiving than a rattle can. I really struggle spraying with a can but using the gun I have only had two runs on all of the parts for this bike. I hadn't done much painting before this project - just the brake callipers and an engine cover on the hornet.
I find painting a lot easier to deal with than polishing - that may have something to do with patience though
I find painting a lot easier to deal with than polishing - that may have something to do with patience though
KZ1000 Restomod (
www.kzrider.com/forum/11-projects/614517-1977-kz1000-restomod
)
1977 KZ1000A1 ( www.kzrider.com/forum/11-projects/616901...-spare-parts-project )
1980 KZ750H ( kzrider.com/forum/11-projects/612054-kz750h-restoration )
2000 BMW F650GS
1977 KZ1000A1 ( www.kzrider.com/forum/11-projects/616901...-spare-parts-project )
1980 KZ750H ( kzrider.com/forum/11-projects/612054-kz750h-restoration )
2000 BMW F650GS
The following user(s) said Thank You: Nessism
Please Log in or Create an account to join the conversation.
- Nessism
-

- Offline
- Sustaining Member
-
Registered
- Posts: 8052
- Thanks: 3433
Re: KZ750H Restoration
30 Apr 2020 16:44
Great work on the painting!
Ed
Carb O-ring Kits : www.kzrider.com/forum/14-vendor-forum/62...rburetor-o-ring-kits
www.kzrider.com/forum/faq-wiki/618026-new-owner-things-to-know
1981 KZ750E2
www.kzrider.com/forum/11-projects/604901...z750e-project-thread
Carb O-ring Kits : www.kzrider.com/forum/14-vendor-forum/62...rburetor-o-ring-kits
www.kzrider.com/forum/faq-wiki/618026-new-owner-things-to-know
1981 KZ750E2
www.kzrider.com/forum/11-projects/604901...z750e-project-thread
The following user(s) said Thank You: calum
Please Log in or Create an account to join the conversation.
- calum
-
Topic Author
- Offline
- User
-
Registered
- Posts: 1144
- Thanks: 415
Re: KZ750H Restoration
01 May 2020 12:29 - 01 May 2020 12:30
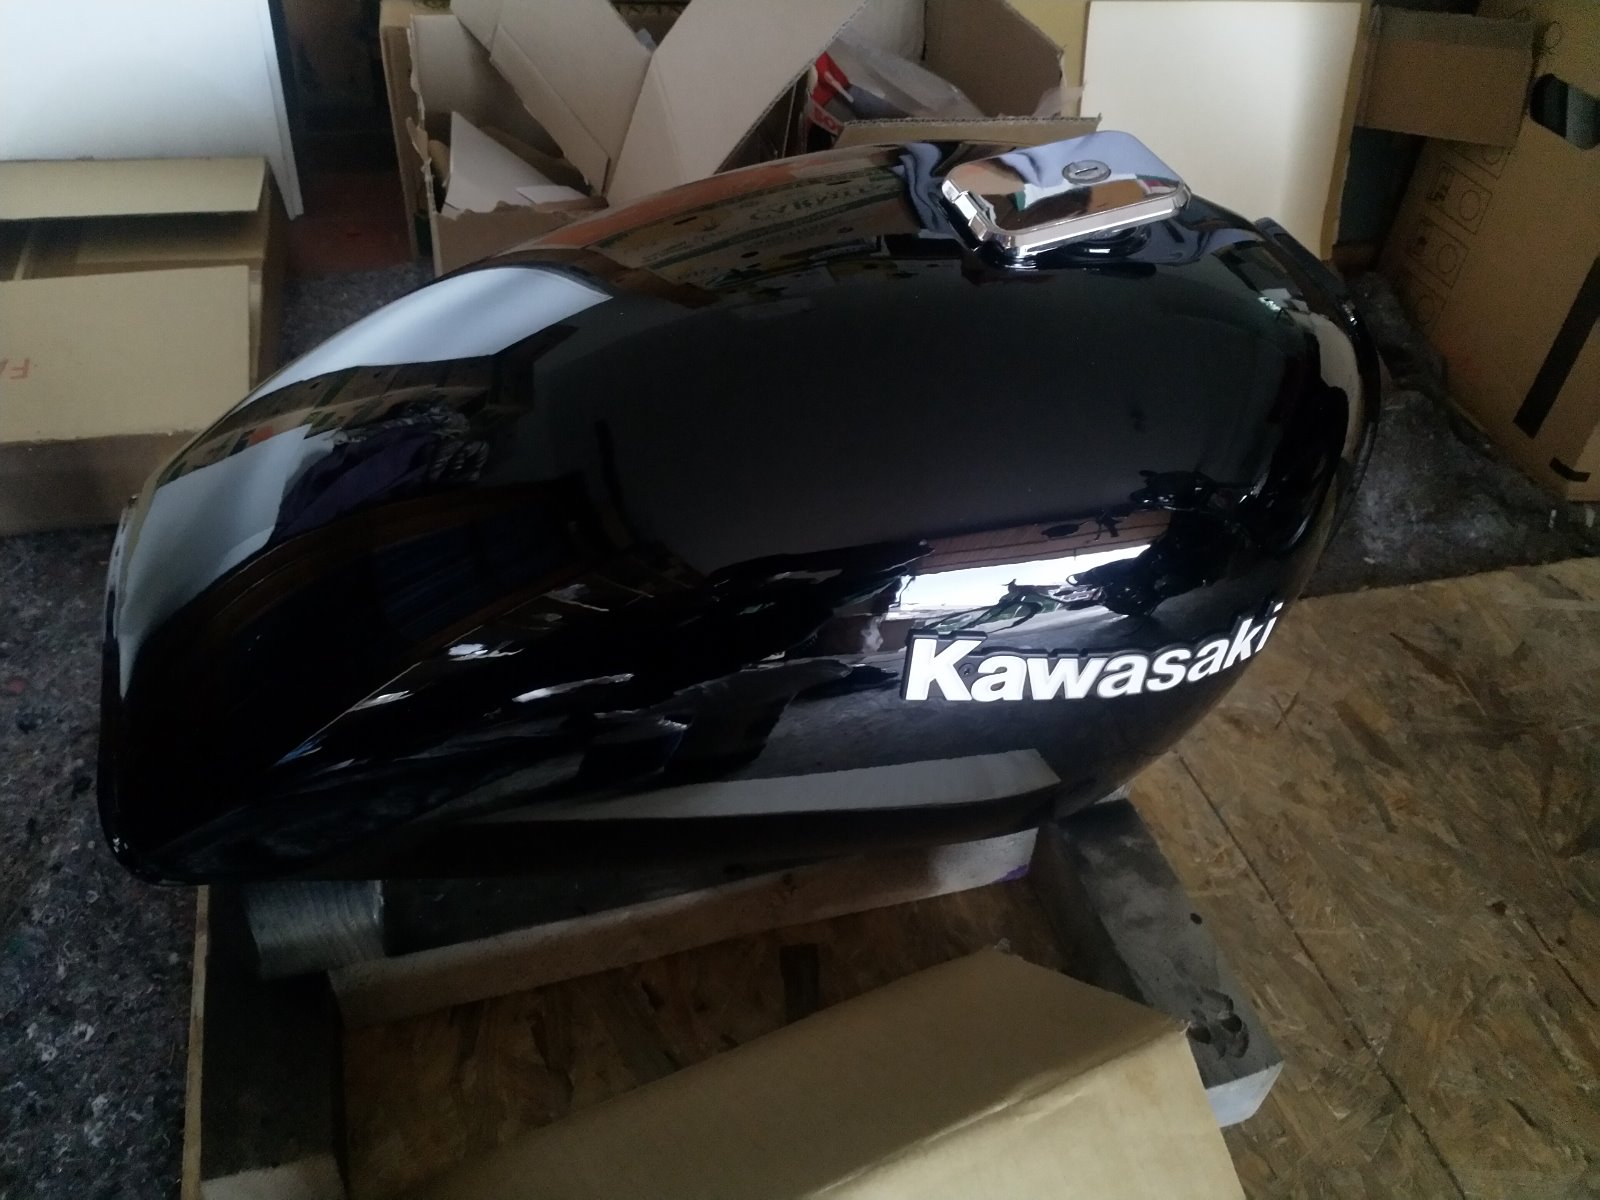
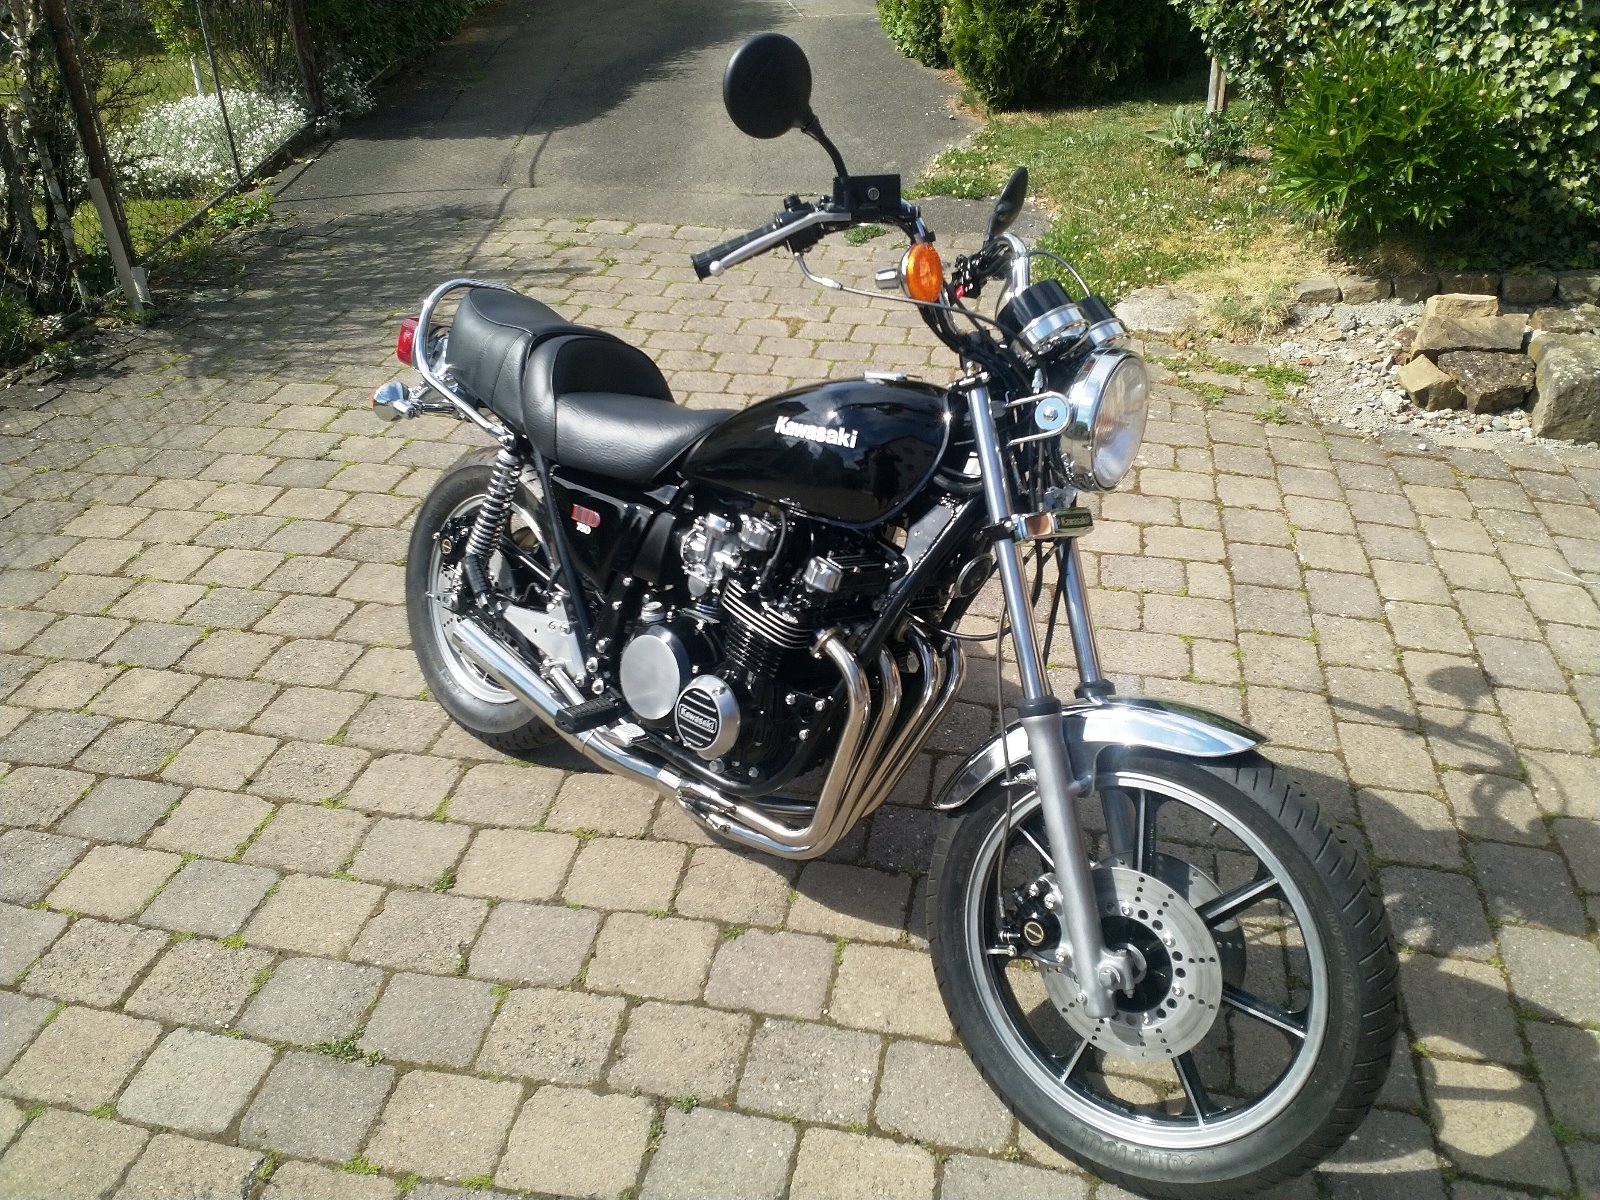
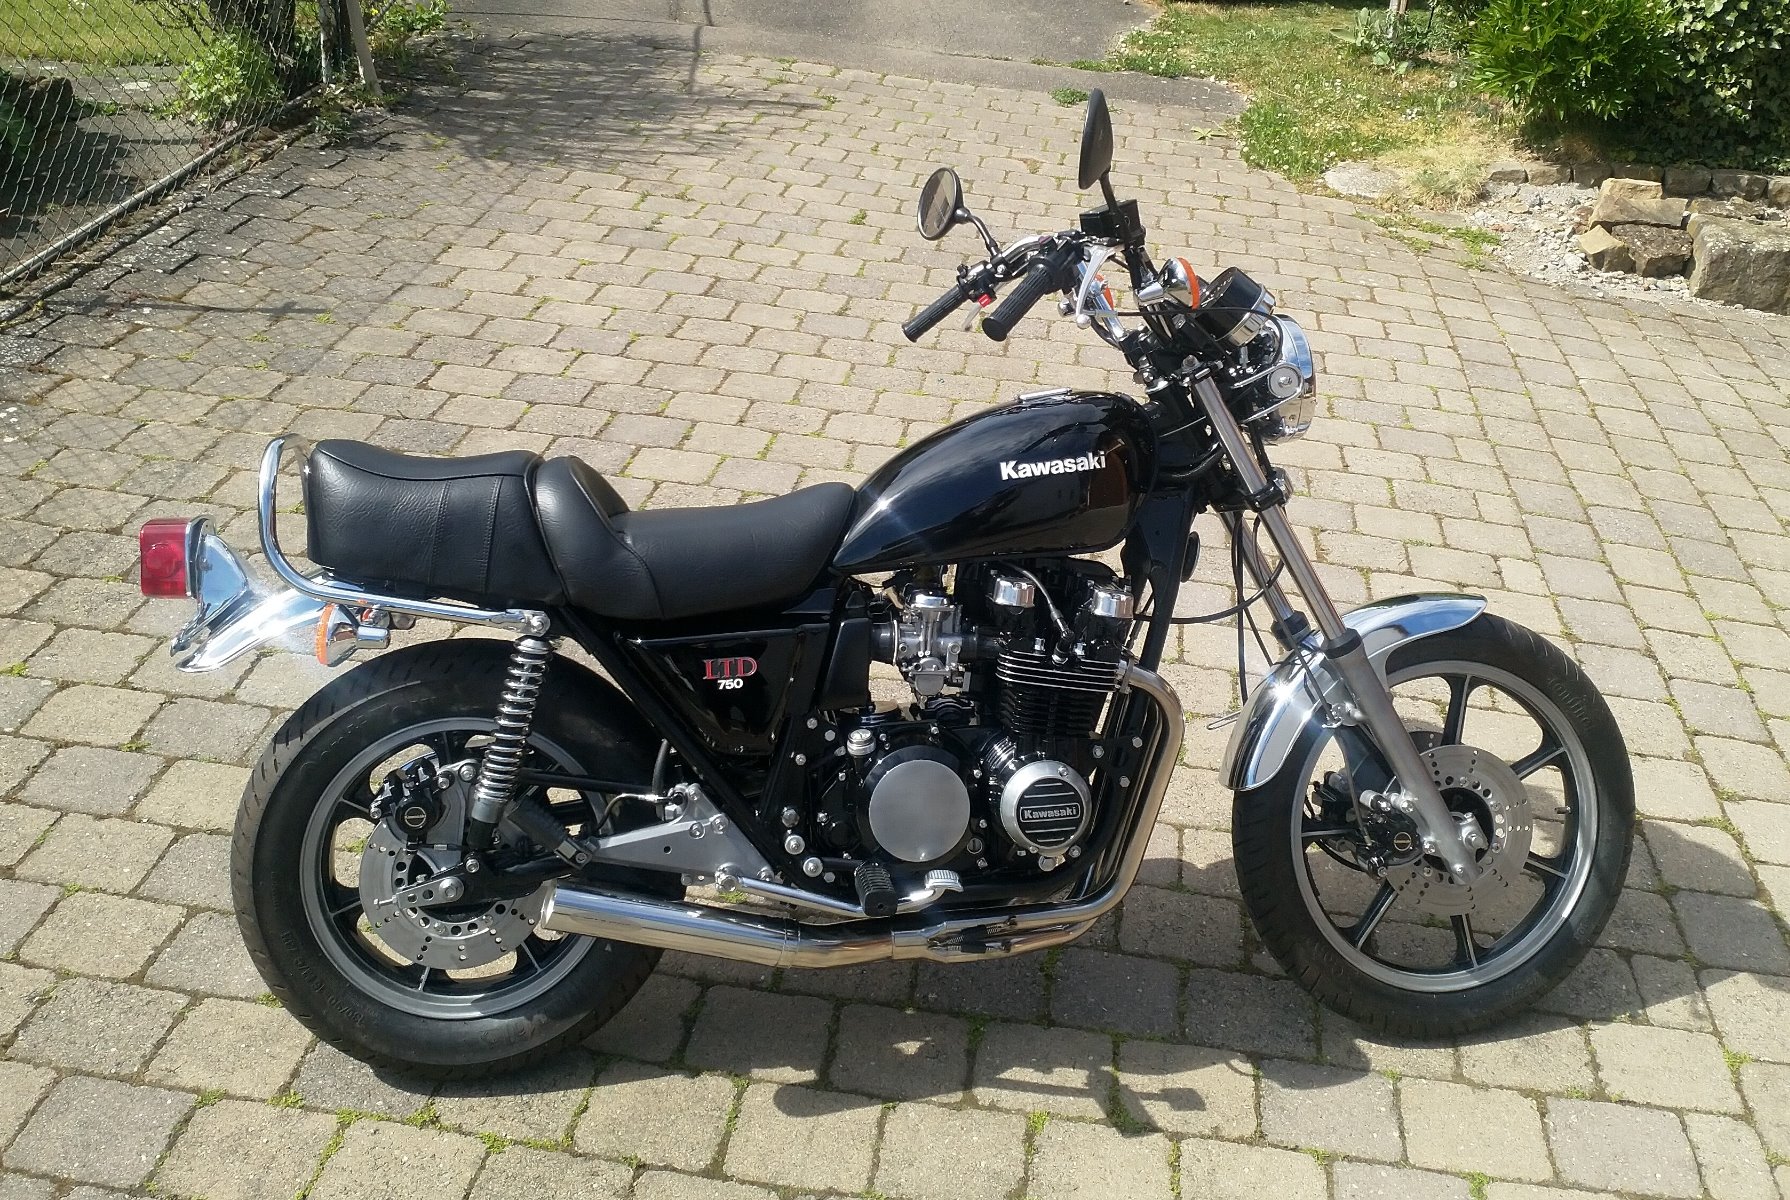
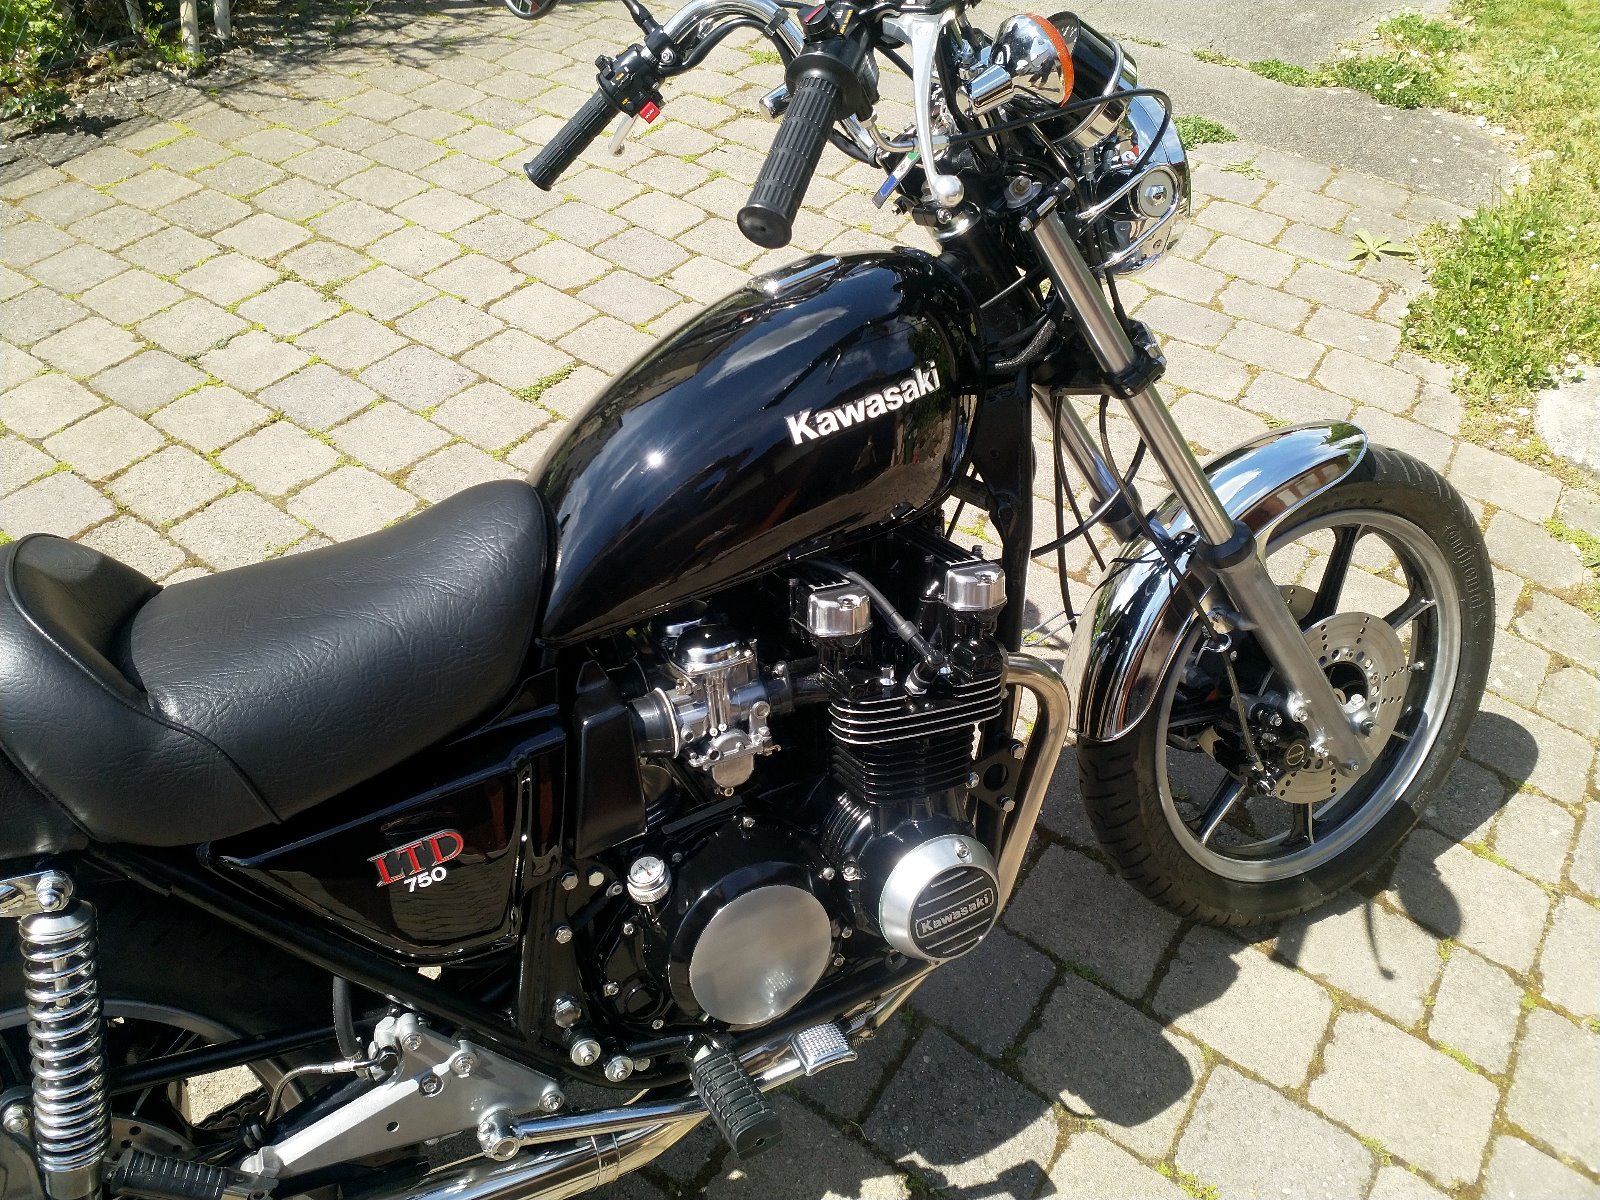
Couldn't resist today - I very carefully put the badges on the side covers and tank. They're back off the tank (as is the cap) until I put it on the bike, but the side covers are staying on.
Paint is pretty close to fully hardened and should be fine on Sunday - supposed to be fuel proof after 5 days so should be pretty good after 3. I'll be putting the tank on the bike on Sunday as it will be a year to the day since I pulled up on the bike. I won't put any fuel in the tank til later in the week, though. Not taking any chances
Paint is pretty close to fully hardened and should be fine on Sunday - supposed to be fuel proof after 5 days so should be pretty good after 3. I'll be putting the tank on the bike on Sunday as it will be a year to the day since I pulled up on the bike. I won't put any fuel in the tank til later in the week, though. Not taking any chances
KZ1000 Restomod (
www.kzrider.com/forum/11-projects/614517-1977-kz1000-restomod
)
1977 KZ1000A1 ( www.kzrider.com/forum/11-projects/616901...-spare-parts-project )
1980 KZ750H ( kzrider.com/forum/11-projects/612054-kz750h-restoration )
2000 BMW F650GS
1977 KZ1000A1 ( www.kzrider.com/forum/11-projects/616901...-spare-parts-project )
1980 KZ750H ( kzrider.com/forum/11-projects/612054-kz750h-restoration )
2000 BMW F650GS
Last edit: 01 May 2020 12:30 by calum.
Please Log in or Create an account to join the conversation.
- calum
-
Topic Author
- Offline
- User
-
Registered
- Posts: 1144
- Thanks: 415
Re: KZ750H Restoration
03 May 2020 08:32 - 03 May 2020 09:04
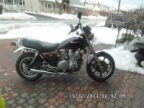
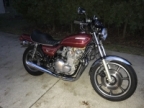
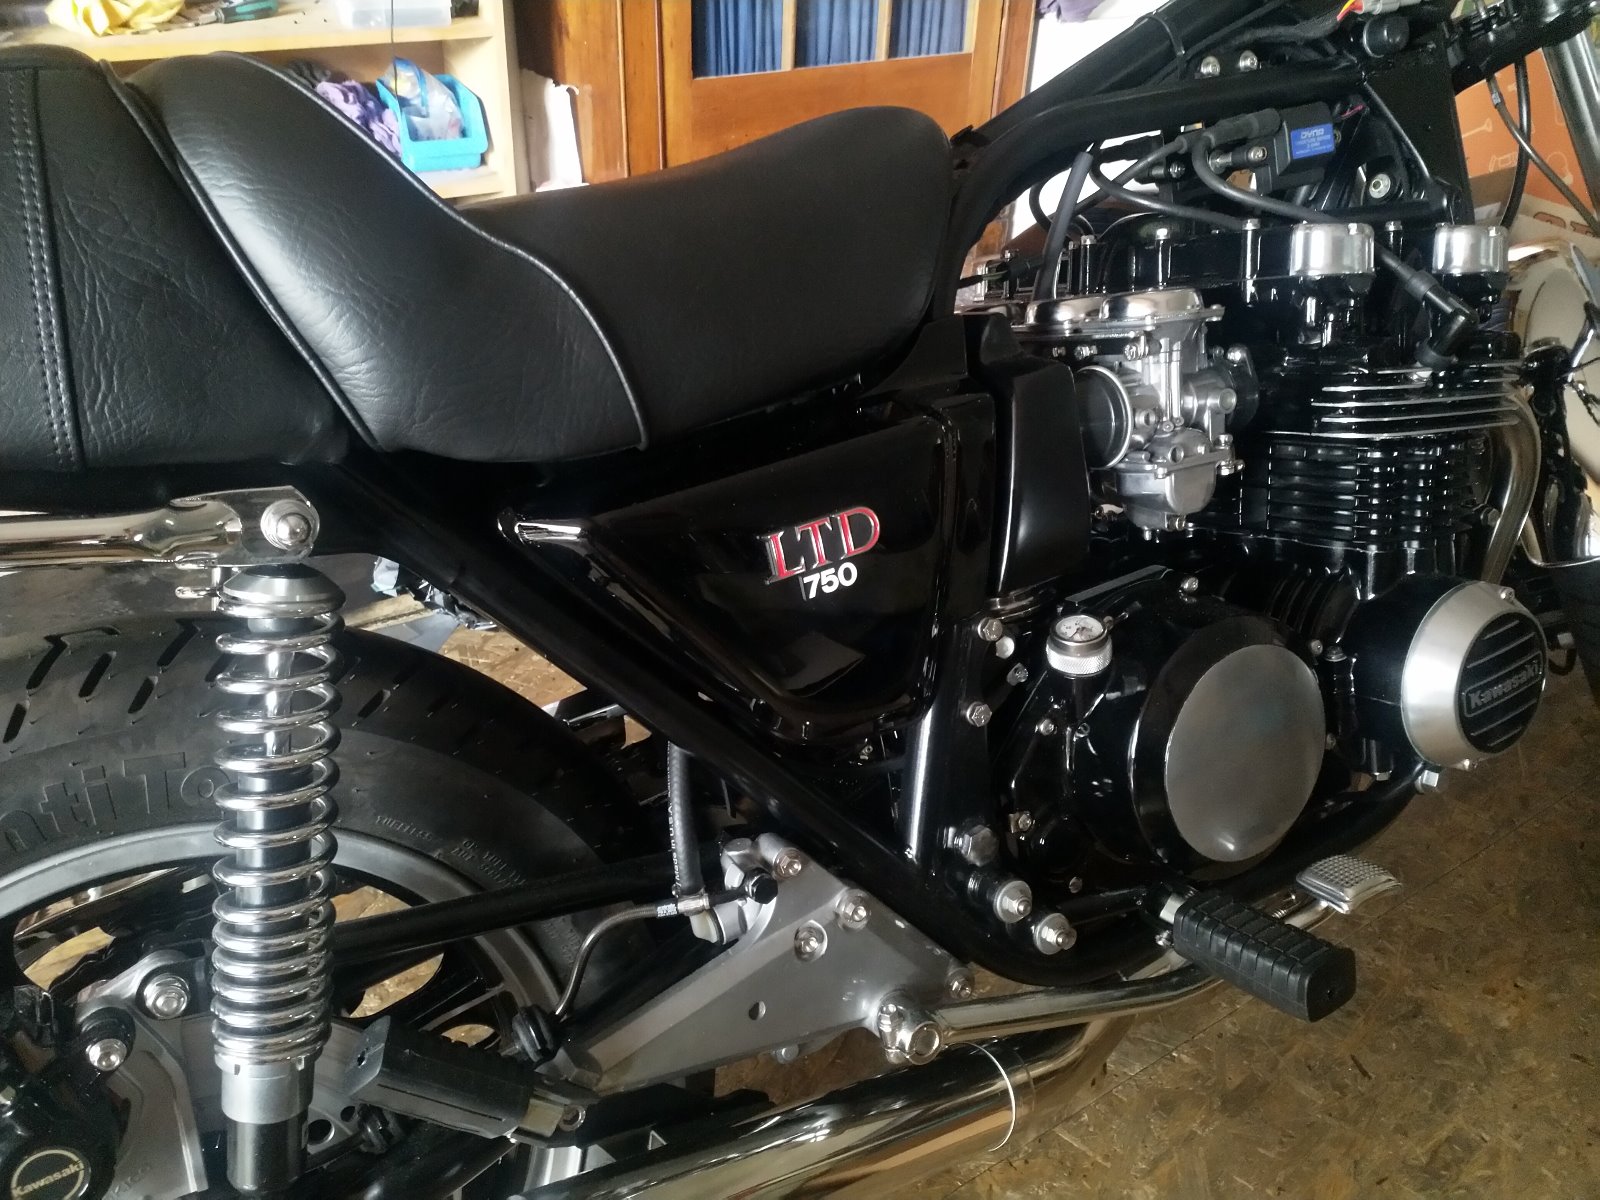
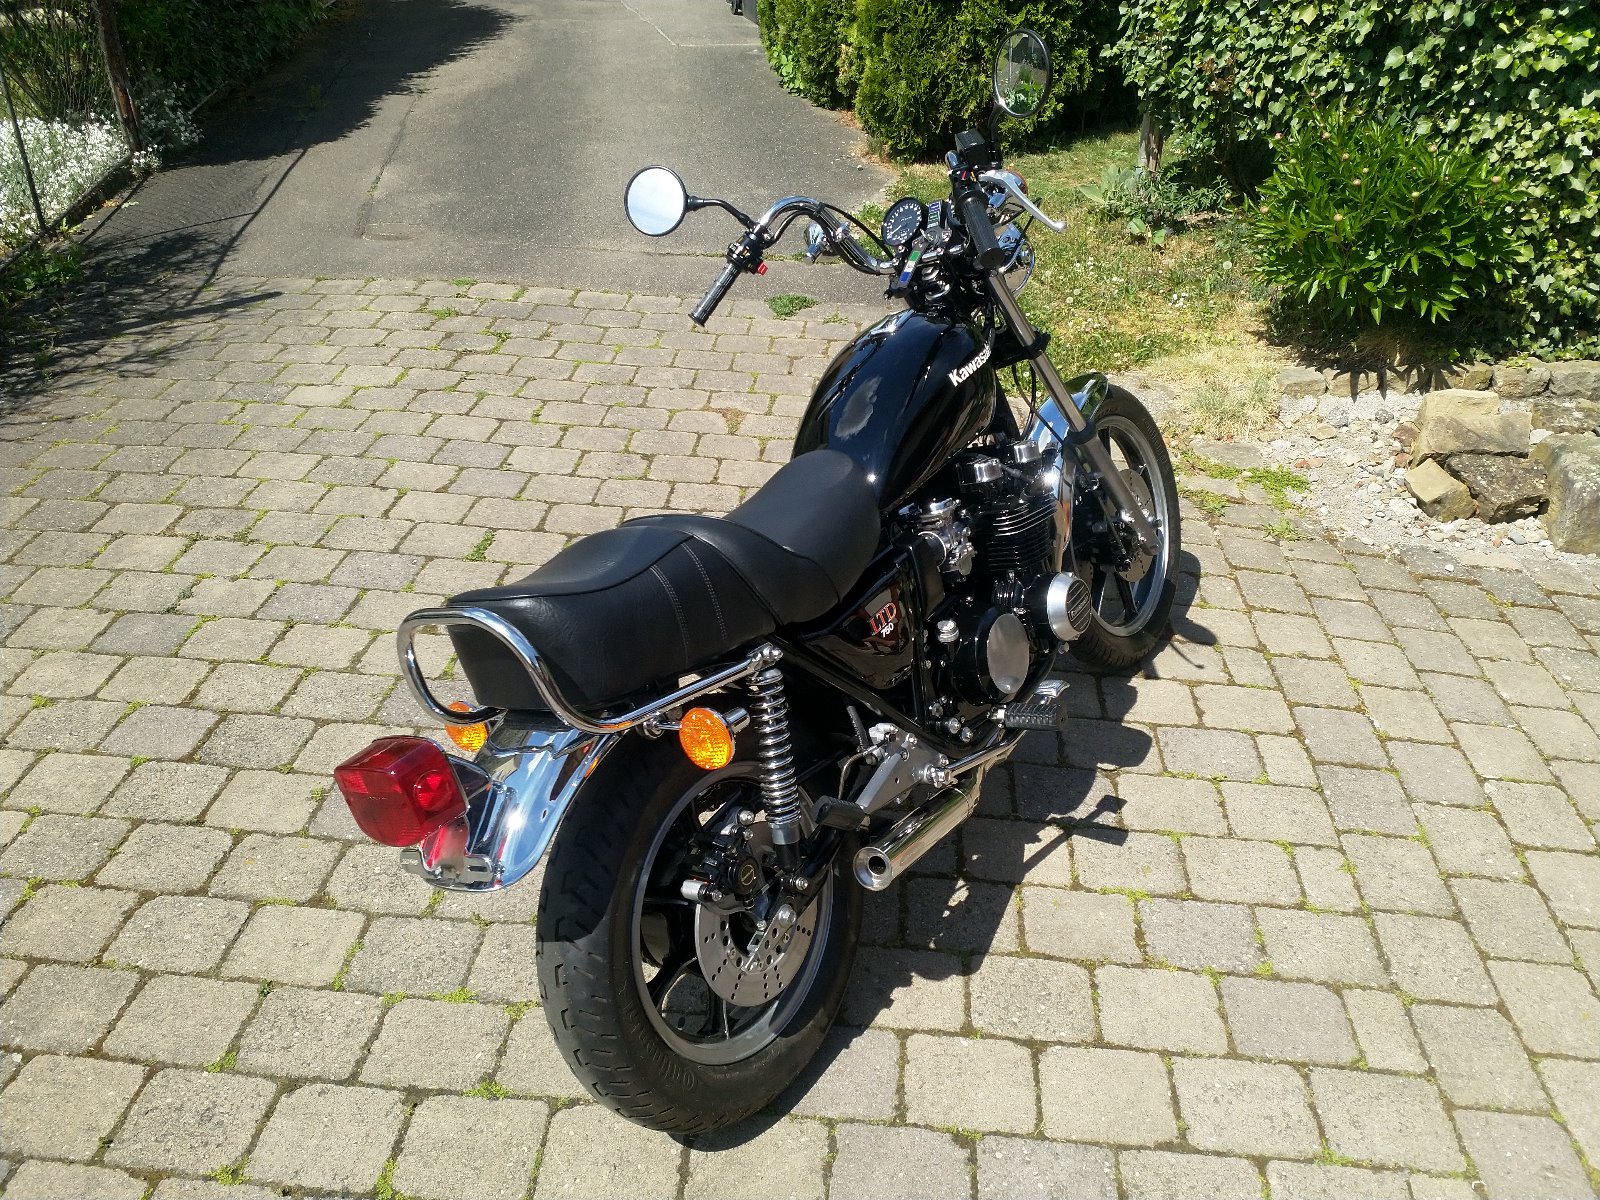
A year to the day since I bought the bike home. Need to wait a few more days before putting fuel in the tank, but all the resto work is done.
KZ1000 Restomod (
www.kzrider.com/forum/11-projects/614517-1977-kz1000-restomod
)
1977 KZ1000A1 ( www.kzrider.com/forum/11-projects/616901...-spare-parts-project )
1980 KZ750H ( kzrider.com/forum/11-projects/612054-kz750h-restoration )
2000 BMW F650GS
1977 KZ1000A1 ( www.kzrider.com/forum/11-projects/616901...-spare-parts-project )
1980 KZ750H ( kzrider.com/forum/11-projects/612054-kz750h-restoration )
2000 BMW F650GS
Last edit: 03 May 2020 09:04 by calum.
The following user(s) said Thank You: Nessism
Please Log in or Create an account to join the conversation.
Moderators: Street Fighter LTD