
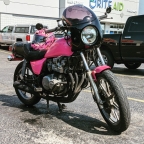
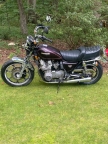
Sealing it back up, again…
- ghostdive
-
- Offline
- User
- Posts: 390
- Thanks: 120
Re: Sealing it back up, again…
21 May 2022 09:55
I'd only go to 8 ft/lbs on the valve cover, and especially the cam caps. Also, remember to put a little something on the restrictor o-rings.
I didn't loosen the head nuts, but I think it's fine if you do slightly. Others will differ I'm sure.
I didn't loosen the head nuts, but I think it's fine if you do slightly. Others will differ I'm sure.
1982 KZ750 Spectre - 6 speed swap, BS34s, 18" rear wheel
2001 ZX-6R
2001 ZX-6R
Please Log in or Create an account to join the conversation.
- Elfarm98648
-
 Topic Author
- Offline
- User
- Posts: 346
- Thanks: 59
Re: Sealing it back up, again…
22 May 2022 10:51
Well head gasket is in, just waiting on the new O-rings to arrive and I will be able to put everything back together.
I got to install the set screws for the emissions block off and I am satisfied with them, hopefully they will do their job without issue.
I was able to change my steering stem bearings over to the roller type yesterday, which also allowed me to reinstall the forks, front wheel, and finish up the wiring and brake line reinstall. Since the front wheel is now on the ground, I can really tell how much better the progressive fork springs are going to be! Definitely taller and much stiffer than the old ones. I was bottoming out the forks going over any drastic change in incline, no way that should happen now.
I am so happy with my performance suspension fork springs, I decided to use their rear shocks and make an upgrade on the total suspension of the bike. I bought a set of their 12 series shocks and springs in black. Those should be here by May 28th. Hopefully with the new shocks, I won’t drag my exhaust pipe going over a speed bump with the wife on the back.
 fingers crossed that issue is fixed!
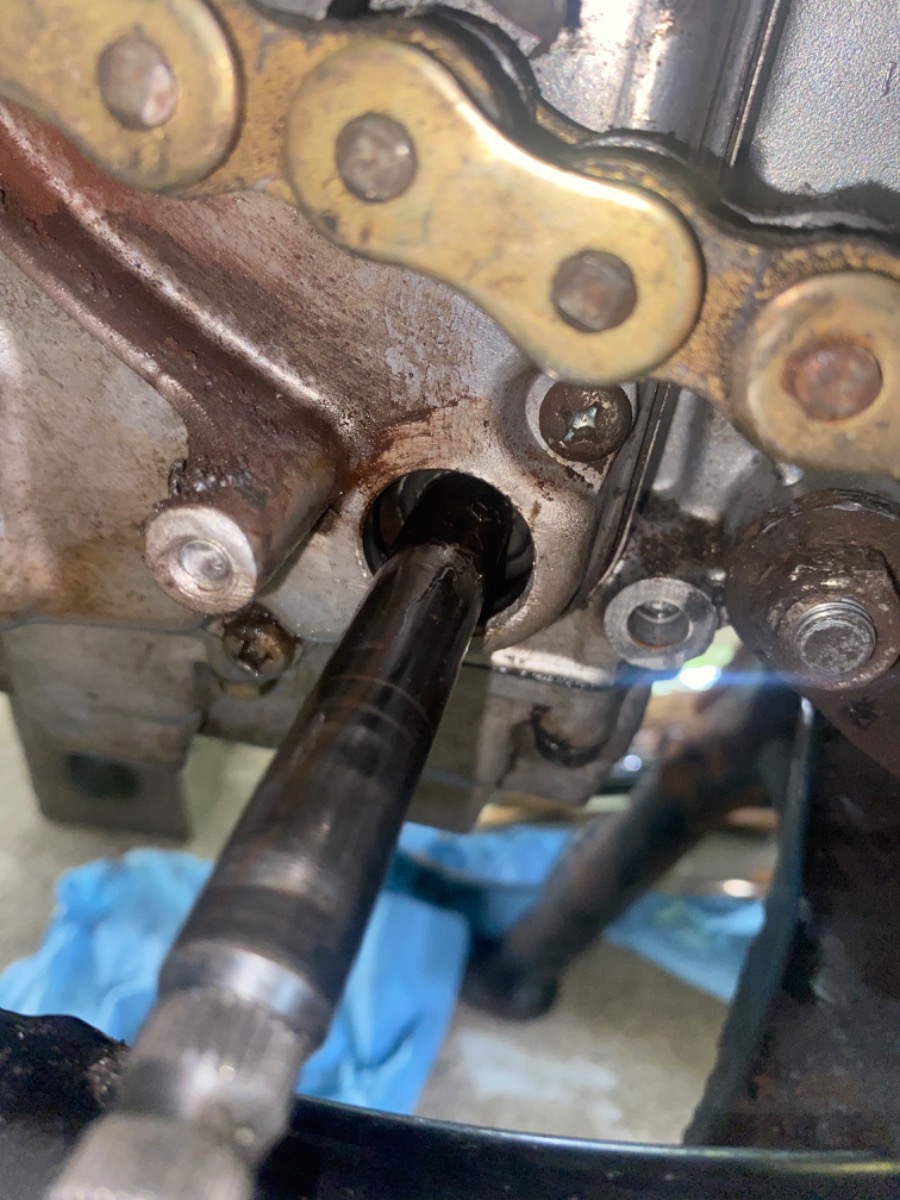
I also changed out my shift shaft seal as it decided to leak while on the center stand this week.
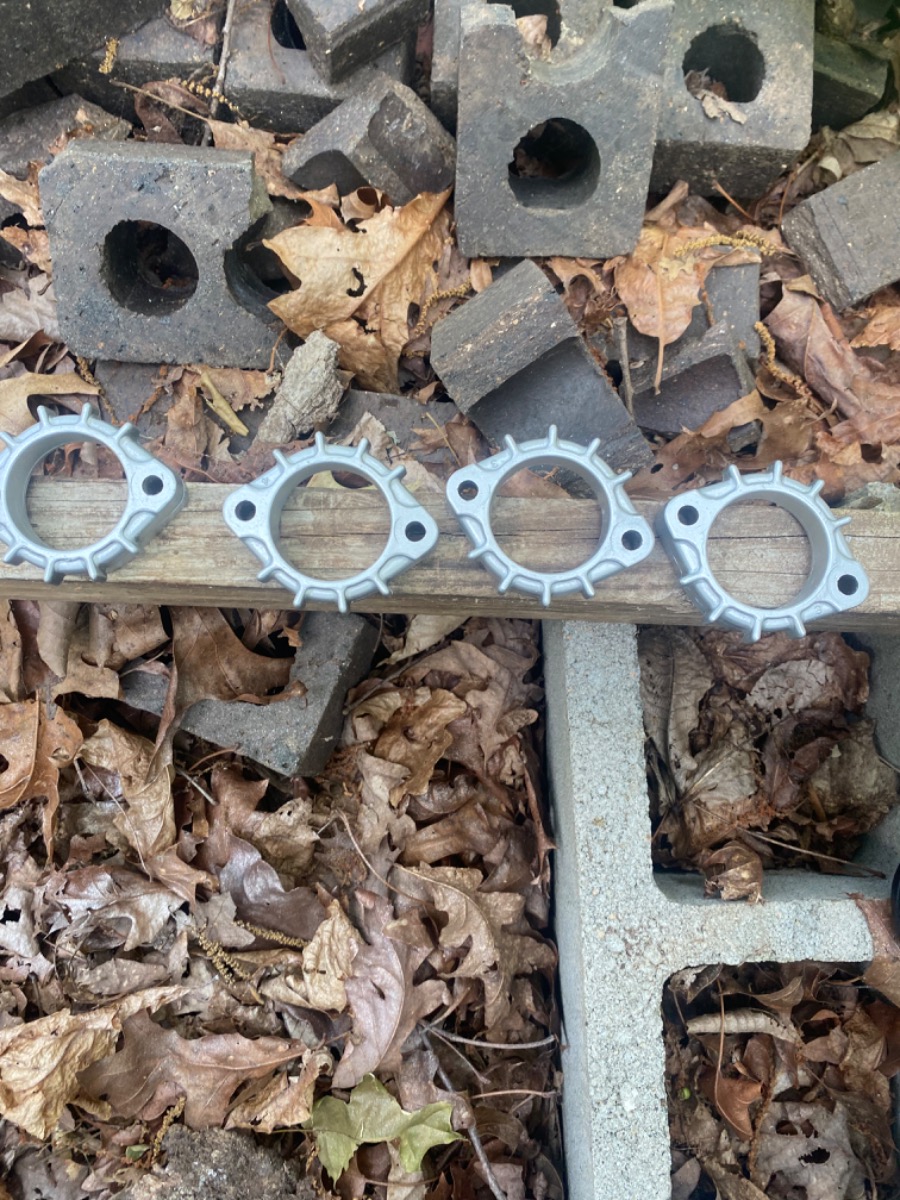
I also painted the exhaust flanges the same color as the valve cover, I think they turned out great!
I got to install the set screws for the emissions block off and I am satisfied with them, hopefully they will do their job without issue.
I was able to change my steering stem bearings over to the roller type yesterday, which also allowed me to reinstall the forks, front wheel, and finish up the wiring and brake line reinstall. Since the front wheel is now on the ground, I can really tell how much better the progressive fork springs are going to be! Definitely taller and much stiffer than the old ones. I was bottoming out the forks going over any drastic change in incline, no way that should happen now.
I am so happy with my performance suspension fork springs, I decided to use their rear shocks and make an upgrade on the total suspension of the bike. I bought a set of their 12 series shocks and springs in black. Those should be here by May 28th. Hopefully with the new shocks, I won’t drag my exhaust pipe going over a speed bump with the wife on the back.
I also changed out my shift shaft seal as it decided to leak while on the center stand this week.
I also painted the exhaust flanges the same color as the valve cover, I think they turned out great!
The following user(s) said Thank You: ghostdive
Please Log in or Create an account to join the conversation.
- Elfarm98648
-
Topic Author
- Offline
- User
- Posts: 346
- Thanks: 59
Re: Sealing it back up, again…
24 May 2022 20:46
Alrighty, everything is done. Engine is reassembled, timed, and torque for the first time. Carbs, coils, and tank are on. The only thing left to do is open the petcock and fire it up. I have no worries that it won’t fire up, however I am still unsure of the retorque procedure after the first warm up. Could someone elaborate so I don’t have to put a third head gasket on this bike? Thank you all for your help. I tremendously appreciate it
Please Log in or Create an account to join the conversation.
- hardrockminer
-

- Offline
- Sustaining Member
- Posts: 3034
- Thanks: 1140
Re: Sealing it back up, again…
25 May 2022 04:31
Follow the same sequence as you did for the initial torquing. Back each nut off about a half turn and then tighten to the spec.
I have several restored bikes along with a 2006 Goldwing with a sidecar. My wife has a 2019 Suzuki DR 650 for on and off road.
The following user(s) said Thank You: Elfarm98648
Please Log in or Create an account to join the conversation.
- Elfarm98648
-
Topic Author
- Offline
- User
- Posts: 346
- Thanks: 59
Re: Sealing it back up, again…
28 May 2022 08:58
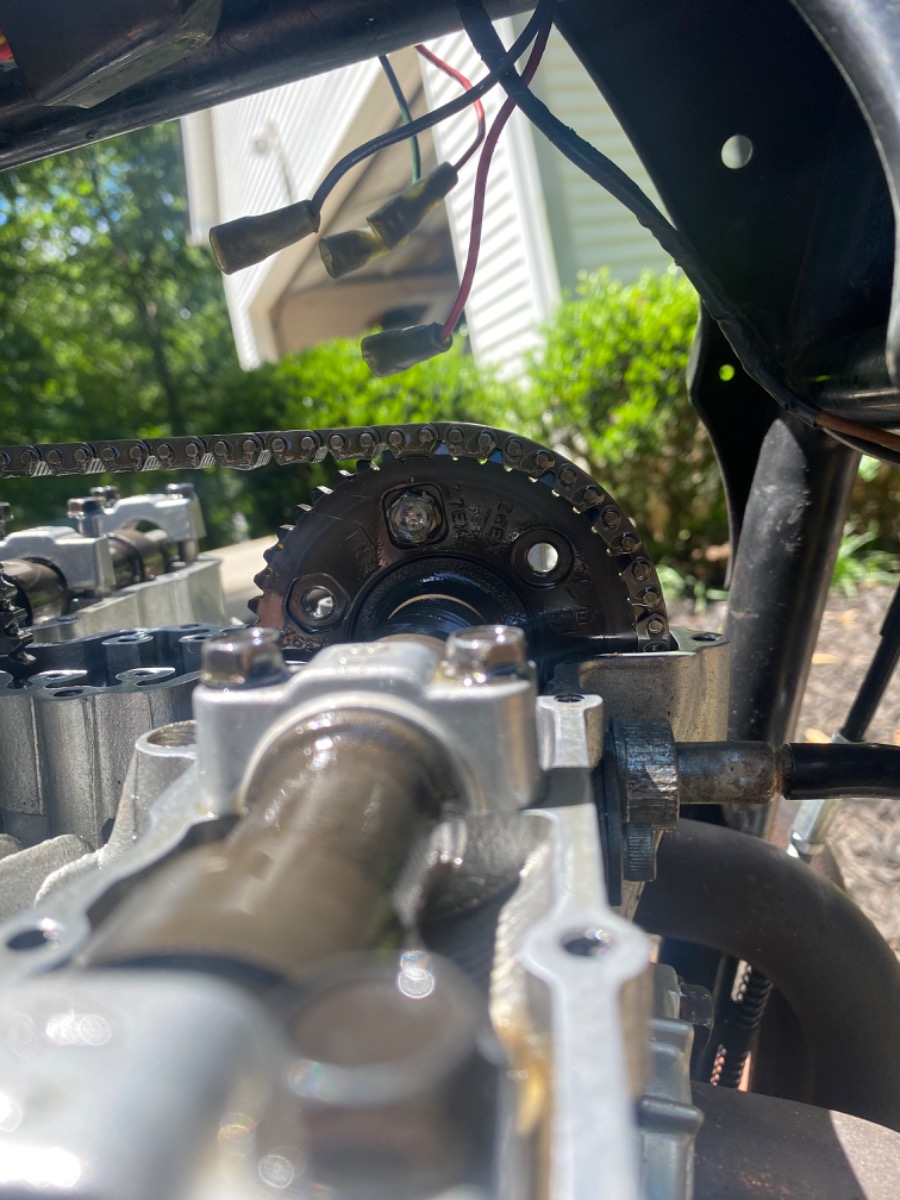
Alright, well it’s all put back together. Started it up and it’s got a top end tick. I pulled it back apart and I noticed a small discrepancy in the timing of the cams. I changed my ignition advancer because I broke the teeth off that the 17mm nut sits on, I changed it to one off a 1982 spectre. Well everything timed perfectly with the old advancer, however when I put the new advancer to TDC, and attempt to time the cams, it will not get exactly on the timing marks. They are both a few degrees off. I also noticed with my DYNA ignition plate, that when I static timed it, it was also a few degrees off. Is there a difference in the crankshafts that would affect timing between a KZ750 LTD AND a KZ750 Spectre? Could my valves have been hitting the top of the piston? The motor turns over by hand without any unreasonable force that couldn’t be compression. Thank you.
Please Log in or Create an account to join the conversation.
- Elfarm98648
-
Topic Author
- Offline
- User
- Posts: 346
- Thanks: 59
Re: Sealing it back up, again…
28 May 2022 09:16
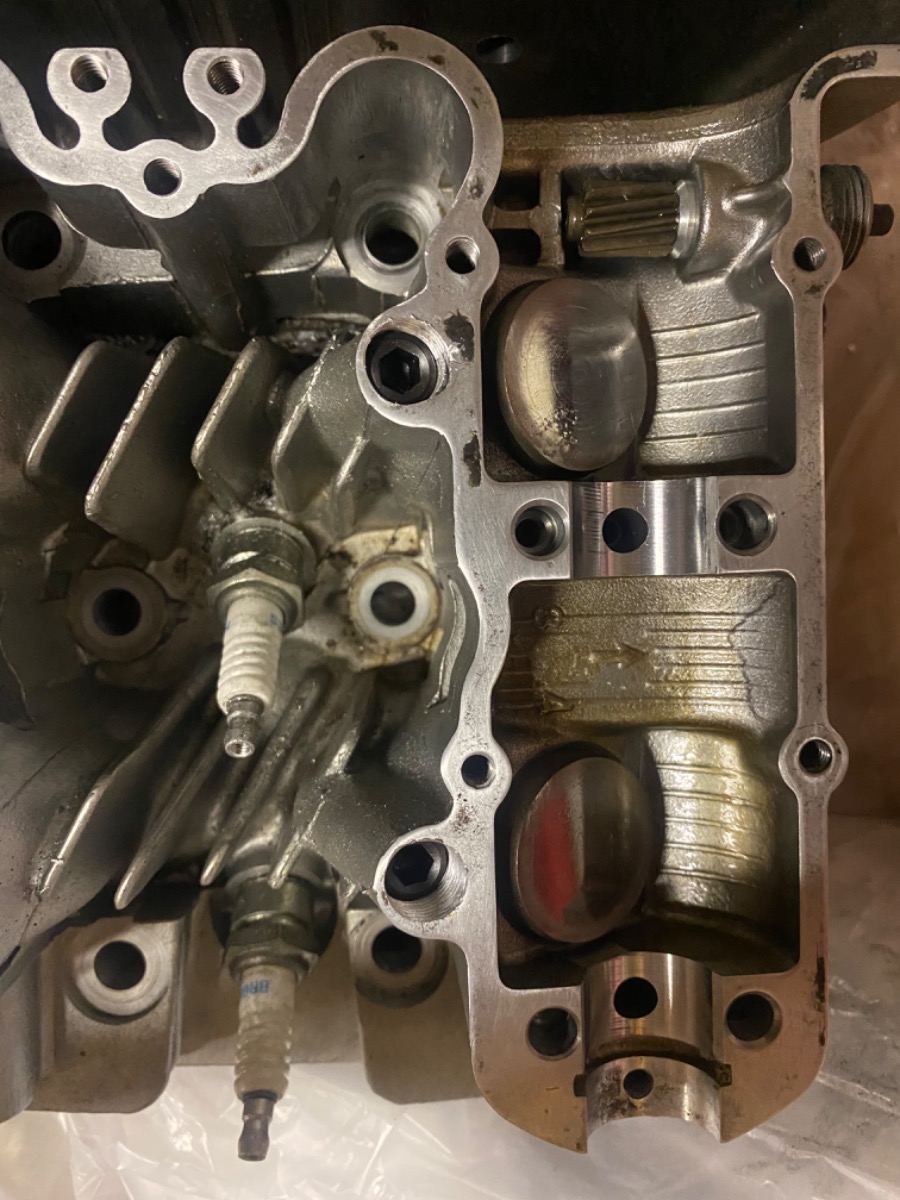
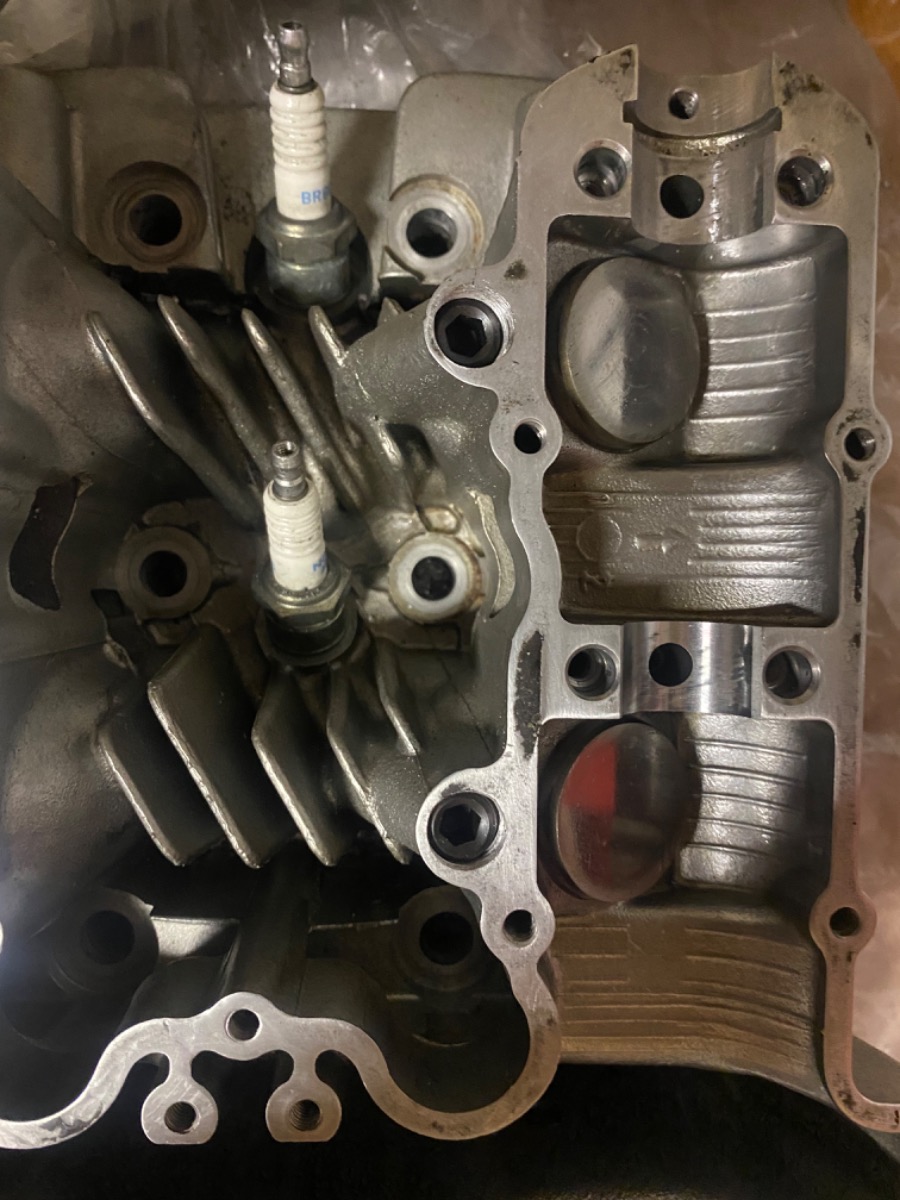
This is what the advancer looks like when the timing marks on the cam line up perfectly.
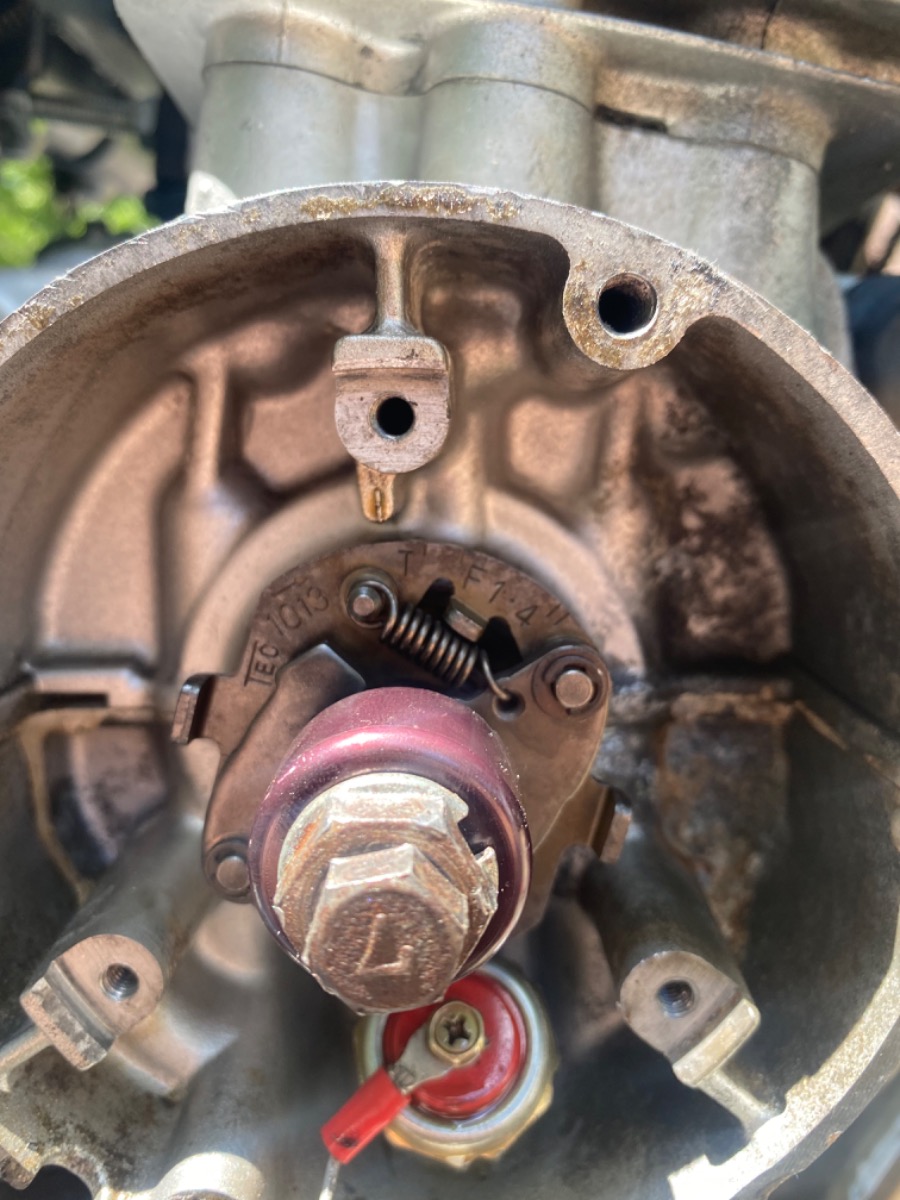
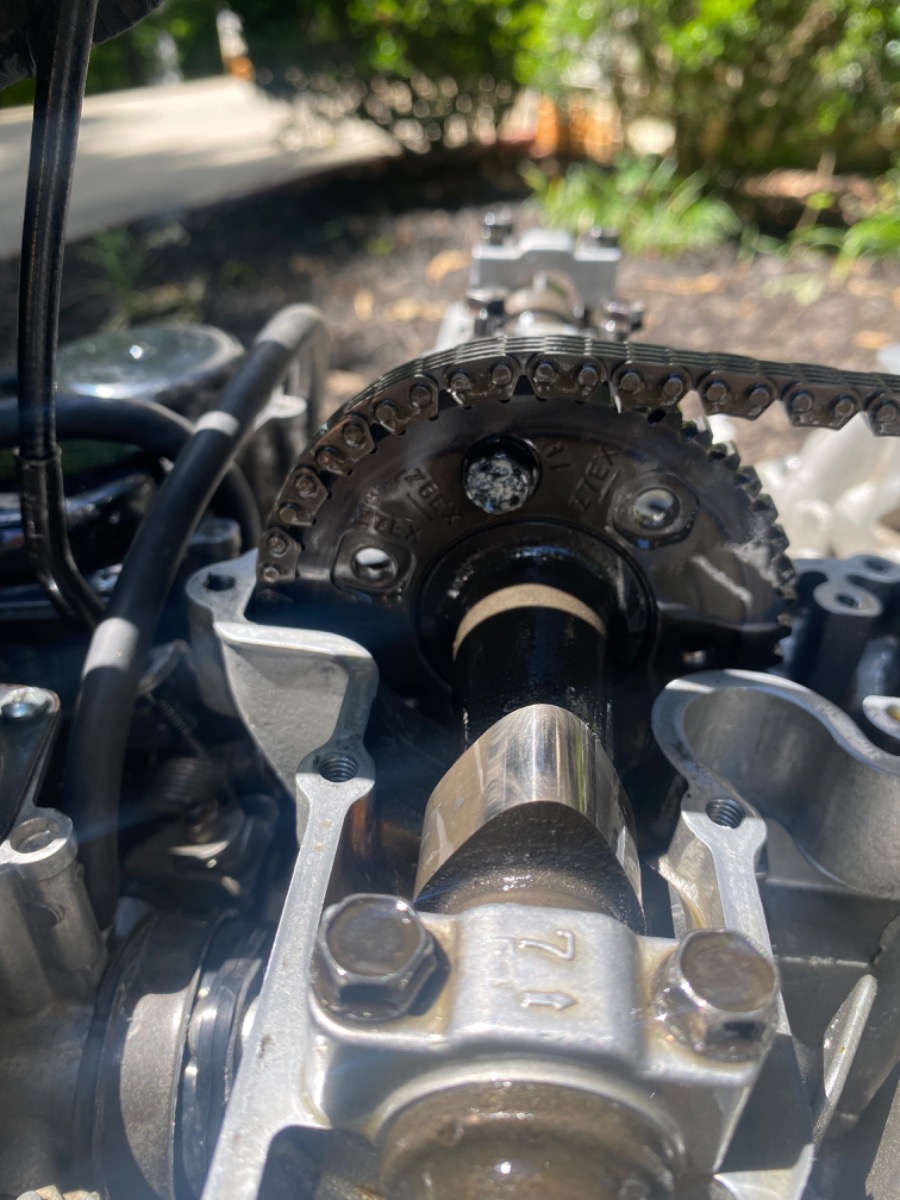
this is what the cams look like when the Spectre advancer is placed at TDC.
I should add that all of the valves have been clearanced and check out good.
this is what the cams look like when the Spectre advancer is placed at TDC.
I should add that all of the valves have been clearanced and check out good.
Please Log in or Create an account to join the conversation.
- Mikaw
-
- Offline
- Sustaining Member
- Posts: 4837
- Thanks: 1851
Re: Sealing it back up, again…
28 May 2022 09:23
According to Partzilla they both use the 21148-1013 advancer unit. Index your Dyna plate so it can be returned to its current position and remove the advancer and side by side compare them.
1976 KZ 900 A4
kzrider.com/forum/11-projects/613548-1976-kz-900-a4
1976 KZ 900 B1 LTD
1978 KZ 1000 B2 LTD
1980 KZ 750 E1
Kowledge Speaks, But Wisdom Listens.
Jimi Hendrix.
1976 KZ 900 B1 LTD
1978 KZ 1000 B2 LTD
1980 KZ 750 E1
Kowledge Speaks, But Wisdom Listens.
Jimi Hendrix.
Please Log in or Create an account to join the conversation.
- Elfarm98648
-
Topic Author
- Offline
- User
- Posts: 346
- Thanks: 59
Re: Sealing it back up, again…
28 May 2022 09:28
Mikaw, I don’t have the old advancer, my wife was cleaning up after me and tossed it in the trash. And the trash just came yesterday so it’s gone gone. I am not sure what you mean by index the dyna plate.
Please Log in or Create an account to join the conversation.
- Mikaw
-
- Offline
- Sustaining Member
- Posts: 4837
- Thanks: 1851
Re: Sealing it back up, again…
28 May 2022 10:24
It’s a way to mark it so you can put it back to the same place. A matching mark (your choice) on the plate and the points inner housing.
No guarantees your bike had the correct advancer in when you started. But again according to Partzilla they should be the same for both models. Is the timing pin in the end of the crankshaft intact. Let the 750 experts chime in but to me you have the correct advancer now and I’d time the cams to this advancer.
No guarantees your bike had the correct advancer in when you started. But again according to Partzilla they should be the same for both models. Is the timing pin in the end of the crankshaft intact. Let the 750 experts chime in but to me you have the correct advancer now and I’d time the cams to this advancer.
1976 KZ 900 A4
kzrider.com/forum/11-projects/613548-1976-kz-900-a4
1976 KZ 900 B1 LTD
1978 KZ 1000 B2 LTD
1980 KZ 750 E1
Kowledge Speaks, But Wisdom Listens.
Jimi Hendrix.
1976 KZ 900 B1 LTD
1978 KZ 1000 B2 LTD
1980 KZ 750 E1
Kowledge Speaks, But Wisdom Listens.
Jimi Hendrix.
Please Log in or Create an account to join the conversation.
- Elfarm98648
-
Topic Author
- Offline
- User
- Posts: 346
- Thanks: 59
Re: Sealing it back up, again…
28 May 2022 11:02
Well I pulled the cams, and everything timed up nicely this time. Not sure what my issue was but timing was not it. It’s still got the ticking sound coming from it.
Please Log in or Create an account to join the conversation.
- Mikaw
-
- Offline
- Sustaining Member
- Posts: 4837
- Thanks: 1851
Re: Sealing it back up, again…
28 May 2022 11:09
Good to hear. Did you shim the cams. The tick could be a large valve lash.
1976 KZ 900 A4
kzrider.com/forum/11-projects/613548-1976-kz-900-a4
1976 KZ 900 B1 LTD
1978 KZ 1000 B2 LTD
1980 KZ 750 E1
Kowledge Speaks, But Wisdom Listens.
Jimi Hendrix.
1976 KZ 900 B1 LTD
1978 KZ 1000 B2 LTD
1980 KZ 750 E1
Kowledge Speaks, But Wisdom Listens.
Jimi Hendrix.
Please Log in or Create an account to join the conversation.
- Elfarm98648
-
Topic Author
- Offline
- User
- Posts: 346
- Thanks: 59
Please Log in or Create an account to join the conversation.