
Sealing it back up, again…
- ghostdive
-
- Offline
- User
-

Registered
- Posts: 391
- Thanks: 120
Re: Sealing it back up, again…
17 May 2022 10:56
Yep! 92055-1147. Sorry for missing that.
1982 KZ750 Spectre - 6 speed swap, BS34s, 18" rear wheel
2001 ZX-6R
2001 ZX-6R
The following user(s) said Thank You: Elfarm98648
Please Log in or Create an account to join the conversation.
- Dr. Gamma
-

- Offline
- Sustaining Member
-

Registered
- Posts: 1231
- Thanks: 698
Re: Sealing it back up, again…
17 May 2022 15:48 - 17 May 2022 21:13
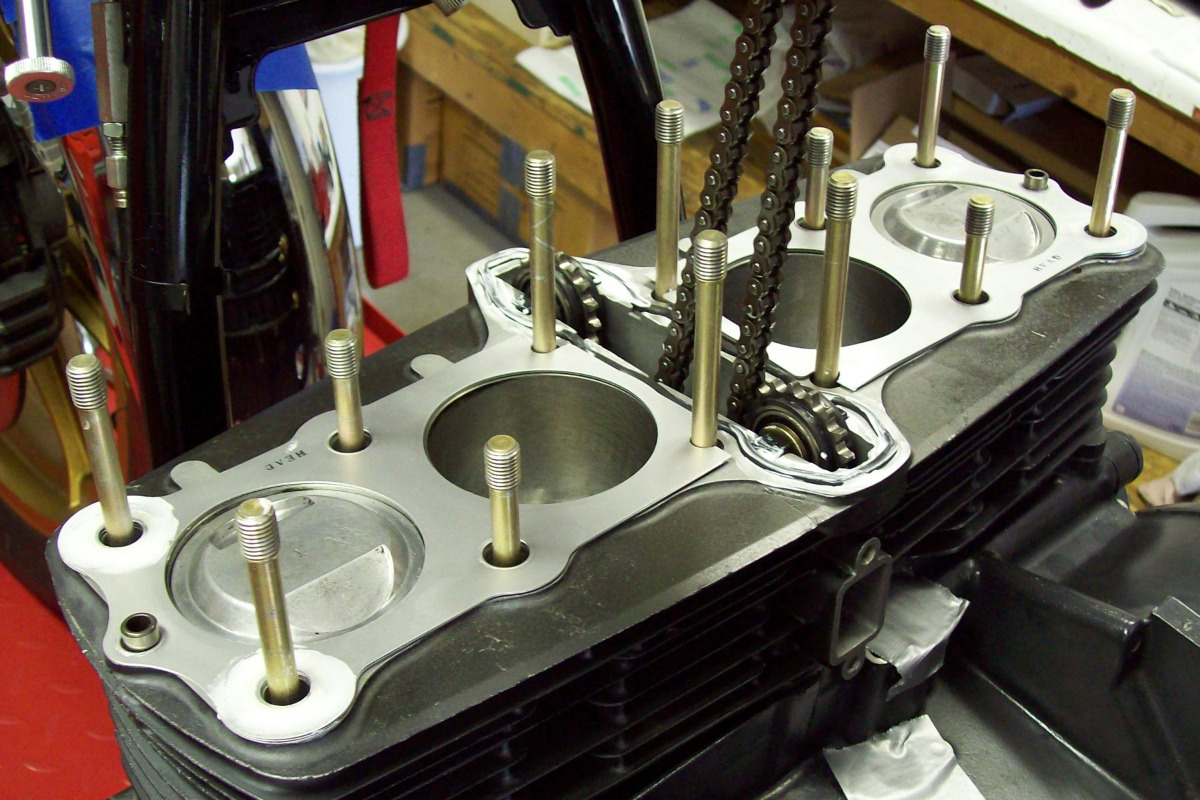
I have not put a 750/4 top end together in many years. That area around the oil gallery o-ring does seem to be a trouble spot for oil seepage or an oil leak. The only thing I have ever used on my gaskets is the original K&W Copper Coat. There are other brands out there, but the K&W is the best!!!! I do mostly Kz900/1000 motors. On the Kz750 head gaskets I always used Three Bond TB-1211 sealant on the outer edges of head gasket and especially around the area where the o-rings set. Even on my Kz900/1000 motors I use the TB-1211 around the four outer studs. It don't say to use any sealant there in the factory shop manual, but experience over the years told me that is a place that is prone to have some oil leaks. I use the factory shop manual as a guide. It is not my bible!!!!! I also use the TB-1211 around the cam chain areas too!!!
Make sure you have a name brand torque wrench, not something from Harbor Freight. Same goes for those needle type torque wrenches. I have never seen one of those that was anywhere near accurate. I have always used the clicker type torque wrenches. Never could afford one of those real fancy digital torque wrenches myself!!! I ALWAYS follow the factory tightening sequence and their torque amounts. Make sure the washers under the head nuts are flat and don't have any burrs on them. I always put a light film of oil on the nut side of those washers. After a couple hours of running I check the torque on the head bolts. I just set my torque wrench at the factory setting and hit each head nuts in the very same sequence I torqued to head too. I NEVER LOOSEN THE HEAD BOLTS BEFORE I CHECK THEIR TORQUE!!!! The TB-1211 also works great of the cam plugs too!!!! Another thing I NEVER fire up any of my fresh motors for at least 24 hours so the TB-1211 can set up.
My two cents on top end assembly!!!!
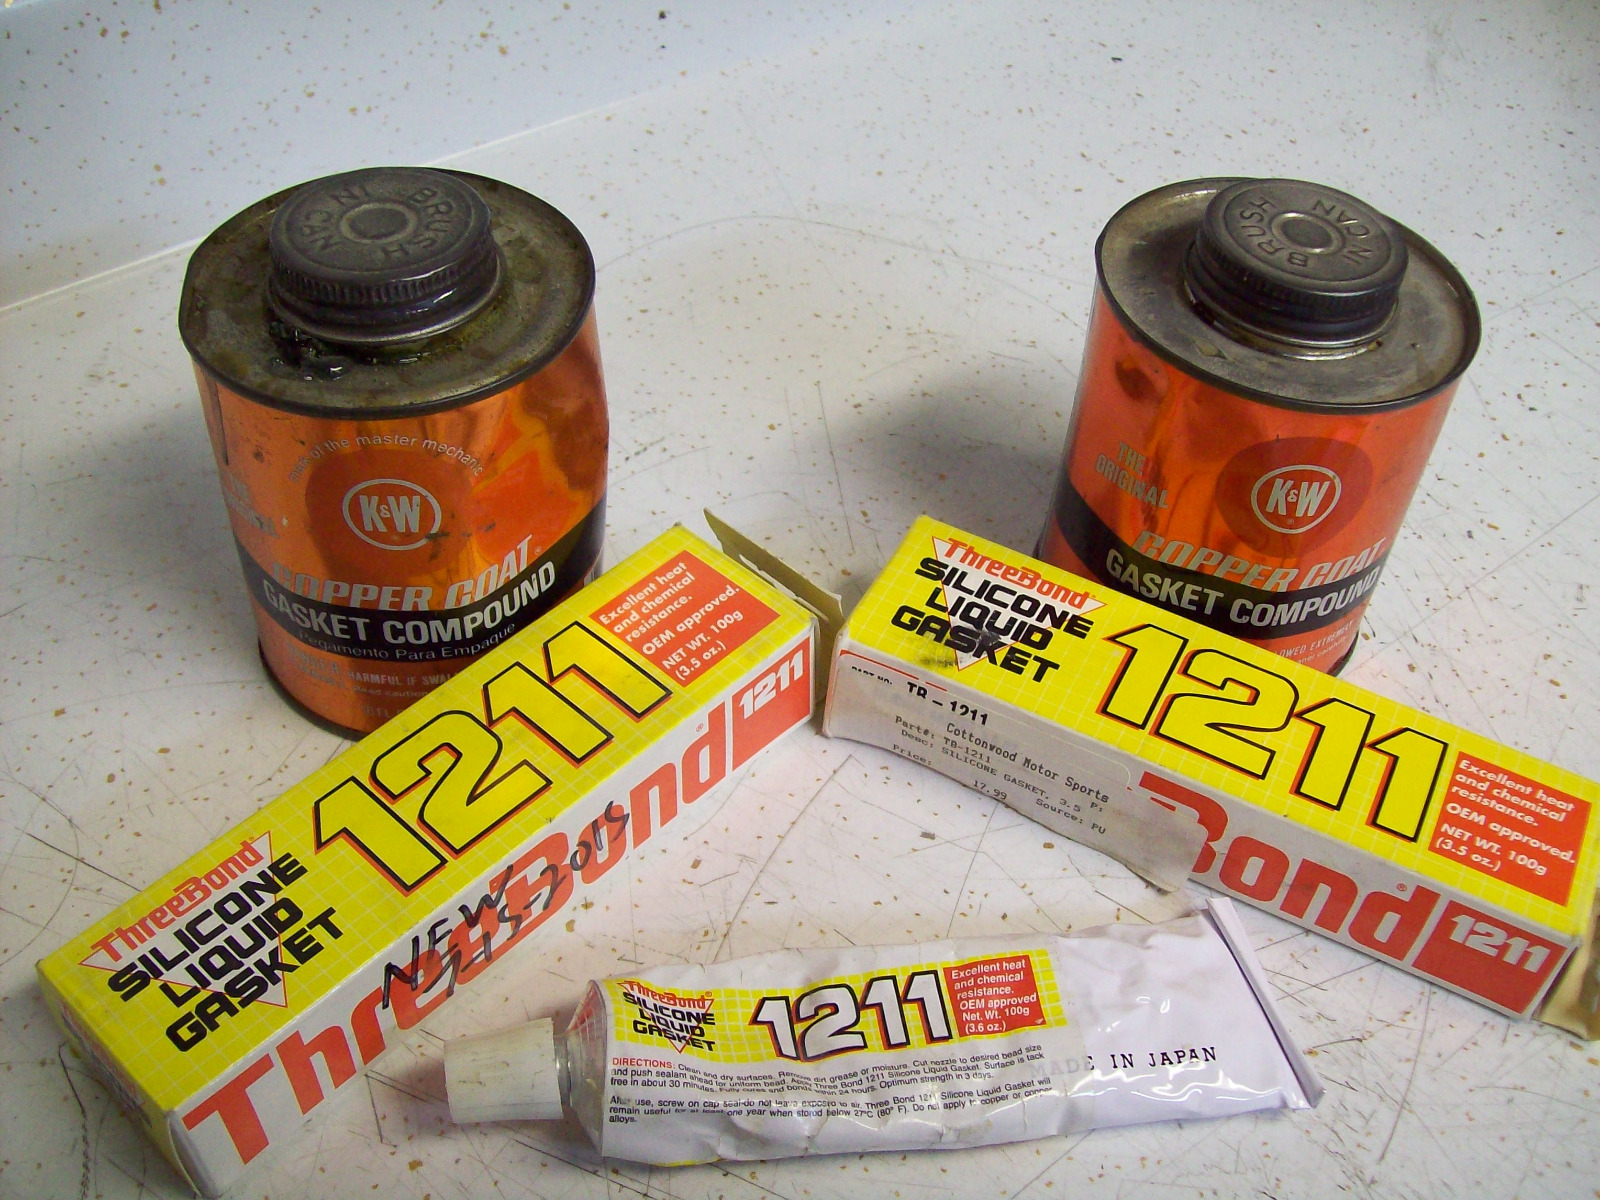
Like I said I use TB-1211 on my head gaskets!!
I also use TB-1211 on my cam plugs too!!!! NEVER had one leak yet!!!!
Make sure you have a name brand torque wrench, not something from Harbor Freight. Same goes for those needle type torque wrenches. I have never seen one of those that was anywhere near accurate. I have always used the clicker type torque wrenches. Never could afford one of those real fancy digital torque wrenches myself!!! I ALWAYS follow the factory tightening sequence and their torque amounts. Make sure the washers under the head nuts are flat and don't have any burrs on them. I always put a light film of oil on the nut side of those washers. After a couple hours of running I check the torque on the head bolts. I just set my torque wrench at the factory setting and hit each head nuts in the very same sequence I torqued to head too. I NEVER LOOSEN THE HEAD BOLTS BEFORE I CHECK THEIR TORQUE!!!! The TB-1211 also works great of the cam plugs too!!!! Another thing I NEVER fire up any of my fresh motors for at least 24 hours so the TB-1211 can set up.
My two cents on top end assembly!!!!
Like I said I use TB-1211 on my head gaskets!!
I also use TB-1211 on my cam plugs too!!!! NEVER had one leak yet!!!!
1972 H2 750 Cafe Racer built in 1974.
1976 KH400 Production Road Racer.
1979 Kz1000 MK. II Old AMA/WERA Superbike.
1986 RG500G 2 stroke terror.
1986 GSXR750RG The one with the clutch that rattles!
Up in the hills near Prescott, Az.
1976 KH400 Production Road Racer.
1979 Kz1000 MK. II Old AMA/WERA Superbike.
1986 RG500G 2 stroke terror.
1986 GSXR750RG The one with the clutch that rattles!
Up in the hills near Prescott, Az.
Last edit: 17 May 2022 21:13 by Dr. Gamma.
The following user(s) said Thank You: Wookie58
Please Log in or Create an account to join the conversation.
- Mikaw
-
- Offline
- Sustaining Member
-
Registered
- Posts: 4836
- Thanks: 1851
Re: Sealing it back up, again…
17 May 2022 17:19
Dr. Gamma. Both sides of the gasket? I only see it on the top. I like seeing the cam plugs installed backwards. I previously read, I think here to turn them, it stops the oil from pooling up in the recessed area of the plug. It’s not an urban legend.
1976 KZ 900 A4
kzrider.com/forum/11-projects/613548-1976-kz-900-a4
1976 KZ 900 B1 LTD
1978 KZ 1000 B2 LTD
1980 KZ 750 E1
Kowledge Speaks, But Wisdom Listens.
Jimi Hendrix.
1976 KZ 900 B1 LTD
1978 KZ 1000 B2 LTD
1980 KZ 750 E1
Kowledge Speaks, But Wisdom Listens.
Jimi Hendrix.
Please Log in or Create an account to join the conversation.
- Dr. Gamma
-
- Offline
- Sustaining Member
-
Registered
- Posts: 1231
- Thanks: 698
Re: Sealing it back up, again…
17 May 2022 18:00Dr. Gamma. Both sides of the gasket? I only see it on the top. I like seeing the cam plugs installed backwards. I previously read, I think here to turn them, it stops the oil from pooling up in the recessed area of the plug. It’s not an urban legend.
If you are talking about the head gaskets?? Yes I use some TB-1211 on both sides of head gaskets. Just a thin coat on all four corners. The outer back two studs have the oil going to the head. Even the stock head gaskets have some sort of sealant on the four corners!!!
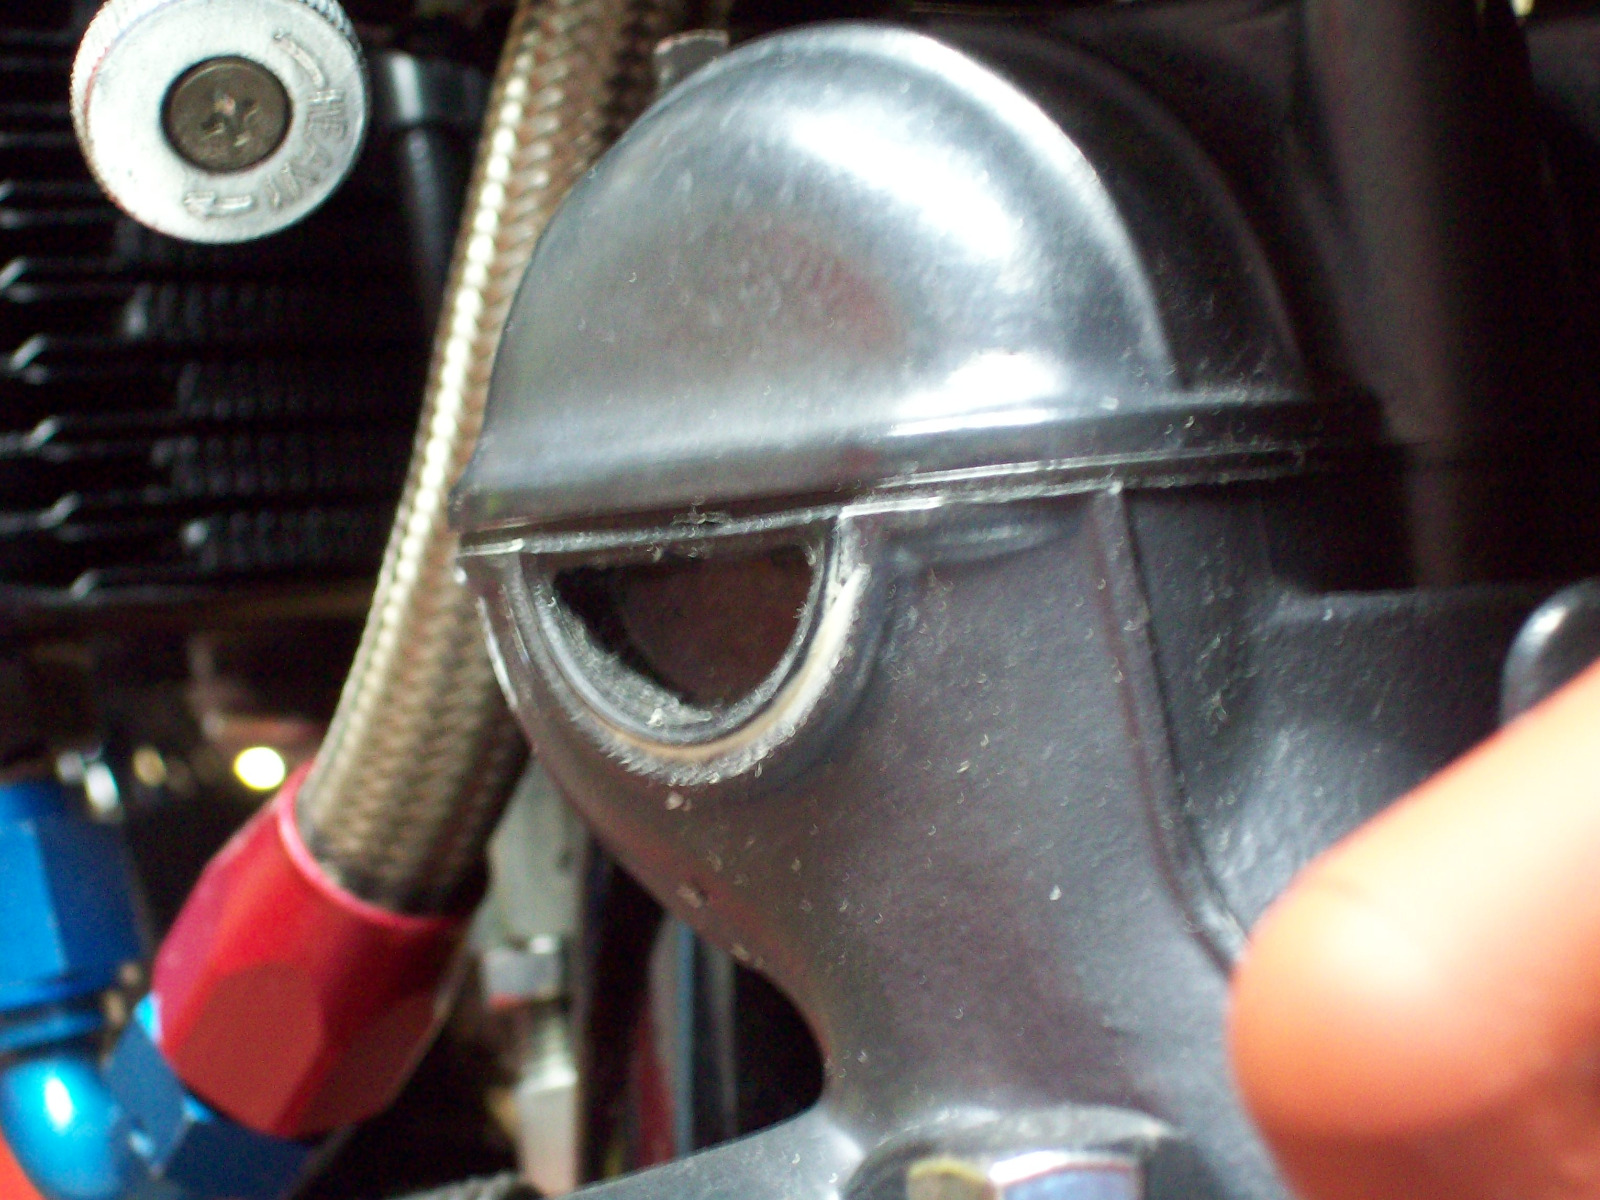
The main reason the cam plugs are installed backwards is that lip on the outer edge of the cam plug is up against the inside of the head. It gives you a little extra protection of the cam plug from ever working loose. I picked it up from a Turbo drag bike builder. Way back then I saw a few Turbo bikes actually blow the cam plugs out of place from all the extra pressure in the crankcase!!!!
1972 H2 750 Cafe Racer built in 1974.
1976 KH400 Production Road Racer.
1979 Kz1000 MK. II Old AMA/WERA Superbike.
1986 RG500G 2 stroke terror.
1986 GSXR750RG The one with the clutch that rattles!
Up in the hills near Prescott, Az.
1976 KH400 Production Road Racer.
1979 Kz1000 MK. II Old AMA/WERA Superbike.
1986 RG500G 2 stroke terror.
1986 GSXR750RG The one with the clutch that rattles!
Up in the hills near Prescott, Az.
The following user(s) said Thank You: Mikaw
Please Log in or Create an account to join the conversation.
- Elfarm98648
-
 Topic Author
- Offline
- User
-
Registered
- Posts: 346
- Thanks: 59
Re: Sealing it back up, again…
17 May 2022 21:53 - 17 May 2022 21:55
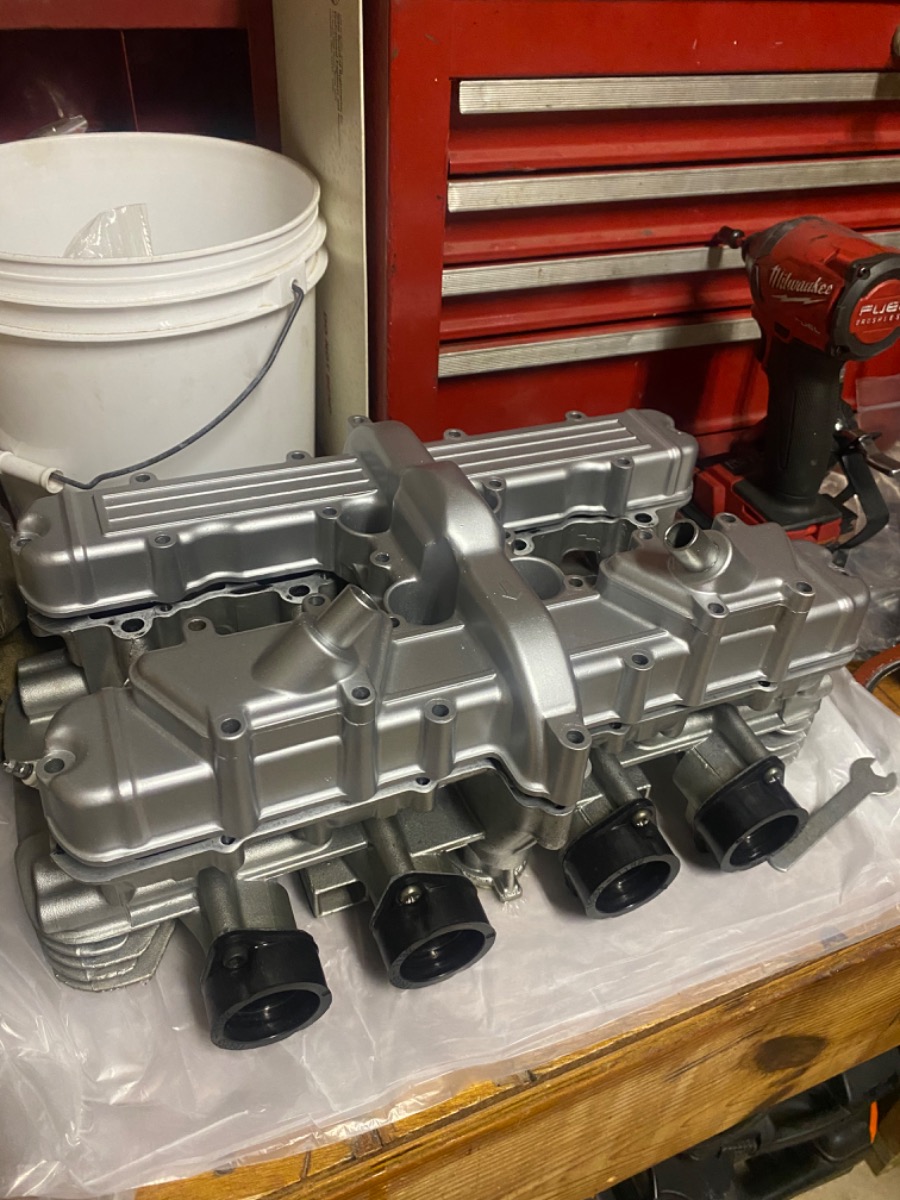
Alright, I have ordered some of the O-rings, and a drill and tap set for the set screws. The ones at the hardware store were too small in diameter so I had to order online. I was able to repaint my valve cover and I think it came out magnificent. While I was in the area, I painted the breather cover, and the emissions covers as well. Currently playing my least favorite game of waiting on parts. Head gasket, valve cover gasket, new fork springs, and some buffing wheels and rouge to come in. When it all comes back together, it’s gonna be the shiniest turd you ever did see

Last edit: 17 May 2022 21:55 by Elfarm98648.
The following user(s) said Thank You: Wookie58
Please Log in or Create an account to join the conversation.
- TexasKZ
-

- Away
- Platinum Member
-
Registered
- Posts: 8043
- Thanks: 2572
Re: Sealing it back up, again…
18 May 2022 09:49
The 750 uses the same gasket for the reed cage as the 1000, so I wonder if a pair of APE block off plates would fit? They would certainly add to the bling factor.
kzzone.com/billet.html
kzzone.com/billet.html
1982 KZ1000 LTD parts donor
1981 KZ1000 LTD awaiting resurrection
2000 ZRX1100 not ridden enough
www.kzrider.com/11-projects/620336-anoth...uild-thread?start=24
1981 KZ1000 LTD awaiting resurrection
2000 ZRX1100 not ridden enough
www.kzrider.com/11-projects/620336-anoth...uild-thread?start=24
Please Log in or Create an account to join the conversation.
- mkawasaki23
-

- Offline
- User
-
Registered
- Posts: 15
- Thanks: 0
Re: Sealing it back up, again…
18 May 2022 12:17
The valve cover looks great. What type of paint and what color did you use?
Please Log in or Create an account to join the conversation.
- DFIGPZ
-
- Offline
- User
-
Registered
- Posts: 618
- Thanks: 121
Re: Sealing it back up, again…
18 May 2022 12:59The 750 uses the same gasket for the reed cage as the 1000, so I wonder if a pair of APE block off plates would fit? They would certainly add to the bling factor.
kzzone.com/billet.html
Yes they are the same.
1984 750 Turbo
The following user(s) said Thank You: TexasKZ
Please Log in or Create an account to join the conversation.
- Elfarm98648
-
Topic Author
- Offline
- User
-
Registered
- Posts: 346
- Thanks: 59
Re: Sealing it back up, again…
18 May 2022 14:25
Wow y’all love to spend my money
unfortunately I will not be buying the block off plates for now. I’ll just rig a dummy hose to run to the other side, if I buy anything I’ll buy a valve cover that doesn’t have the space for the plates.
My paint is a duplicolor engine paint in the color “Aluminum”
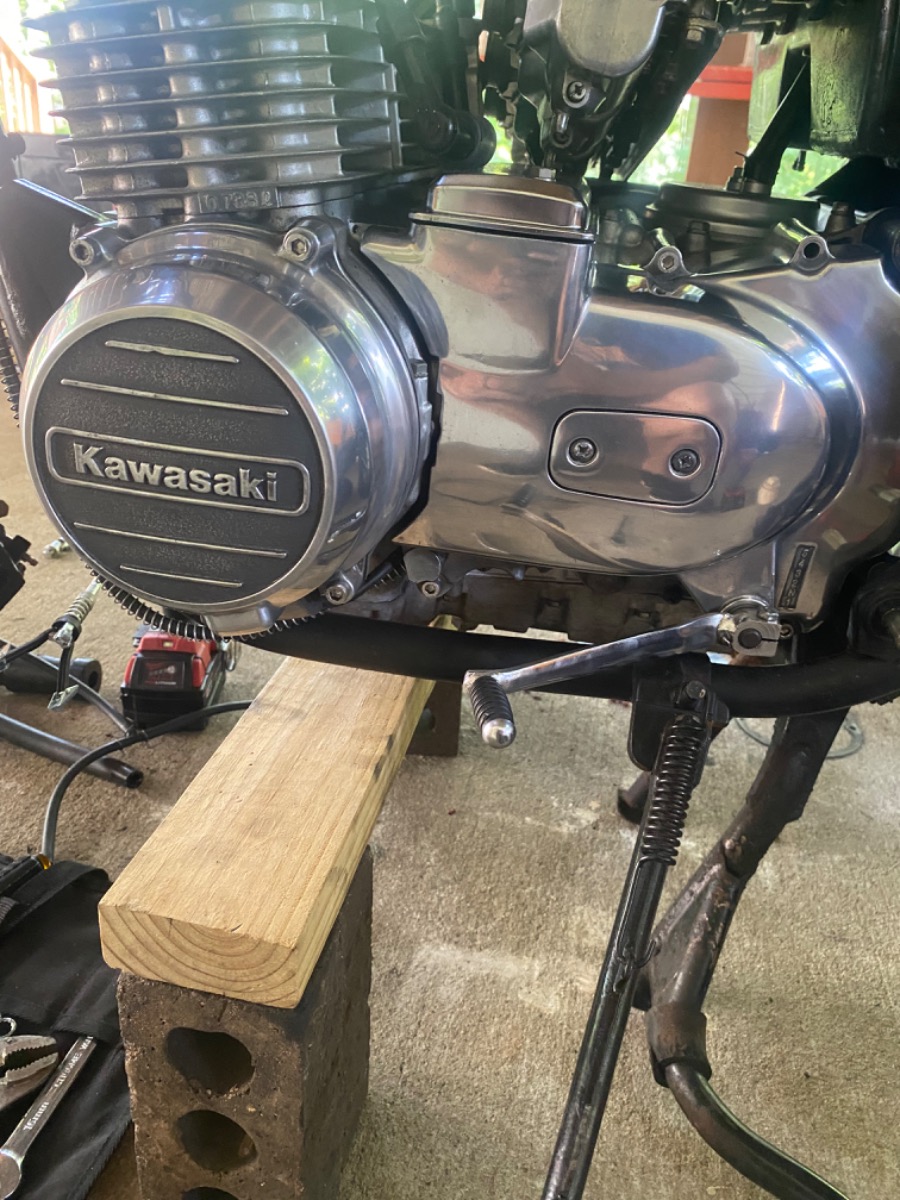
my buffing wheels and compound came in today so I’ve been hard at work bringing some life back to the engine covers.
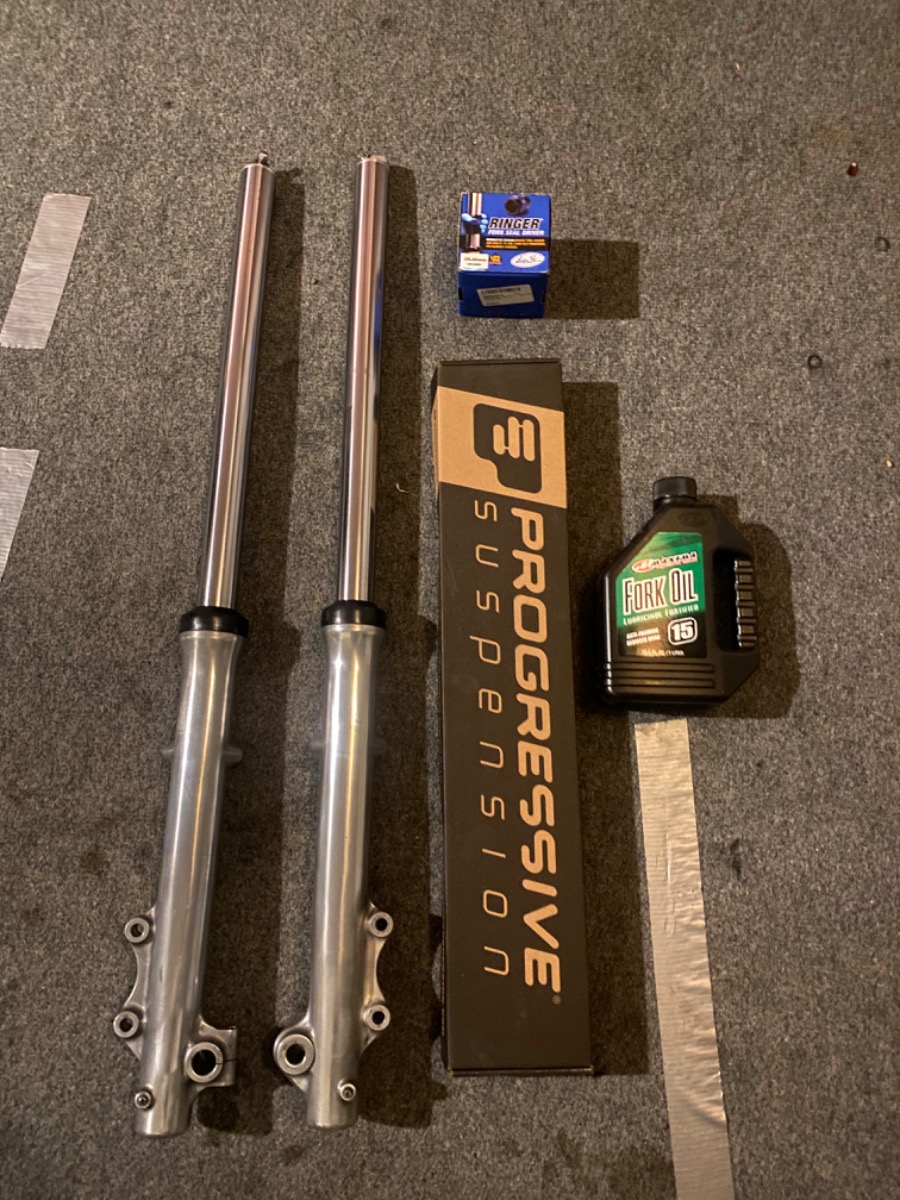
The progressive suspension fork springs came in and I found out they did not come with a PVC spacer unlike the website pictures indicated. I called them up and they actually said the picture is wrong but they did provide the OD needed for Schedule 40 PVC, so I guess I’ll pick that up and possibly finish my fork rebuild tonight. I’ll post some pictures of the fork bases once they’re nice and polished up.
My paint is a duplicolor engine paint in the color “Aluminum”
my buffing wheels and compound came in today so I’ve been hard at work bringing some life back to the engine covers.
The progressive suspension fork springs came in and I found out they did not come with a PVC spacer unlike the website pictures indicated. I called them up and they actually said the picture is wrong but they did provide the OD needed for Schedule 40 PVC, so I guess I’ll pick that up and possibly finish my fork rebuild tonight. I’ll post some pictures of the fork bases once they’re nice and polished up.
Please Log in or Create an account to join the conversation.
- TexasKZ
-
- Away
- Platinum Member
-
Registered
- Posts: 8043
- Thanks: 2572
Re: Sealing it back up, again…
18 May 2022 14:55Actually, we hate money. That is why we own old motorcycles.Wow y’all love to spend my money
1982 KZ1000 LTD parts donor
1981 KZ1000 LTD awaiting resurrection
2000 ZRX1100 not ridden enough
www.kzrider.com/11-projects/620336-anoth...uild-thread?start=24
1981 KZ1000 LTD awaiting resurrection
2000 ZRX1100 not ridden enough
www.kzrider.com/11-projects/620336-anoth...uild-thread?start=24
The following user(s) said Thank You: 750 R1, ghostdive, Elfarm98648, Wookie58
Please Log in or Create an account to join the conversation.
- Elfarm98648
-
Topic Author
- Offline
- User
-
Registered
- Posts: 346
- Thanks: 59
Re: Sealing it back up, again…
18 May 2022 17:31
Amen to that Texas. Finished up the fork rebuild like I wanted. I actually start my new job tomorrow so I’m not sure if I will be able to get to them but I have new steering stem bearings on the workbench.
Please Log in or Create an account to join the conversation.
- Elfarm98648
-
Topic Author
- Offline
- User
-
Registered
- Posts: 346
- Thanks: 59
Re: Sealing it back up, again…
20 May 2022 16:53
Alright so I wasn’t aware of proper head gasket procedure the first time, so it leaked oil. Now the new head gasket, oil restrictor Orings and new vesrah valve cover gasket is set to arrive on Monday. I bought some copper spray sealant like one of you suggested and I plan to use that instead of some gasket maker. This is my current procedure, does anyone see anything I’m missing or have an suggestions?
After install of head, Initial torque to 21ft lbs in the proper order, increase torque to 29ft lbs in the proper order, install cams, time the cams with piston 1 & 4 at TDC, grease the vesrah gasket (wheel bearing grease?), install and torque all valve cover bolts to 11 ft lbs, reinstall exhaust, carbs, coils, gas tank, etc. After one head cycle, check torque at 29 ft lbs (loosen first?), then after 500 miles check head nuts again.
After install of head, Initial torque to 21ft lbs in the proper order, increase torque to 29ft lbs in the proper order, install cams, time the cams with piston 1 & 4 at TDC, grease the vesrah gasket (wheel bearing grease?), install and torque all valve cover bolts to 11 ft lbs, reinstall exhaust, carbs, coils, gas tank, etc. After one head cycle, check torque at 29 ft lbs (loosen first?), then after 500 miles check head nuts again.
Please Log in or Create an account to join the conversation.
Moderators: Street Fighter LTD