
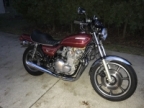
1973 Z1 rebuild
- blackozvet
-
 Topic Author
- Offline
- User
-

Registered
- Posts: 193
- Thanks: 79
Re: 1973 Z1 rebuild
04 Oct 2022 23:54
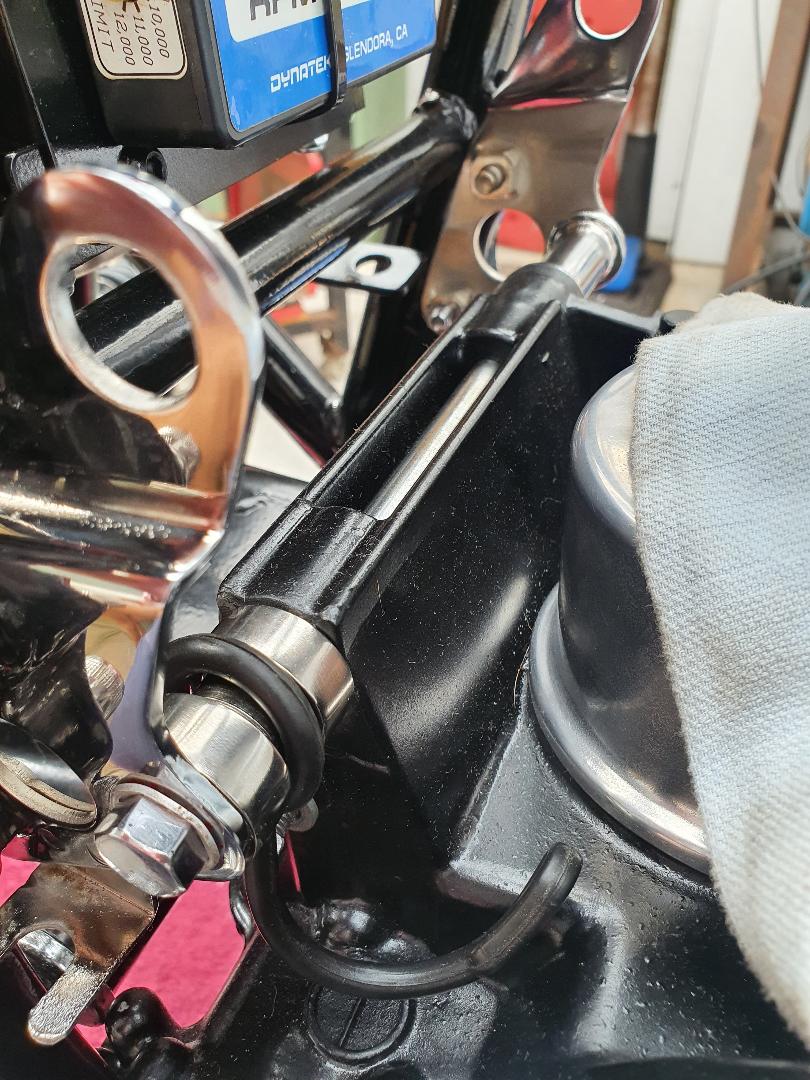
I can start fitting some of the chrome parts - the rear engine mounts and spacers go on, and I even put the original rubber overflow tubes holder on.
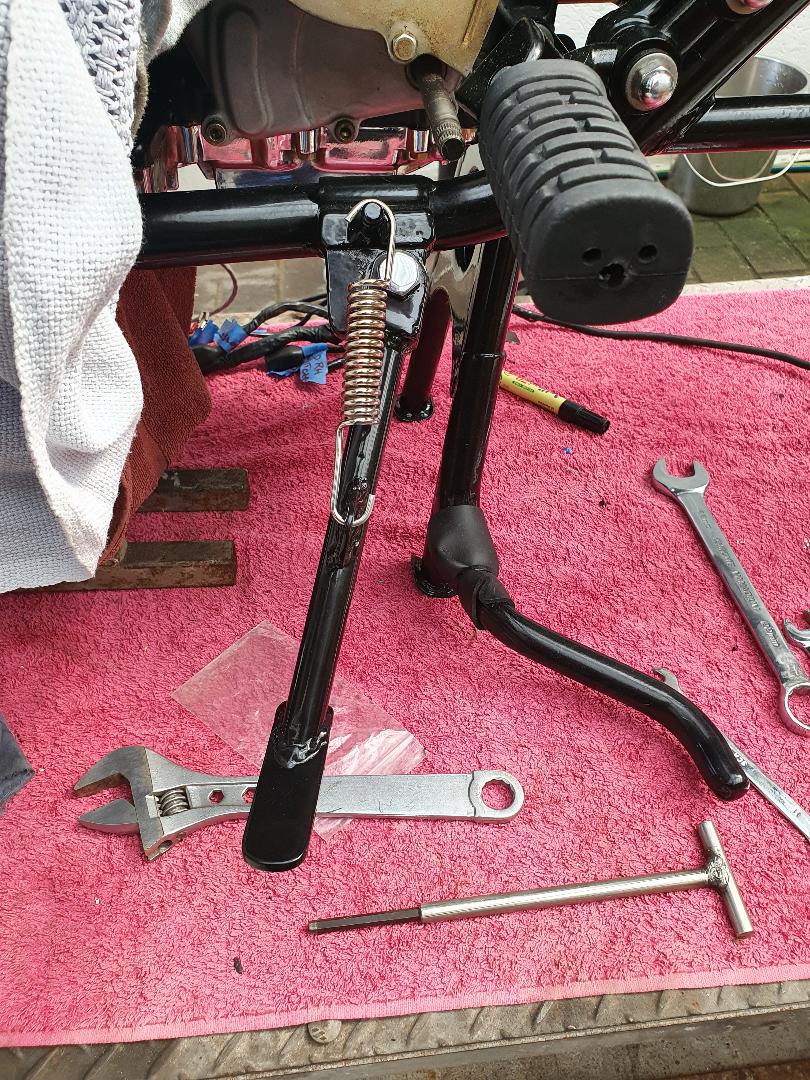
The powdercoated short side stand I made goes on with the chrome bolt and spring.
The powdercoated short side stand I made goes on with the chrome bolt and spring.
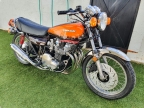
1973 Z1 900 Kawasaki
Please Log in or Create an account to join the conversation.
- Wookie58
-

- Offline
- Moderator
-

Registered
- Posts: 6031
- Thanks: 3789
Re: 1973 Z1 rebuild
05 Oct 2022 10:34+1 - It's just a basic plunger switchNo.
1982 KZ1000 Ltd
www.kzrider.com/forum/11-projects/617631...-82-begins?start=192
kzrider.com/filebase-alias?view=download...d-fault-diagnosis&ca
www.kzrider.com/forum/11-projects/617631...-82-begins?start=192
kzrider.com/filebase-alias?view=download...d-fault-diagnosis&ca
Please Log in or Create an account to join the conversation.
- blackozvet
-
Topic Author
- Offline
- User
-
Registered
- Posts: 193
- Thanks: 79
Re: 1973 Z1 rebuild
06 Oct 2022 02:19
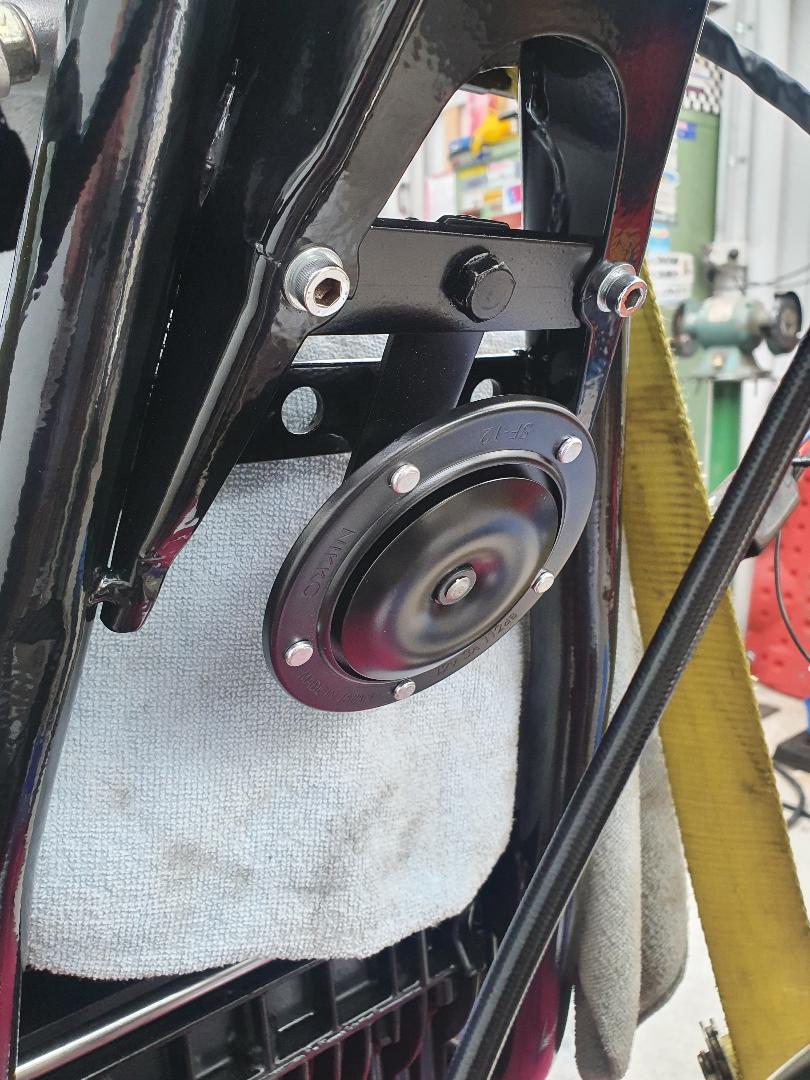
I made a bracket for the new horn, gave it a paint and fitted up.
bolted on the front mudguard too

bolted on the front mudguard too
1973 Z1 900 Kawasaki
Please Log in or Create an account to join the conversation.
- blackozvet
-
Topic Author
- Offline
- User
-
Registered
- Posts: 193
- Thanks: 79
Re: 1973 Z1 rebuild
07 Oct 2022 01:56
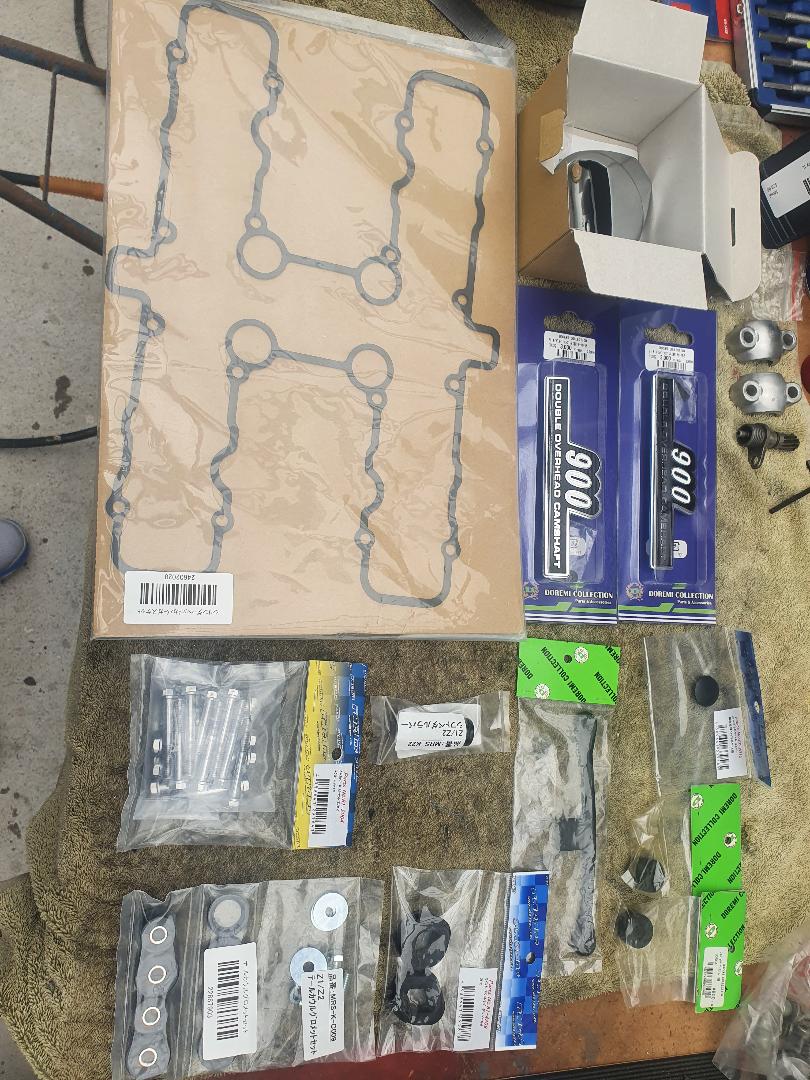
Got another package from Webike, which really means just a bunch of new jobs to do

new tank cap, new sidecover badges, ducktail install kit, gear shift rubber, a rocker cover gasket (that is rubber with steel centre, but not as thick as I would have liked), Blinker stem rubbers, headlight hole cover, battery holder rubbers, tank rubber strap and a set of rocker cover bolts.
i am hoping that will be the last big order of parts for this bike.
1973 Z1 900 Kawasaki
Please Log in or Create an account to join the conversation.
- Wookie58
-
- Offline
- Moderator
-
Registered
- Posts: 6031
- Thanks: 3789
Re: 1973 Z1 rebuild
07 Oct 2022 02:28
This build is moving along nicely, not long now and you will something you can truly be proud of
 The original was nice but "of it's time" (IMHO) now it will be "timeless"
1982 KZ1000 Ltd
www.kzrider.com/forum/11-projects/617631...-82-begins?start=192
kzrider.com/filebase-alias?view=download...d-fault-diagnosis&ca
www.kzrider.com/forum/11-projects/617631...-82-begins?start=192
kzrider.com/filebase-alias?view=download...d-fault-diagnosis&ca
The following user(s) said Thank You: blackozvet
Please Log in or Create an account to join the conversation.
- hardrockminer
-

- Offline
- Sustaining Member
-

Registered
- Posts: 3118
- Thanks: 1230
Re: 1973 Z1 rebuild
07 Oct 2022 05:04
That horn bracket is where the oil cooler was designed to fit. They had issues with frame cracks that started at those holes. It looks like the right one (From driver position) in the horn photo was beginning to crack. I had a Z1B where the crack moved into the frame tube and almost circled it.
I have several restored bikes along with a 2006 Goldwing with a sidecar.
Please Log in or Create an account to join the conversation.
- willemZ900
-

- Offline
- User
-
Registered
- Z1B 4 ever
- Posts: 197
- Thanks: 59
Re: 1973 Z1 rebuild
07 Oct 2022 05:38
Yep, I can see that also. But there is a second brace on the photo. How is that one connected to the frame? My Z1B has that problem too, in the past
Please Log in or Create an account to join the conversation.
- Wookie58
-
- Offline
- Moderator
-
Registered
- Posts: 6031
- Thanks: 3789
Re: 1973 Z1 rebuild
07 Oct 2022 06:16So is the solution to drill a hole at the end of the crack (remove the stress point) and then weld it up ?That horn bracket is where the oil cooler was designed to fit. They had issues with frame cracks that started at those holes. It looks like the right one (From driver position) in the horn photo was beginning to crack. I had a Z1B where the crack moved into the frame tube and almost circled it.
1982 KZ1000 Ltd
www.kzrider.com/forum/11-projects/617631...-82-begins?start=192
kzrider.com/filebase-alias?view=download...d-fault-diagnosis&ca
www.kzrider.com/forum/11-projects/617631...-82-begins?start=192
kzrider.com/filebase-alias?view=download...d-fault-diagnosis&ca
Please Log in or Create an account to join the conversation.
- hardrockminer
-
- Offline
- Sustaining Member
-
Registered
- Posts: 3118
- Thanks: 1230
Re: 1973 Z1 rebuild
07 Oct 2022 07:12 - 07 Oct 2022 08:14The solution KHI came up with for older bikes was to bolt a brace across from hole to hole, just as blackozvet has done. From about Jan 75 onwards they eliminated the oil cooler bolt holes, which were the stress concentrator. The KZ 900's had re-designed braces.So is the solution to drill a hole at the end of the crack (remove the stress point) and then weld it up ?That horn bracket is where the oil cooler was designed to fit. They had issues with frame cracks that started at those holes. It looks like the right one (From driver position) in the horn photo was beginning to crack. I had a Z1B where the crack moved into the frame tube and almost circled it.
Some photos of cracks on a frame of a bike I purchased. The frame was repaired during restoration.
I have several restored bikes along with a 2006 Goldwing with a sidecar.
Last edit: 07 Oct 2022 08:14 by hardrockminer.
The following user(s) said Thank You: Nessism, Wookie58
Please Log in or Create an account to join the conversation.
- blackozvet
-
Topic Author
- Offline
- User
-
Registered
- Posts: 193
- Thanks: 79
Re: 1973 Z1 rebuild
08 Oct 2022 04:11I have welded a brace across the frame at that point.Yep, I can see that also. But there is a second brace on the photo. How is that one connected to the frame? My Z1B has that problem too, in the past
1973 Z1 900 Kawasaki
The following user(s) said Thank You: Wookie58
Please Log in or Create an account to join the conversation.
- blackozvet
-
Topic Author
- Offline
- User
-
Registered
- Posts: 193
- Thanks: 79
Re: 1973 Z1 rebuild
09 Oct 2022 03:32
Now when your doing a project sometimes you go for some low hanging fruit to get a feeling of success, you know that 10 minute job just to finish something off.
And that 10 minute job turns to shit

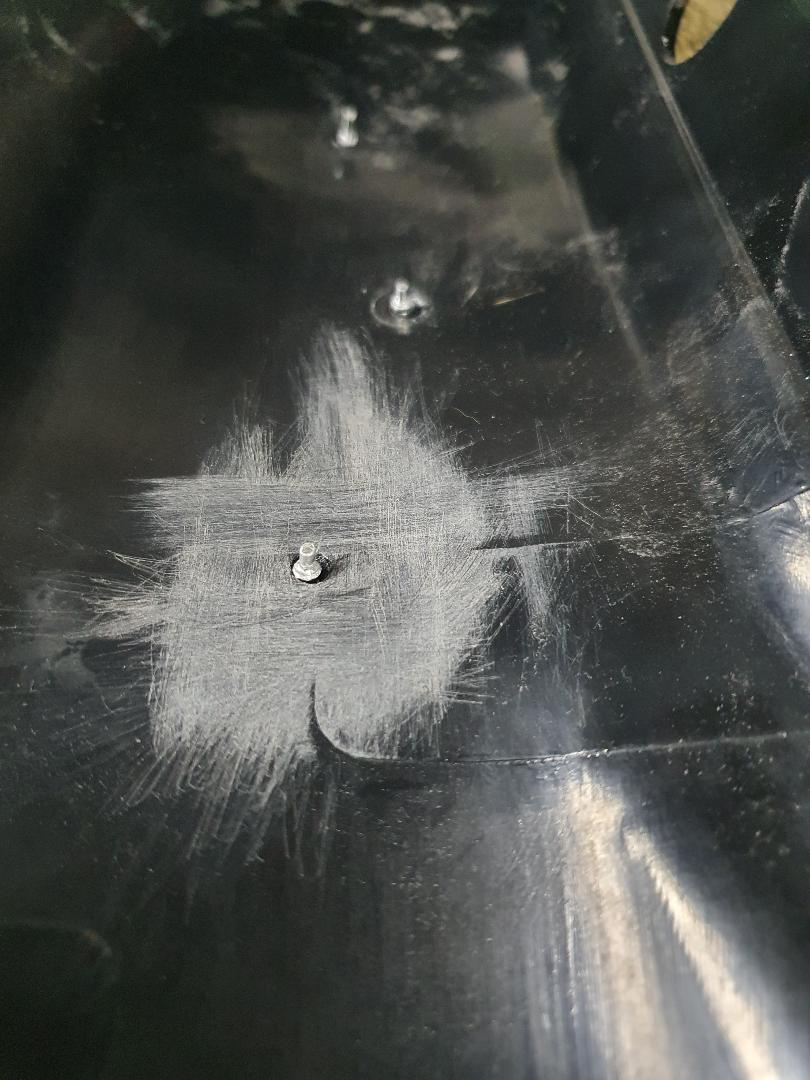
I went to clip the Doremi brand sidecover badges on - and the front studs on each one are too short to get the clips on. they have a thin piece to guide thru the hole then a fat piece for the clip to tighten over. The fat piece barely goes thru the hole, certainly not enough for the clip to grab hold of.
I tried cleaning up the inside of the surface but it didnt help - not too keen on getting too carried away on the new sidecovers.
not happy.
And that 10 minute job turns to shit
I went to clip the Doremi brand sidecover badges on - and the front studs on each one are too short to get the clips on. they have a thin piece to guide thru the hole then a fat piece for the clip to tighten over. The fat piece barely goes thru the hole, certainly not enough for the clip to grab hold of.
I tried cleaning up the inside of the surface but it didnt help - not too keen on getting too carried away on the new sidecovers.
not happy.
1973 Z1 900 Kawasaki
Please Log in or Create an account to join the conversation.
- Mikaw
-
- Offline
- Sustaining Member
-
Registered
- Posts: 4825
- Thanks: 1852
Re: 1973 Z1 rebuild
09 Oct 2022 07:57
Might be easier to use the 3m emblem tape, it was posted on another thread.
1976 KZ 900 A4
kzrider.com/forum/11-projects/613548-1976-kz-900-a4
1976 KZ 900 B1 LTD
1978 KZ 1000 B2 LTD
1980 KZ 750 E1
Kowledge Speaks, But Wisdom Listens.
Jimi Hendrix.
1976 KZ 900 B1 LTD
1978 KZ 1000 B2 LTD
1980 KZ 750 E1
Kowledge Speaks, But Wisdom Listens.
Jimi Hendrix.
Please Log in or Create an account to join the conversation.
Moderators: Street Fighter LTD