
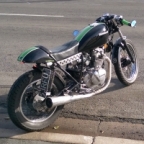
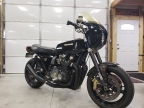
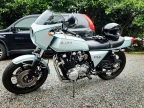
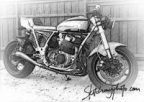
Kiwi Z1R
- Rustyhama
-
- Offline
- User
-

Registered
- Posts: 190
- Thanks: 19
Re: Re:Kiwi Z1R
04 Aug 2016 04:42
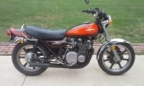
B-jeesus Ken, is that a frickin SLS AMG you sly old dog! I need to work harder...
Sent from my SM-G935F using Tapatalk
Sent from my SM-G935F using Tapatalk
Hama
'82 KZ305-B1 Cafe Racer
'80 Z750E project
www.dotheton.com/forum/index.php?topic=59260.0
'82 KZ305-B1 Cafe Racer
'80 Z750E project
www.dotheton.com/forum/index.php?topic=59260.0
Please Log in or Create an account to join the conversation.
- 531blackbanshee
-
- Offline
- Vendor
-

Vendors
- Posts: 7442
- Thanks: 796
Re: Re:Kiwi Z1R
04 Aug 2016 05:58Rustyhama wrote: B-jeesus Ken, is that a frickin SLS AMG you sly old dog! I need to work harder...
noticed that myself :evil: !
i thought the same thing i always think when i see super cars and the like,
"wonder how that would look backwards in a ditch?1?!?"
cause i ain't no smarter than to mash the throttle and hold it and try to drive it out! :pinch:
which lets face it we all know 95 percent of humans can't drive that car to it's full potential.
without the use of all the technowizardry.
but what fun is an electric nanny :sick:
cause we all know "if you ain't living on the edge,yer takin up too much room!
front end is looking good larriken,
keep us posted.
leon
skiatook,oklahoma 1980 z1r,1978 kz 1000 z1r x 3,
1976 kz 900 x 3
i make what i can,and save the rest!
billybiltit.blogspot.com/
www.kzrider.com/forum/5-chassis/325862-triple-tree-custom-work
kzrider.com/forum/5-chassis/294594-frame-bracing?limitstart=0
1976 kz 900 x 3
i make what i can,and save the rest!
billybiltit.blogspot.com/
www.kzrider.com/forum/5-chassis/325862-triple-tree-custom-work
kzrider.com/forum/5-chassis/294594-frame-bracing?limitstart=0
Please Log in or Create an account to join the conversation.
- larriken
-
 Topic Author
- Offline
- User
-
Registered
- Posts: 556
- Thanks: 61
Re: Re:Kiwi Z1R
04 Aug 2016 11:45Rustyhama wrote: B-jeesus Ken, is that a frickin SLS AMG you sly old dog! I need to work harder...
Sent from my SM-G935F using Tapatalk
Haha I wish it was mine. Our only car car is a Nissan Wingroad station wagon lol! Just storing a few cars for a bloke. Even got an F150 crammed in the shed too.
Please Log in or Create an account to join the conversation.
- Tune-A-Fish
-
- Offline
- User
-
Registered
- Posts: 31
- Thanks: 1
Re: Kiwi Z1R
06 Aug 2016 03:55
On board.
Looks like your well on your way to fulfilling a dream... Nice work and the paint looks right from here.
I would like to ask a favor while your at this stage and things are accessible.
I am building a KZ1R Modified/clone and I need some measurements for mounting the Z1R seat and tail lock, specifically I really need template drawings of the front two pocket brackets and the aft latch bracket also locating measurements from say o/c of the cross bar or something shared with the KZ frame.
One more thing, if you do get rid of the after market side cover I still need both so PM me a price should you let it go please.
my project:
I didn't come here and I ain't leavin
Please Log in or Create an account to join the conversation.
- GregZ
-
- Offline
- Sustaining Member
-
Registered
- Posts: 613
- Thanks: 78
Re: Kiwi Z1R
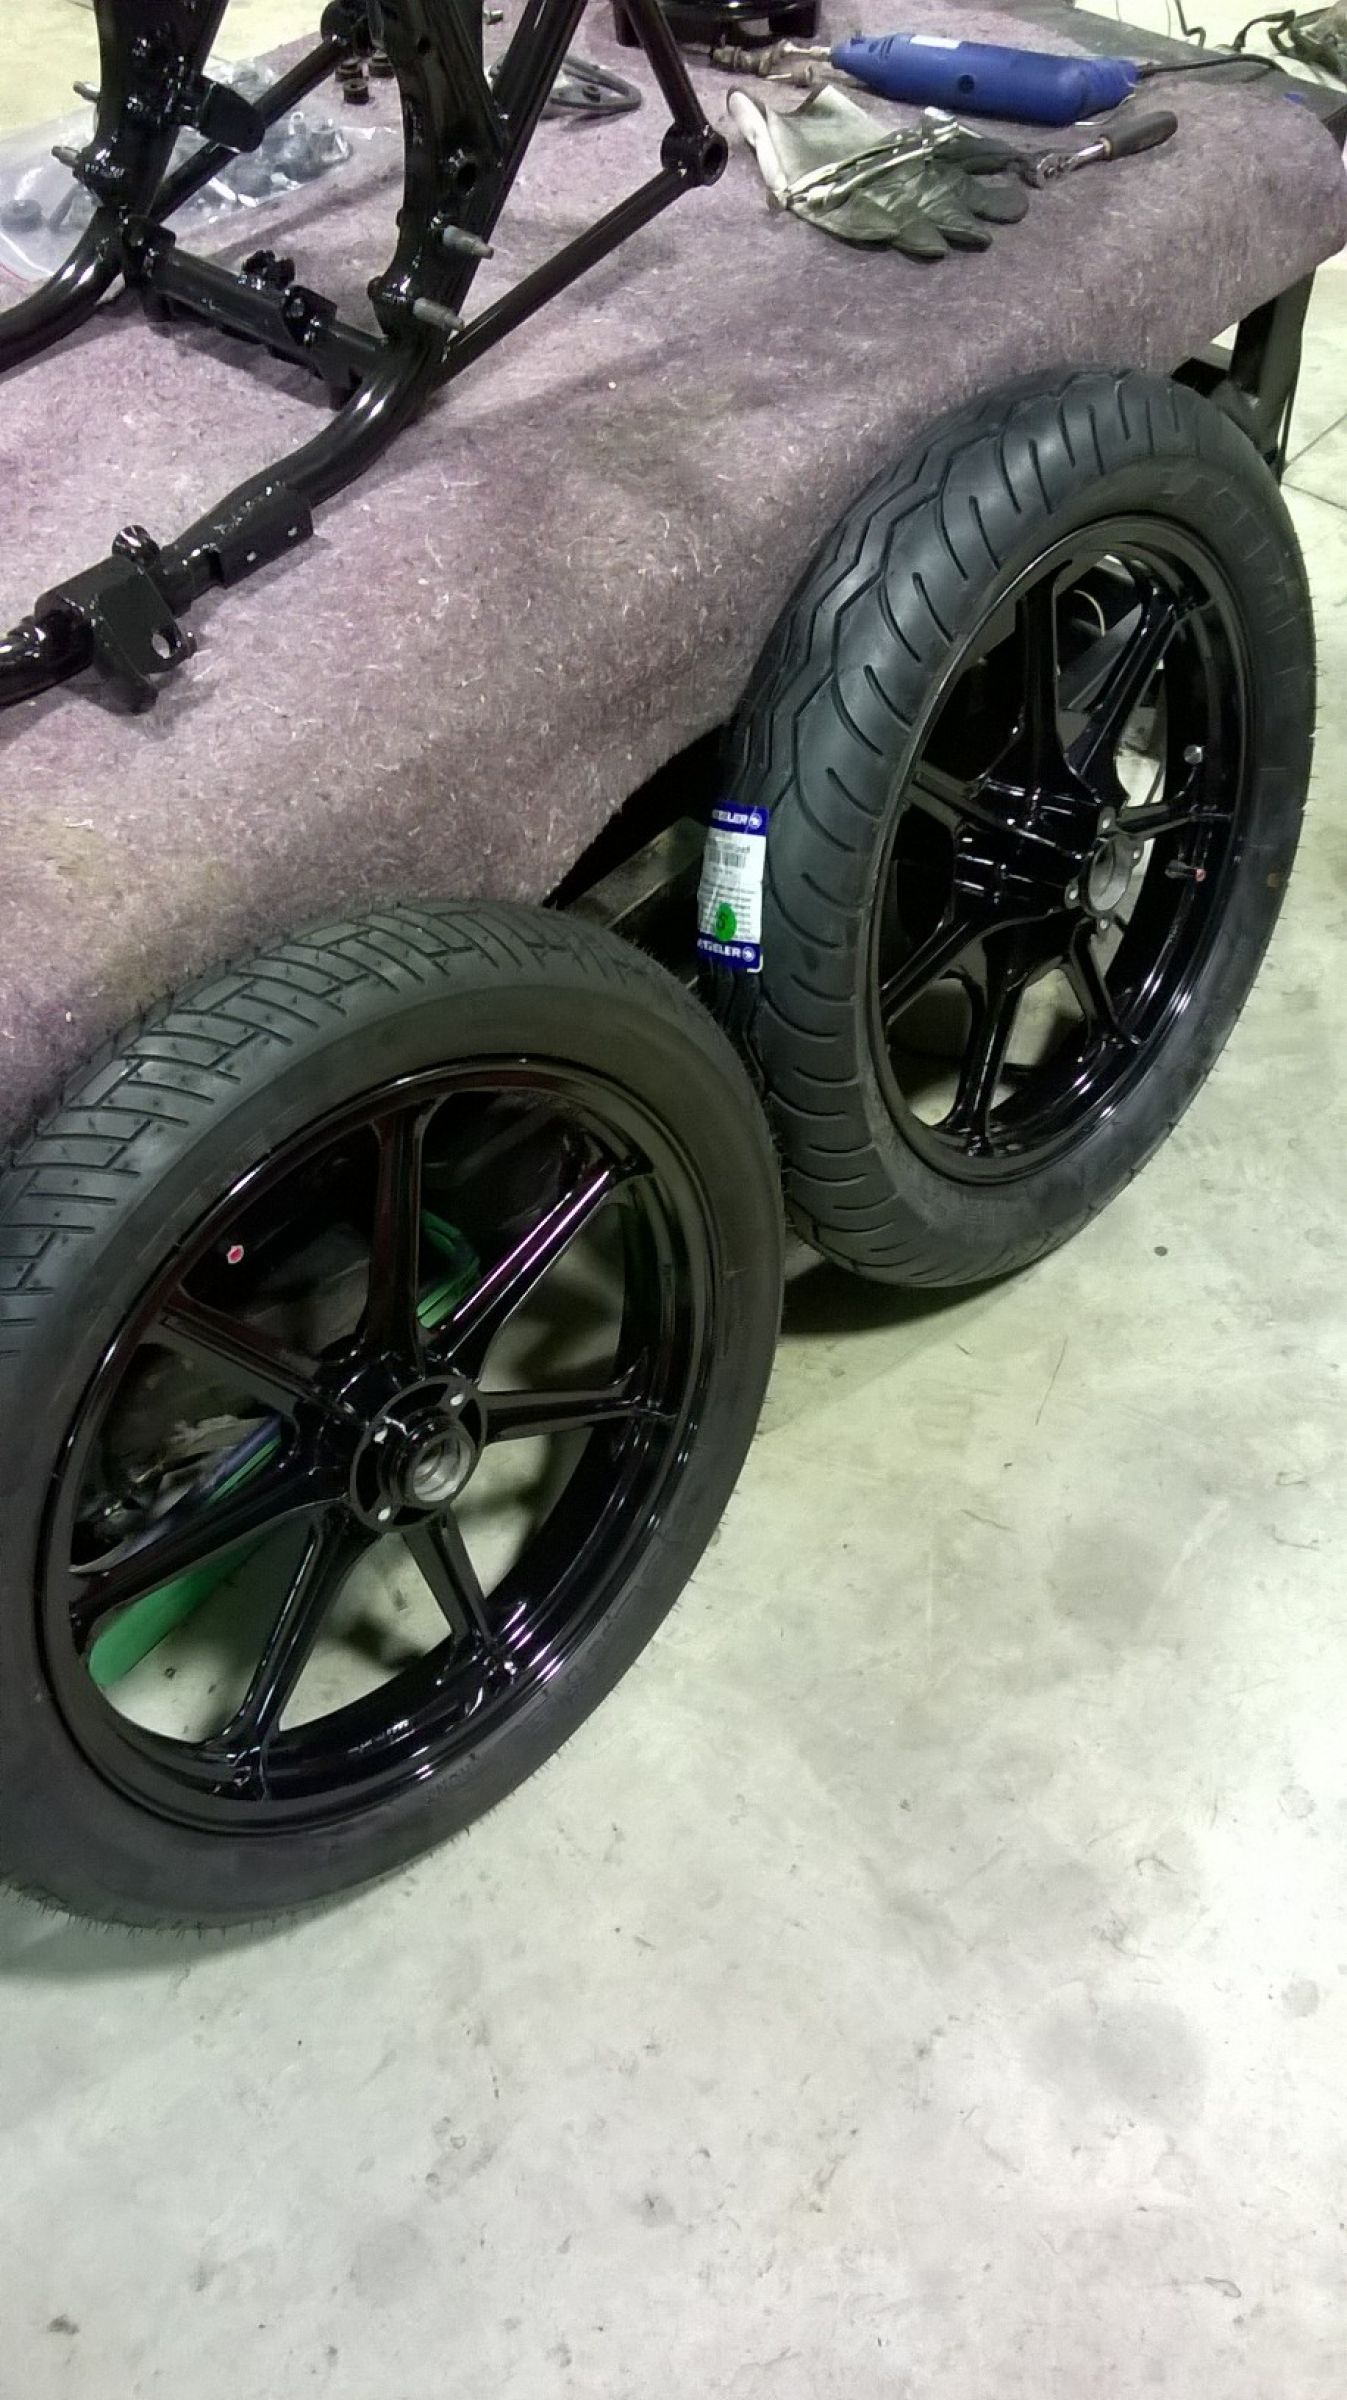
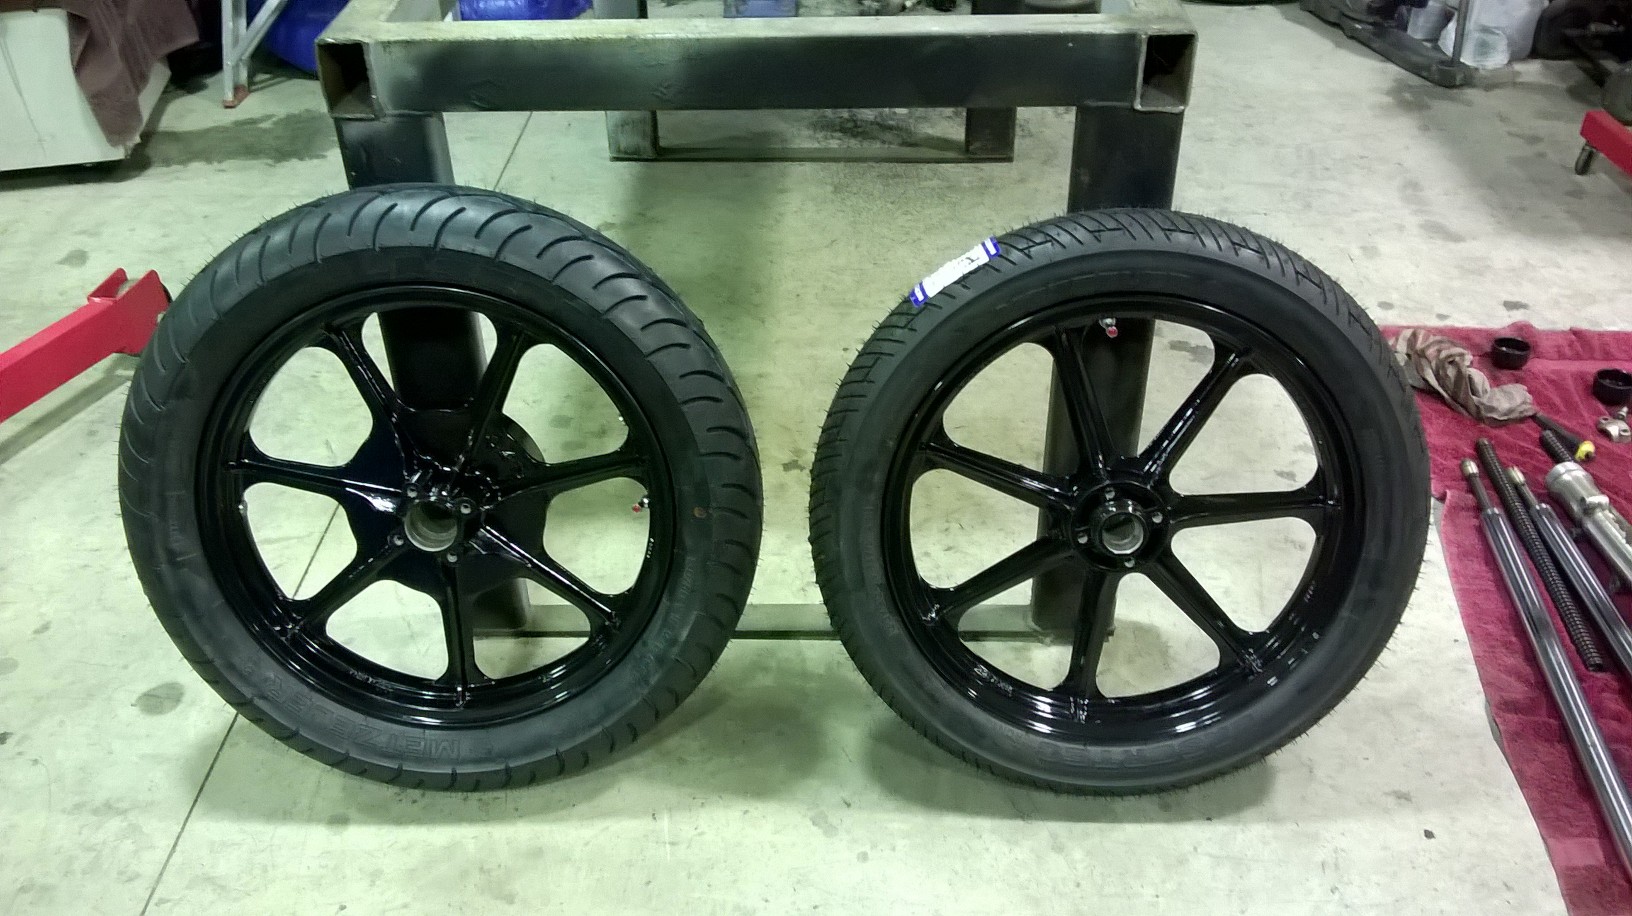
06 Aug 2016 19:01larriken wrote: Got the freshly coated rims back with their new rubber on! Very stoked with the outcome, they look mint! Cool thing was a mate of mine machined up two bolt type bungs with rubber washers and blanked off the holes where the rim locks bolts exit from. I used Lasertec tubeless tyres and now the front and rear are running as a tubeless setup. Also, my mate that put the tyres on the rims for me used the glass beads inside the tyre for balancing. No ugly weights on the outside of my newly coated rims!
")
I'd liked to have a few of those bungs to eliminate the bead locks,those are pretty nice . Also where did you get the valve stem
Please Log in or Create an account to join the conversation.
- larriken
-
Topic Author
- Offline
- User
-
Registered
- Posts: 556
- Thanks: 61
Re: Kiwi Z1R
06 Aug 2016 21:57Tune-A-Fish wrote: On board.
Looks like your well on your way to fulfilling a dream... Nice work and the paint looks right from here.
I would like to ask a favor while your at this stage and things are accessible.
I am building a KZ1R Modified/clone and I need some measurements for mounting the Z1R seat and tail lock, specifically I really need template drawings of the front two pocket brackets and the aft latch bracket also locating measurements from say o/c of the cross bar or something shared with the KZ frame.
One more thing, if you do get rid of the after market side cover I still need both so PM me a price should you let it go please.
my project:
Sweet as mate, more than happy to help. I will get in the shed tomorrow and do some measuring for you. You build look sweet, what frame are you using?
Please Log in or Create an account to join the conversation.
- larriken
-
Topic Author
- Offline
- User
-
Registered
- Posts: 556
- Thanks: 61
Re: Kiwi Z1R
06 Aug 2016 22:00GregZ wrote:larriken wrote: Got the freshly coated rims back with their new rubber on! Very stoked with the outcome, they look mint! Cool thing was a mate of mine machined up two bolt type bungs with rubber washers and blanked off the holes where the rim locks bolts exit from. I used Lasertec tubeless tyres and now the front and rear are running as a tubeless setup. Also, my mate that put the tyres on the rims for me used the glass beads inside the tyre for balancing. No ugly weights on the outside of my newly coated rims!
I'd liked to have a few of those bungs to eliminate the bead locks,those are pretty nice . Also where did you get the valve stem
Yeah they did come us sweet and has made the rim a whole lot cleaner looking. The valve stem is what my mate at the bike shop put in when the tyres were fitted. They are specific for the glass balancing beads, slightly different internals than a standard one apparently. Most bike/tyre shops should have them I would guess.
Please Log in or Create an account to join the conversation.
- larriken
-
Topic Author
- Offline
- User
-
Registered
- Posts: 556
- Thanks: 61
Re: Kiwi Z1R
06 Aug 2016 22:09
Finally!!!!!!! Clocks are finished and ready to be fitted. Has been a job and a half to get these done so pretty stoked to finally have them sorted. Still missing a couple of bits so if any body has a spare speed sensor bit that goes on the back of the speedo floating about in the shed let me know. You can have my first born in return.............. :lol:
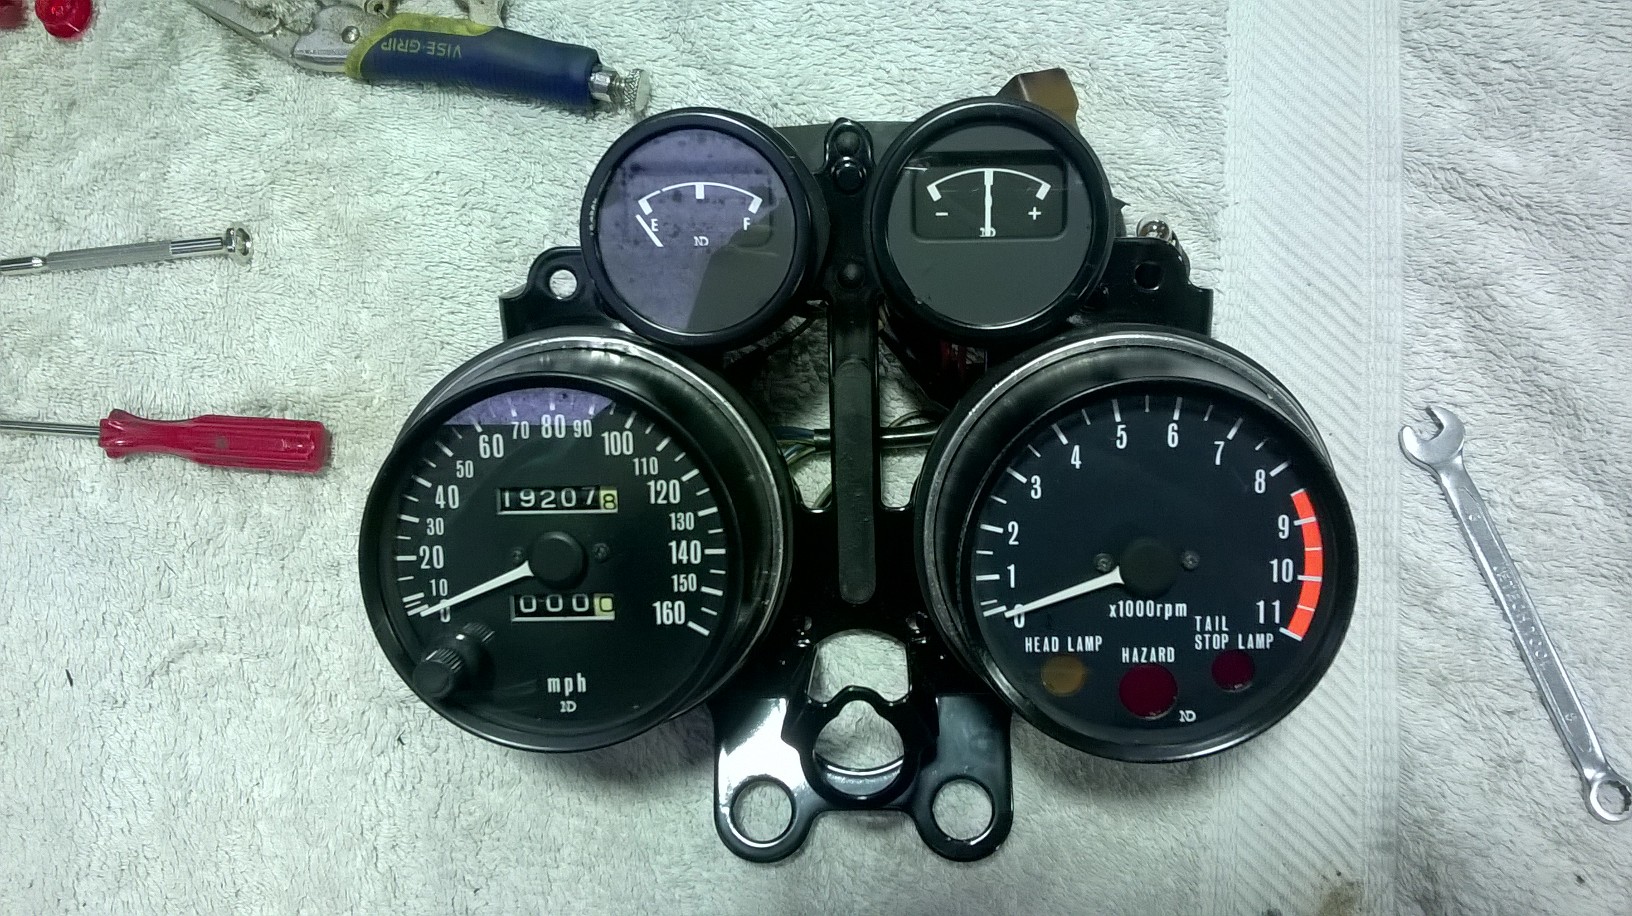

This is the speed sensor thingy that I require.
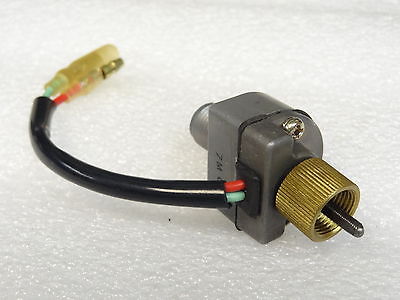
This is the speed sensor thingy that I require.
Please Log in or Create an account to join the conversation.
- Tune-A-Fish
-
- Offline
- User
-
Registered
- Posts: 31
- Thanks: 1
Re: Kiwi Z1R
07 Aug 2016 05:11larriken wrote:Tune-A-Fish wrote: On board.
Looks like your well on your way to fulfilling a dream... Nice work and the paint looks right from here.
I would like to ask a favor while your at this stage and things are accessible.
I am building a KZ1R Modified/clone and I need some measurements for mounting the Z1R seat and tail lock, specifically I really need template drawings of the front two pocket brackets and the aft latch bracket also locating measurements from say o/c of the cross bar or something shared with the KZ frame.
One more thing, if you do get rid of the after market side cover I still need both so PM me a price should you let it go please.
my project:
Sweet as mate, more than happy to help. I will get in the shed tomorrow and do some measuring for you. You build look sweet, what frame are you using?
Thank you very much sir!
The frame is build date 1976/77 KZ1000 A
I would love to pay a sack of gold teeth for one of those gauge brackets also

Tune
I didn't come here and I ain't leavin
Please Log in or Create an account to join the conversation.
- Wiers
-

- Offline
- User
-
Registered
- Posts: 256
- Thanks: 28
Re: Kiwi Z1R
07 Aug 2016 05:24
Looking good ")
A few more clocks and you have cockpit like a Spitfire.
A question about wheel balancing.
I read that you use glass balancing beads, is it just a case of dropping them in and start riding?
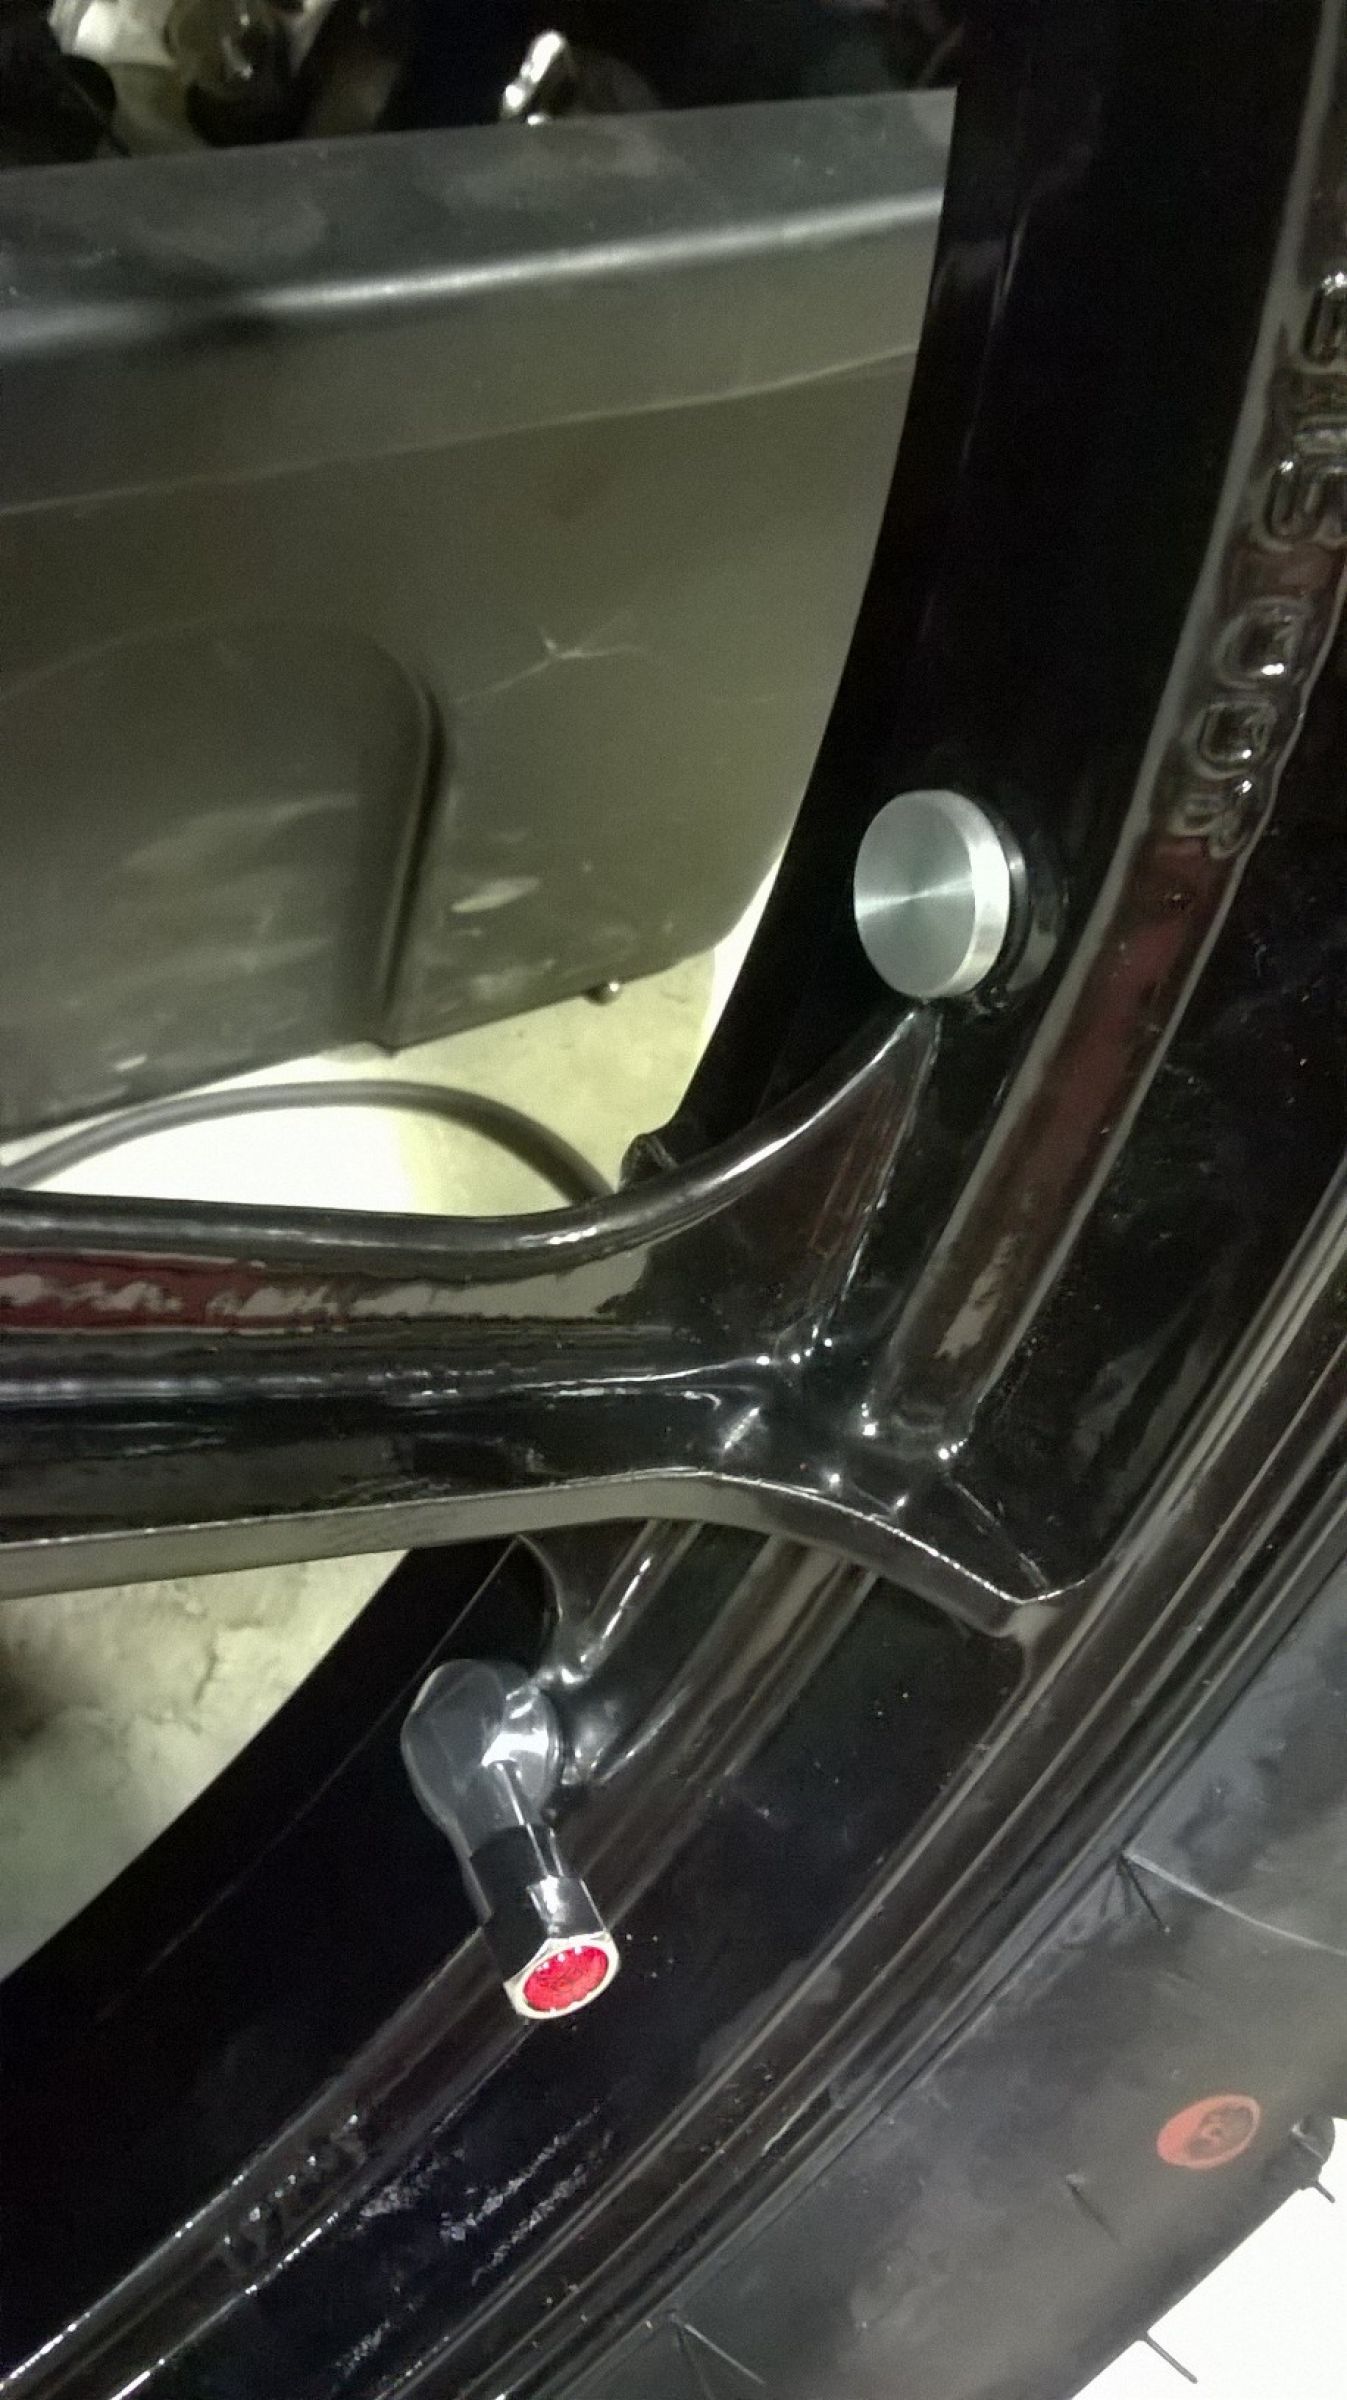
And what is the round aluminum thing on the rim?
Eric
A few more clocks and you have cockpit like a Spitfire.
A question about wheel balancing.
I read that you use glass balancing beads, is it just a case of dropping them in and start riding?
And what is the round aluminum thing on the rim?
Eric
Please Log in or Create an account to join the conversation.
- larriken
-
Topic Author
- Offline
- User
-
Registered
- Posts: 556
- Thanks: 61
Re: Kiwi Z1R
07 Aug 2016 22:47Tune-A-Fish wrote:larriken wrote:Tune-A-Fish wrote: On board.
Looks like your well on your way to fulfilling a dream... Nice work and the paint looks right from here.
I would like to ask a favor while your at this stage and things are accessible.
I am building a KZ1R Modified/clone and I need some measurements for mounting the Z1R seat and tail lock, specifically I really need template drawings of the front two pocket brackets and the aft latch bracket also locating measurements from say o/c of the cross bar or something shared with the KZ frame.
One more thing, if you do get rid of the after market side cover I still need both so PM me a price should you let it go please.
my project:
Sweet as mate, more than happy to help. I will get in the shed tomorrow and do some measuring for you. You build look sweet, what frame are you using?
Thank you very much sir!
The frame is build date 1976/77 KZ1000 A
I would love to pay a sack of gold teeth for one of those gauge brackets also
Tune
You are more than welcome to the gauge brackets but they are the rejects. All bent to buggery. Happy to send them to you for the cost of the postage.
Please Log in or Create an account to join the conversation.
- larriken
-
Topic Author
- Offline
- User
-
Registered
- Posts: 556
- Thanks: 61
Re: Kiwi Z1R
07 Aug 2016 22:50Wiers wrote: Looking good
A few more clocks and you have cockpit like a Spitfire.
A question about wheel balancing.
I read that you use glass balancing beads, is it just a case of dropping them in and start riding?
And what is the round aluminum thing on the rim?
Eric
Yep, pretty close to be honest!
Not sure on the glass beads as it was a mate of mine that put the tyres on for me. Will ask him. The alloy bit was a plug made to fill the hole where the wheel locks came through. I have put tubeless tyres on the rims.
Please Log in or Create an account to join the conversation.
Moderators: Street Fighter LTD