Welcome, Guest
Username: Password: Remember me

TOPIC:

'76 KZ900 (ZRX1200R) Build 19 Aug 2015 05:43 #686333

  • NakedFun
  • NakedFun's Avatar Topic Author
  • Offline
  • User
  • Posts: 1095
  • Thank you received: 99

0Z.Z1R Mk2 wrote: Thanks for that Cory...
Using the same Delkavic headers as yours on my Z1R project.
Yes the ID is 2 1/2" .
After looking at your cool bike have decided to go with this meg.
www.dimecitycycles.com/12-inch-stainless...h-exhaust-pipes.html
Cheers Dave :)


Yep like DCC. They buy those from Cone Engineering (www.coneeng.com) who has their entire catalog online and you can buy from them as well. They have a variety of sizes. I went with 2.25" for the previous mid pipe, so now it slipped inside the Dekelvic which made a nice TIG joint.

Cory

Cory
2008 Kawasaki Concours 14
1999 Kawasaki ZRX1100
1976 Kawasaki KZ900

Please Log in or Create an account to join the conversation.

'76 KZ900 (ZRX1200R) Build 19 Aug 2015 11:41 #686377

  • Gordy
  • Gordy's Avatar
  • Offline
  • User
  • Posts: 134
  • Thank you received: 5
Loving how this is progressing. The exhaust looks awesome, I'm getting more tempted by the delkavic day by day!

Please Log in or Create an account to join the conversation.

'76 KZ900 (ZRX1200R) Build 19 Aug 2015 12:17 #686381

  • NakedFun
  • NakedFun's Avatar Topic Author
  • Offline
  • User
  • Posts: 1095
  • Thank you received: 99
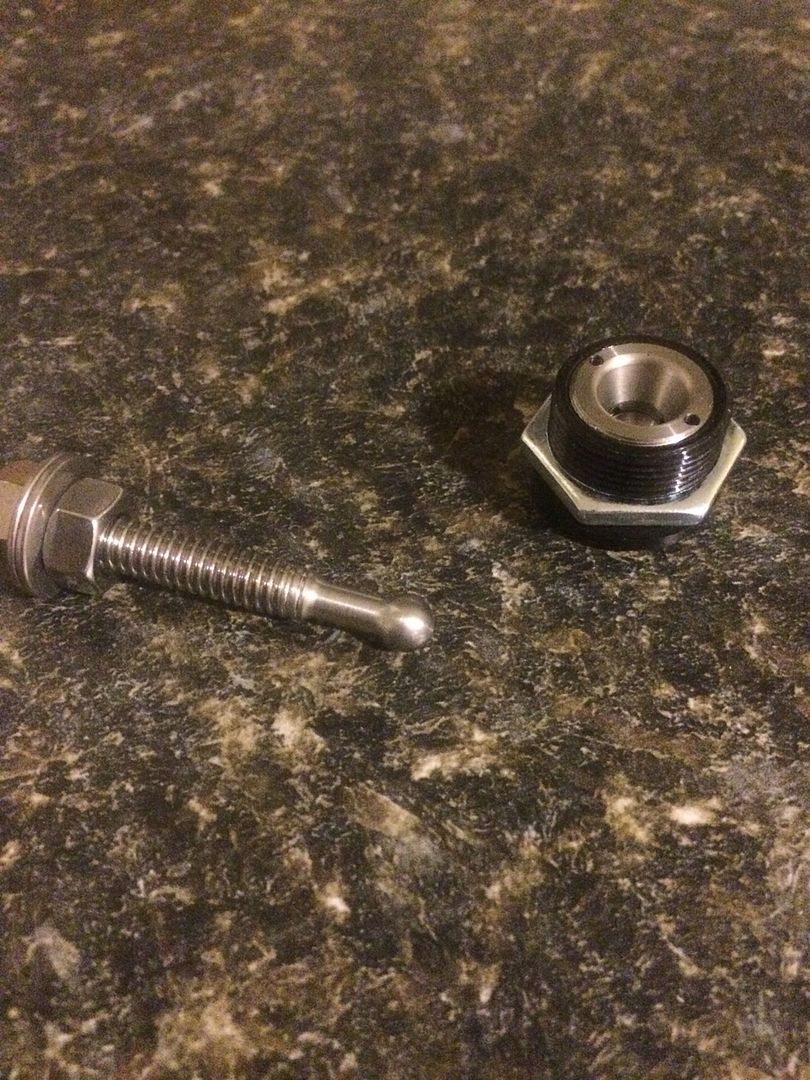
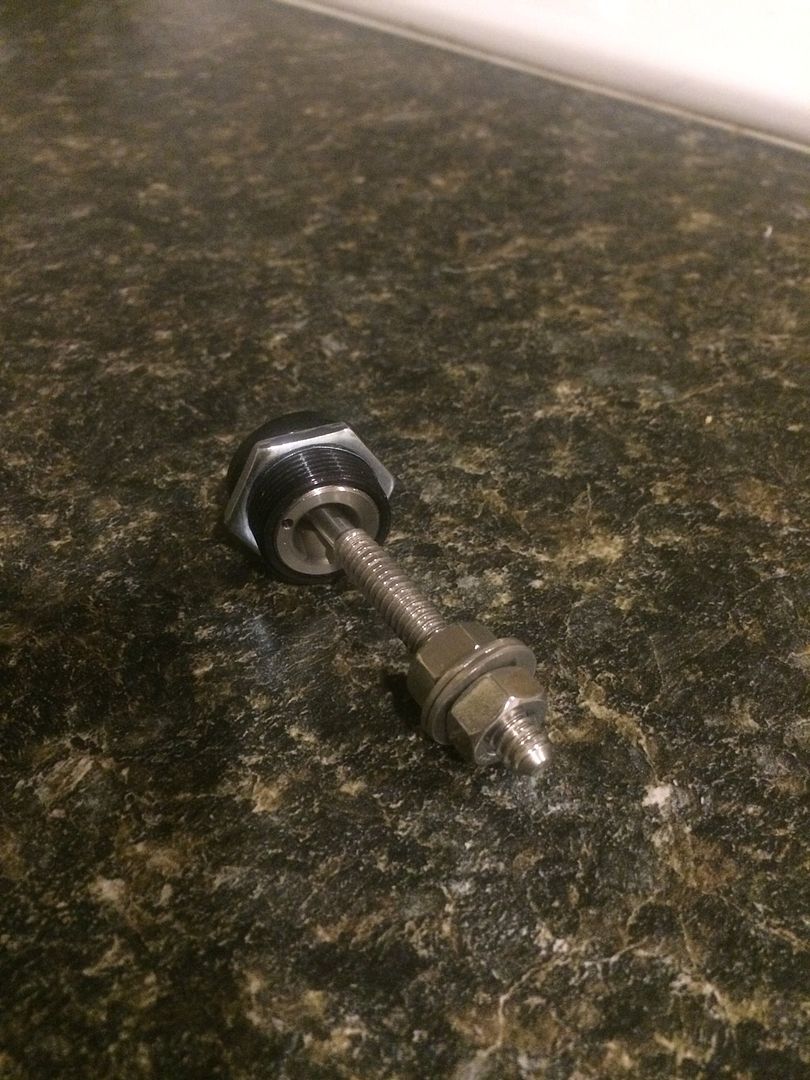
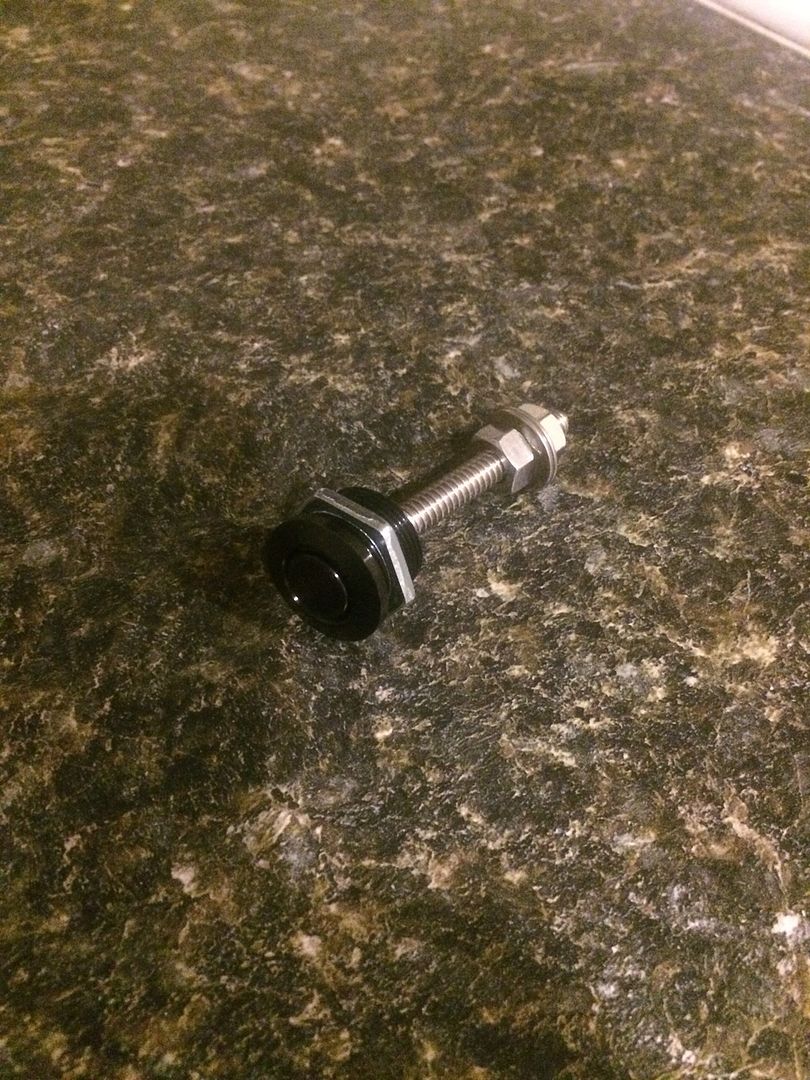
Thanks! I found a tap from the U.S. On EBay. Those Quik Latches use a 3/4"-24 UNF very fine thread. Not easy to come by..... Just incase anyone wondered... Lol

Cory
2008 Kawasaki Concours 14
1999 Kawasaki ZRX1100
1976 Kawasaki KZ900

Please Log in or Create an account to join the conversation.

'76 KZ900 (ZRX1200R) Build 22 Aug 2015 17:49 #686772

  • NakedFun
  • NakedFun's Avatar Topic Author
  • Offline
  • User
  • Posts: 1095
  • Thank you received: 99
So the latch showed up today. Still waiting on the tap to show. Cool little contraption and I should be able to get it positioned correctly so that it will be under the seat leather and just push down in the right spot to release the seat from the tail and access the glove box.


Cory
2008 Kawasaki Concours 14
1999 Kawasaki ZRX1100
1976 Kawasaki KZ900

Please Log in or Create an account to join the conversation.

'76 KZ900 (ZRX1200R) Build 30 Aug 2015 17:36 #687933

  • NakedFun
  • NakedFun's Avatar Topic Author
  • Offline
  • User
  • Posts: 1095
  • Thank you received: 99
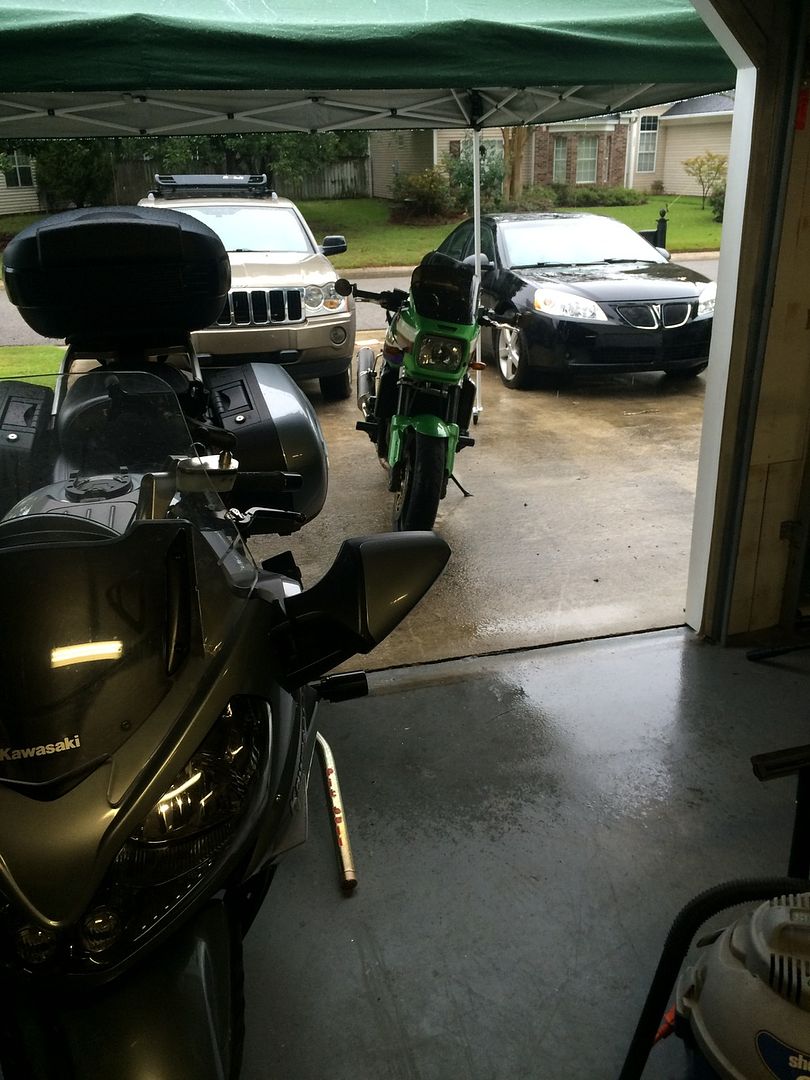
So today was a bit rainy so I put up my 10'x10' and shoved the ZRX out to make some room.


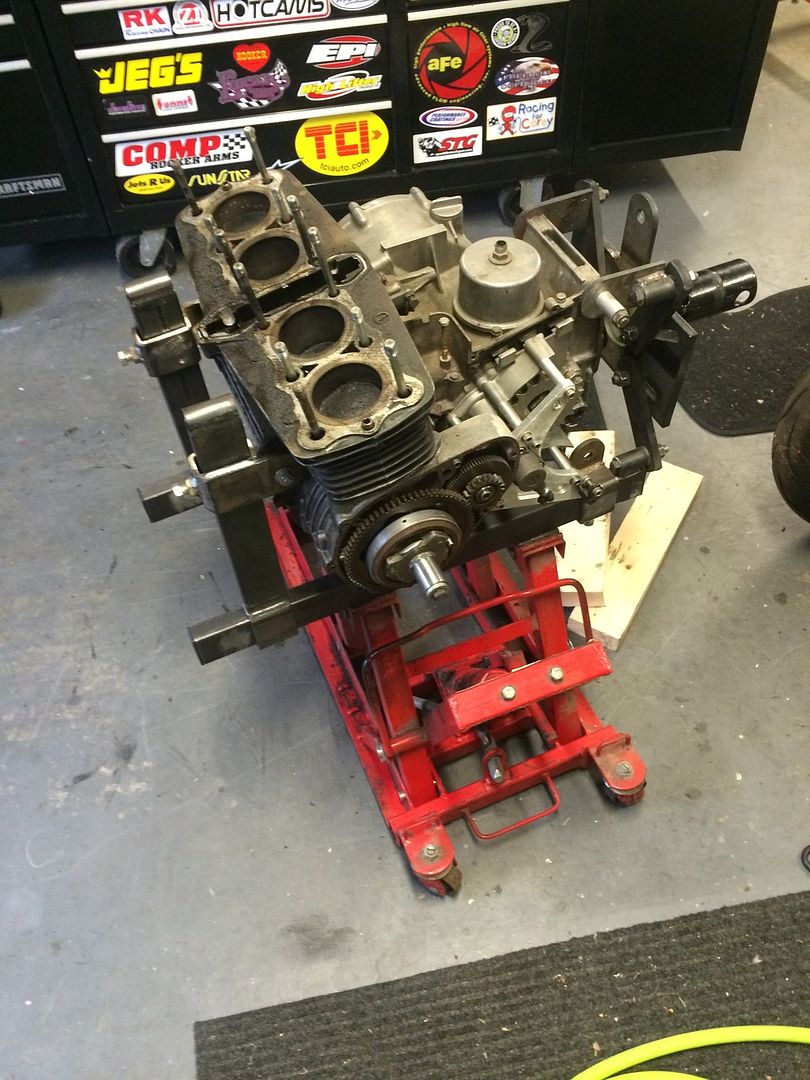
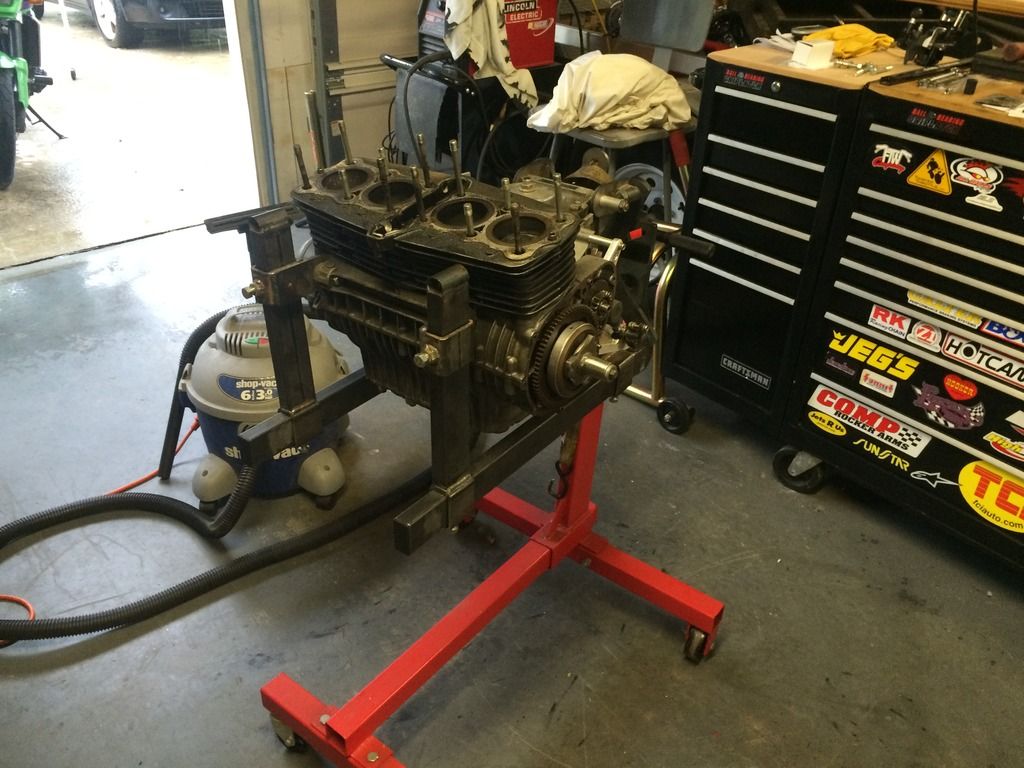
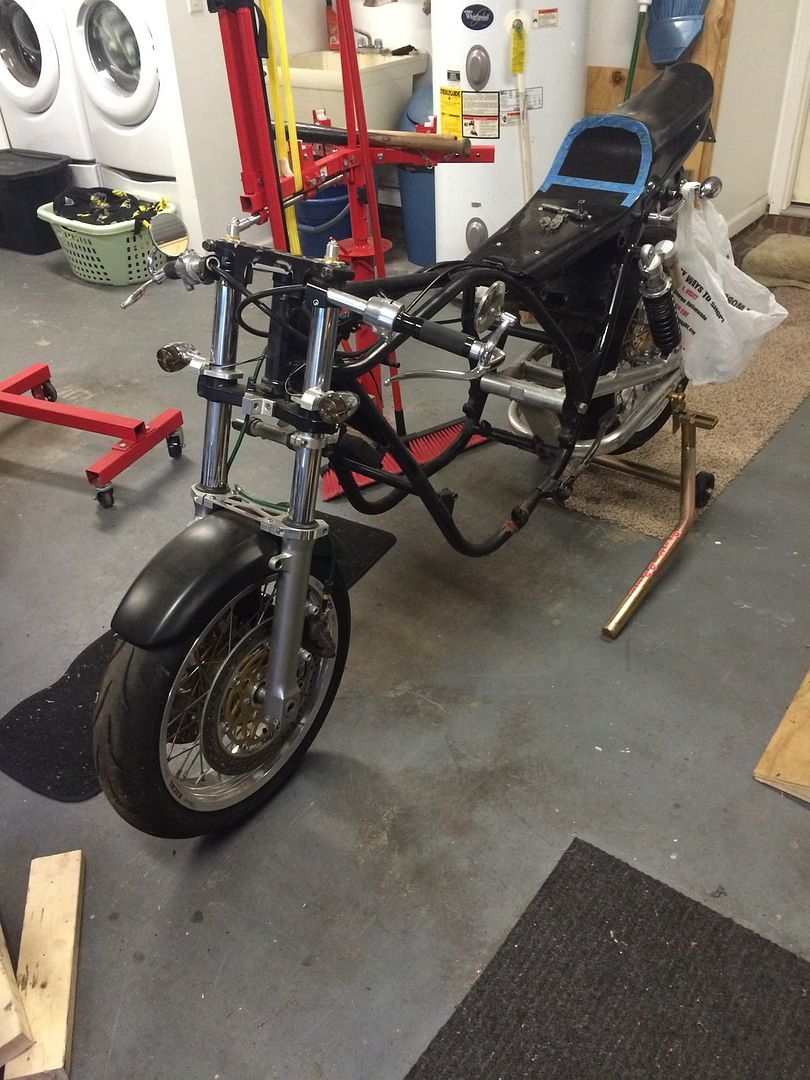
Started cleaning up, machining a plate for my seat release. Then started pulling the bike apart. Interesting deadlifting the engine with straps and one arm out of the chassis. Got it onto the motorcycle lift. Blocked it up and mounted it to my custom engine cradle.


It fit pretty well. Using front and rear mounts. Then to get it to the engine stand. Had to get creative since I don't have a cherry picker. A garden hoe, and my tool box, levered the whole assembly up in with the other hand worked it into the engine stand. Took two attempts....


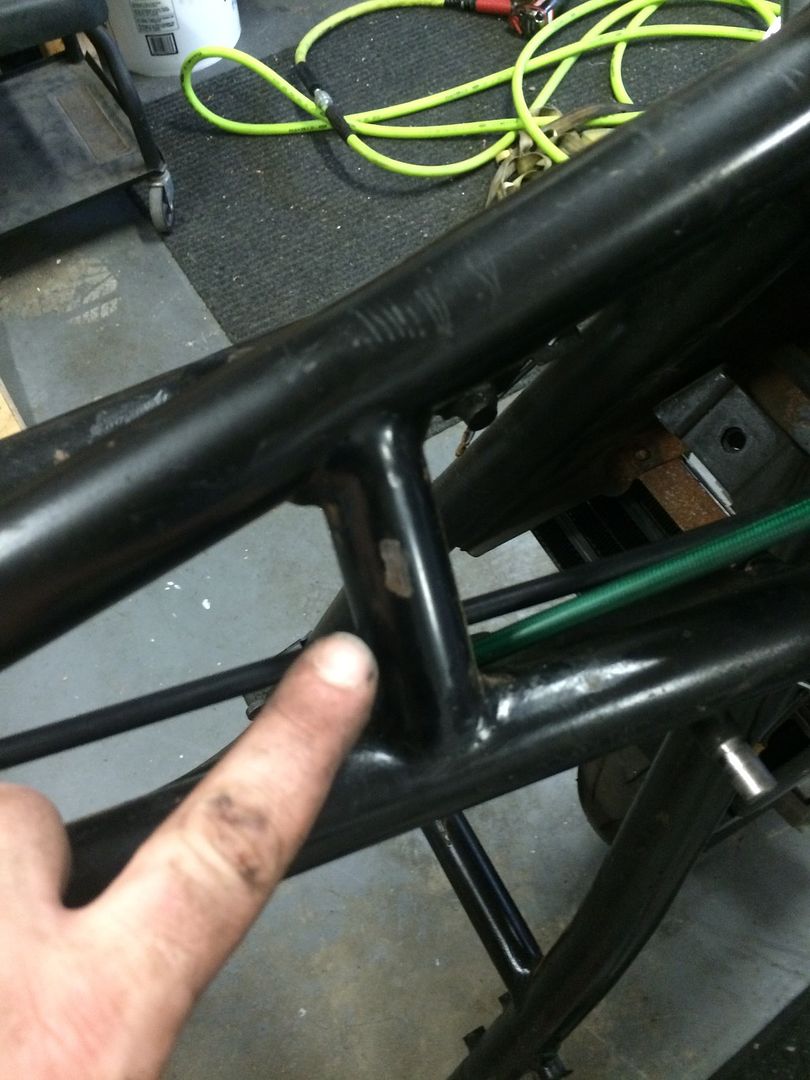
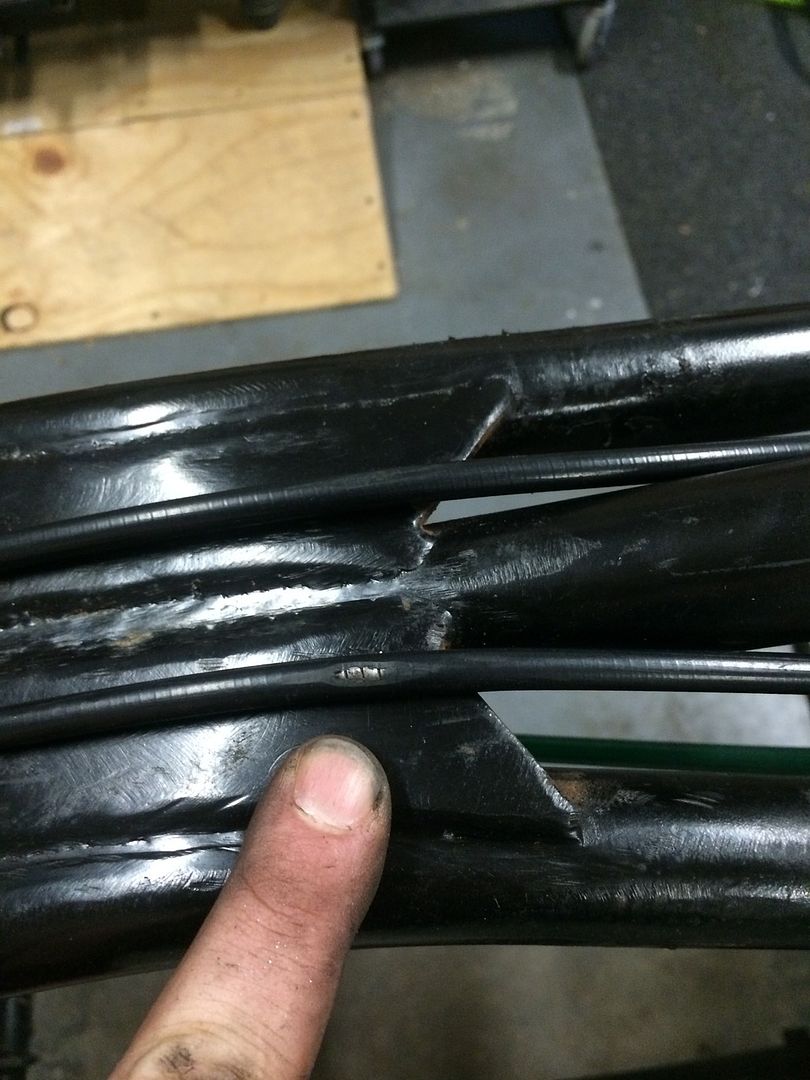
Noticed where the tanks was rubbing on the frame bracing and my cables. Will need to work on rubber pad placement and cable routing.


So that is all for now....engine work to begin and powder coating in the next couple weeks.

Cory
2008 Kawasaki Concours 14
1999 Kawasaki ZRX1100
1976 Kawasaki KZ900

Please Log in or Create an account to join the conversation.

'76 KZ900 (ZRX1200R) Build 30 Aug 2015 18:11 #687949

  • 650ed
  • 650ed's Avatar
  • Offline
  • User
  • Posts: 15344
  • Thank you received: 2829
If you can't find a suitable solution to prevent the rubbing, you may want to wrap the worn section of the cable with F4 tape to seal it and prevent further wear. This stuff is a non-adhesive tape; instead it is a silicone self-fusing tape. Unlike electrical tape, this stuff sticks to itself when stretched and stays put, but it has no adhesives to turn gooey when exposed to heat and time. It insulates and is not affected by heat, and since you must stretch it to activate it, one roll goes a long way. Because it sticks only to itself it works on anything and can be removed without making a mess. It is usually available on Amazon, but if not eBay has it. It works great. Ed

www.f4tape.com

www.amazon.com/F4-Tape-Self-fusing-Silic...8-2&keywords=f4+tape

www.ebay.com/sch/i.html?_odkw=f4+tape&_f...2f4+tape%22&_sacat=0
1977 KZ650-C1 Original Owner - Stock (with additional invisible FIAMM horn)

Please Log in or Create an account to join the conversation.

Last edit: by 650ed.

'76 KZ900 (ZRX1200R) Build 30 Aug 2015 18:19 #687951

  • NakedFun
  • NakedFun's Avatar Topic Author
  • Offline
  • User
  • Posts: 1095
  • Thank you received: 99
Thanks. Going to use an adhesive lined heat shrink tubing to re seal the cable. It may help once I figure out where the rear tank rubbers are supposed be located and secured. If that doesn't work, some hammer work of the under side should work...lol.

Cory
2008 Kawasaki Concours 14
1999 Kawasaki ZRX1100
1976 Kawasaki KZ900

Please Log in or Create an account to join the conversation.

'76 KZ900 (ZRX1200R) Build 12 Sep 2015 17:40 #689805

  • kzz1king
  • kzz1king's Avatar
  • Offline
  • User
  • Posts: 822
  • Thank you received: 52
Looking good Cory. You ride a 14 Connie? I have been lookingfor the right one for a while now.
Wayne
74 Z1 1075, 29 smoothbores, owned and ridden since 1976
Home built KZ1000 turbo setup

www.kzrider.com/forum/11-projects/532476...s-budget-turbo-build

www.kzrider.com/forum/11-projects/532489-74-z-makeover

Please Log in or Create an account to join the conversation.

'76 KZ900 (ZRX1200R) Build 13 Sep 2015 09:47 #689875

  • NakedFun
  • NakedFun's Avatar Topic Author
  • Offline
  • User
  • Posts: 1095
  • Thank you received: 99

kzz1king wrote: Looking good Cory. You ride a 14 Connie? I have been lookingfor the right one for a while now.
Wayne


Hey Wayne, long time no chat! Yes, that and the ZRX are the other rides. Bought and modded the Connie due to my wife taking an interest in riding with me and wanted a bike that is appropriate for two up comfortable. If you get one, you won't be disappointed.

Cory
2008 Kawasaki Concours 14
1999 Kawasaki ZRX1100
1976 Kawasaki KZ900

Please Log in or Create an account to join the conversation.

'76 KZ900 (ZRX1200R) Build 05 Oct 2015 01:51 #693378

  • NakedFun
  • NakedFun's Avatar Topic Author
  • Offline
  • User
  • Posts: 1095
  • Thank you received: 99
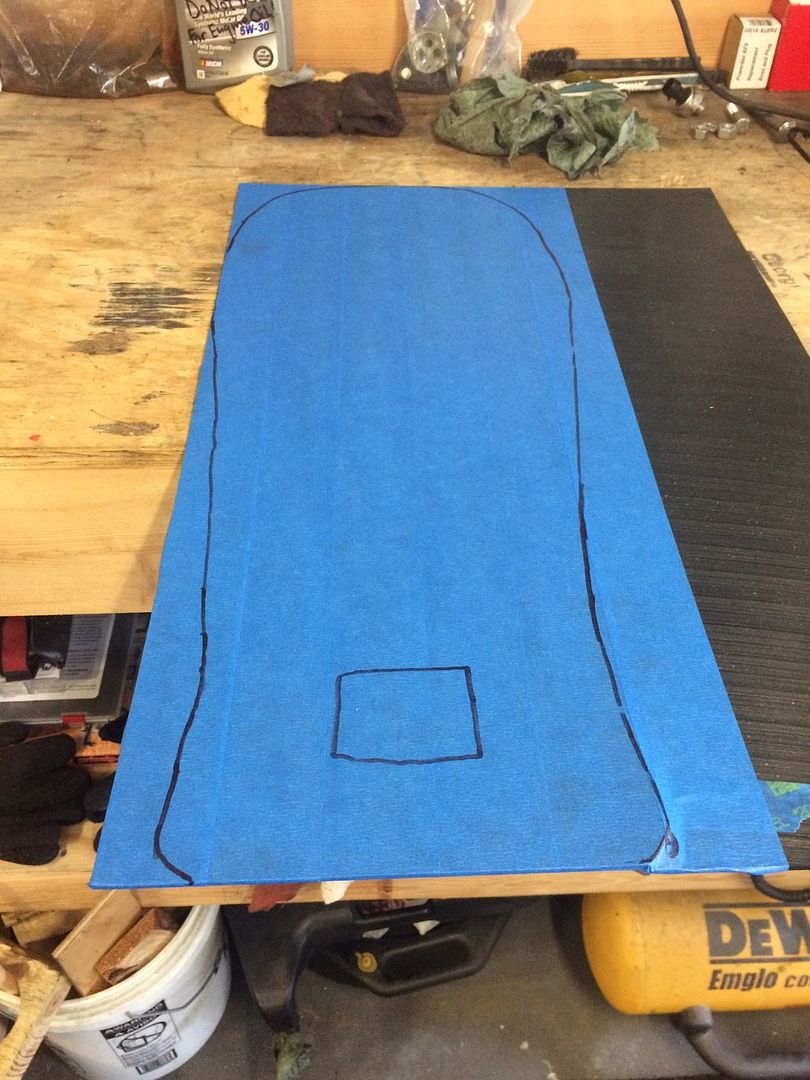
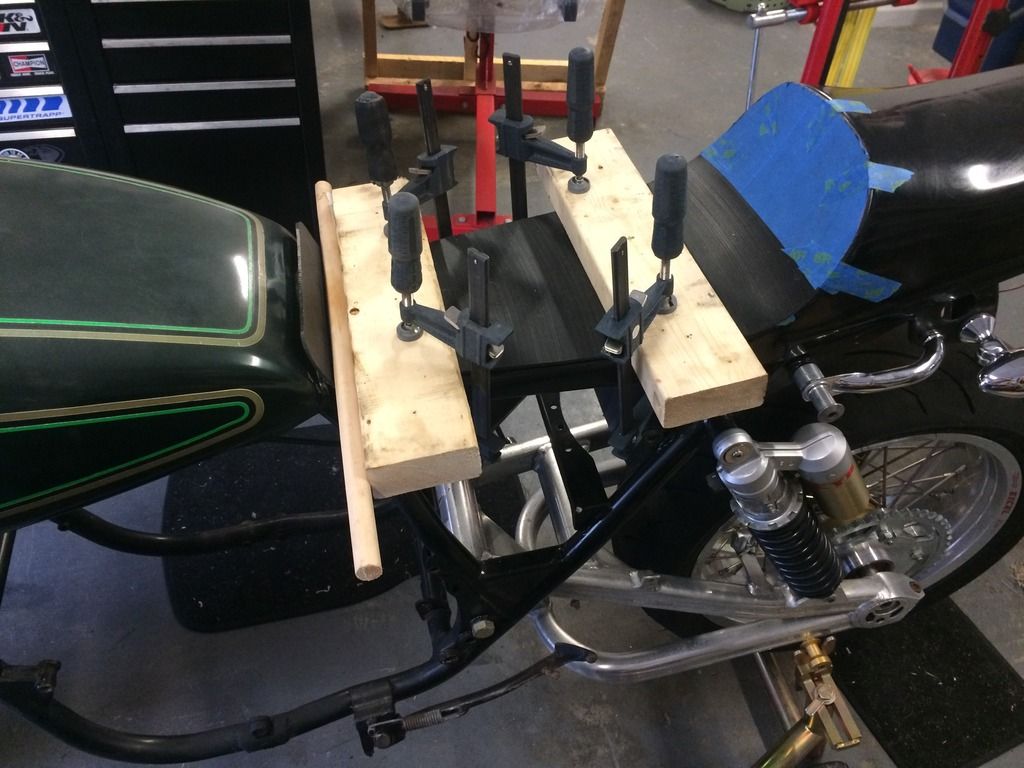
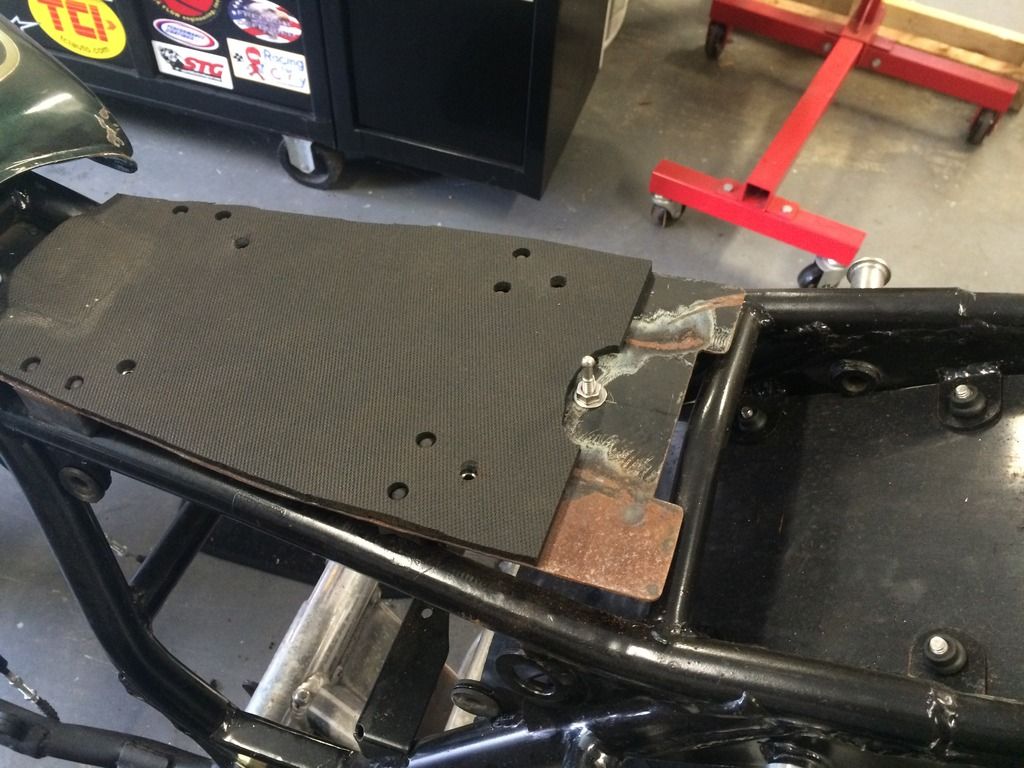
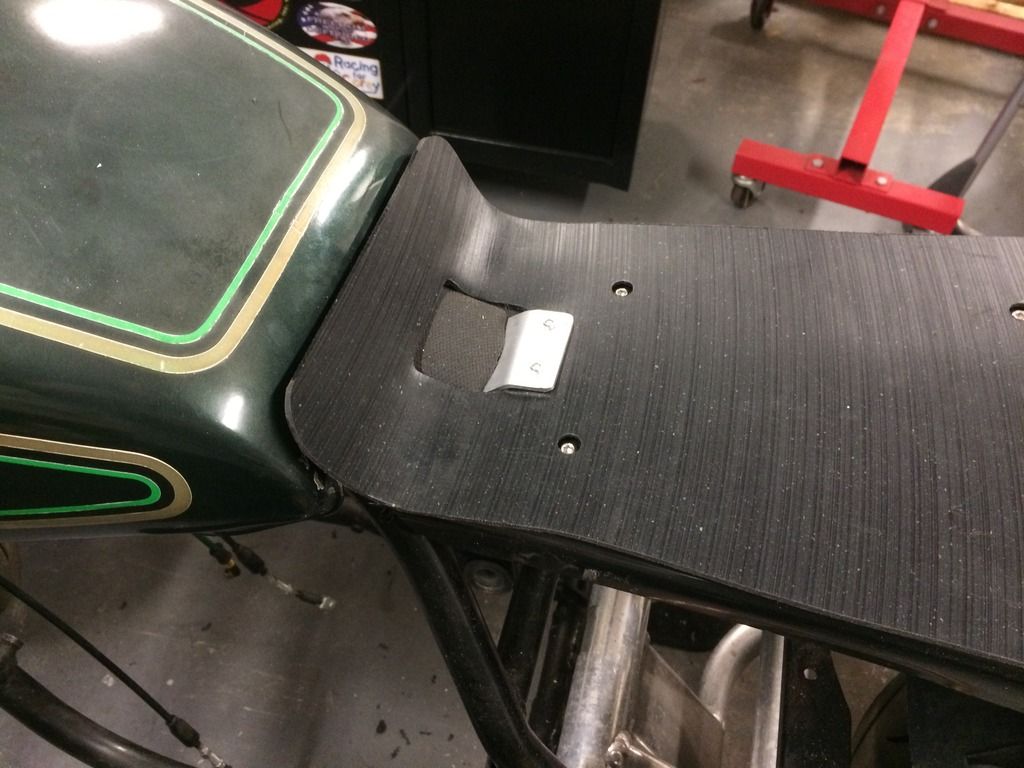
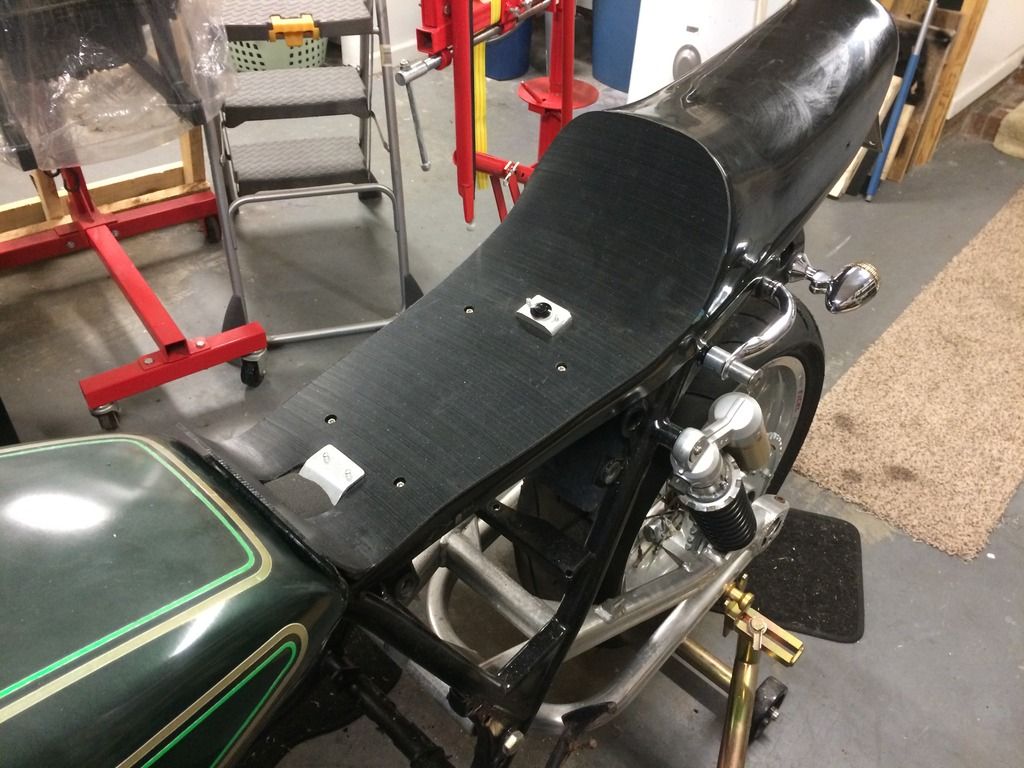
So since we were going to be drowning in rain this past weekend, got to work outside in the garage a bit on Sunday. Heated up the plastic and molded it to the tank and tail like I wanted. Clearanced it for the structural base plate "tunnel" and fitted the rear lock and front tab. Mostly finish the seat pan, but it will still need some finish work and a couple of items. Will trim some foam for it next. That is all other than some rust cleaning from the move.


Cory
2008 Kawasaki Concours 14
1999 Kawasaki ZRX1100
1976 Kawasaki KZ900

Please Log in or Create an account to join the conversation.

Last edit: by NakedFun.

'76 KZ900 (ZRX1200R) Build 05 Oct 2015 02:37 #693382

  • Street Fighter LTD
  • Street Fighter LTD's Avatar
  • Offline
  • Moderator
  • TURBO, Its Better to be Blown than Injected
  • Posts: 4829
  • Thank you received: 1972
Hi Cory
Hope you are on high ground with all the rain hitting your area.
Maybe we need to do a feature on Kool Projects as well as BOTMs ;)
I have been enjoying your build since the start.
Now Back To Work B)
Dave B) B) B)

Original owner 78 1000 LTD
Mr Turbo Race Kit, MTC 1075 Turbo pistons by PitStop Performance , Falicon Ultra Lite Super Crank, APE everything. Les Holt @ PDM's Billet Goodies . Frame by Chuck Kurzawa @ Logghe Chassis . Deep sump 5qt oil pan. RIP Bill Hahn

Please Log in or Create an account to join the conversation.

'76 KZ900 (ZRX1200R) Build 05 Oct 2015 04:24 #693398

  • NakedFun
  • NakedFun's Avatar Topic Author
  • Offline
  • User
  • Posts: 1095
  • Thank you received: 99

Street Fighter LTD wrote: Hi Cory
Hope you are on high ground with all the rain hitting your area.
Maybe we need to do a feature on Kool Projects as well as BOTMs ;)
I have been enjoying your build since the start.
Now Back To Work B)
Dave B) B) B)


Thanks Dave for the kind words. Yes, we have survived due to sandy soil and "higher" ground here in the low country. Once I get eh foam worked out, will just need to glass the storage pocket into the tail and then the bike will be in pieces for powder coating, so won't be much to see!

Cory
2008 Kawasaki Concours 14
1999 Kawasaki ZRX1100
1976 Kawasaki KZ900

Please Log in or Create an account to join the conversation.

Powered by Kunena Forum