- Posts: 103
- Thank you received: 10
1974 KZ400 Cafe Racer Build
- KZCafeChickNJ
-
 Topic Author
- Offline
- User
Nerdy wrote: I went back through the thread but didn't see how you lowered the instruments. Given the other work you've done so far I suspect you made a custom bracket. Can you give a quick description? TIA!
I had a couple pics of it posted, but that was back when I was still posting the link photos, so you would have had to search through every pic to find them. My bad. I'll post the pics in this message.
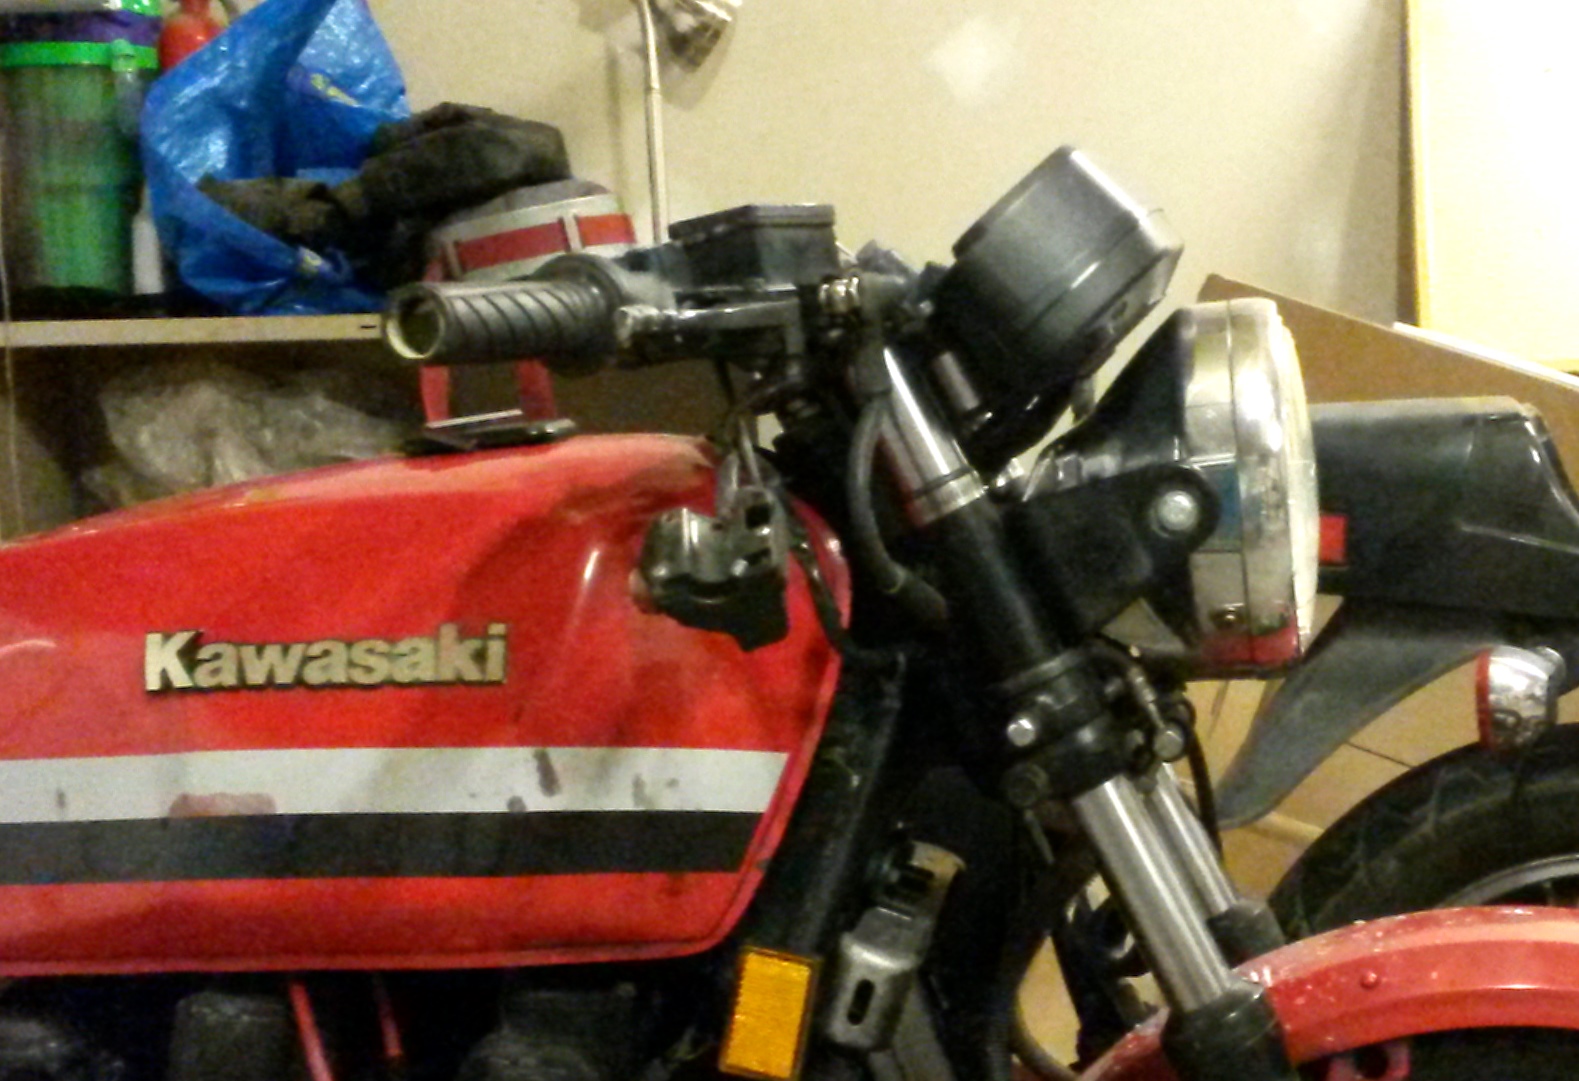
I had considered making a bracket, but went with what I think is a cleaner way. I used 2 pieces of spacer stock (I can't remember the exact length, but I can measure them later if you'd like), drilled holes through the plastic bezel on the centerline with the holes in the metal gauge bracket. I bought longer button head bolts to run through the stock gauge mounting holes in the triple tree, So it goes like this from top to bottom; Long button head bolts go through a washer, then through the original rubber vibration insulator, then through triple tree, then through the bottom rubber insulator, washer, spacer stock, gauge cluster, nylon lock nuts on the bottom of the metal gauge plate.
PS: I've since replaced those gnarly handlebar clamp bolts with fresh stainless units.
1974 KZ400 Cafe Racer
1978 KZ650SR
Please Log in or Create an account to join the conversation.
- GPzMOD750
-

- Offline
- User
- Posts: 1365
- Thank you received: 148
Please Log in or Create an account to join the conversation.
- Nerdy
-

- Offline
- Sustaining Member
- Posts: 1034
- Thank you received: 399
KZCafeChickNJ wrote:
Nerdy wrote: I went back through the thread but didn't see how you lowered the instruments. Given the other work you've done so far I suspect you made a custom bracket. Can you give a quick description? TIA!
I had a couple pics of it posted, but that was back when I was still posting the link photos, so you would have had to search through every pic to find them. My bad. I'll post the pics in this message.
No, *my* bad. I did see the pictures - looked at all of them - but when I got to those I was distracted by the differences between the '74s and the '79s. The spacers kind of registered but not really. In conclusion: d'oh.
I had considered making a bracket, but went with what I think is a cleaner way. I used 2 pieces of spacer stock (I can't remember the exact length, but I can measure them later if you'd like), drilled holes through the plastic bezel on the centerline with the holes in the metal gauge bracket. I bought longer button head bolts to run through the stock gauge mounting holes in the triple tree, So it goes like this from top to bottom; Long button head bolts go through a washer, then through the original rubber vibration insulator, then through triple tree, then through the bottom rubber insulator, washer, spacer stock, gauge cluster, nylon lock nuts on the bottom of the metal gauge plate.
Thank you very much for the explanation! I'm not sure yet if I'll go the spacer route or modify the bracket. My OE bracket is a little misshapen so I'll have to get it apart and then see what's what.
PS: I've since replaced those gnarly handlebar clamp bolts with fresh stainless units.
Thought you might have. :laugh:
1967 Yamaha YCS1 Bonanza
1980 KZ440B
1981 Yamaha XT250H
1981 KZ440 LTD project bike
1981 GPz550
2013 Yamaha FZ6R
Please Log in or Create an account to join the conversation.
- KZCafeChickNJ
-
 Topic Author
- Offline
- User
- Posts: 103
- Thank you received: 10
GPzMOD750 wrote: I used pretty much the same technique to drop my instruments. I dropped the headlight about an inch too.
Nice! It certainly makes a big difference. I lowered my headlight too, and replaced it with a smaller headlight from a '72-'73 SL350 that we were parting out.
1974 KZ400 Cafe Racer
1978 KZ650SR
Please Log in or Create an account to join the conversation.
- KZCafeChickNJ
-
 Topic Author
- Offline
- User
- Posts: 103
- Thank you received: 10
Nerdy wrote:
KZCafeChickNJ wrote:
Nerdy wrote: I went back through the thread but didn't see how you lowered the instruments. Given the other work you've done so far I suspect you made a custom bracket. Can you give a quick description? TIA!
I had a couple pics of it posted, but that was back when I was still posting the link photos, so you would have had to search through every pic to find them. My bad. I'll post the pics in this message.
No, *my* bad. I did see the pictures - looked at all of them - but when I got to those I was distracted by the differences between the '74s and the '79s. The spacers kind of registered but not really. In conclusion: d'oh.
I had considered making a bracket, but went with what I think is a cleaner way. I used 2 pieces of spacer stock (I can't remember the exact length, but I can measure them later if you'd like), drilled holes through the plastic bezel on the centerline with the holes in the metal gauge bracket. I bought longer button head bolts to run through the stock gauge mounting holes in the triple tree, So it goes like this from top to bottom; Long button head bolts go through a washer, then through the original rubber vibration insulator, then through triple tree, then through the bottom rubber insulator, washer, spacer stock, gauge cluster, nylon lock nuts on the bottom of the metal gauge plate.
Thank you very much for the explanation! I'm not sure yet if I'll go the spacer route or modify the bracket. My OE bracket is a little misshapen so I'll have to get it apart and then see what's what.
PS: I've since replaced those gnarly handlebar clamp bolts with fresh stainless units.
Thought you might have. :laugh:
I'm glad my explanation worked out. Sometimes it's hard to convey mechanical details with the written word. I gave it quite a bit of thought before choosing the spacer method. Since I was dead set on retaining the stock gauges and cluster as well as the stock appearance, the spacers were really my only option.
1974 KZ400 Cafe Racer
1978 KZ650SR
Please Log in or Create an account to join the conversation.
- GPzMOD750
-

- Offline
- User
- Posts: 1365
- Thank you received: 148
KZCafeChickNJ wrote: Nice! It certainly makes a big difference. I lowered my headlight too, and replaced it with a smaller headlight from a '72-'73 SL350 that we were parting out.
I used some scrap from work as spacers. I replaced the square headlight with a round one from a Spectre. I flipped over the mounts and cut off the long end.I split them at the seams for about 1 1/2". I then put some silicone wrap on the forks and then clamped them on with hose clamps until I come up with something better.
Please Log in or Create an account to join the conversation.
- KZCafeChickNJ
-
 Topic Author
- Offline
- User
- Posts: 103
- Thank you received: 10
1974 KZ400 Cafe Racer
1978 KZ650SR
Please Log in or Create an account to join the conversation.
- ThatGPzGuy
-

- Offline
- Sustaining Member
- More Sparky than Speed Racer
- Posts: 1484
- Thank you received: 385
Jim
North GA
2016 Yamaha FJR1300ES
1982 GPz750 R1
1974 Kawasaki H1
1976 Kawasaki KZ400
1979 Yamaha XS650 cafe'
2001 KZ1000P
2001 Yamaha YZ426
1981 Honda XR200 stroked in an '89 CR125 chassis
1965 Mustang
1967 Triumph GT6
1976 Bronco
"If you didn't build it, it's not really yours"
Please Log in or Create an account to join the conversation.
- KZCafeChickNJ
-
 Topic Author
- Offline
- User
- Posts: 103
- Thank you received: 10
ThatGPzGuy wrote: Looking really good CafeChick. Can't wait to see it finished.
Thanks!
It runs awesome and growls like a snarling dog with just a little touch of the throttle. I couldn't be any happier with how it turned out. :woohoo:
1974 KZ400 Cafe Racer
1978 KZ650SR
Please Log in or Create an account to join the conversation.
- TexasKZ
-

- Offline
- Platinum Member
- Posts: 7584
- Thank you received: 2235
1982 KZ1000 LTD parts donor
1981 KZ1000 LTD awaiting resurrection
2000 ZRX1100 not ridden enough
Please Log in or Create an account to join the conversation.
- KZJOE900
-

- Offline
- Admin
Current project 76 KZ900 (This was a Vetter model)
76 KZ900
81 XJ550H SECA (Current Project)
82 XJ550R SECA
Past:
86 FJ1200
74 Z1900
72 CB450
Please Log in or Create an account to join the conversation.
- KZCafeChickNJ
-
 Topic Author
- Offline
- User
- Posts: 103
- Thank you received: 10
KZJOE900 wrote: Came out awesome! Do you know how much weight you shed off of it? Looks nice and light like a proper cafe motorcycle. Should be a quick little bike. Hope you get some riding time in before the weather turns.
Thanks Texas and Joe.
1974 KZ400 Cafe Racer
1978 KZ650SR
Please Log in or Create an account to join the conversation.

