- Posts: 2440
- Thank you received: 28
A Newbies Adventures in Maintenanceland!
- TeK9iNe
-

- Offline
- User
- What did you do!?!
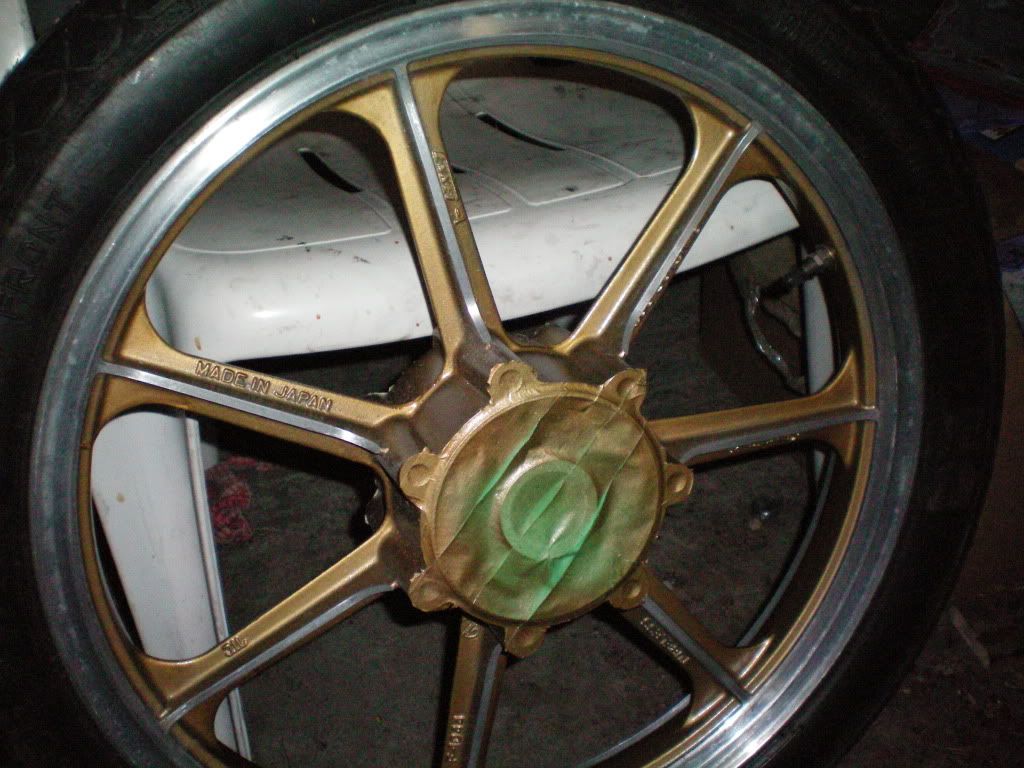
I was using a duplicolor spray can, but now that I think about it the can was cold, I tried to warm it up quickly but I think it must have been too cold still so pressure must have been low. I will sand the stuff off and try again with a can that is nice and warm and see how it goes
Ah... the old duplicolor.
When applied correctly, the dupe will look pretty good however, the smallest littlist tiniest drop of ANYTHING ie.(carb cleaner/break cleaner/fuel of any make/any petroleum based crap...) will make it smear and run all over INSTANTLY. Essentially destroying it INSTANTLY.
DID I SAY INSTANTLY. I hate it.
Side covers ok maybe. Tank - NO. If your clumsy with the tank and stuff or get gas on your hands occasionally and so much as brush the side covers - then NO.
Sorry if i'm bursting bubble here, but I say 2-part automotive clear for everything.
Cheers bud.
Motorcycle Shop Owner/Operator
79 Kawie Z1000 LTD
81 Kawie Z1000 CSR
83 Honda VT750C A
85 Kawie GPZ900 A2
86 Zukie GS1150 EG
93 Yamie XV1100 E
Lucky to have rolled many old bikes through my doors
Please Log in or Create an account to join the conversation.
- 9am53
-
 Topic Author
- Offline
- User
- homebrew, and some bbq
- Posts: 1802
- Thank you received: 3
 anyways, I will sand off the orange peel and try it with the duPont urethane I got...
 '84 GPz900r
'71 CB350
s289.photobucket.com/albums/ll231/9am53/
Please Log in or Create an account to join the conversation.
- 9am53
-
 Topic Author
- Offline
- User
- homebrew, and some bbq
- Posts: 1802
- Thank you received: 3
Is it better to put the pads into the calipers, and then slide the calipers over the disc, or would it be better to put one pad on, then put the caliper over the rotor, and then install the other pad so that it's all together.
Anyways, off topic, but for you cannucks, the blind hole bearing puller I got last week is now on sale at princess auto for 50$ off, so you can get it for 100$...the money I am getting back will buy me a timing light (on sale for $39)!
'84 GPz900r
'71 CB350
s289.photobucket.com/albums/ll231/9am53/
Please Log in or Create an account to join the conversation.
- TeK9iNe
-

- Offline
- User
- What did you do!?!
- Posts: 2440
- Thank you received: 28
Is it better to put the pads into the calipers, and then slide the calipers over the disc, or would it be better to put one pad on, then put the caliper over the rotor, and then install the other pad so that it's all together.
Just put the clips and pads in thier holders against the disc.
Then push the capliper piston in some, and then slide it over the pads all at once.
Then once both brakes are installed you can slowly squeeze then repeat on the brakes till they are good and tight.
Cheers.
Motorcycle Shop Owner/Operator
79 Kawie Z1000 LTD
81 Kawie Z1000 CSR
83 Honda VT750C A
85 Kawie GPZ900 A2
86 Zukie GS1150 EG
93 Yamie XV1100 E
Lucky to have rolled many old bikes through my doors
Please Log in or Create an account to join the conversation.
- 9am53
-
 Topic Author
- Offline
- User
- homebrew, and some bbq
- Posts: 1802
- Thank you received: 3
I looked around the garage and found the perfect thing to drive the bearings back in:
It's a threaded PVC coupler of some sort, it was absolutely perfect and got the bearings for the front in no problem.
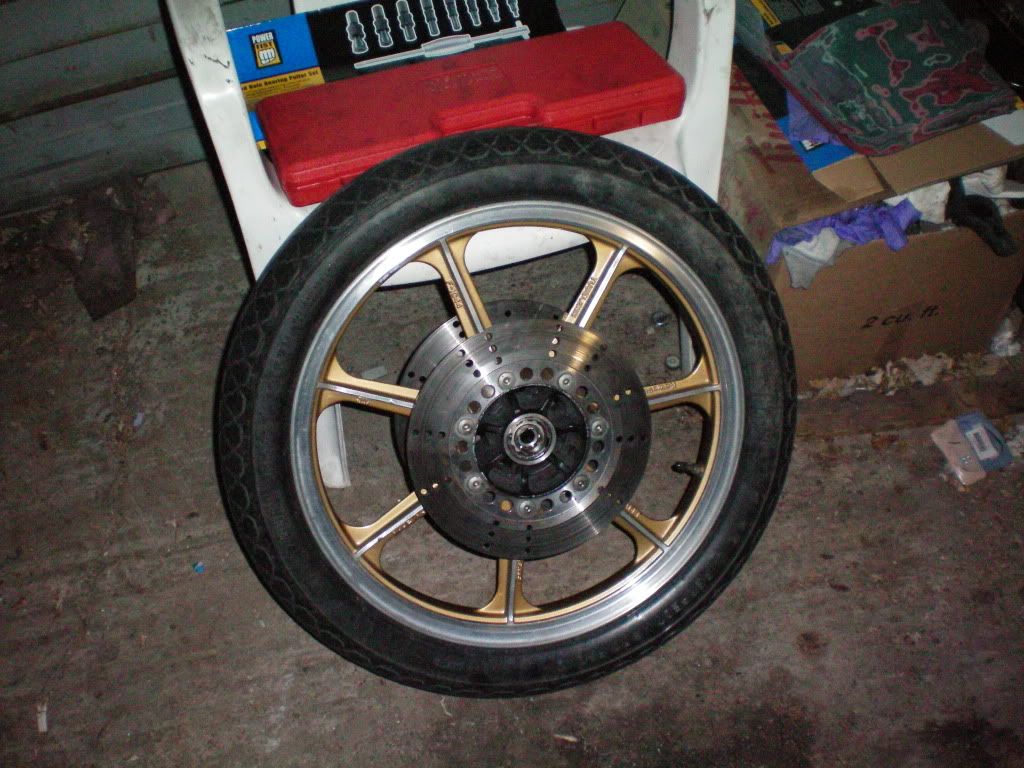
Anyways, here's what I ended up with:
I really like the gold with the silver accents.
Anyways, here's my biznatches and what I look up at to remind me of summer...can't wait!
'84 GPz900r
'71 CB350
s289.photobucket.com/albums/ll231/9am53/
Please Log in or Create an account to join the conversation.
- TeK9iNe
-

- Offline
- User
- What did you do!?!
- Posts: 2440
- Thank you received: 28
:laugh:
Motorcycle Shop Owner/Operator
79 Kawie Z1000 LTD
81 Kawie Z1000 CSR
83 Honda VT750C A
85 Kawie GPZ900 A2
86 Zukie GS1150 EG
93 Yamie XV1100 E
Lucky to have rolled many old bikes through my doors
Please Log in or Create an account to join the conversation.
- 9am53
-
 Topic Author
- Offline
- User
- homebrew, and some bbq
- Posts: 1802
- Thank you received: 3
So, I am now doing arguably the worst part of this project...electrical :blink:
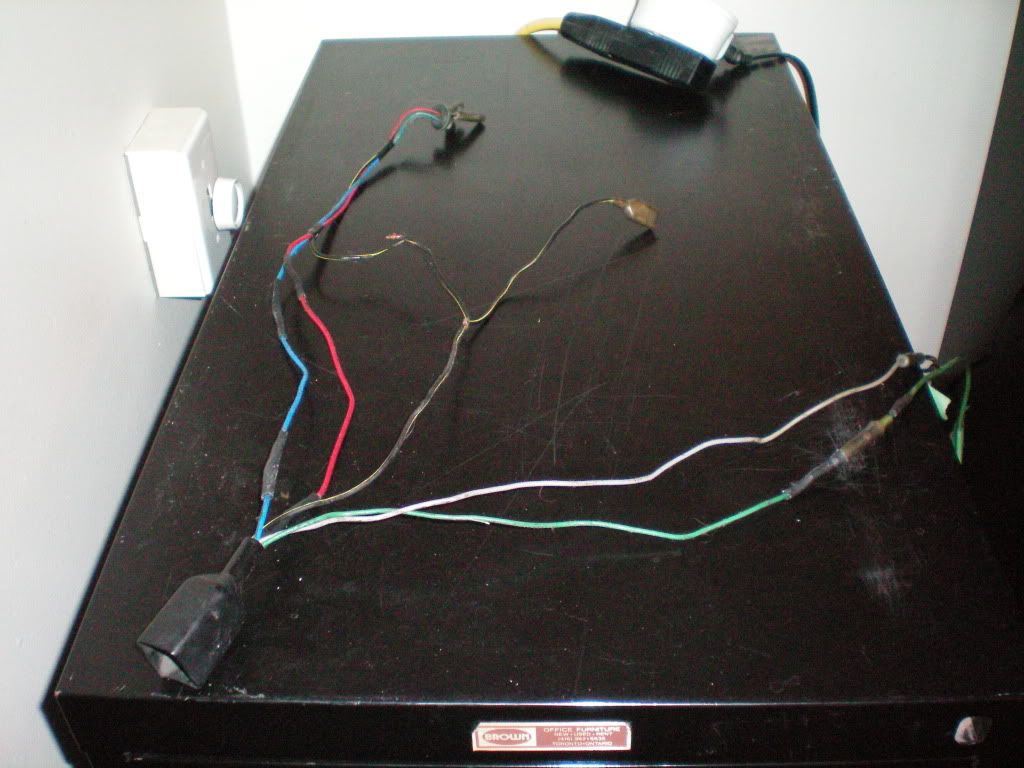
I figured I'd be logical and start at the...back of the bike. I unplugged the connection that leads to the brake light and turn signals. It was really a mess with splices and electrical tape and twisted connections everywhere, but I have managed to chop off all sorts of wires and get it down to this:
I looked at the wiring diagram and it looks like the turn signals actually have a ground wire connection, the bike was wired to ground through the turn signal stem mountings...The pair of wires hanging to the right are the turn signals leads, and the other ones are for the brake light. That spliced black/yellow one is ground I assume right? should it be spliced into 3 and run to the turn signals too? I will post a pic of the wiring diagram when I get to work tomorrow (I have it on my work comp hard drive, but not at home.)
anyways, here I am right now getting ready for bed, have a good night!
'84 GPz900r
'71 CB350
s289.photobucket.com/albums/ll231/9am53/
Please Log in or Create an account to join the conversation.
- 9am53
-
 Topic Author
- Offline
- User
- homebrew, and some bbq
- Posts: 1802
- Thank you received: 3
(click on it to enlarge)
I will splice that ground line into 3 and ground all the lights, not just the brake light, maybe my lights will be brighter now!
'84 GPz900r
'71 CB350
s289.photobucket.com/albums/ll231/9am53/
Please Log in or Create an account to join the conversation.
- Old Man Rock
-
- Offline
- User
- Posts: 6224
- Thank you received: 225
Yes... Black/yellow is ground!
OMR
1976 KZ900-A4
MTC 1075cc.
Camshafts: Kawi GPZ-1100 .375 lift
Head: P&P via Larry Cavanaugh
ZX636 suspension
MIKUNI, RS-34'S...
Kerker 4-1, 1.5" comp baffle.
Dyna-S E.I.
Earls 10 row Oil Cooler
Acewell 2802 Series Speedo/Tach
Innovate LC1 Wideband 02 AFR meter
Phoenix, Az
Please Log in or Create an account to join the conversation.
- 9am53
-
 Topic Author
- Offline
- User
- homebrew, and some bbq
- Posts: 1802
- Thank you received: 3
Dude... you look stoned! What the hell is in that cigar? :ohmy: :laugh: :laugh: :laugh:
Yes... Black/yellow is ground!
OMR
no, I don't do that stuff no more...the cigar has some cuban goodness in it.
I think I will be working on this bikes wiring for some time, the PO really buggered it up. Theres random fuses and splices all over the place. I am sure I will have many more posts with wiring diagrams sorry boys, I hate electrical bs.
'84 GPz900r
'71 CB350
s289.photobucket.com/albums/ll231/9am53/
Please Log in or Create an account to join the conversation.
- TeK9iNe
-

- Offline
- User
- What did you do!?!
- Posts: 2440
- Thank you received: 28
no, I don't do that stuff no more...the cigar has some cuban goodness in it.
I think I will be working on this bikes wiring for some time, the PO really buggered it up. Theres random fuses and splices all over the place. I am sure I will have many more posts with wiring diagrams sorry boys, I hate electrical bs.
:laugh: The electrical is the fun part!
Stick to the wiring diagram for reference, and you shouldn't really have any problems. You don't have to make any special grounds or start splitting wires off and such, the origional setup worked quite well.
The main thing to be sure to do is take apart your instrument pods and the other various switches/connections all over the bike and clean them all very well. In small sections, like you've already started.
Good luck!
...I'll be home on Sunday
Motorcycle Shop Owner/Operator
79 Kawie Z1000 LTD
81 Kawie Z1000 CSR
83 Honda VT750C A
85 Kawie GPZ900 A2
86 Zukie GS1150 EG
93 Yamie XV1100 E
Lucky to have rolled many old bikes through my doors
Please Log in or Create an account to join the conversation.
- 9am53
-
 Topic Author
- Offline
- User
- homebrew, and some bbq
- Posts: 1802
- Thank you received: 3
9am53 wrote:
no, I don't do that stuff no more...the cigar has some cuban goodness in it.
I think I will be working on this bikes wiring for some time, the PO really buggered it up. Theres random fuses and splices all over the place. I am sure I will have many more posts with wiring diagrams sorry boys, I hate electrical bs.
:laugh: The electrical is the fun part!
Stick to the wiring diagram for reference, and you shouldn't really have any problems. You don't have to make any special grounds or start splitting wires off and such, the origional setup worked quite well.
The main thing to be sure to do is take apart your instrument pods and the other various switches/connections all over the bike and clean them all very well. In small sections, like you've already started.
Good luck!
...I'll be home on Sunday
I am not planning on making any special grounds or anything, the PO had cut some ground wires and used the bolts on the turn signal stems as grounds, so am jsut going to put the ground wires back. Under the seat is another story, somebody made chop suey of my wiring, it's no wonder I have poor coil voltage. So you're coming back from florida? it's -12 here right now, enjoy the warm weather while you can!
'84 GPz900r
'71 CB350
s289.photobucket.com/albums/ll231/9am53/
Please Log in or Create an account to join the conversation.

