
Search Results (Searched for: gs swing arm)
Replied by jeffasaki on topic Interesting find on Shadow forum - Z1R??
04 Apr 2012 06:20
My bike is a Z1R
It has the exact rims and swing arm at the moment
I wish I could get this bike
Im gathering all the parts i need to put mine back to a stock bike at the moment
This bike needs to be resurected
I hate it when things I desire are avalaible but so far out of reach
can anyone that has one let me use your transporter
PLEASE Ill pay ya
Replied by zmaniscalco on topic ohlins
02 Apr 2012 20:27yes stock swingarm, new bearing, new steering bearing, new front springs, I will add a damper when I figure out how to mount it.Street Fighter LTD wrote: Boy OH Boy !! I gotta get me a pair of those shocks .
Are you running a stock swing arm ?
Bushing is to come off, part of the shock itself... #22
Babbits
Same time, with your new shock (NON OEM) may not include bushings only internal rubber that slides onto frame stud... Washers/spacers may be required or leave the bushing on... Isn't fabbing fun... :whistle: :laugh: :laugh: :laugh:
Babbits
Same time, with your new shock (NON OEM) may not include bushings only internal rubber that slides onto frame stud... Washers/spacers may be required or leave the bushing on... Isn't fabbing fun... :whistle: :laugh: :laugh: :laugh:
Replied by MFolks on topic wobble when leaning left
01 Apr 2012 17:30
To expand the possible wobble causes:
I copied this from a post from Jeff Saunders (owner of Z1 enterprises)
Motorcycle Wobble Causes
There's a LONG list of potential area that can cause this.
These are not in any particular order
Wheel bearings
Steering bearings - repack grease, check tightness
Swing arm bushings/sleeves/bearings - replace if worn, repack grease
Fork springs aging - check spring length
Unequal fork oil - if seals leak, then your damping can be ineffective
Rear shocks aging, damper leaks - if you have oil leaking from the seals, the damping is toast.
Worn Tires/Mismatched tires/tire pressures/wrong size tires
Wheel alignment - don't trust the chain adjusters - I visually align the wheels.
Bent rims/broken spokes - get the wheels off the ground and spin them - check for runout / damage
Front disc warped - check for runout
Steering & swing arm bearings are very common problems, but so are tire issues (pressure/mismatch) and wheel alignment.
Replied by 650ed on topic wobble when leaning left
31 Mar 2012 20:35
Assuming no fasteners are loose and that the rear wheel is properly aligned - I would check the following:
Tires
Steering stem bearings / adjustment
Swingarm bushings/bearings
Rear shocks
Fork oil type/freshness/level
Any of the above can cause erratic handling. Ed
Tires
Steering stem bearings / adjustment
Swingarm bushings/bearings
Rear shocks
Fork oil type/freshness/level
Any of the above can cause erratic handling. Ed
Replied by tk11b40 on topic 1975 KZ 900 , ZRX Swingarm, 89 GSXR front end
30 Mar 2012 02:28
Agggrrghhhh.
Pretty much over wanting to burn the bike to the ground now. I visited it in the foster home the other day (it is in protective custody).
Next battle.. Lighting. Easy stuff. Track days start soon, then it is shakedown time.
Pretty much over wanting to burn the bike to the ground now. I visited it in the foster home the other day (it is in protective custody).
Next battle.. Lighting. Easy stuff. Track days start soon, then it is shakedown time.
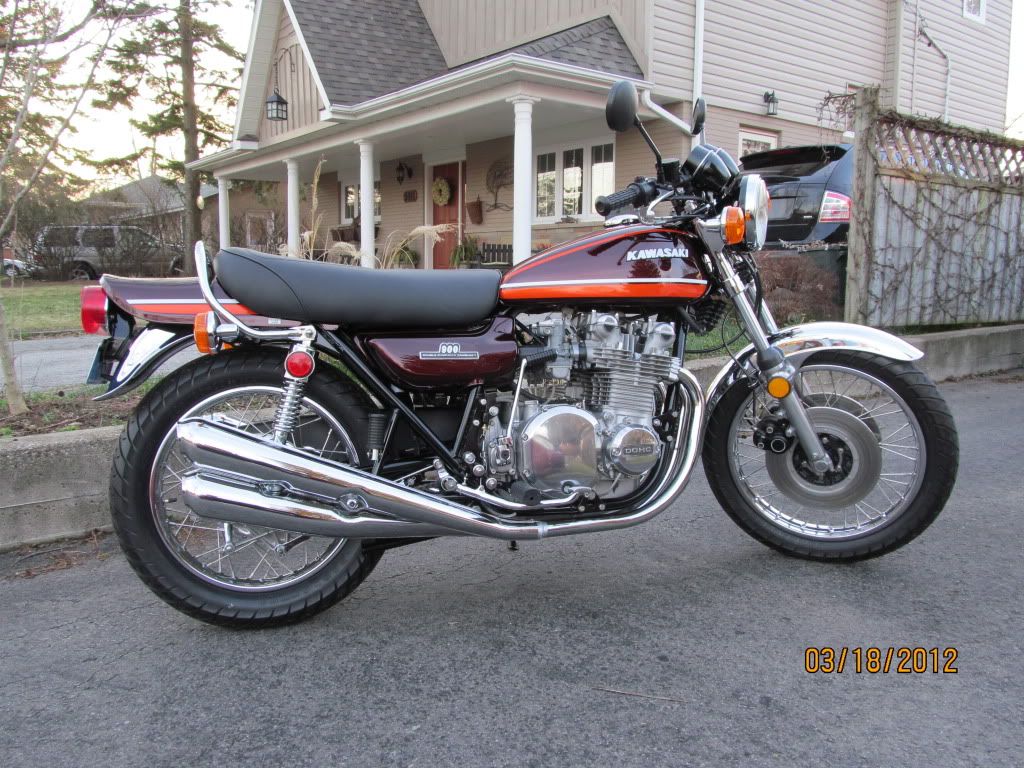
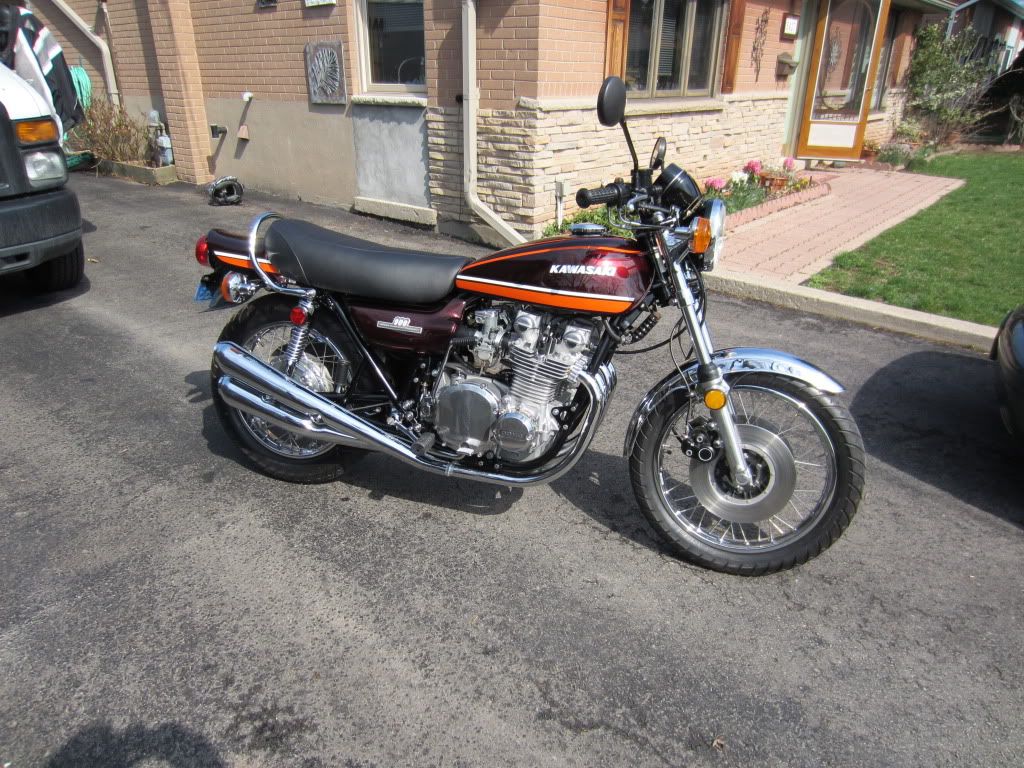
1974 Z1 is done!!! was created by Kawboy74
27 Mar 2012 23:53
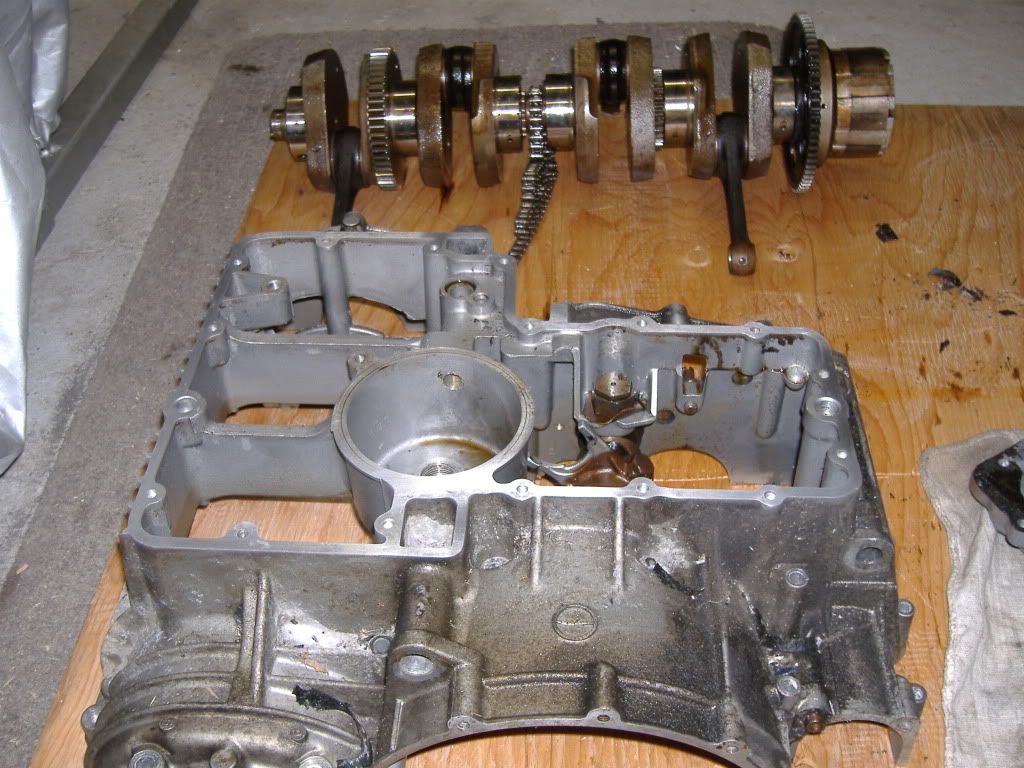
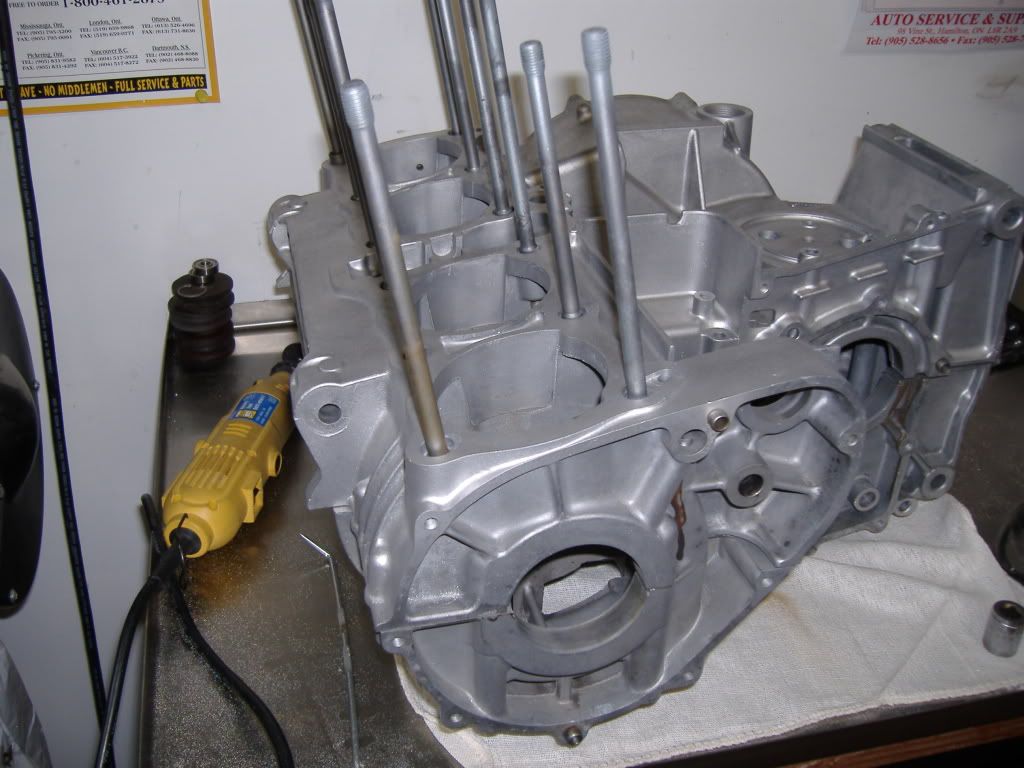
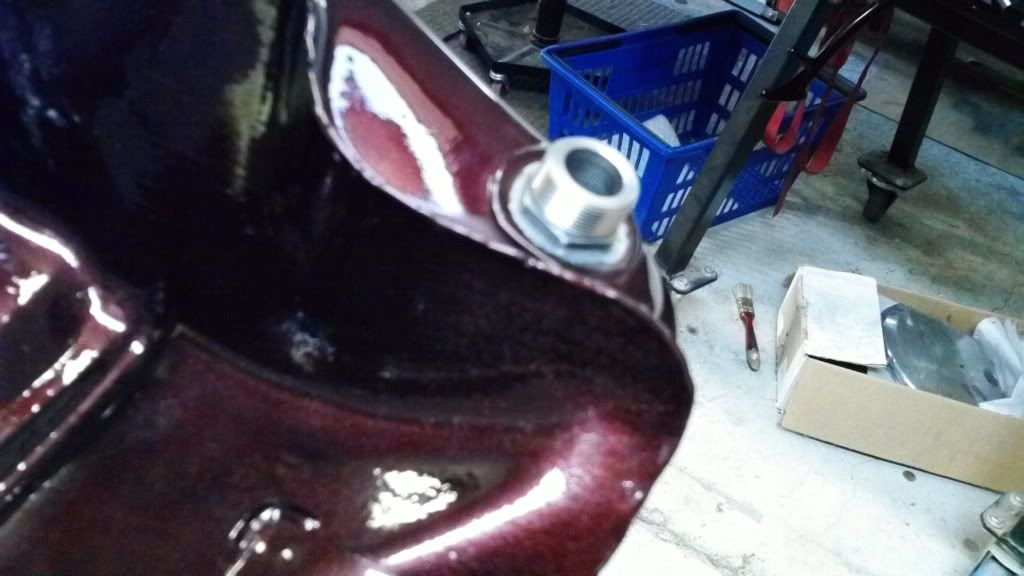
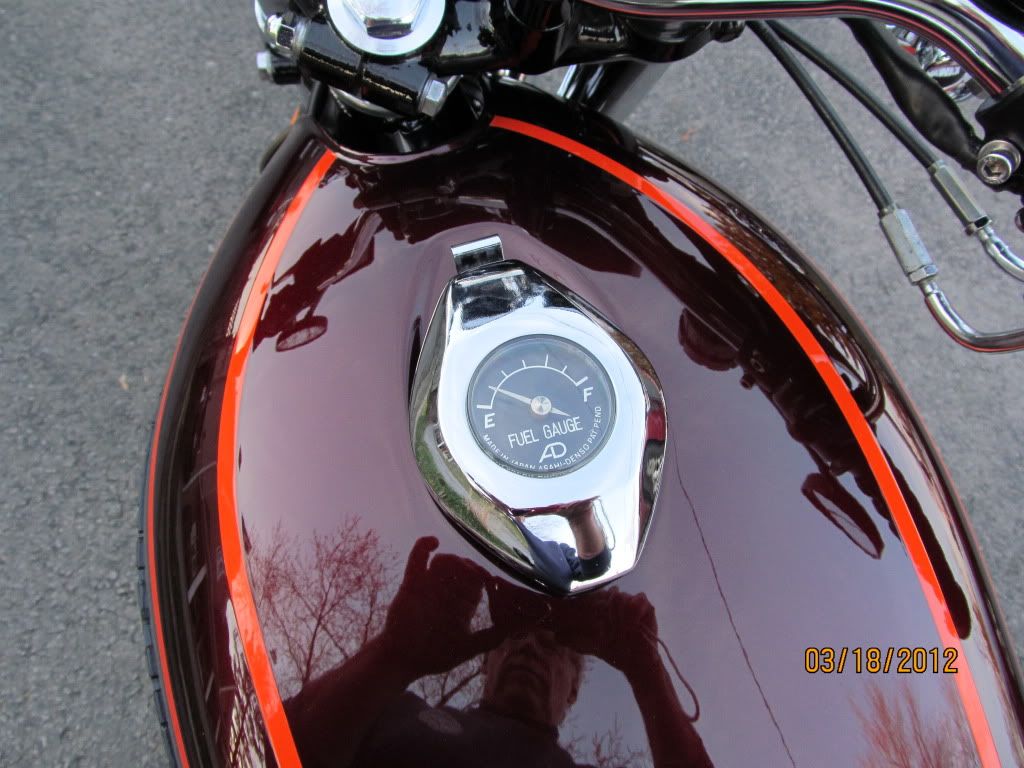
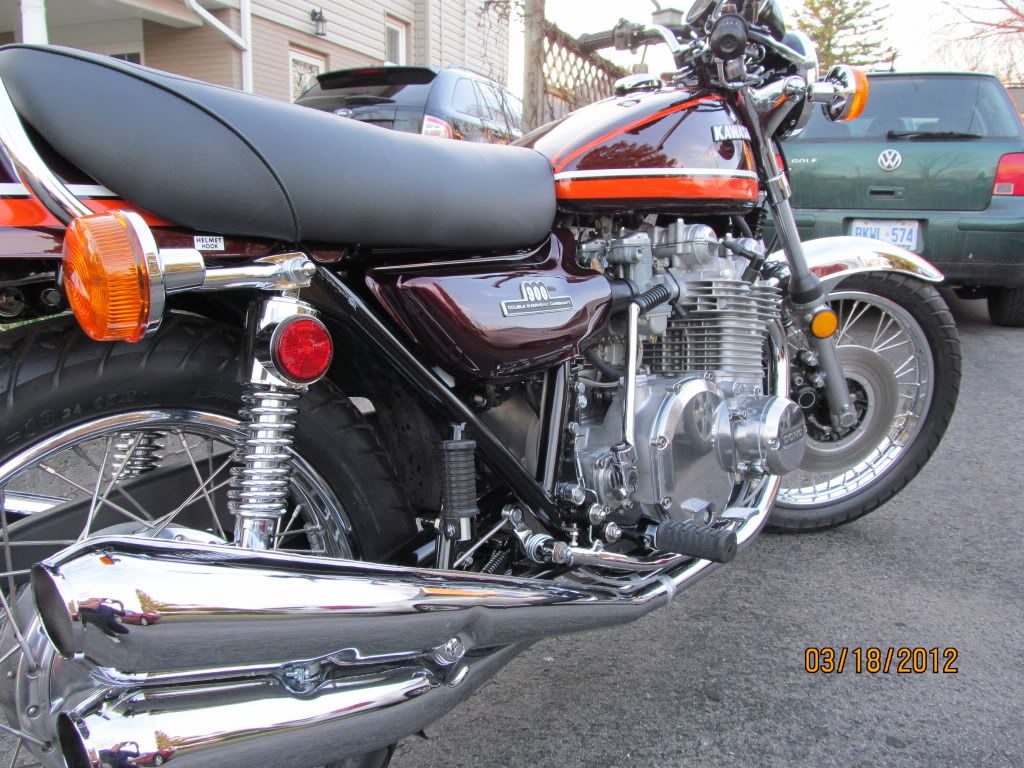
Sorry for not carrying this thread on while I was doing this build guys as I know how addicted we all are for pics! I wasn't really sure this would ever get off the ground initially due to the realization once home of how bad this thing really was! The engine was seized due to being outside under a tarp for 15 years and once the pistons were out found they were water damaged as were the valves.I took my time looking for deals where possible and when frustrated took a break. I want to acknowledge help from good friends with engine assembly and head work as well as a fabulous repair during my gas tank fiasco! The few bolts that broke when disassembling were also dealt with by someone with access to machinery and skills I do not possess. I tried to stay very stock and yet keep it updated where it mattered. Braided lines,dual discs,factory oil cooler,gas cap gauge,Dyna coils and pick up and stainless spokes was pretty much where I strayed but for good reason.The cases, head,cylinders and transmission are all original as are the side cover badges.
I went around the block 10 days ago and this past Sunday put 100 miles on the clock which brought back a lot of memories. I have a first to neutral stiffness issue to work out and throttle cable play adjustment to deal with and so far so good. KZ Rider has been a major stimulator in getting this bike done for sure.
Thanks guys. I will try to update when possible.
David
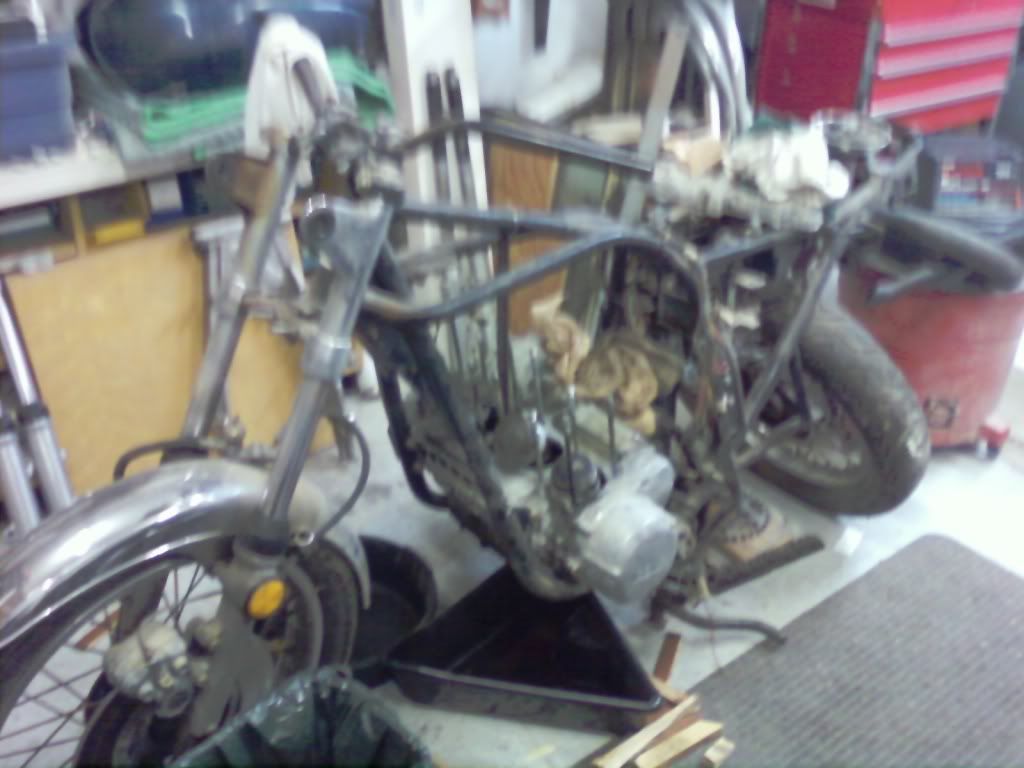
Look what I got a deal on honey!!!!
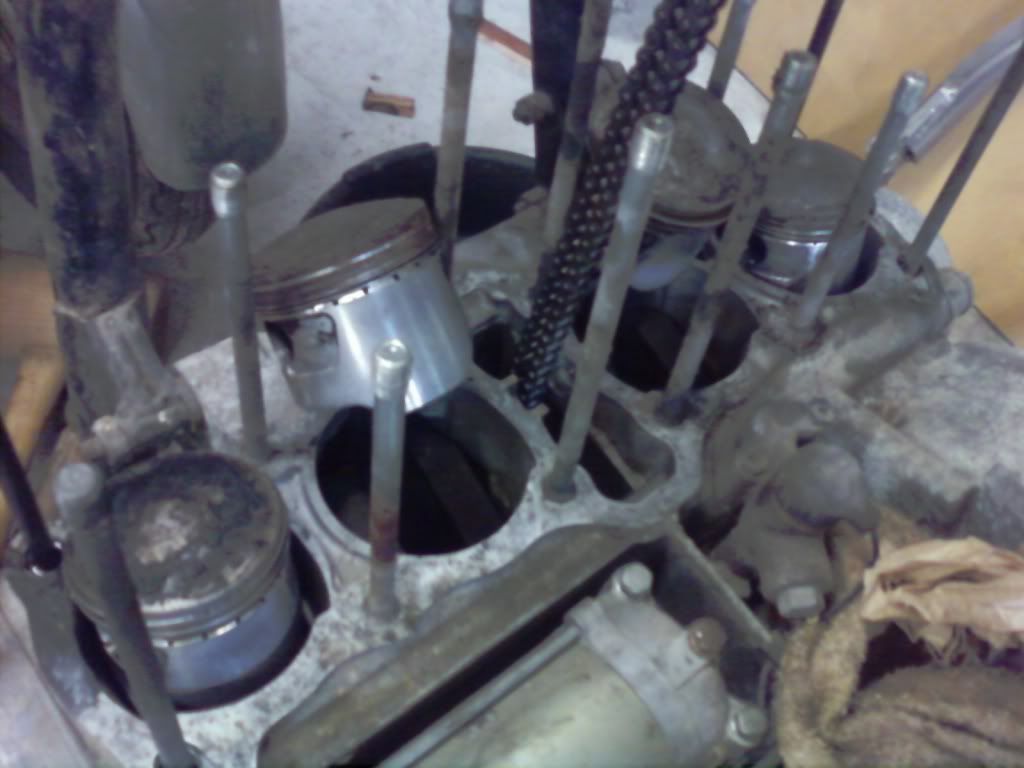
Pistons free but what a mess!!!!
Starting to clean and evaluate parts
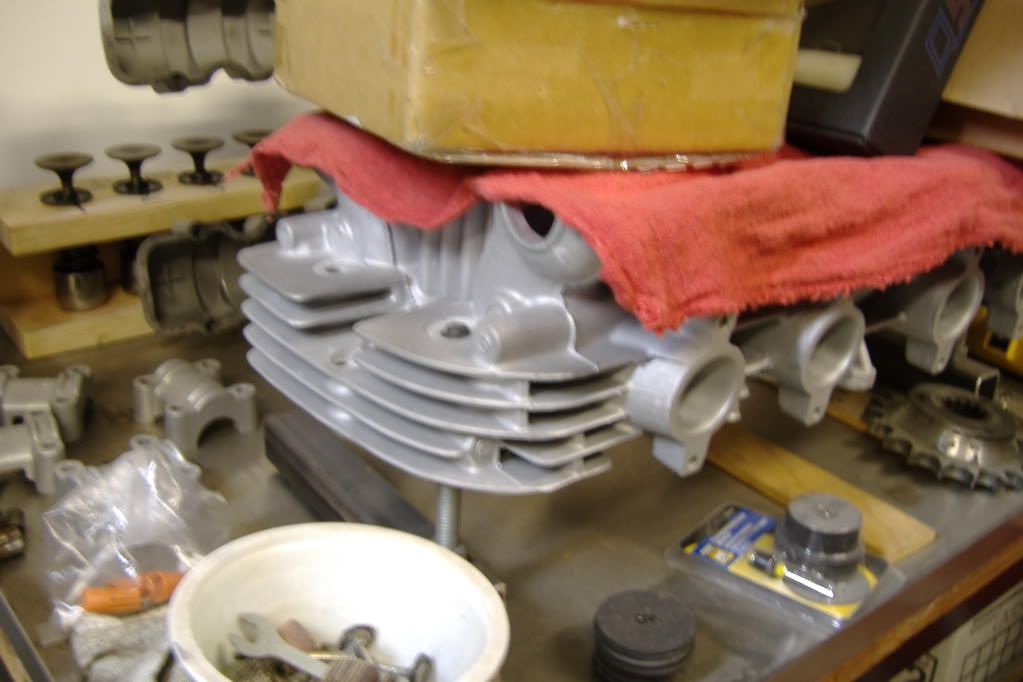
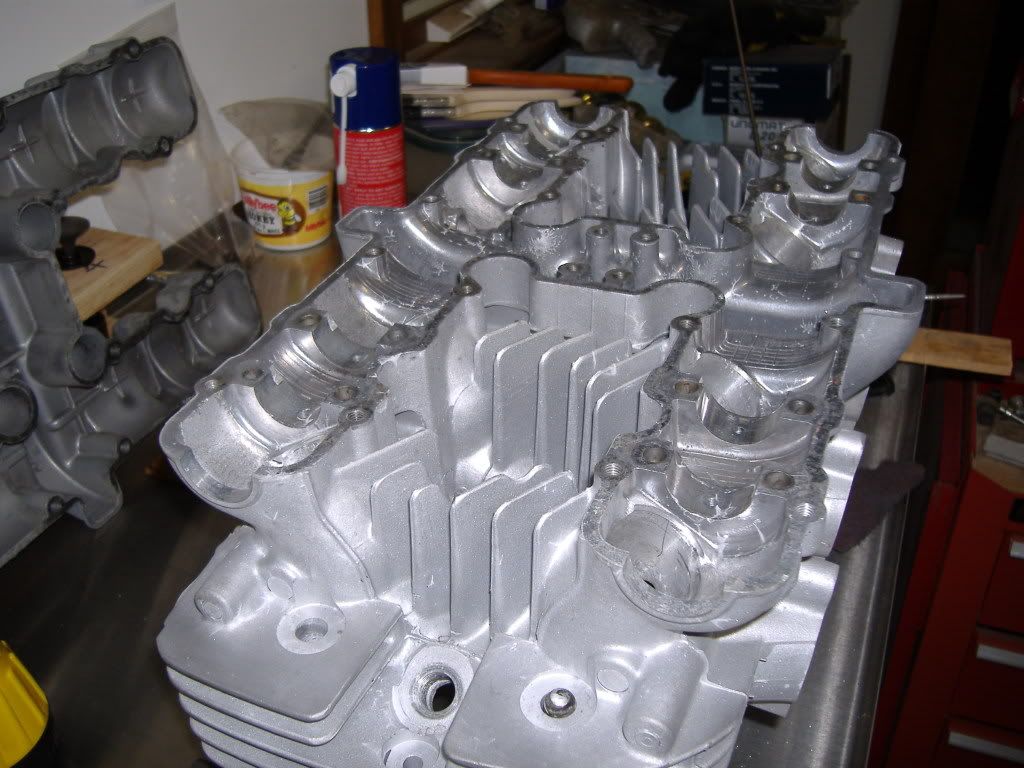
Cylinder head prepped and ready.
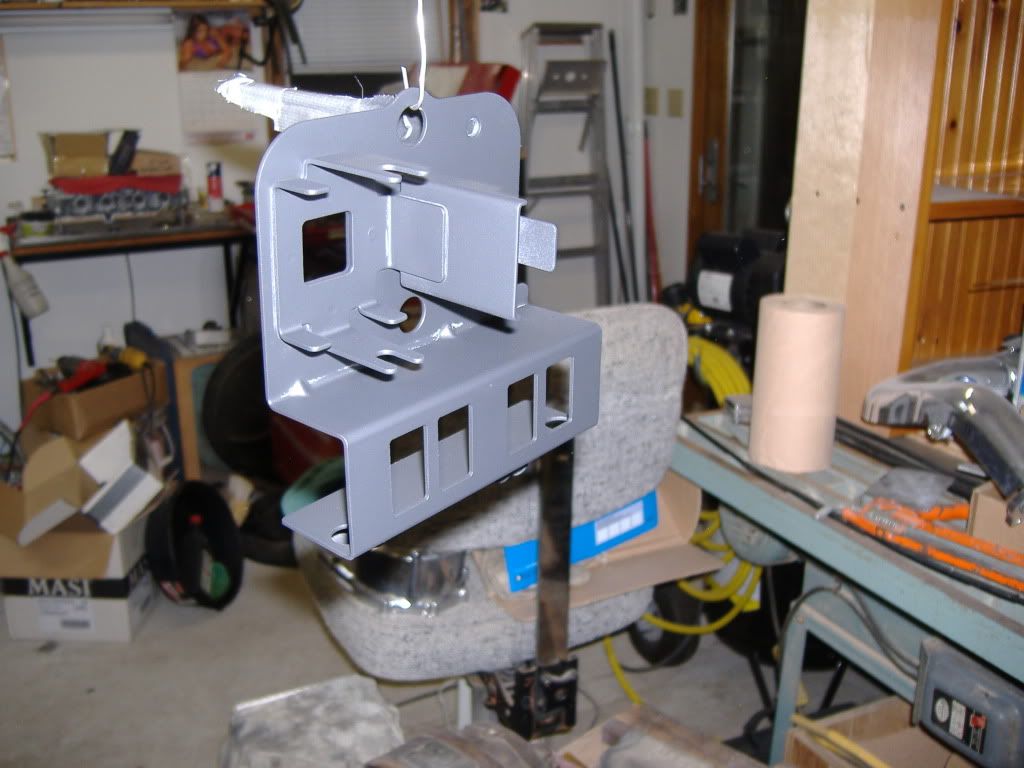
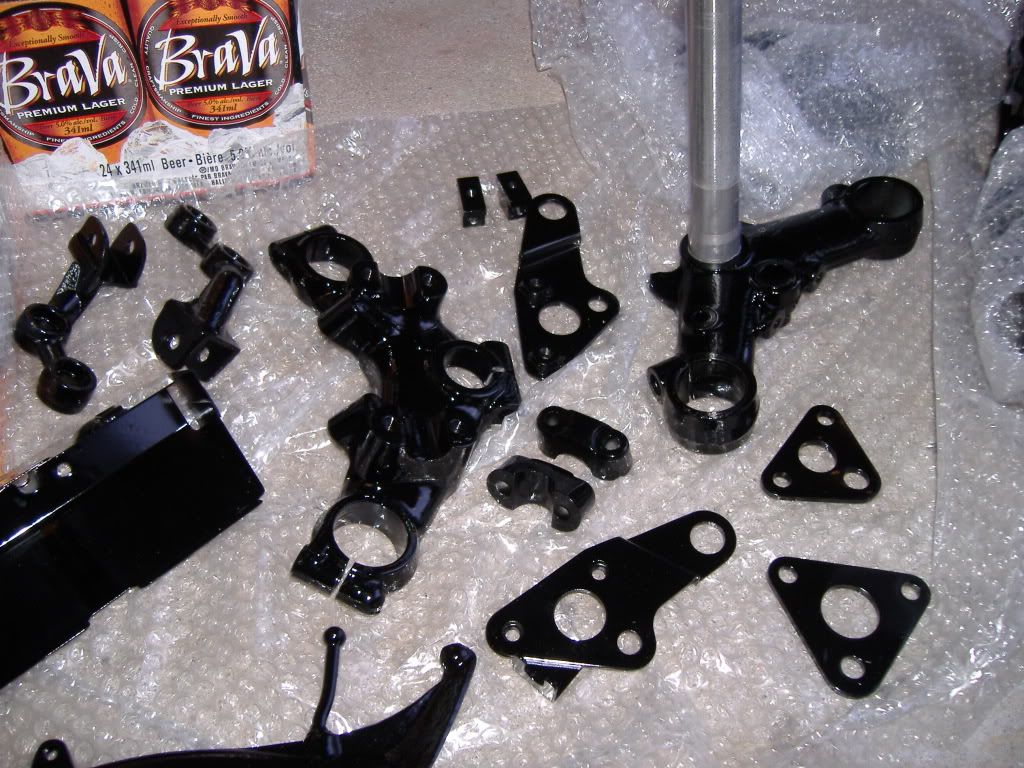
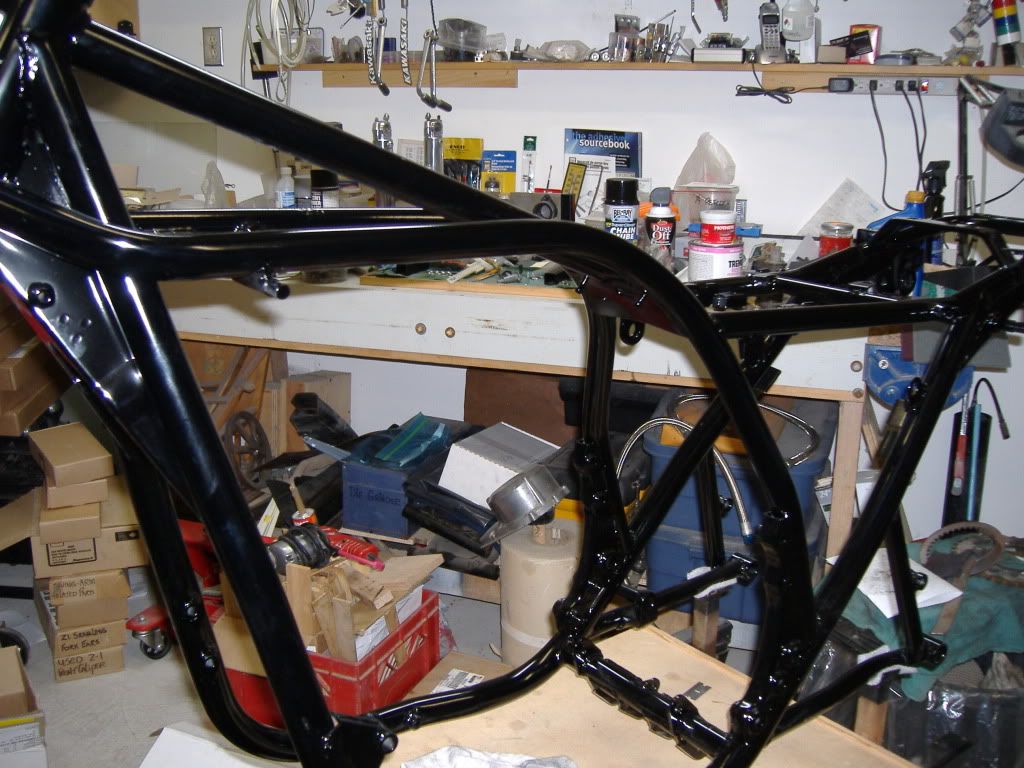
Various parts sandblasted and painted
Cases done
Goodies back from paint shop
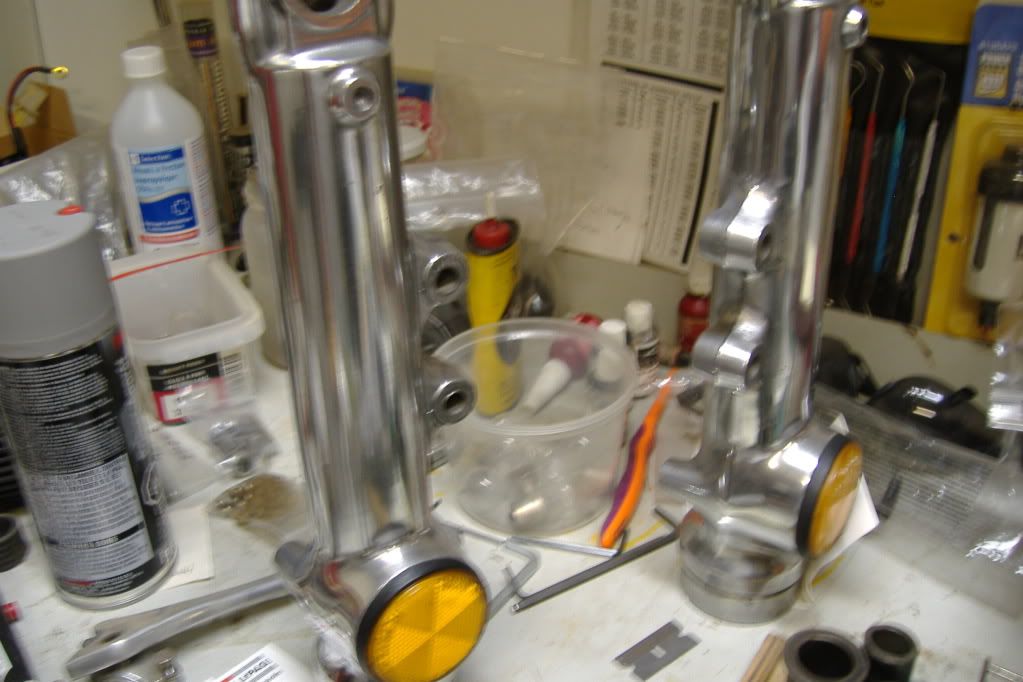
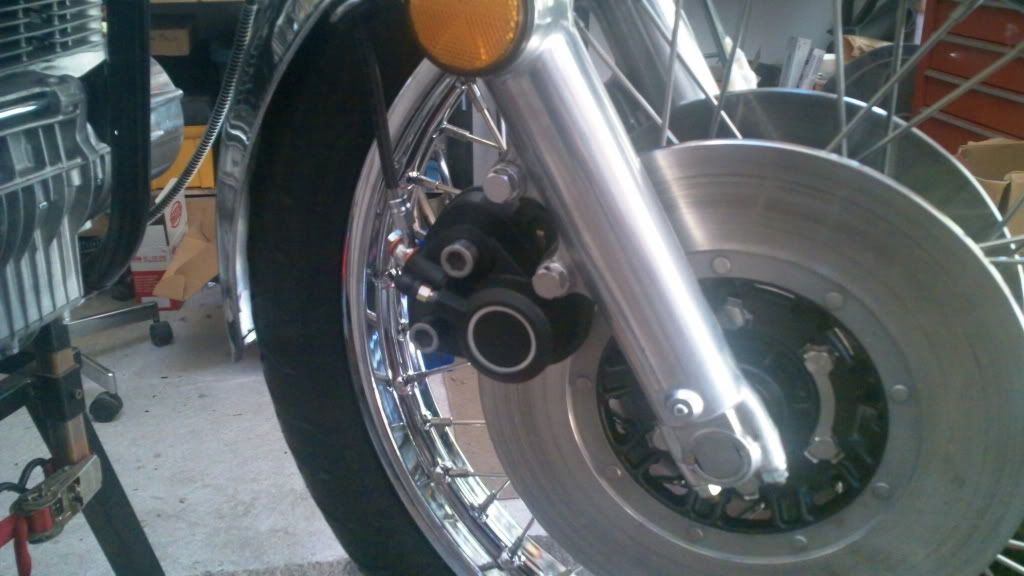
Forks cleaned and polished
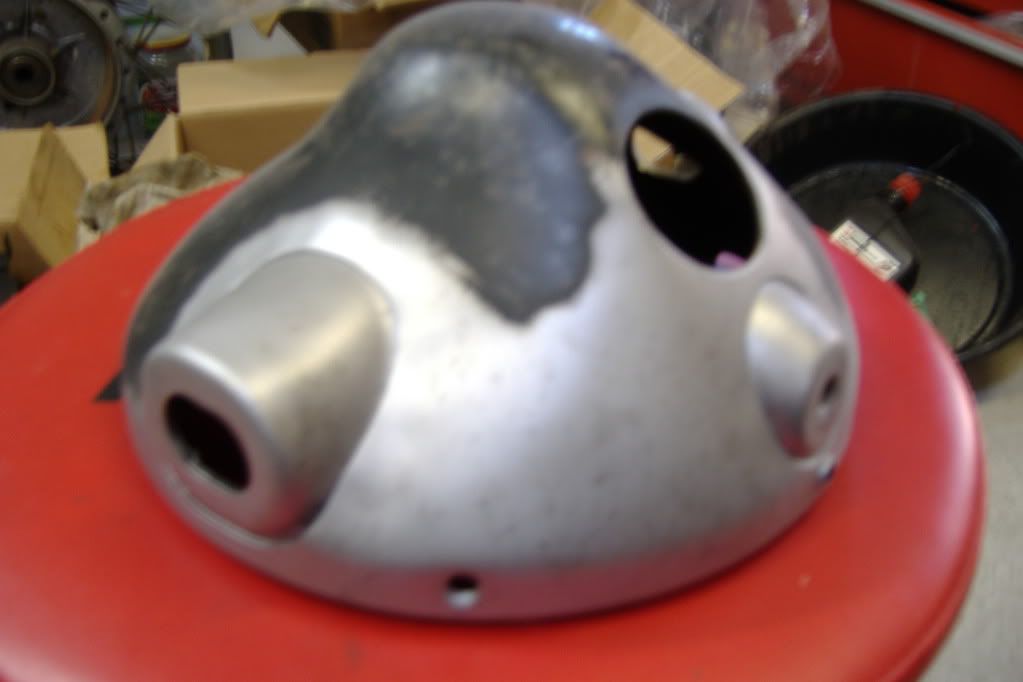
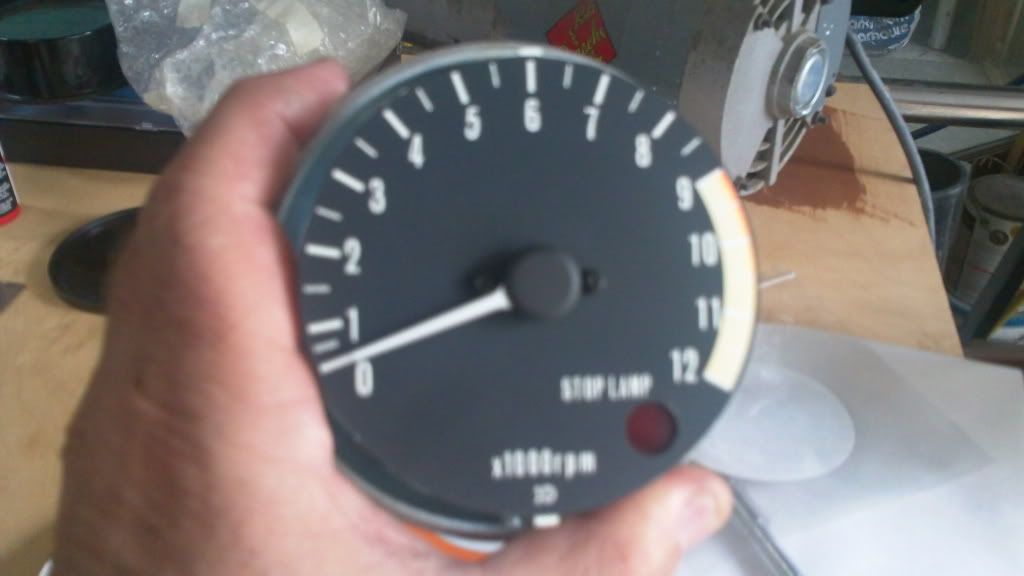
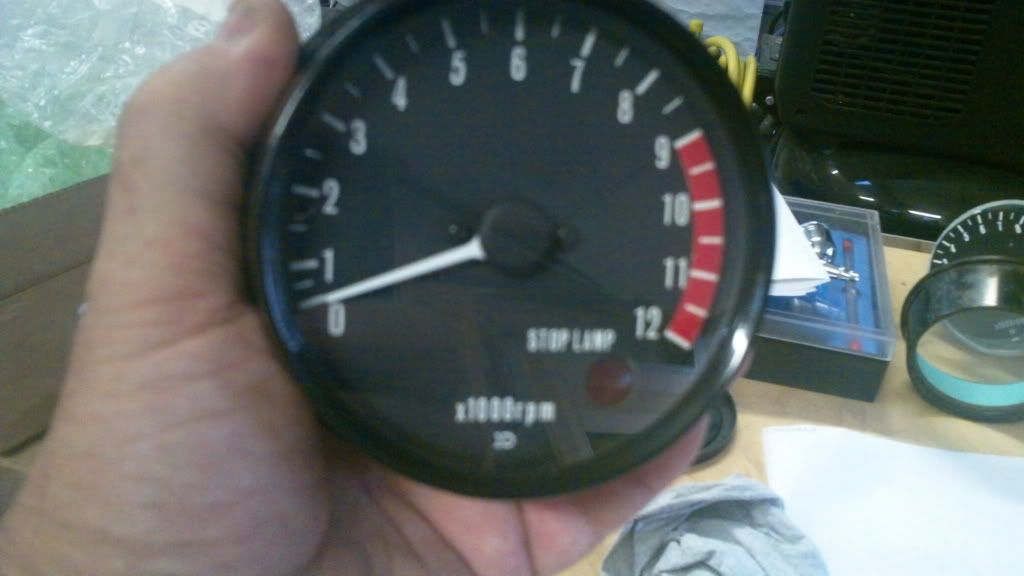
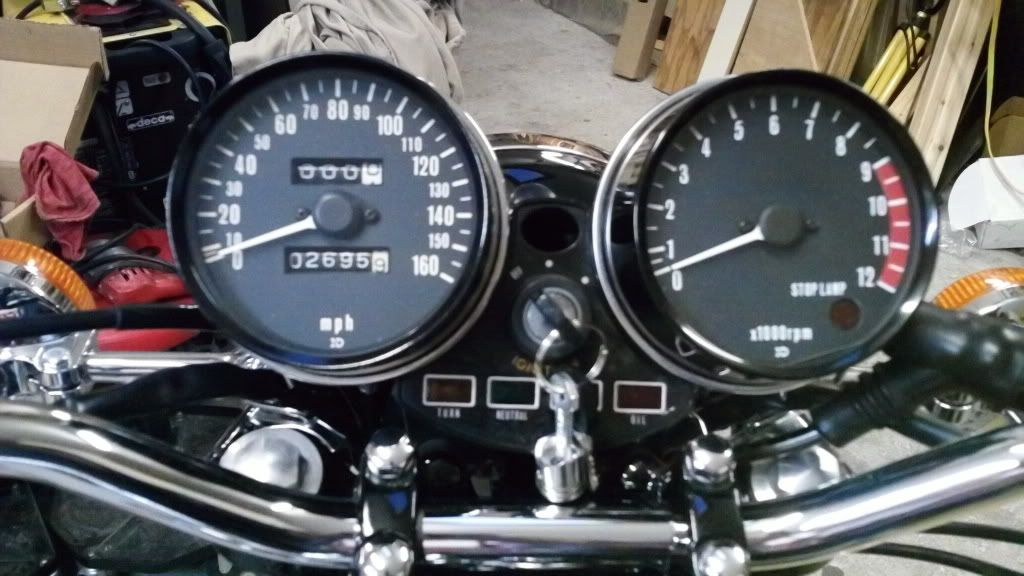
Tach before and after
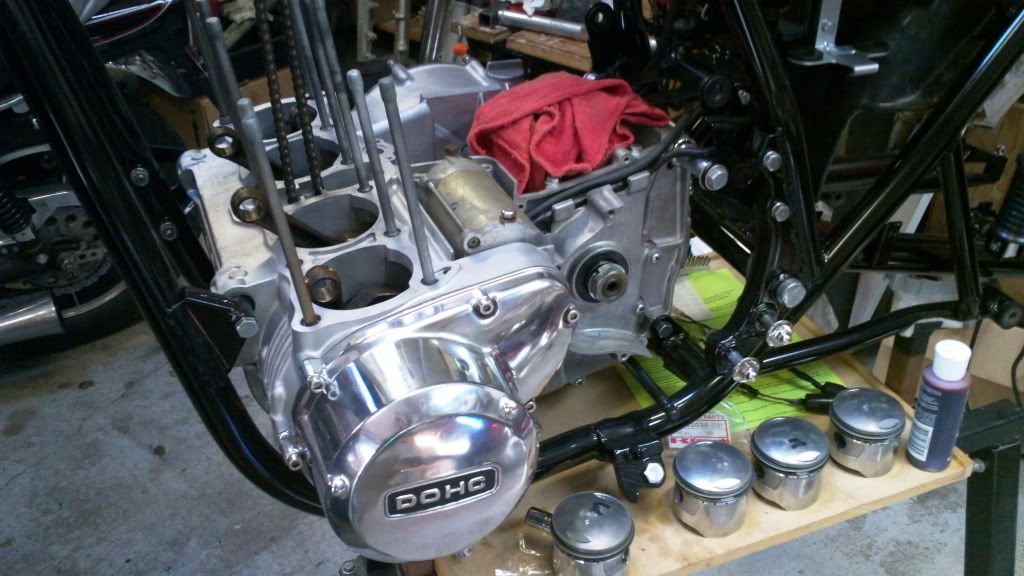
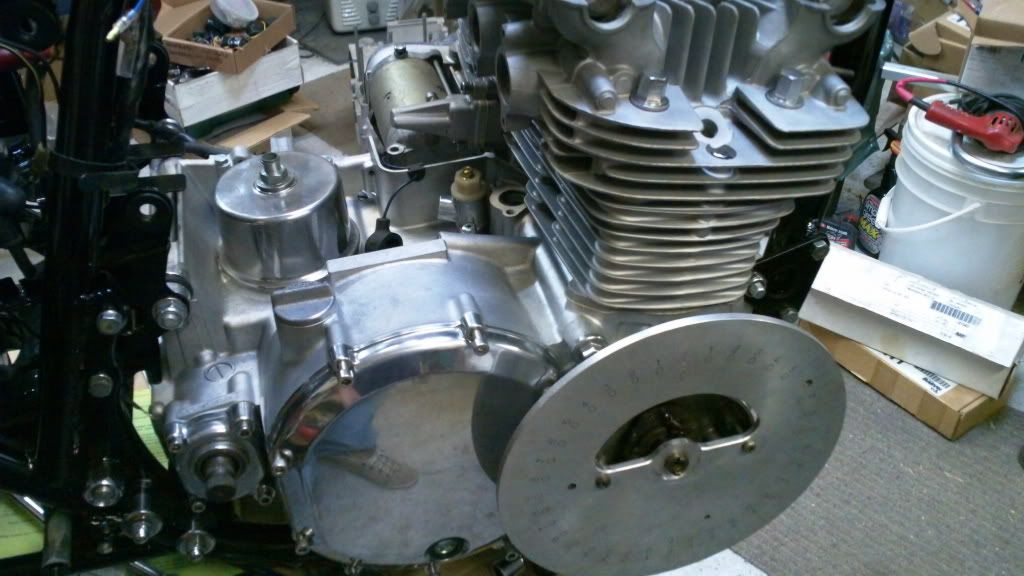
Engine in the frame at last!!
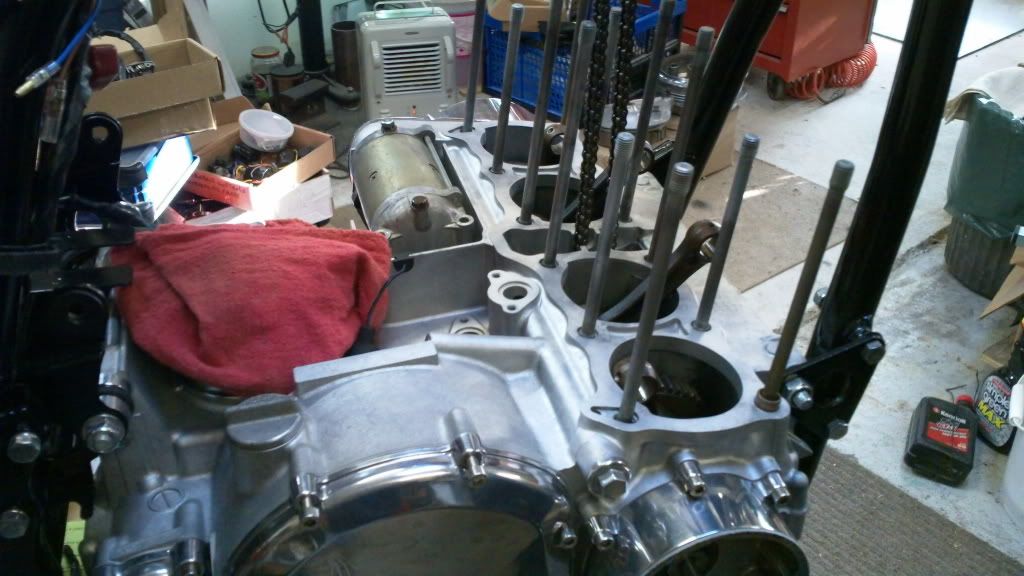
Degreeing the cams was a fabulous bonus!
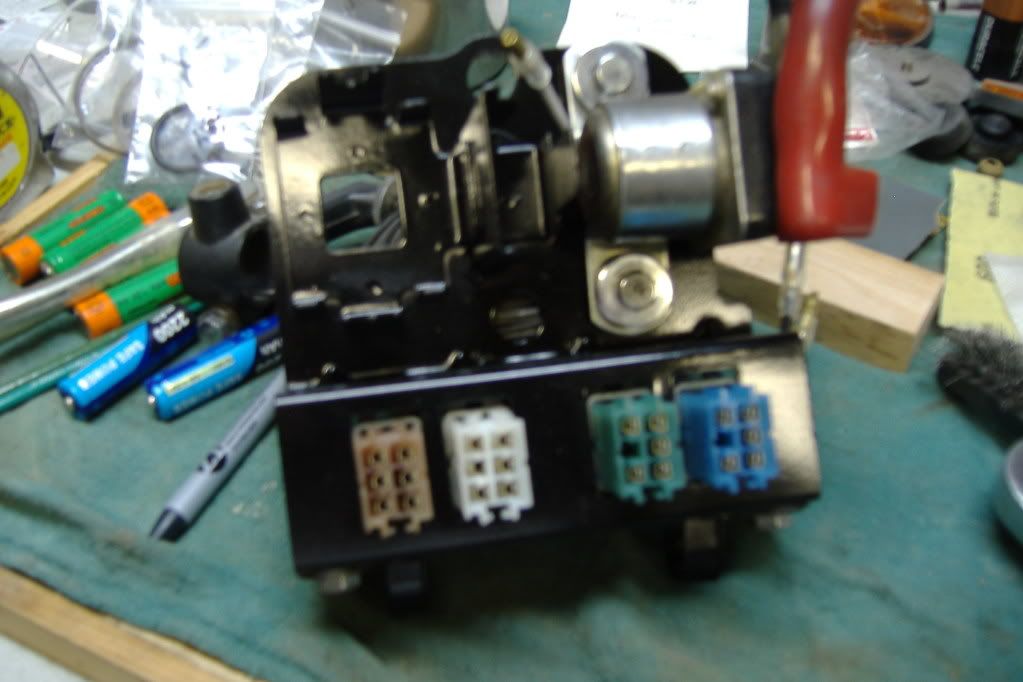
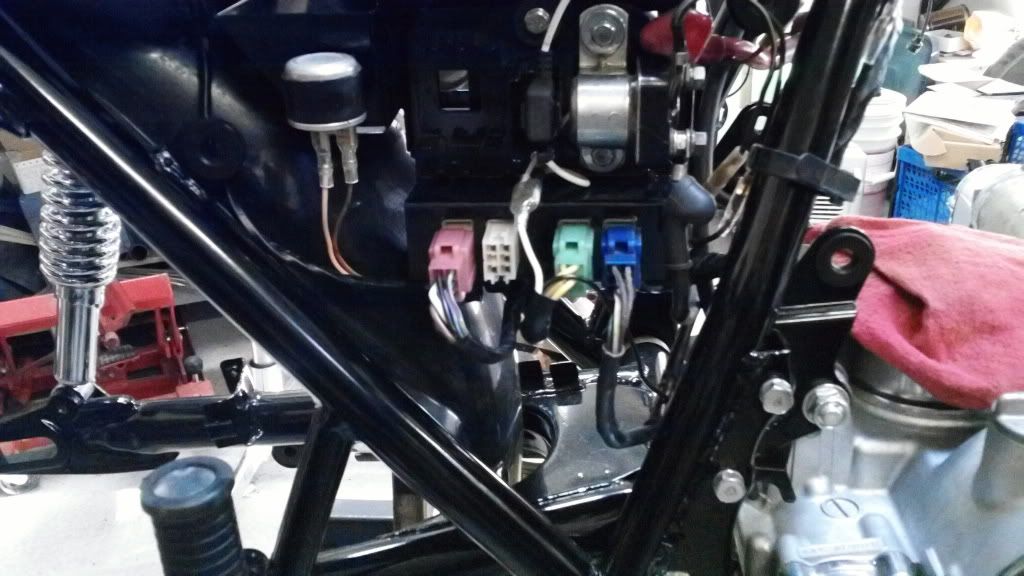
Electrics in
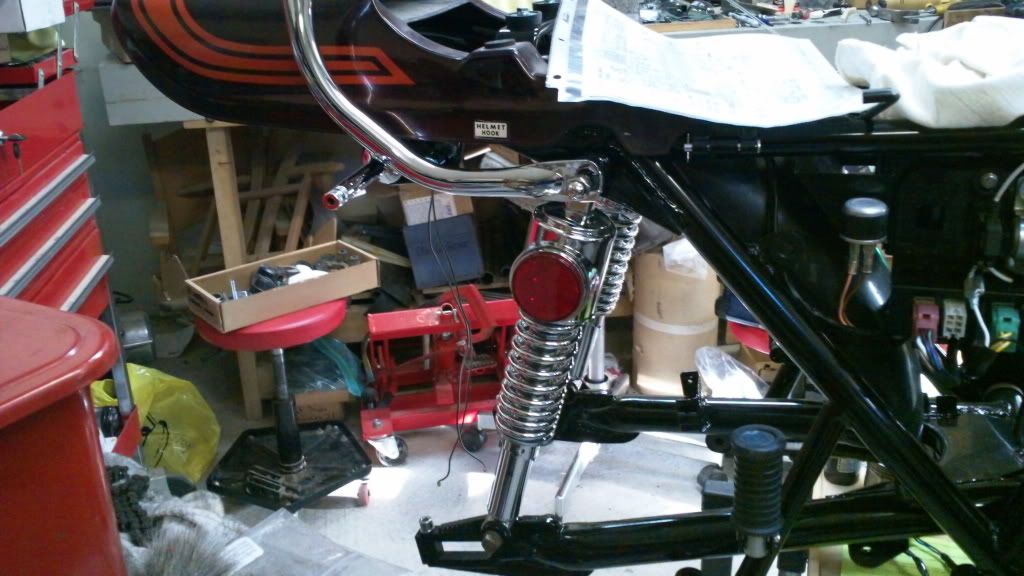
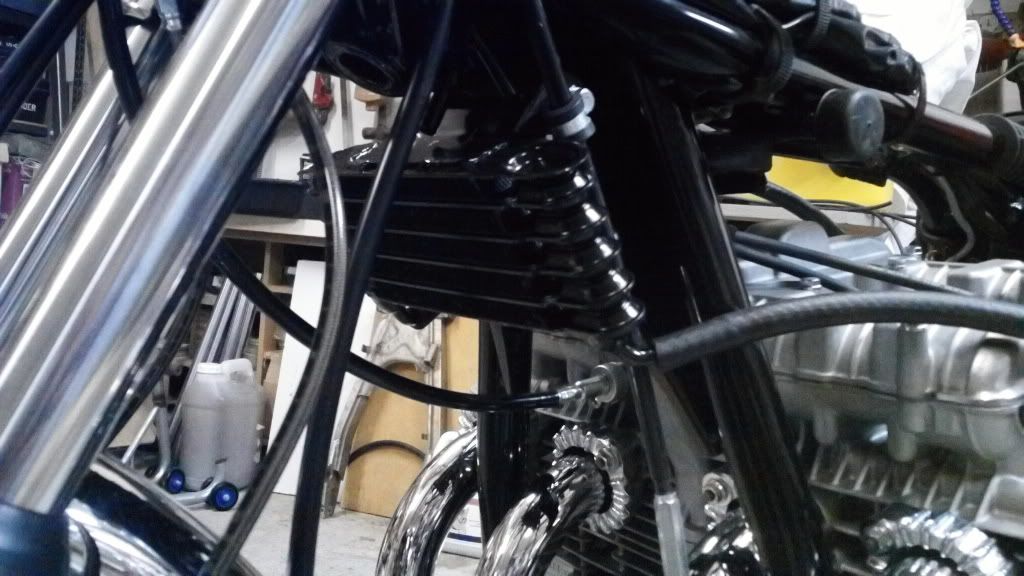
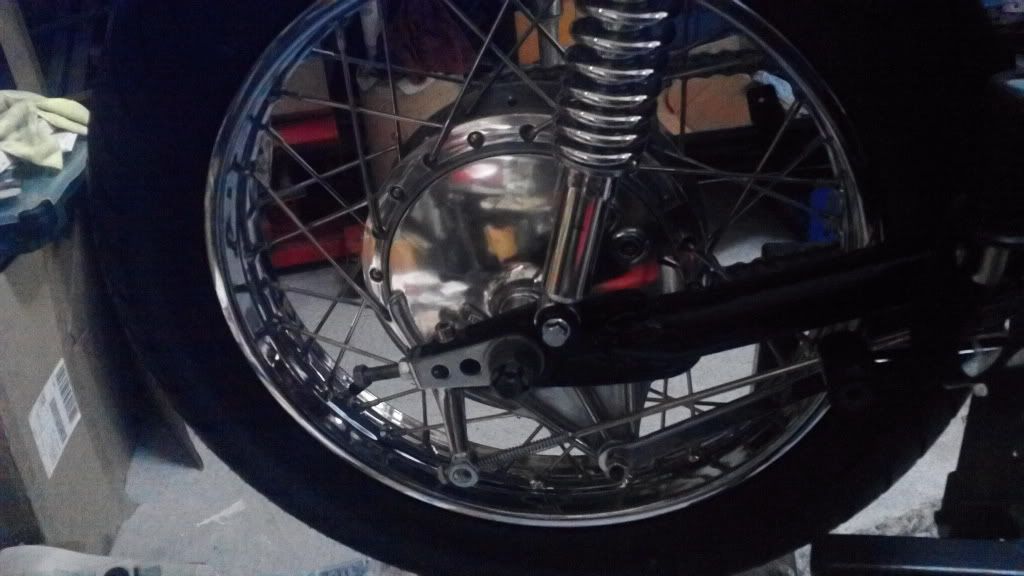
Swing arm and shocks
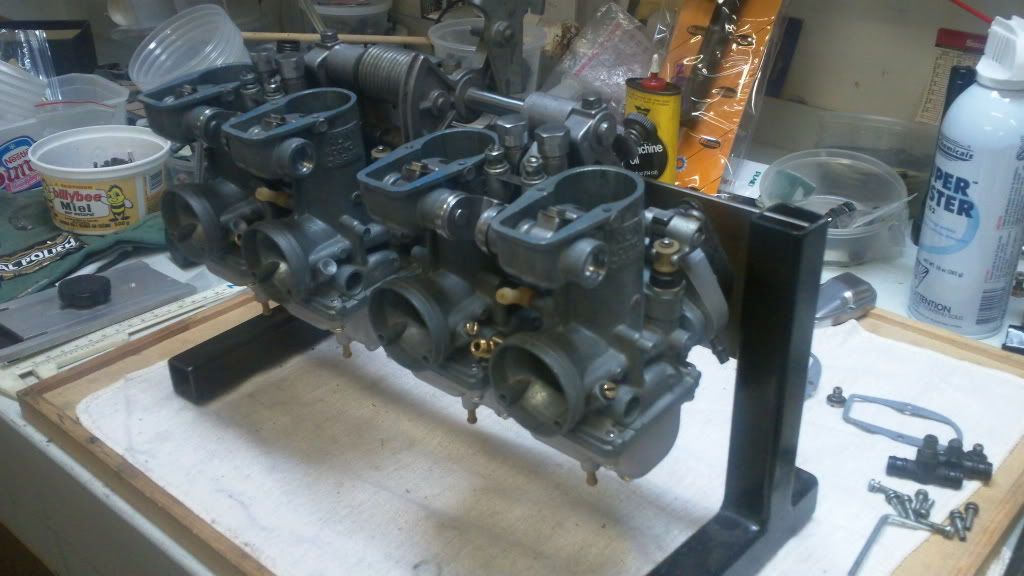
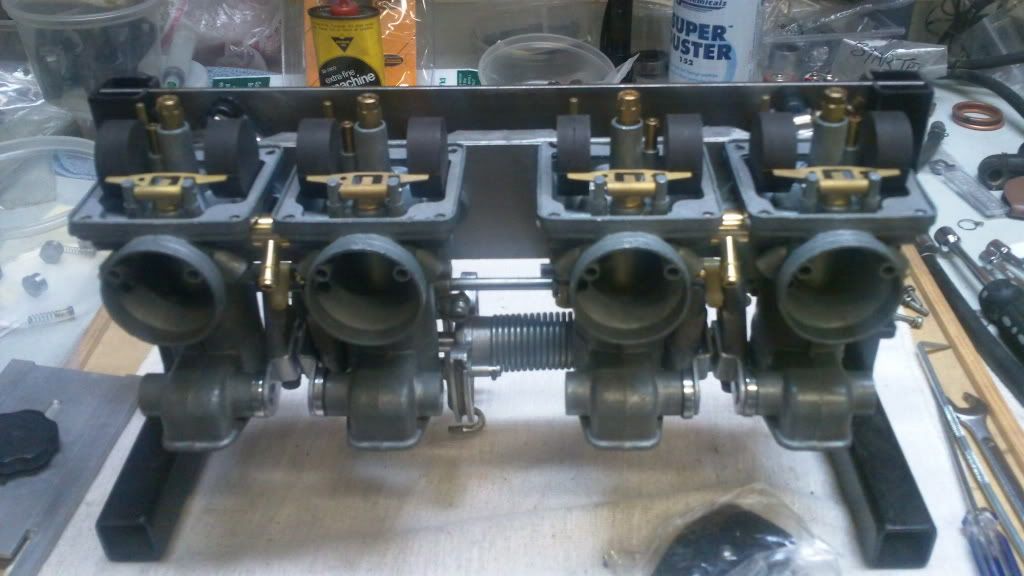
Carb overhaul time :S
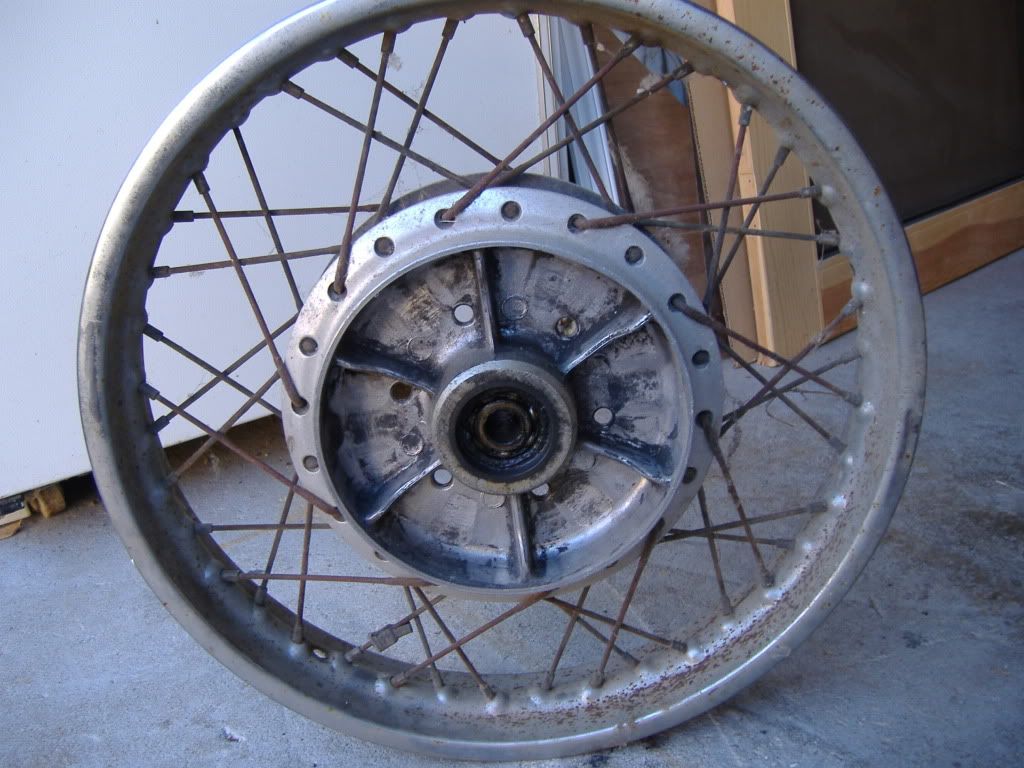
Ready to strip down wheels for cleanup of hubs,bearings,new rims and stainless spokes
Gauges, master cylinder,handlebars now on
Oil cooler plumbed in
Ignition in and coils mounted
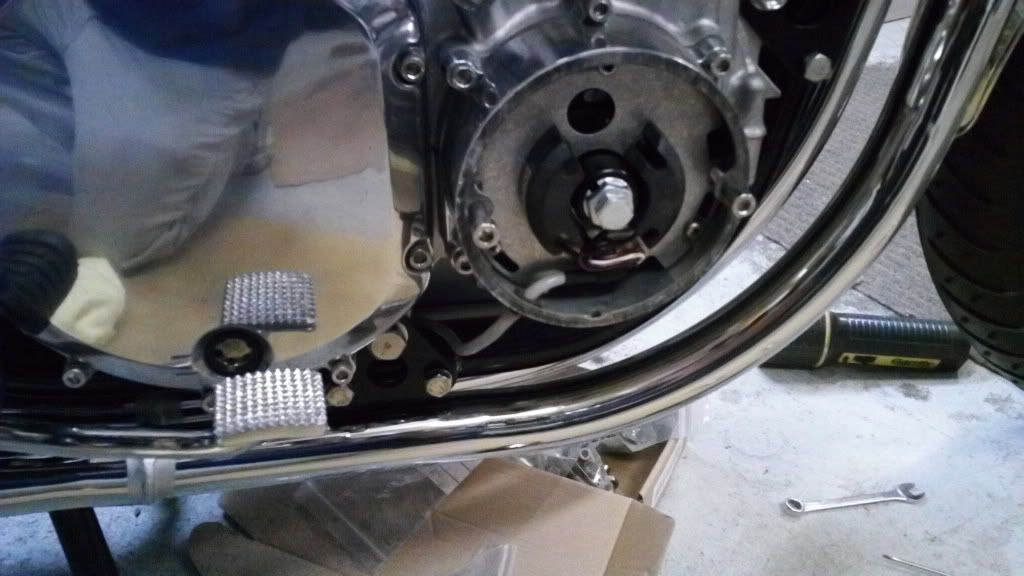
Gas tank bung fiasco averted!
Cap gauge mounted(Retro!)
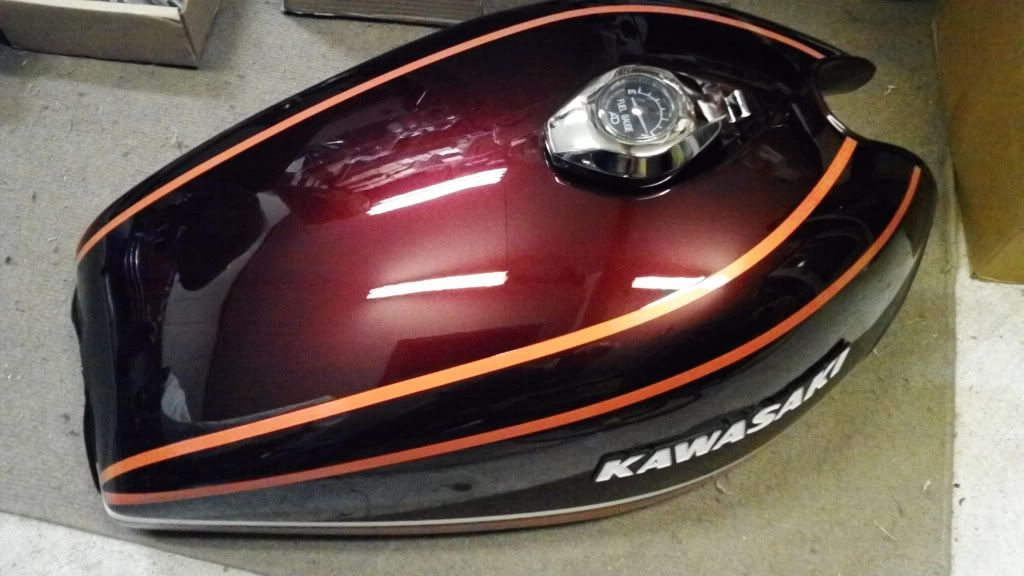
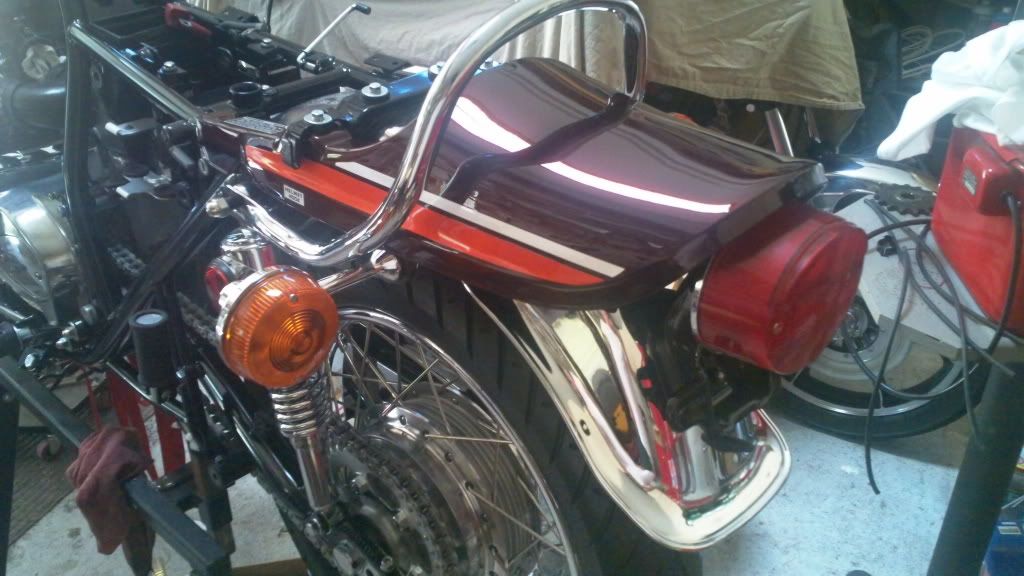
Wheels,seat and body work now on
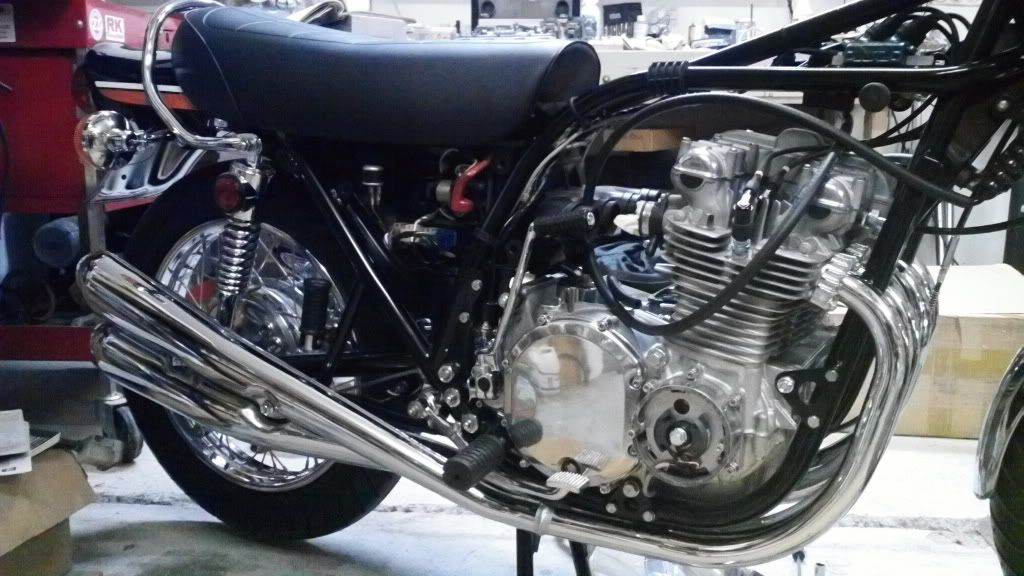
The big day; exhaust candy makes the bike for sure!
First ride; what a thrill after all these years!
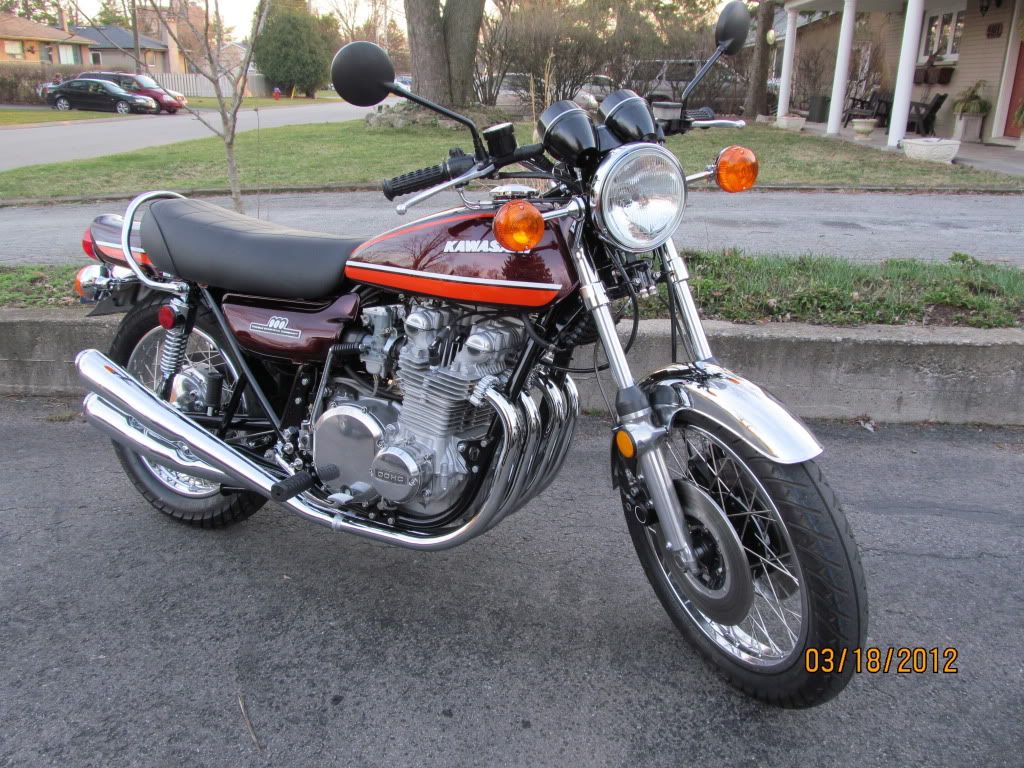
I went around the block 10 days ago and this past Sunday put 100 miles on the clock which brought back a lot of memories. I have a first to neutral stiffness issue to work out and throttle cable play adjustment to deal with and so far so good. KZ Rider has been a major stimulator in getting this bike done for sure.
Thanks guys. I will try to update when possible.
David
Look what I got a deal on honey!!!!
Pistons free but what a mess!!!!
Starting to clean and evaluate parts
Cylinder head prepped and ready.
Various parts sandblasted and painted
Cases done
Goodies back from paint shop
Forks cleaned and polished
Tach before and after
Engine in the frame at last!!
Degreeing the cams was a fabulous bonus!
Electrics in
Swing arm and shocks
Carb overhaul time :S
Ready to strip down wheels for cleanup of hubs,bearings,new rims and stainless spokes
Gauges, master cylinder,handlebars now on
Oil cooler plumbed in
Ignition in and coils mounted
Gas tank bung fiasco averted!
Cap gauge mounted(Retro!)
Wheels,seat and body work now on
The big day; exhaust candy makes the bike for sure!
First ride; what a thrill after all these years!
Replied by Beezy on topic KZ650 (c?) Coupling / Damper Questions
25 Mar 2012 19:03650ed wrote: There's a lot more than just the rear wheel that is different between the KZ650-B and C models. The rear brakes are totally different. You will need to buy and mount a rear brake master cylinder and brake line in order to use the rear disk brake on the "C" wheel. You will also need to buy a "C" torque arm. You will need to buy a "C" swingarm or modify the "B" swingarm to relocate the torque arm mount to the top of the swingarm. There will be other items, such as wheel spacers, etc., that need to be dealt with. It can be done; and is easiest if you buy a "C" swingarm, spacers, etc., but there is more to it than simply removing the spoked wheel and installing the alloy wheel.
On the front wheel, you will need a second brake caliper and brake line, a different splitter, a 5/8" bore master cylinder and maybe a couple other little things in order to use the twin front disk brakes becasue the "B" model only came with a singe disk. Ed
I have all of the parts for the disc brakes. The front spoke had a single disc before, but I went ahead and purchased dual front calipers, a rear disc caliper, new front and rear brake discs, rear master cylinder/brake pedal setup, a dual front brake splitter, new sensors, etc. I still need to purchase new pads and some caliper rebuild kits since these are in rough shape, but besides that I'm pretty sure the only thing standing in my way is the coupling and damper.
But now that you mention it I'm not sure the spacers for the rear wheel will match up.
Replied by 650ed on topic KZ650 (c?) Coupling / Damper Questions
25 Mar 2012 17:44
There's a lot more than just the rear wheel that is different between the KZ650-B and C models. The rear brakes are totally different. You will need to buy and mount a rear brake master cylinder and brake line in order to use the rear disk brake on the "C" wheel. You will also need to buy a "C" torque arm. You will need to buy a "C" swingarm or modify the "B" swingarm to relocate the torque arm mount to the top of the swingarm. There will be other items, such as wheel spacers, etc., that need to be dealt with. It can be done; and is easiest if you buy a "C" swingarm, spacers, etc., but there is more to it than simply removing the spoked wheel and installing the alloy wheel.
On the front wheel, you will need a second brake caliper and brake line, a different splitter, a 5/8" bore master cylinder and maybe a couple other little things in order to use the twin front disk brakes becasue the "B" model only came with a singe disk. Ed
On the front wheel, you will need a second brake caliper and brake line, a different splitter, a 5/8" bore master cylinder and maybe a couple other little things in order to use the twin front disk brakes becasue the "B" model only came with a singe disk. Ed
Replied by 650ed on topic Just got a kz700
25 Mar 2012 14:59
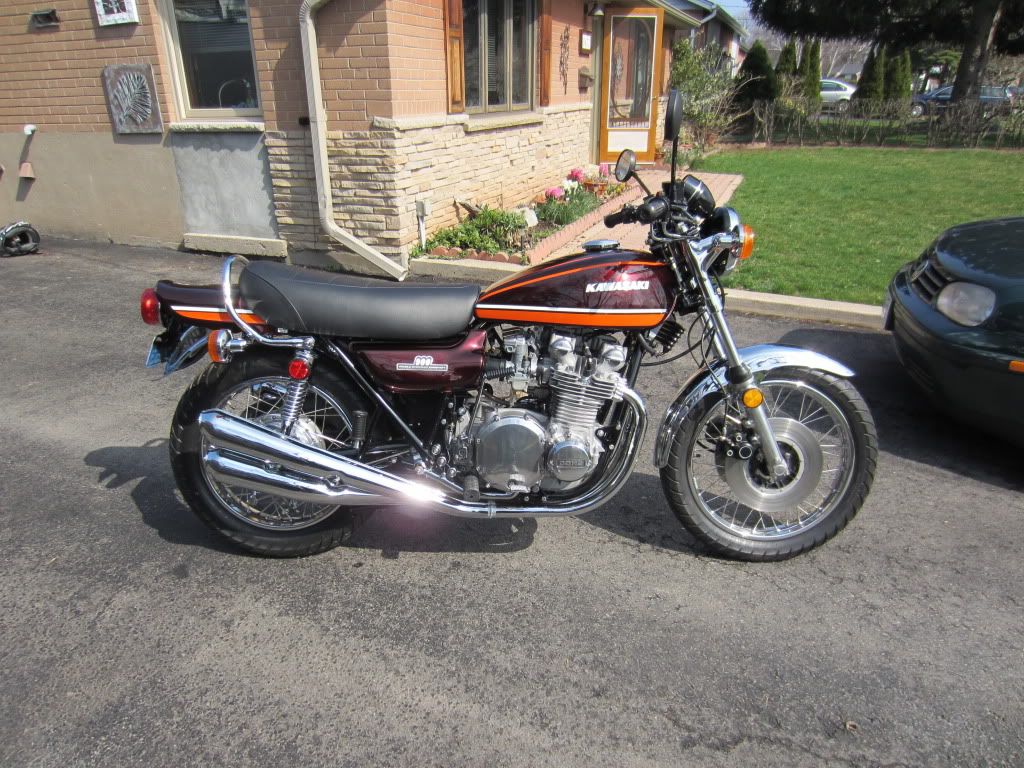
WOW!!!!!!!!!!!!!!!!!! Is that a cuurent picture of the bike or an old picture from the day it left the showroom floor?? Nice bike; PLEASE keep it stock; there aren' many survivors like that anywhere! Here are some thoughts for your consideration:
Recommendations for new (and not so new) KZ owners
Many newbies and not so newbies run into the same problems or issues with their bikes which could be easily avoided with a little preparation. Here are a couple recommendations that I hope you will find useful.
Before riding your KZ you should take a little time to become familiar with it. Simple things like checking the oil, tire pressures, etc. are explained in the Kawasaki Owner’s Manual. If you bike didn’t come with one (they normally are in a little holder on the bottom of the seat) you can usually find one on eBay – be sure to get one for your exact year/model.
If you plan to maintain your bike yourself rather than rely on a shop for all maintenance, you really should buy the Kawasaki Factory Service Manual for your bike. It will save you time, money, and frustration by enabling you do perform tasks correctly the first time without damaging anything. No one has ever regretted buying one of these. The factory service manual provides instructions on the various maintenance procedures and schedules for your bike, procedures for diagnosing and correcting problems, proper torque values for the various fasteners (VERY IMPORTANT), and insight into how each system on your bike works even if you are not repairing that system. Some tasks that can adversely affect the safety of the bike, such as installing the front axle, are not intuitively obvious and are nearly always done wrong unless the manual or someone who has read the manual is consulted. Studying the manual before you attempt performing service on your bike will impart an understanding of the system you are working on which will increase the odds of success and safety.
The manuals usually are readily available for most models on eBay and other sources, but be sure to get one that has your specific year and model in it as there are differences between the various models. I do not recommend Clymers, Haynes, or other aftermarket manuals as I have seen instances where they provide inaccurate advice. You may decide to use those to supplement the factory manual, but in my opinion they are not a suitable substitute. If you have trouble finding one for your model ask us for help.
If you plan to do your own maintenance you will need some tools that you may not currently own. Kawasaki uses numerous steel screws and bolts many of which are threaded into the aluminum engine. The bolts are much tougher than the aluminum and if over tightened will strip the aluminum threads. Although these can be repaired, preventing damage by applying proper torque will save you grief, time, and money. Tightening fasteners properly requires torque wrenches. Various vendors, including Snap-on, CDI, Sears, etc., market torque wrenches. The two most popular types are the bar type and micrometer type. Either will work, but the micrometer type is a bit easier to use, especially if you are tightening several fasteners with the same torque – such as cylinder head covers. I have found that it takes 2 different scale torque wrenches to properly torque most if not all the fasteners on the KZ bikes. There are many fasteners that require low torque. These include such things as 6mm oil pan bolts, cylinder head cover bolts, etc. for which the torque in 61-78 inch pounds. These low torque bolts require a wrench that is accurate at low settings and this wrench should be graduated in inch pounds. In addition, there are numerous high torque fasteners such as the front axle nuts (51 – 65 foot pounds) or swing arm pivot shaft nuts (58 – 87 foot pounds). These require a wrench that is accurate at higher settings; this wrench should be graduated in foot pounds. Using the proper torque wrenches to correctly tighten fasteners will help prevent damage and contribute to a safe bike.
The crosshead screws on the Kawasaki that look like "Phillips” screws are not Phillips; they are Japanese Industrial Standard (JIS). Using a Phillips screwdriver tip on these will damage the screw heads. JIS screwdriver bits are available, but if you don’t want to spend money on them you can make a suitable substitute from Phillips screwdriver bits. You just need to grind the tip of the Phillips bit a little then test the bit in a screw then grind a little more as necessary until the bit fits the screw properly. When properly ground the bit should be able to easily stay in the screw without help. If you need more explanation, just ask – pictures are available.
Good luck with your “new” bike, and be sure to ask any questions here as there are lots of knowledgeable folks on this site. Ed
Displaying 2891 - 2900 out of 7237 results.