
Search Results (Searched for: gs swing arm)
Replied by chris_heiges on topic Gs1100 swap gsxr wheel
11 May 2023 17:32
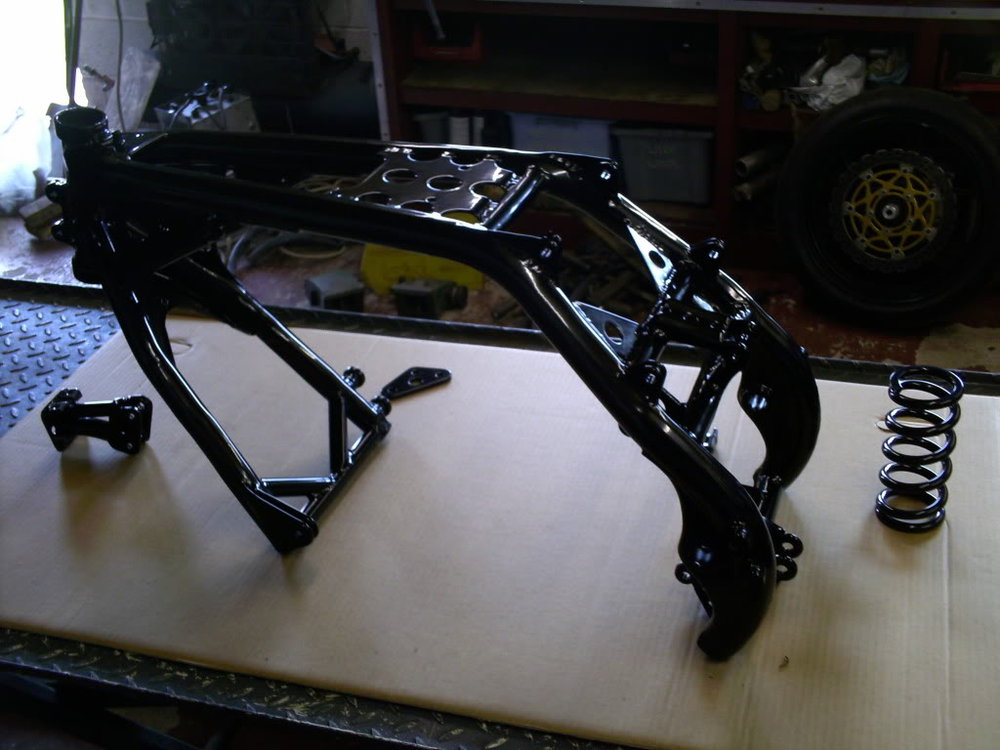
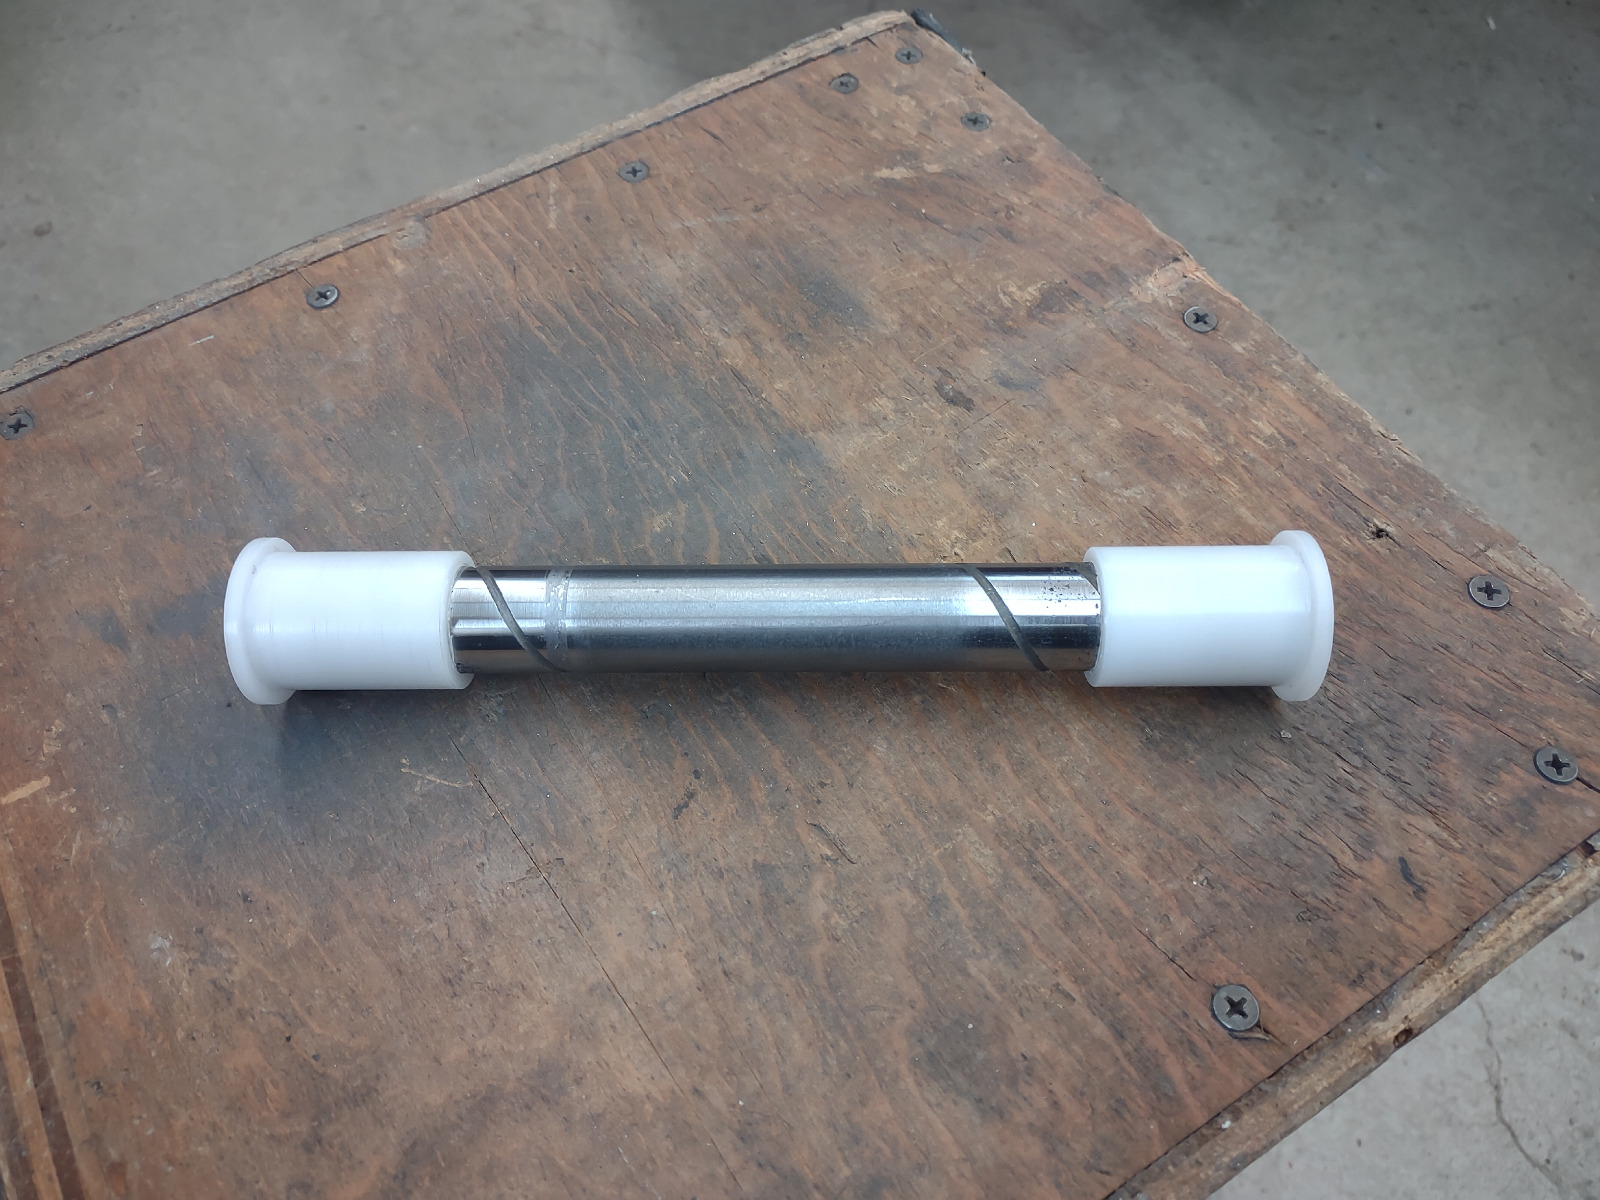
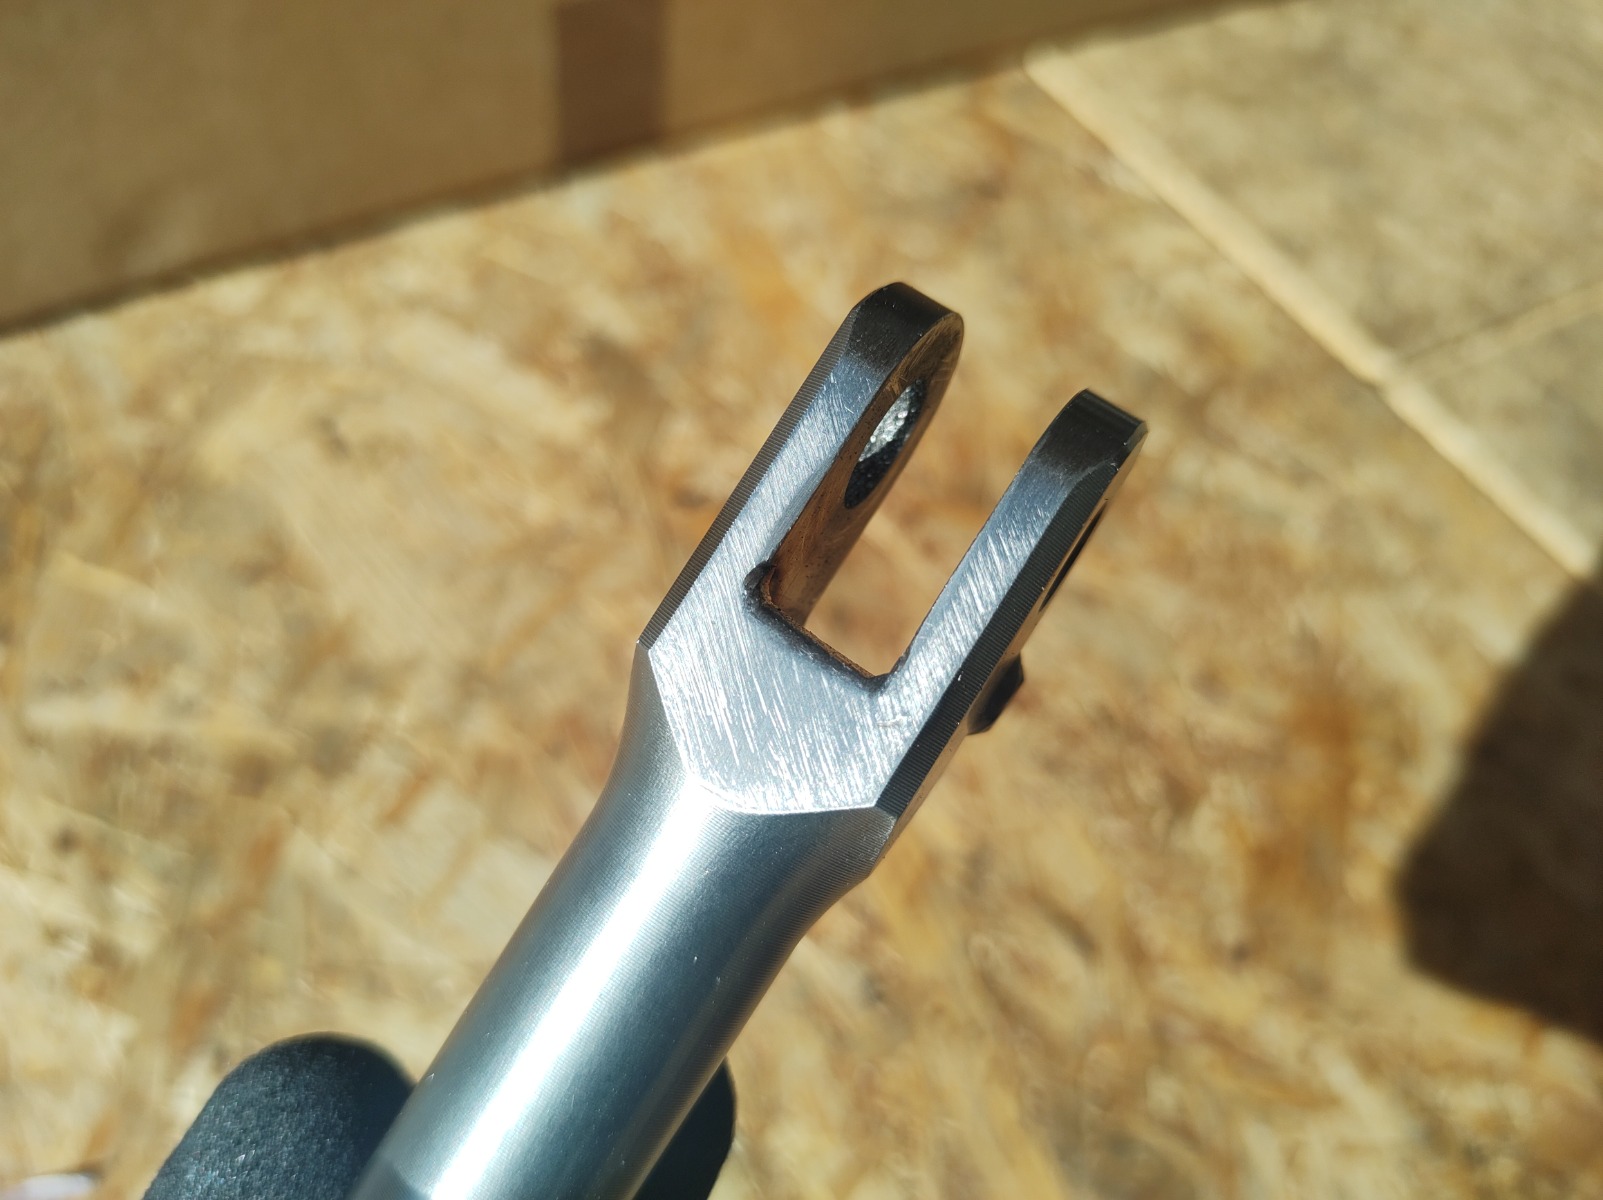
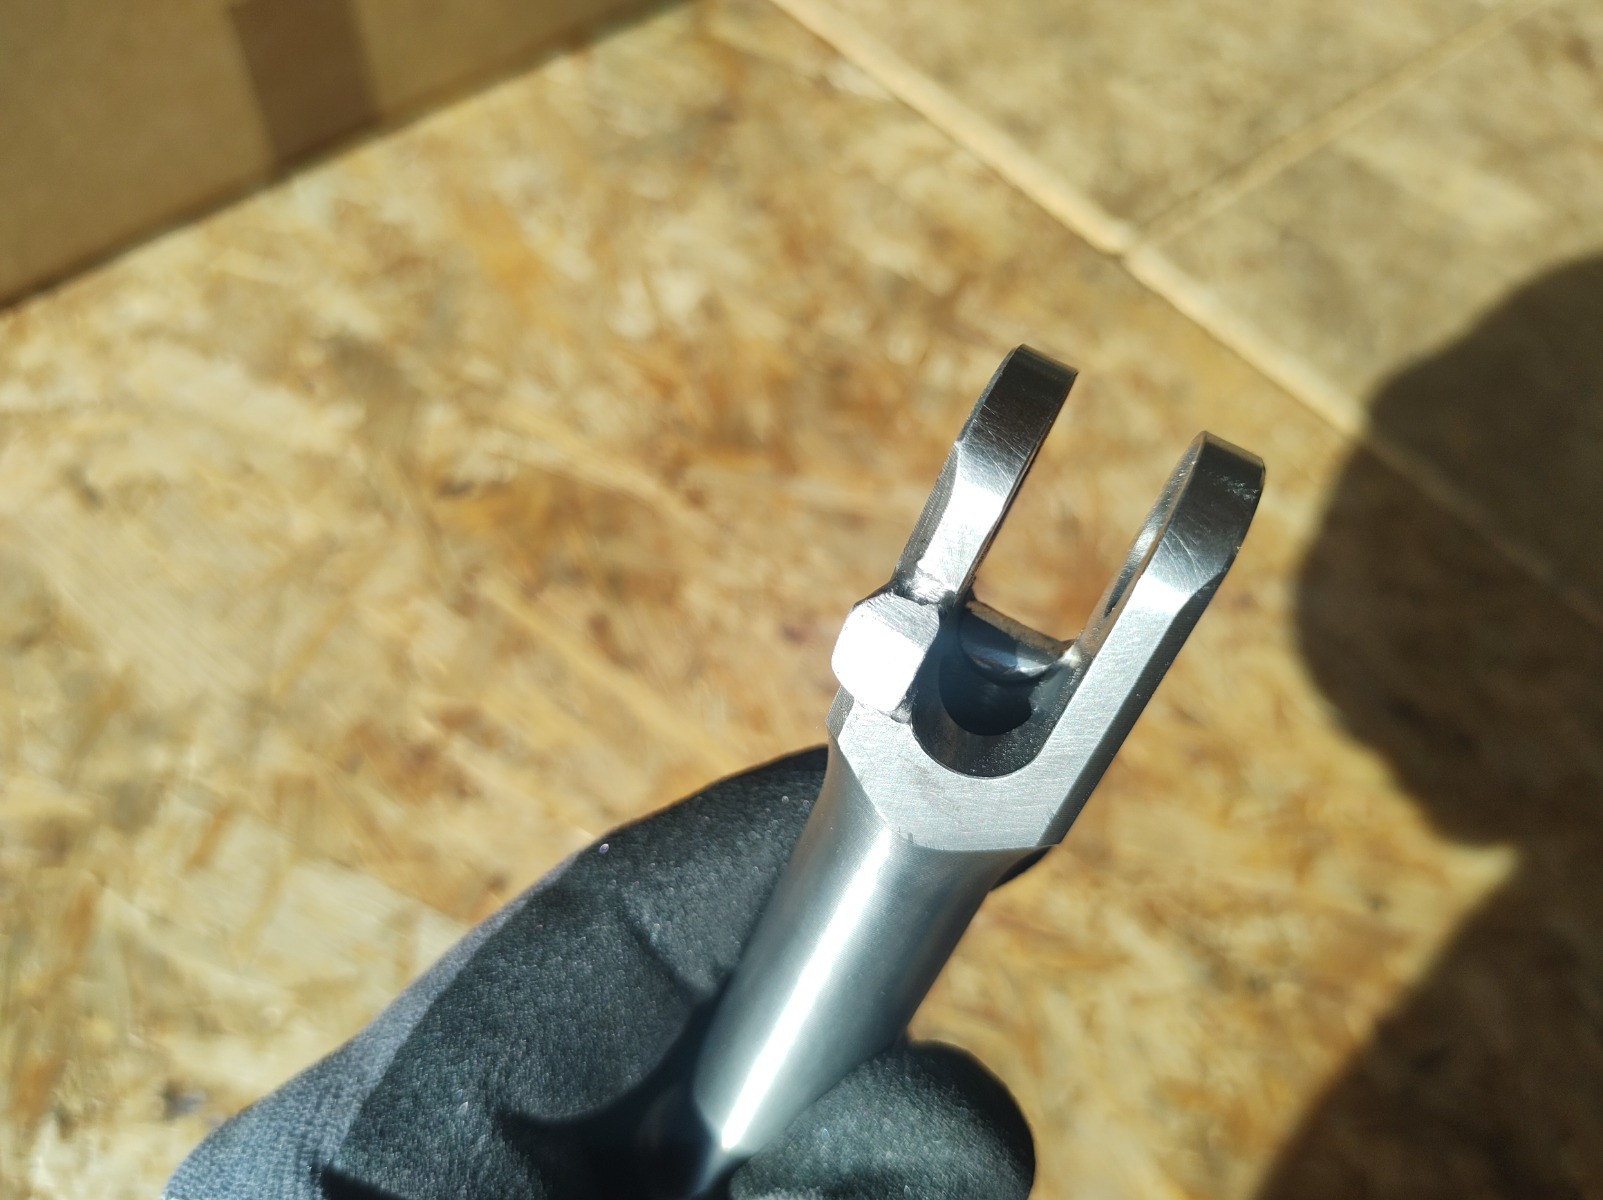
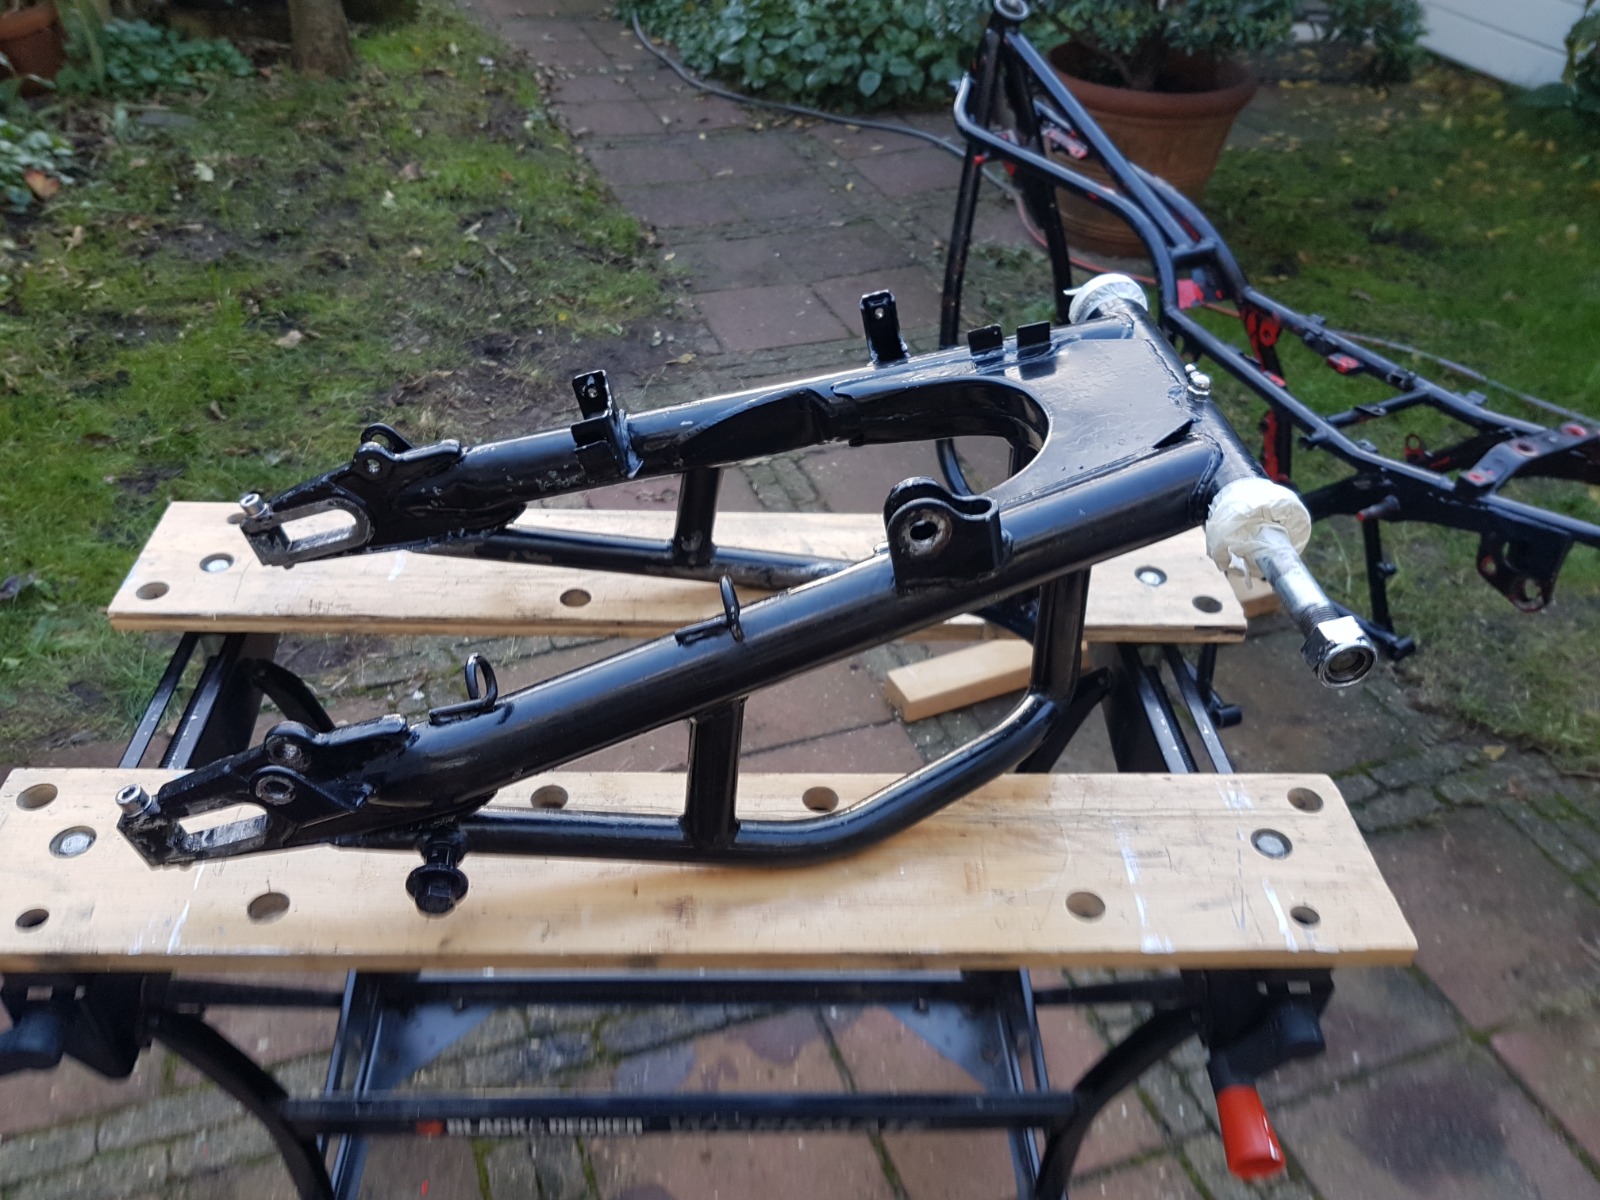
So I’ve got this other swingarm that I’m not sure what it came off of and it has no shock mounts that I can tell. Maybe this one would be a better candidate?
I don't disagree with you Zed, however unless you have access and the skills to do your own machining (which obviously you do) sometimes simple is best. To use the GSXR wheel in the GS swingarm the wheel etc would need to be adapted to come down 10mm on the axle diameter (not impossible) but if he is determined to run the big wheel then a complete GSXR600k1 back end would make sense, with the exception of shock mounts the swingarm is almost bolt in. The KZ inner races and centre tube fit perfectly inside the GSXR inner races and support tube, all that is needed is a 1mm spacer washer either side. Even the stock GSXR dust seals fit perfectlyI have done many wheel and swing are swaps and anything can be made to fit anything else.
You may have to change wheel bearings etc to allow the use of a smaller spindle to fit the arm.
A 5.5" rim with 180 tyre will fit the frame but will probably be too wide for the GS swingarm so you may either have to go for a narrower rim or a wider swingarm.
Replied by zed1015 on topic Gs1100 swap gsxr wheel
11 May 2023 14:20
I have done many wheel and swing are swaps and anything can be made to fit anything else.
You may have to change wheel bearings etc to allow the use of a smaller spindle to fit the arm.
A 5.5" rim with 180 tyre will fit the frame but will probably be too wide for the GS swingarm so you may either have to go for a narrower rim or a wider swingarm.
You may have to change wheel bearings etc to allow the use of a smaller spindle to fit the arm.
A 5.5" rim with 180 tyre will fit the frame but will probably be too wide for the GS swingarm so you may either have to go for a narrower rim or a wider swingarm.
I think you will have issues using a GSXR wheel. The later GSXR (K model on) has a bigger diameter hollow axle which will be too big for the GS swingarm (also you may run into alignment issues with a 180 tyre) Your options would probably be a GSXR swingarm as I have used or a 600 Bandit wheel with a 160 tyre (which I am also using) which has the smaller diameter axle. Also I am using the 600 Bandit brake and sprocket carrier
Gs1100 swap gsxr wheel was created by chris_heiges
10 May 2023 16:07
2000 kz1000p
I have a gs1100 swing arm that came with the bike but it’s not installed, if I wanted to install say a 2008 ish gsxr rear wheel on that swing arm has anyone done that? Would I be able to use the 2008ish brake caliper? Or does anyone know that it would or would not work for sure before I buy the wheel?
I’m not on the back end yet but whether or not I can install a newer gsxr wheel on the rear will determine some details on the front that I am working on.
Replied by Wookie58 on topic Bike of the Month.
01 May 2023 01:15
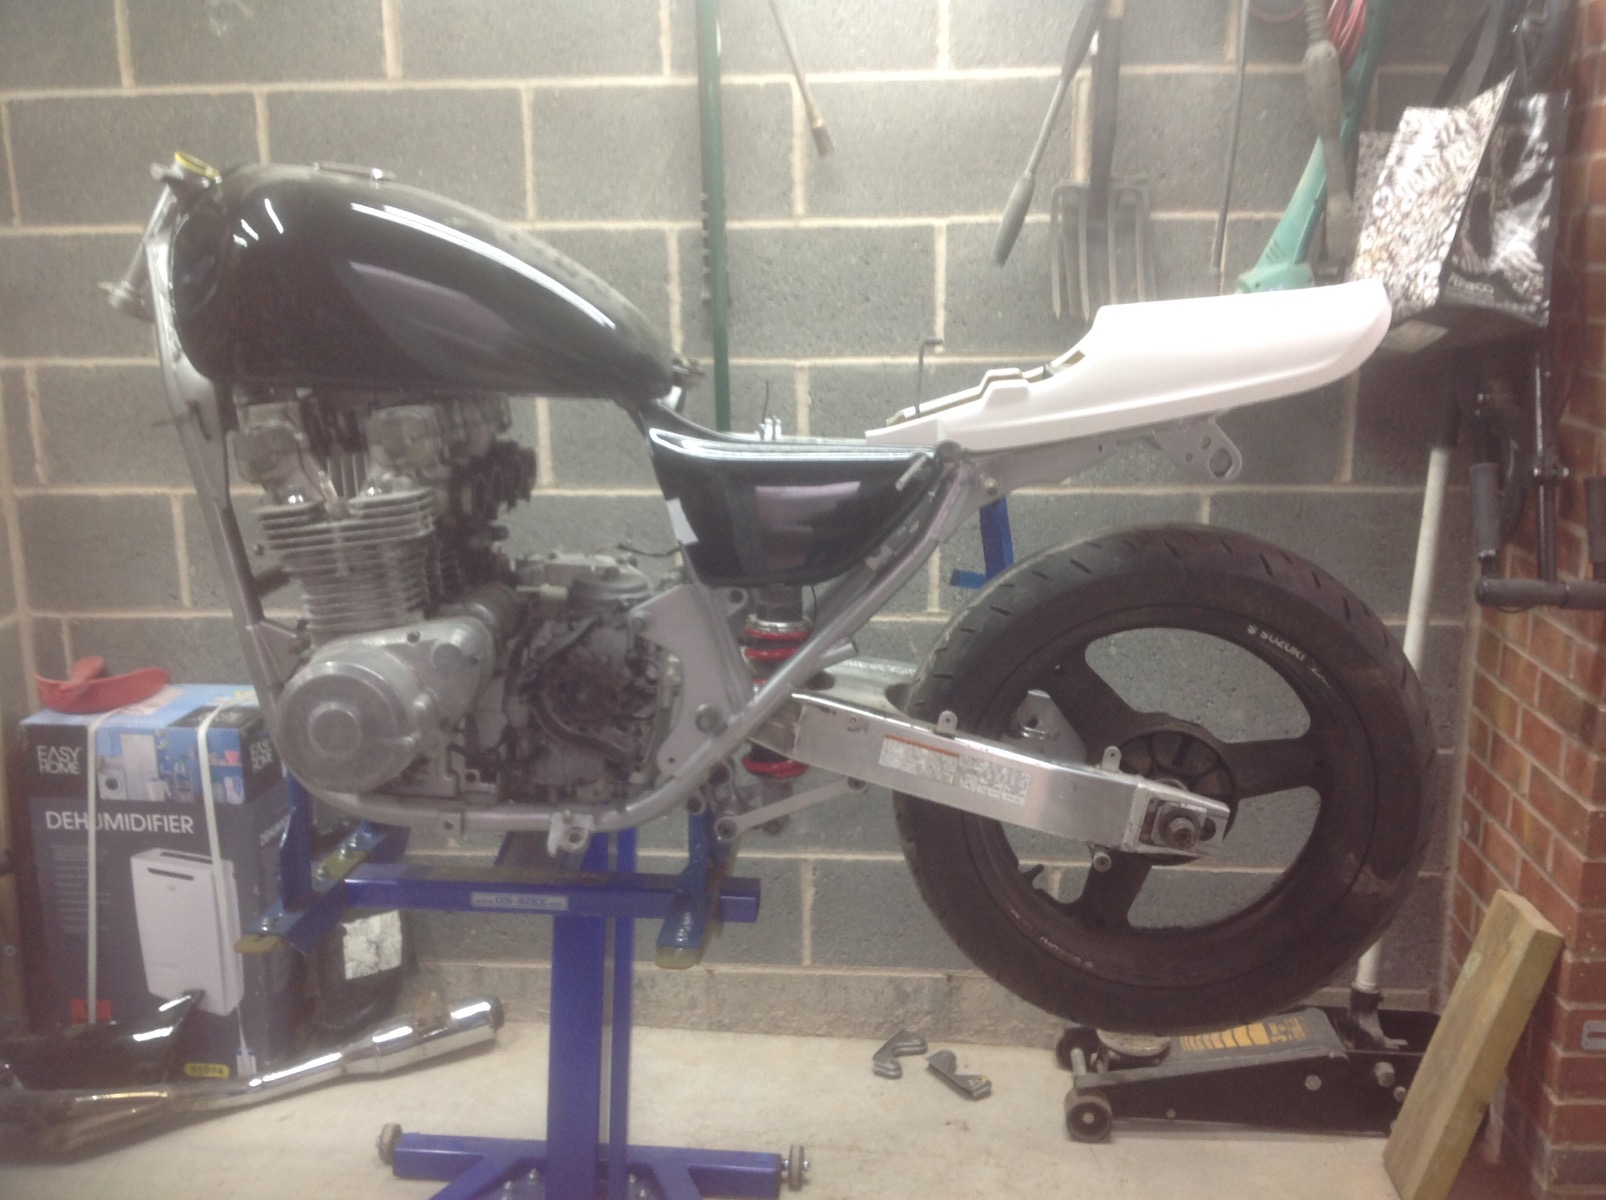
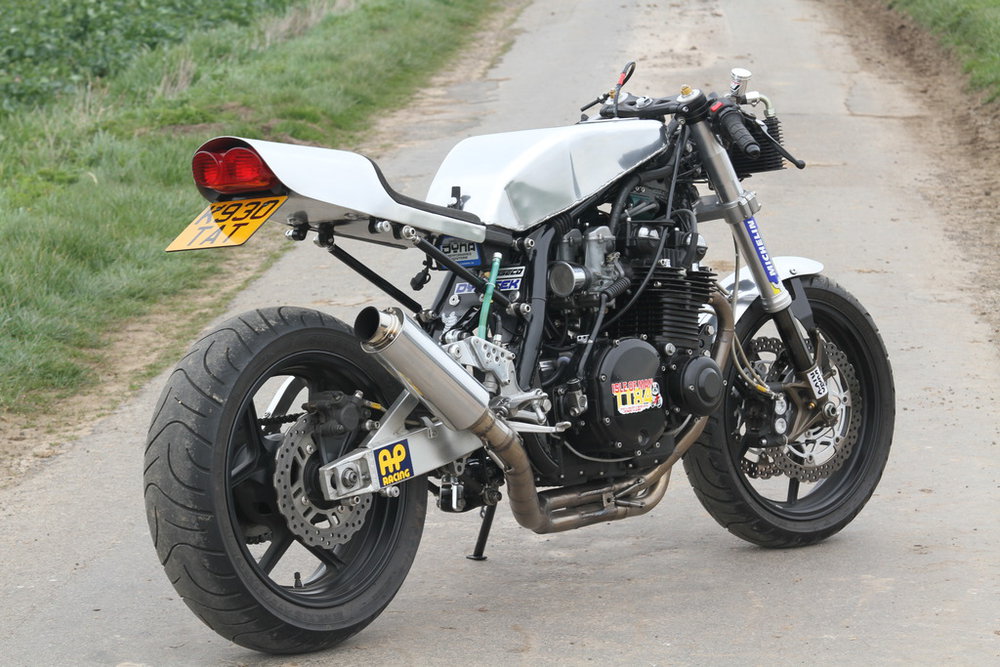
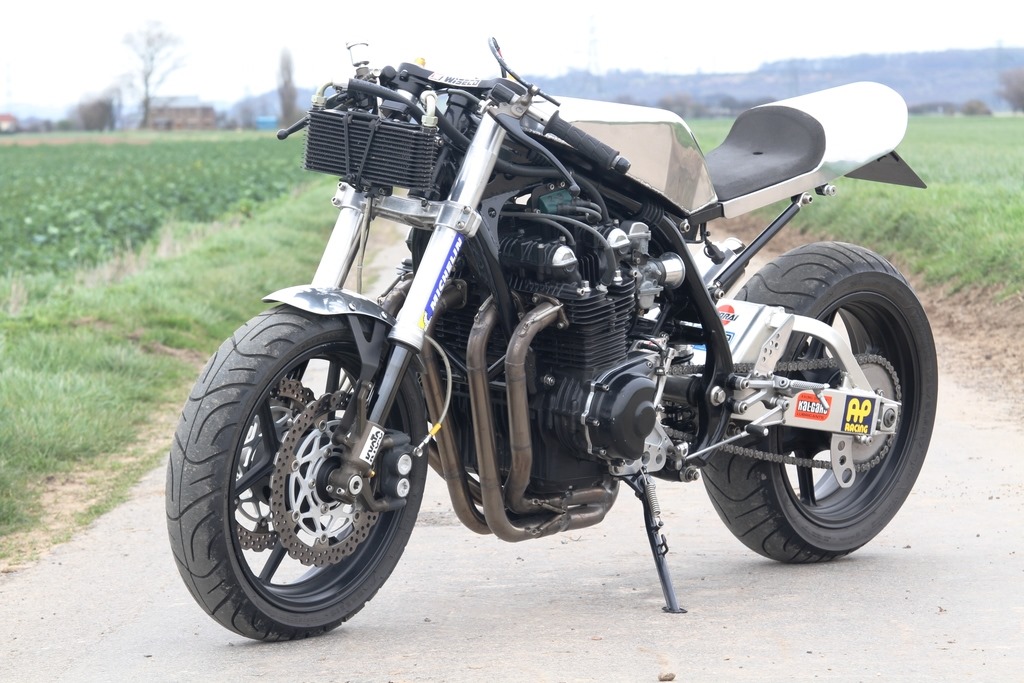
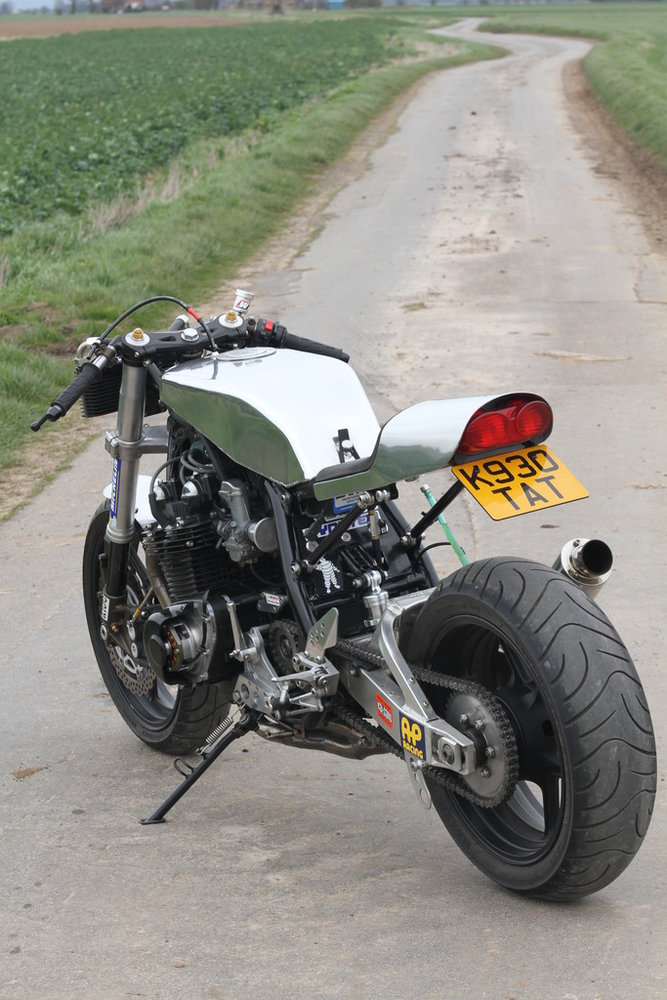
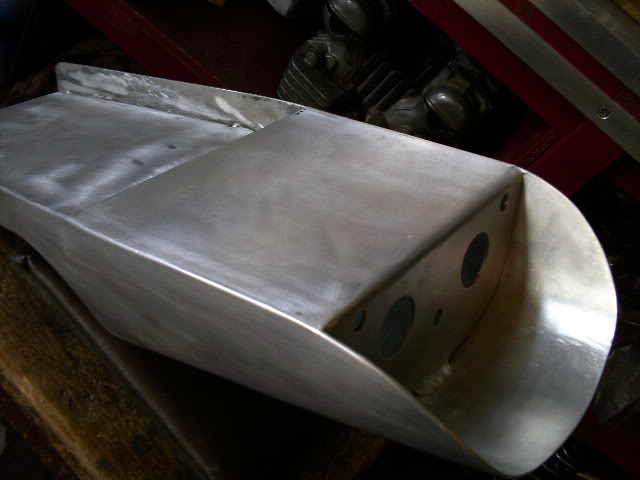
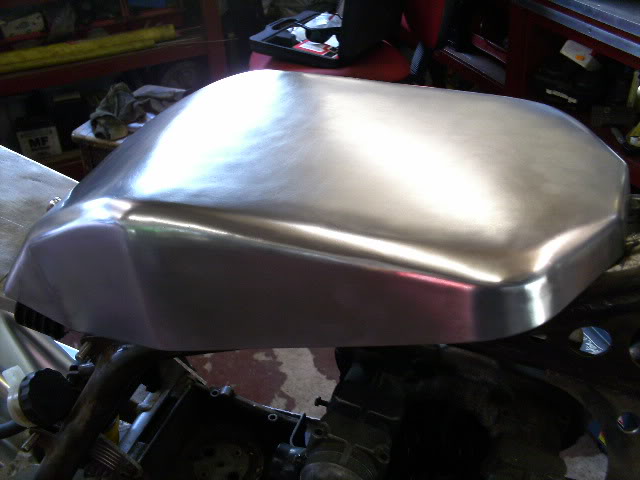
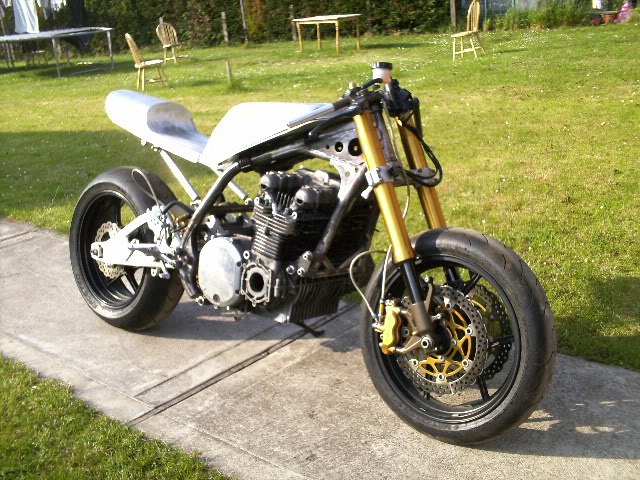
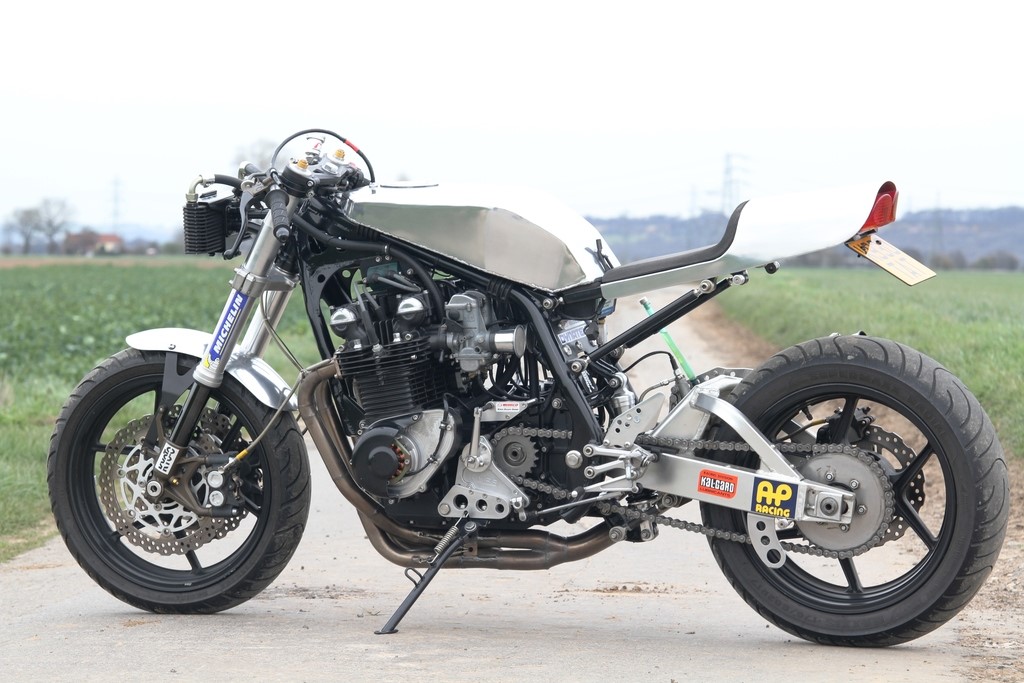
Back to the UK this month for Rob’s (Zed1015) Z900 powered “1 of 1” all business “tarmac terrorist”. This monster has nothing that isn’t strictly needed for the purpose of “hauling ass” including lights (it has a brake light only which is the minimum requirement for a “day time” MOT here in the UK)So from the top, heavily modified 750 Zephyr frame, ZX10R front end (with the fork internals reworked to add 32mm to the length), GSXR swing arm with a Z750 wheel, R1 callipers all round and a Suzuki rear shock. So with the chassis boxed off let’s move on to the motor which started as a Z900 which has been bored to 1015 (no surprise there) welded Z1000A crank, Z1000 MKII transmission, ported Z1 head, fast road cams, custom exhaust and 26mm carbs which Rob has bored to 29.5mm. The engine is solid mounted as it now also fills the role of being a “stressed member” in the minimalist frame. On the topic of minimalist the bike is “kick” start only as the starter and generator have been replaced with a “race” generator and 8ah battery in the tail piece (Rob did experiment with a “self generating” race ignition in place of the generator but unfortunately the “kick start” doesn’t spin the motor fast enough to allow it to start) which ended up being a very expensive piece of R&D !! the bike also runs a high level oil cooler in place of the headlight. Rob has also build a one off clutch actuator to mount on the “outrigger” in place of a sprocket cover.This bike is completely self built with some fantastic engineering work but for me some of the most impressive workmanship is the all alloy bodywork (only the best fabricators can work to a high enough standard to run their sheet-metal work raw)I would recommend taking a look at the full build thread on this link
Zed 900 road racer - Updated with fixed links. - Z1OwnersClub GB

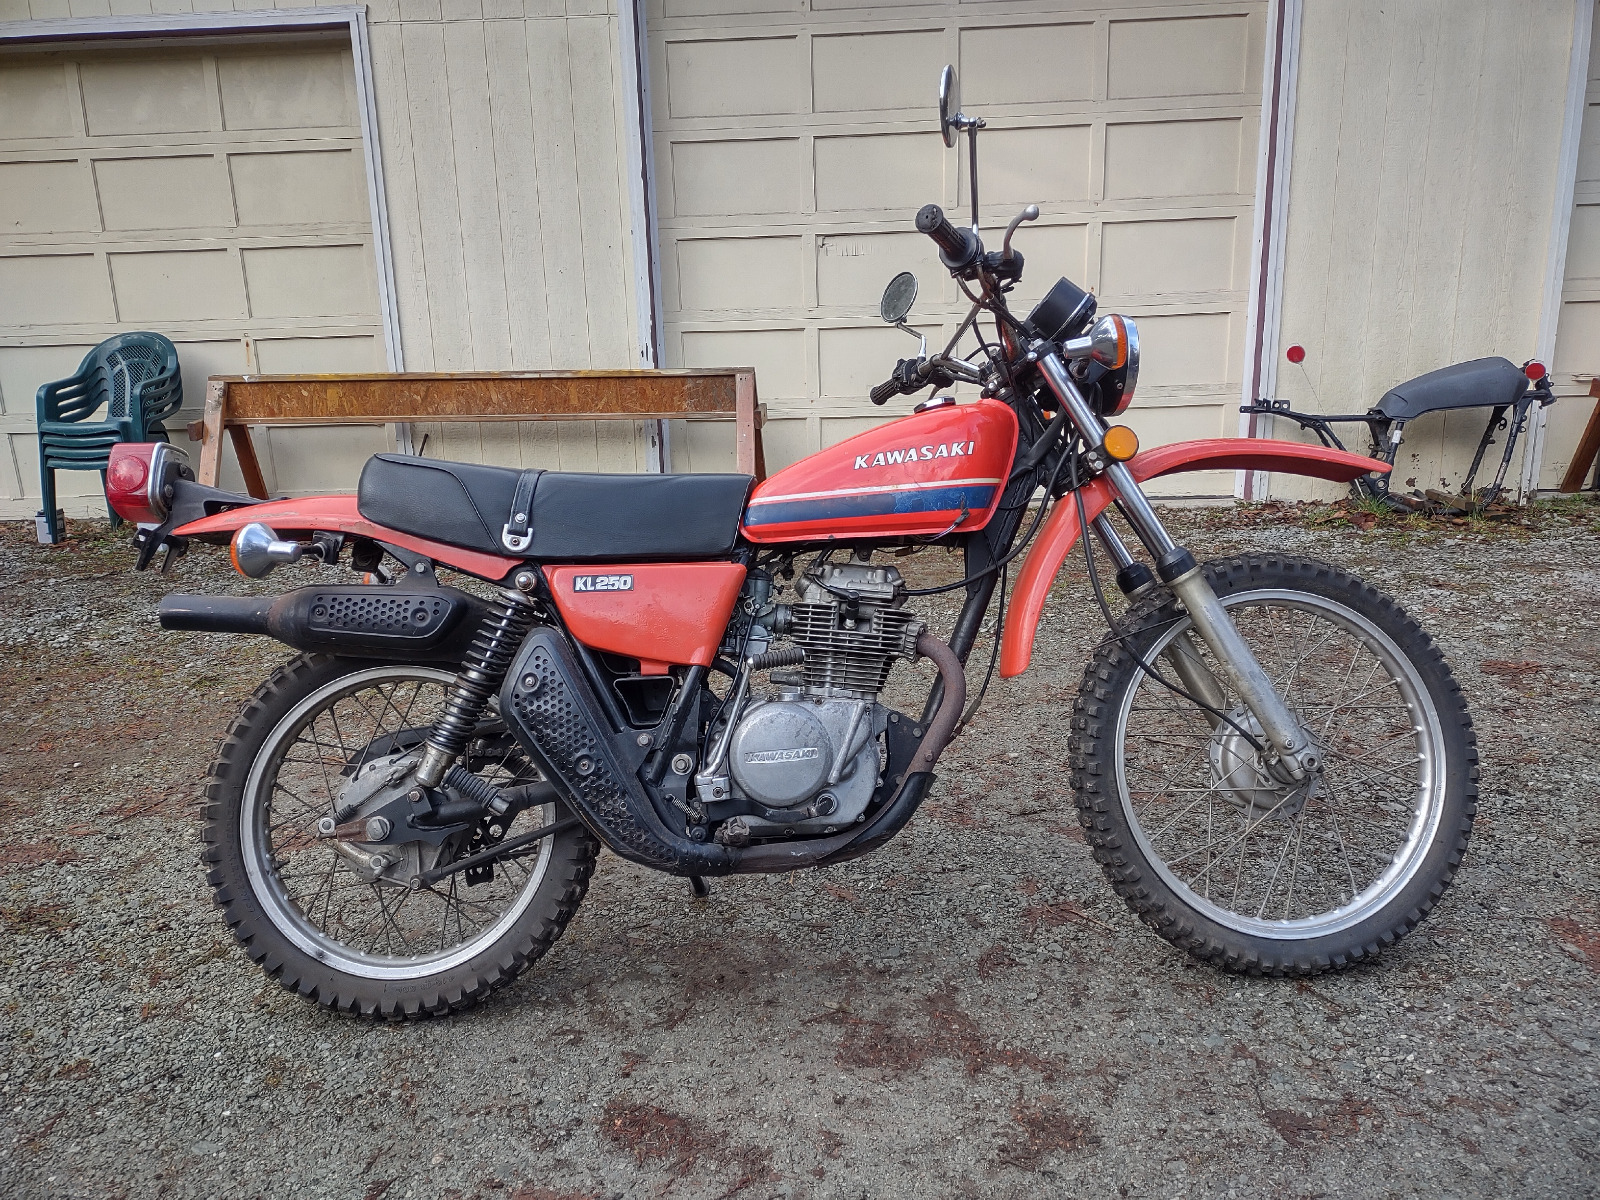
I've been working on a 15k mile 78' KL 250 I picked up for the boy to learn on. My biggest hurdle was swingarm bushings and the rotten exhaust. I've already made swingarm bushings from Delrin and now I'm almost done building an exhaust system. I used the stock headpipe, parts of the number 2 and 3 headpipes from the old 82' CB 900F exhaust and the old right side muffler from the 84' Honda Sabre 700. I still have to make a muffler mounting bracket for it and fix/reinforce the broken off coil mount.Then I can get on with pulling the motor and sandblast the frame, swingarm and related parts. Rick Brett even made me a new set of VIN stickers for it.
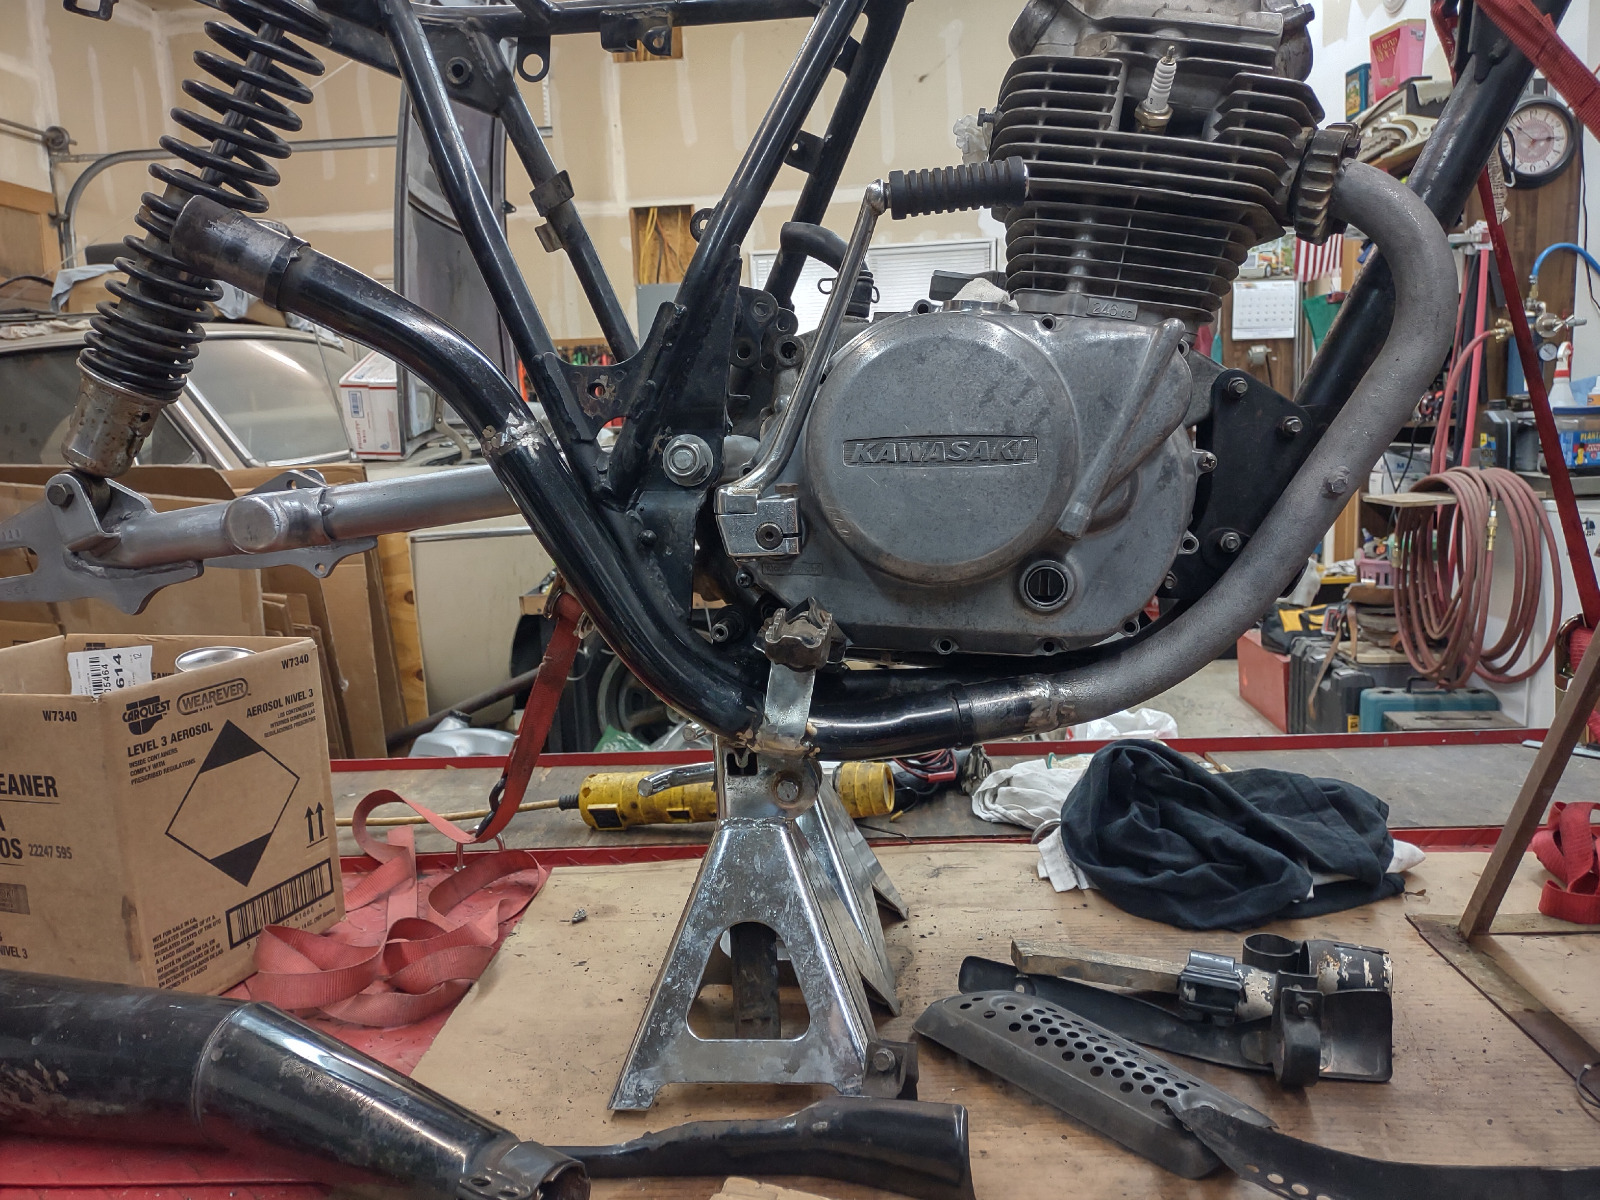
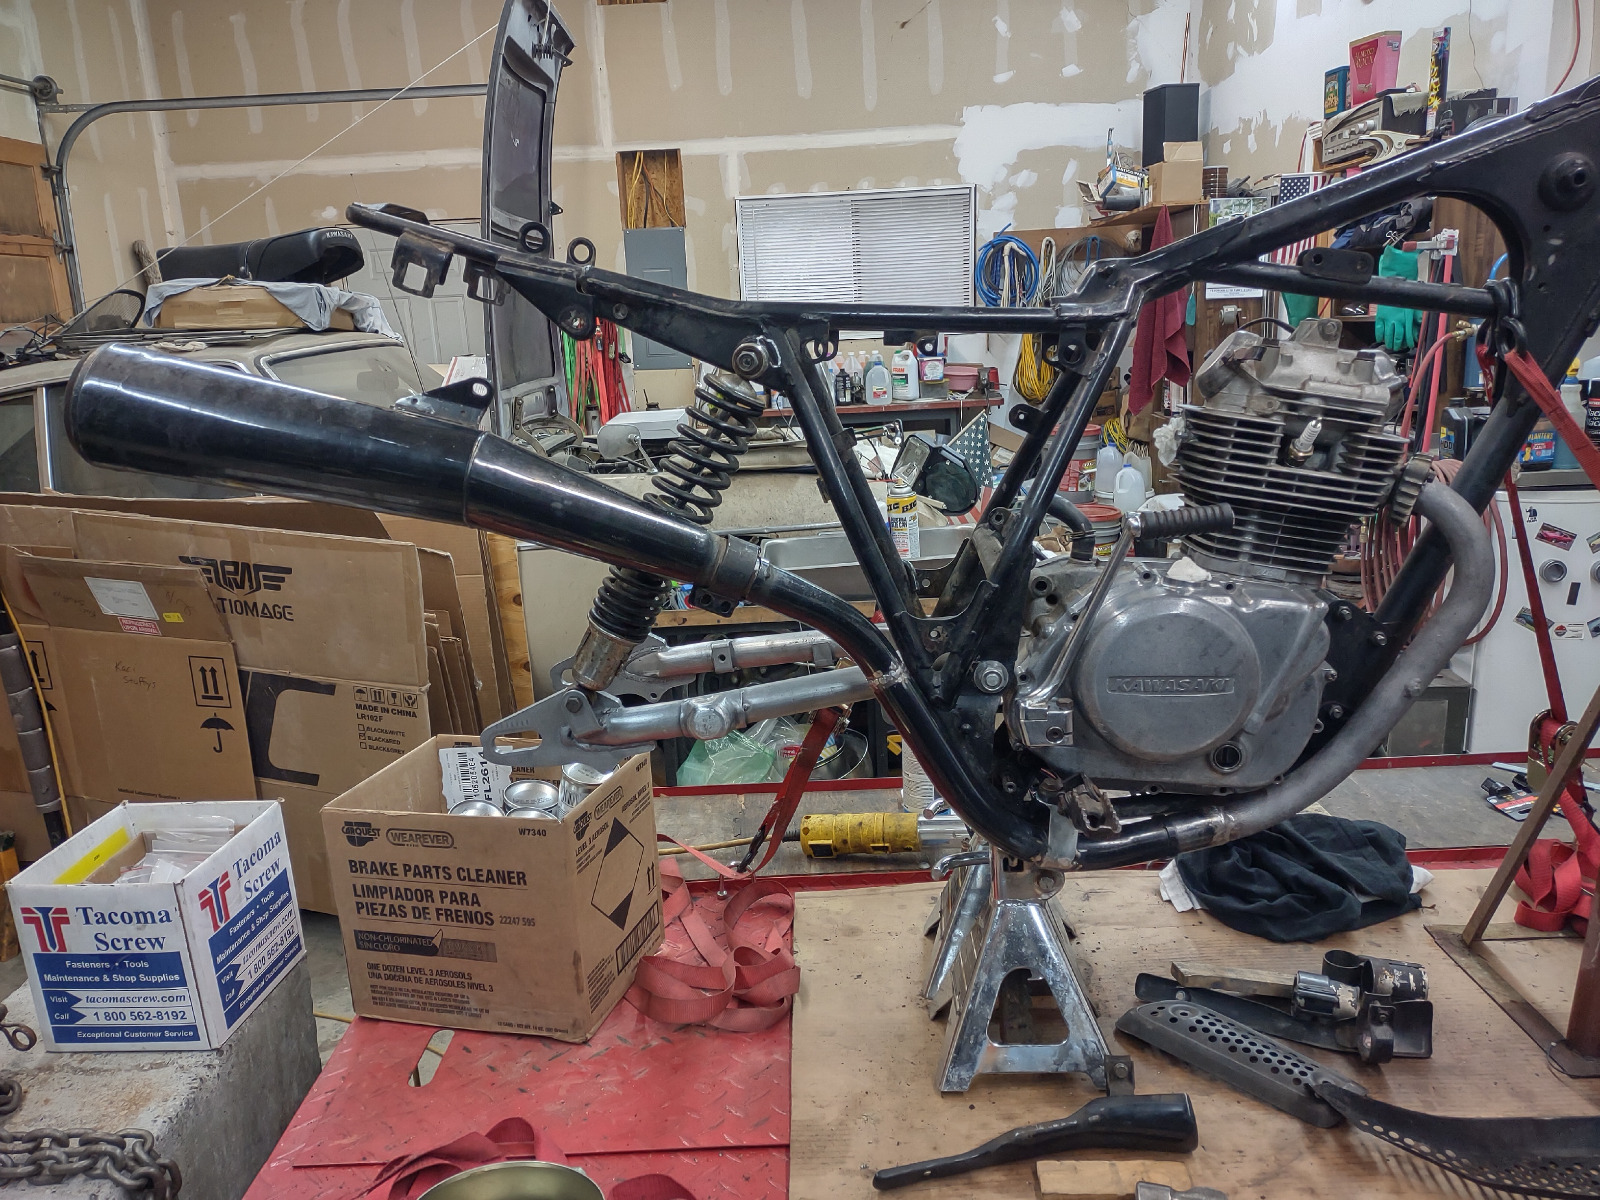
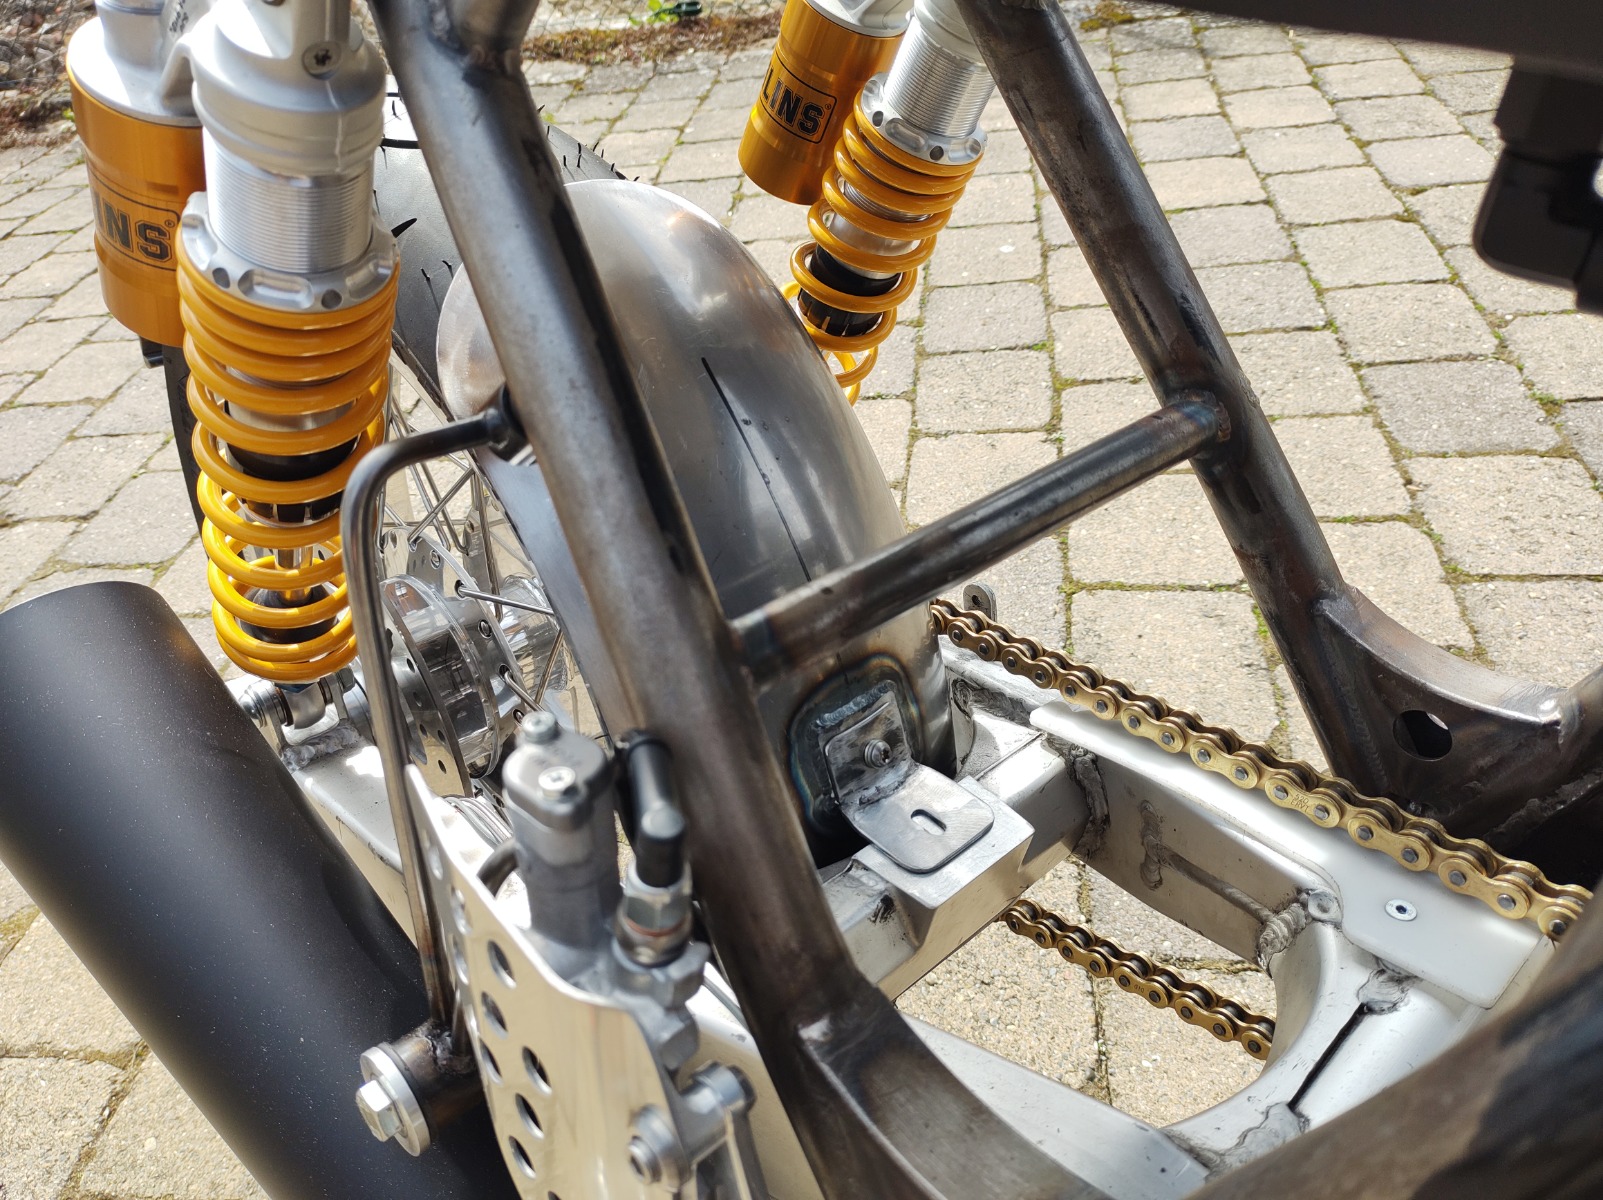
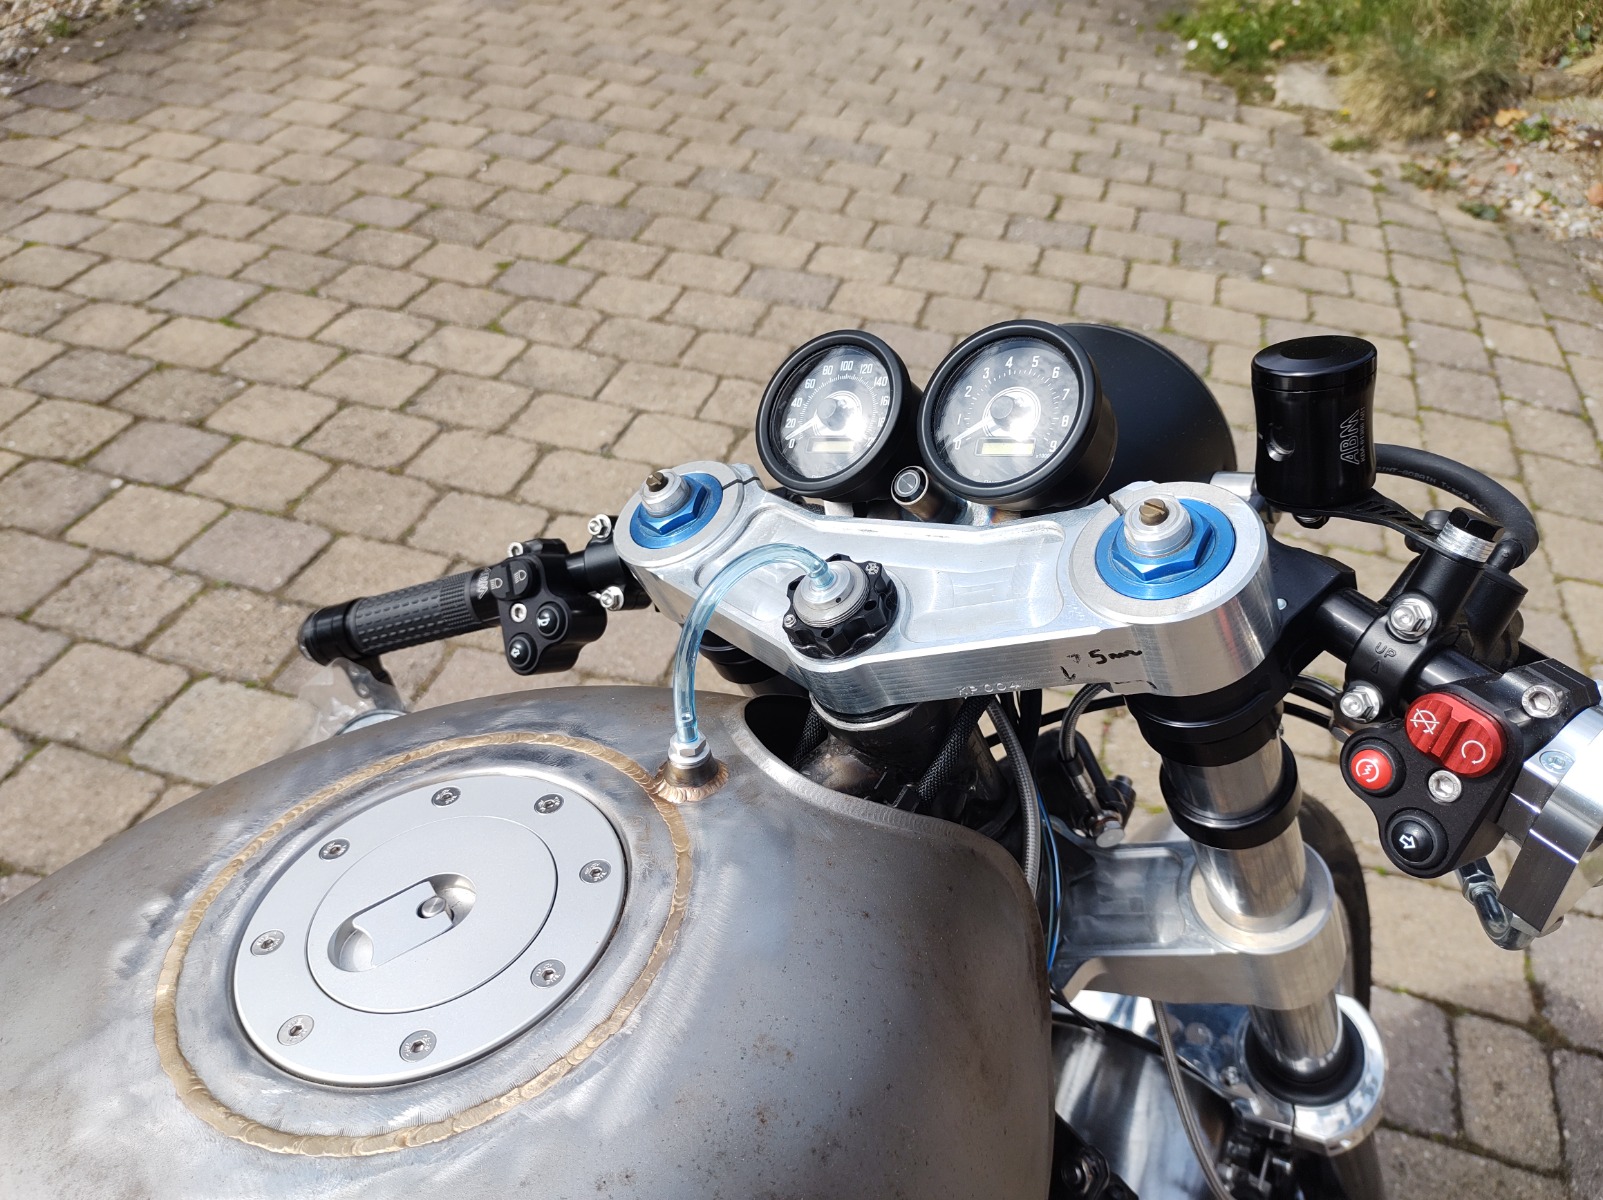
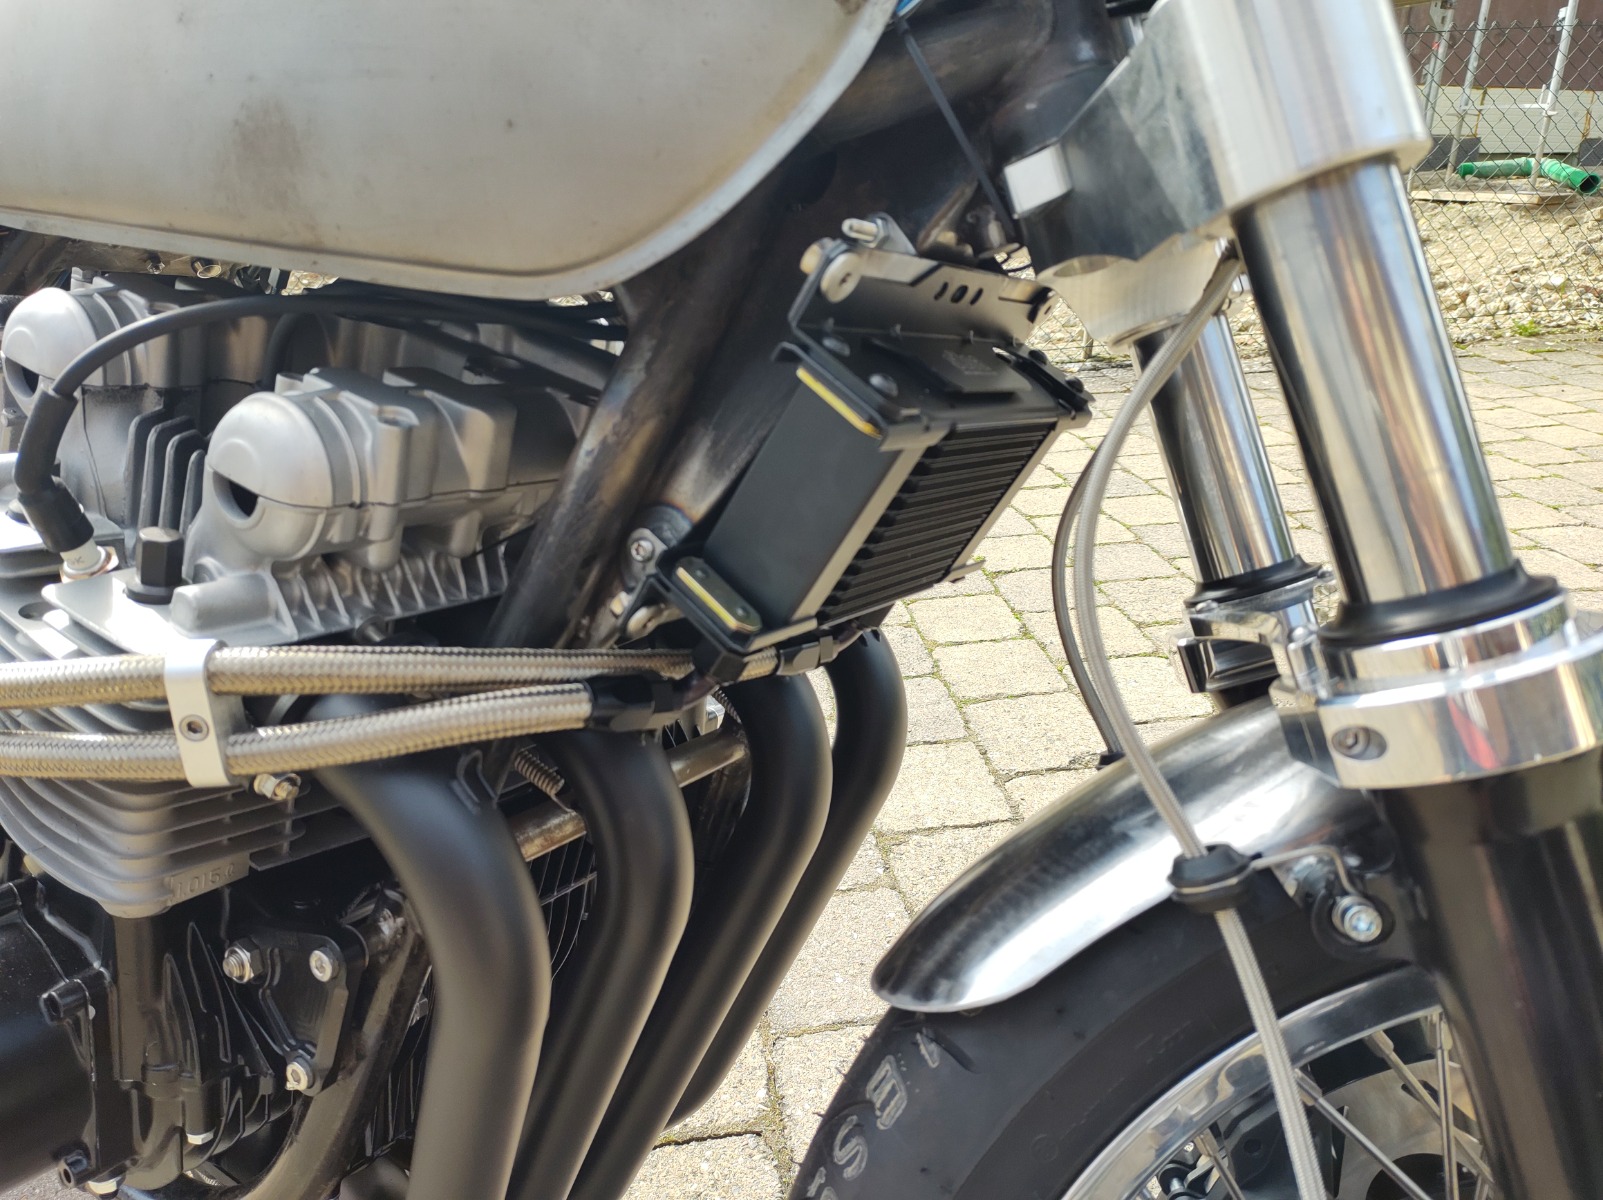
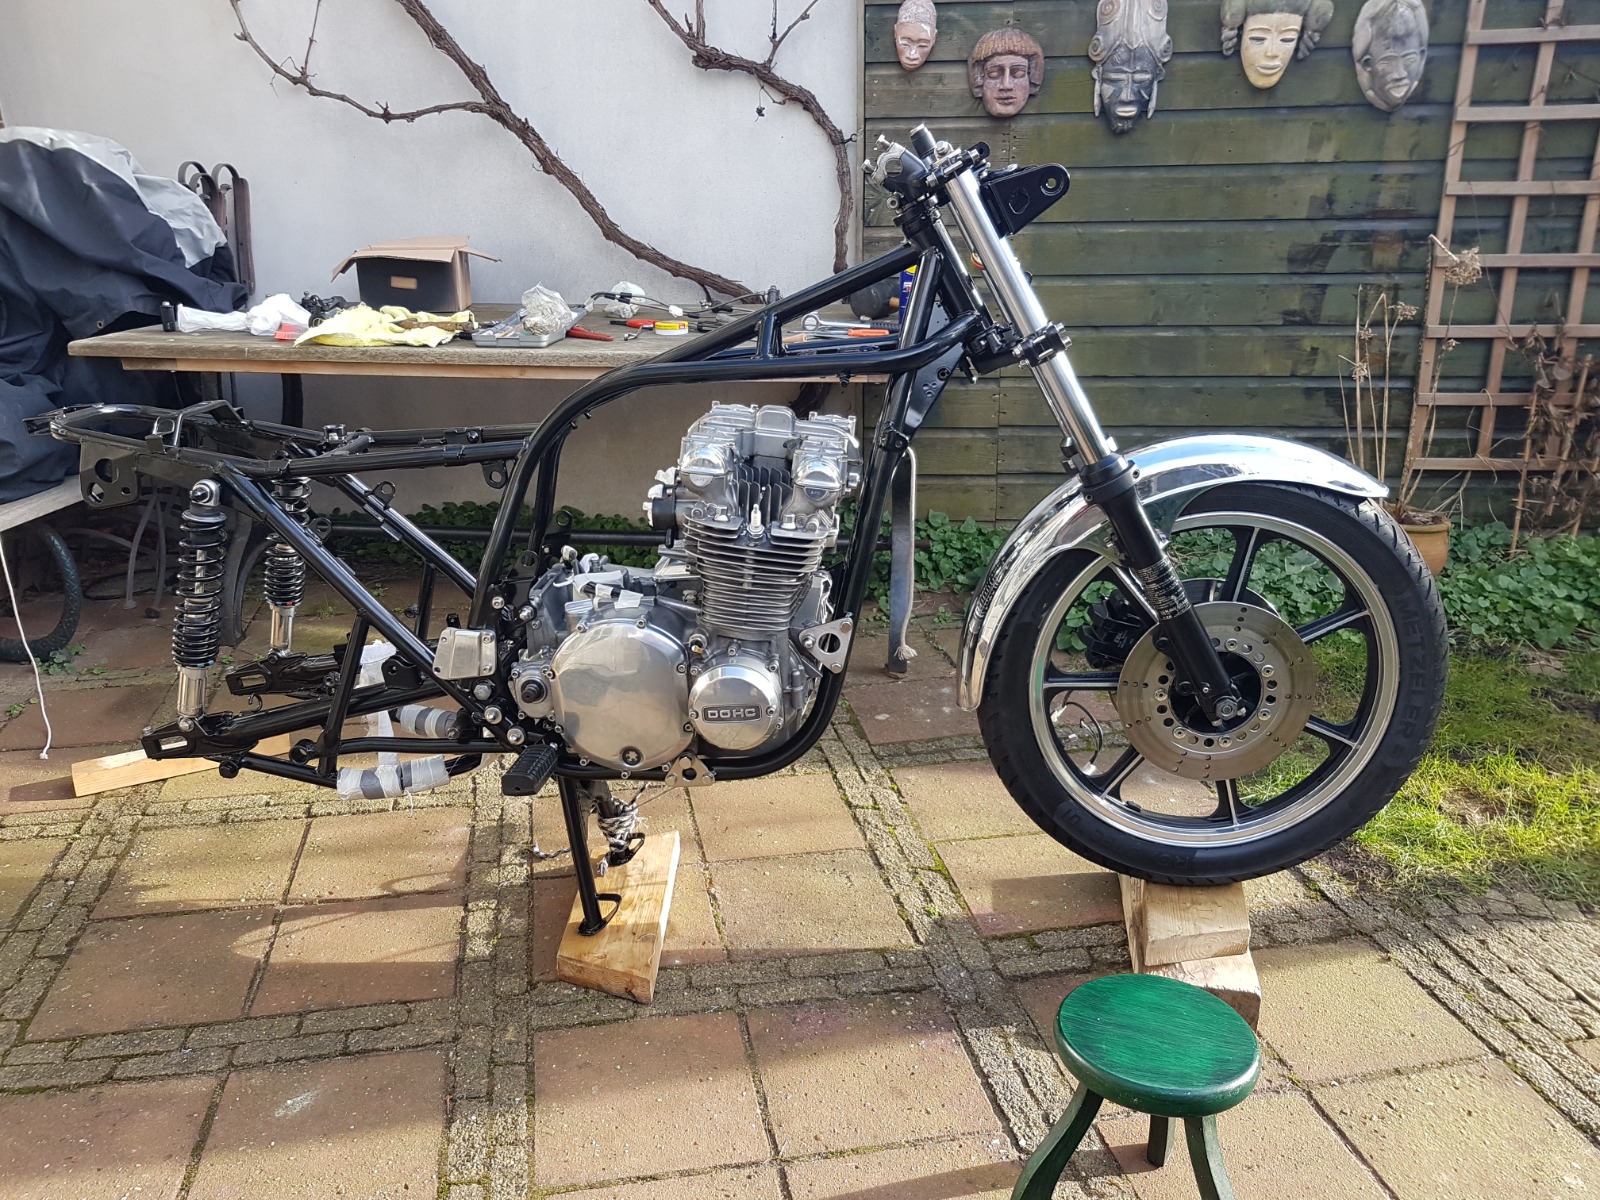
It's been a pretty big week... Started off by welding a bit onto the side stand so that it doesn't slam into the shifter. I'll add a stop to the frame when I've torn the bike down.
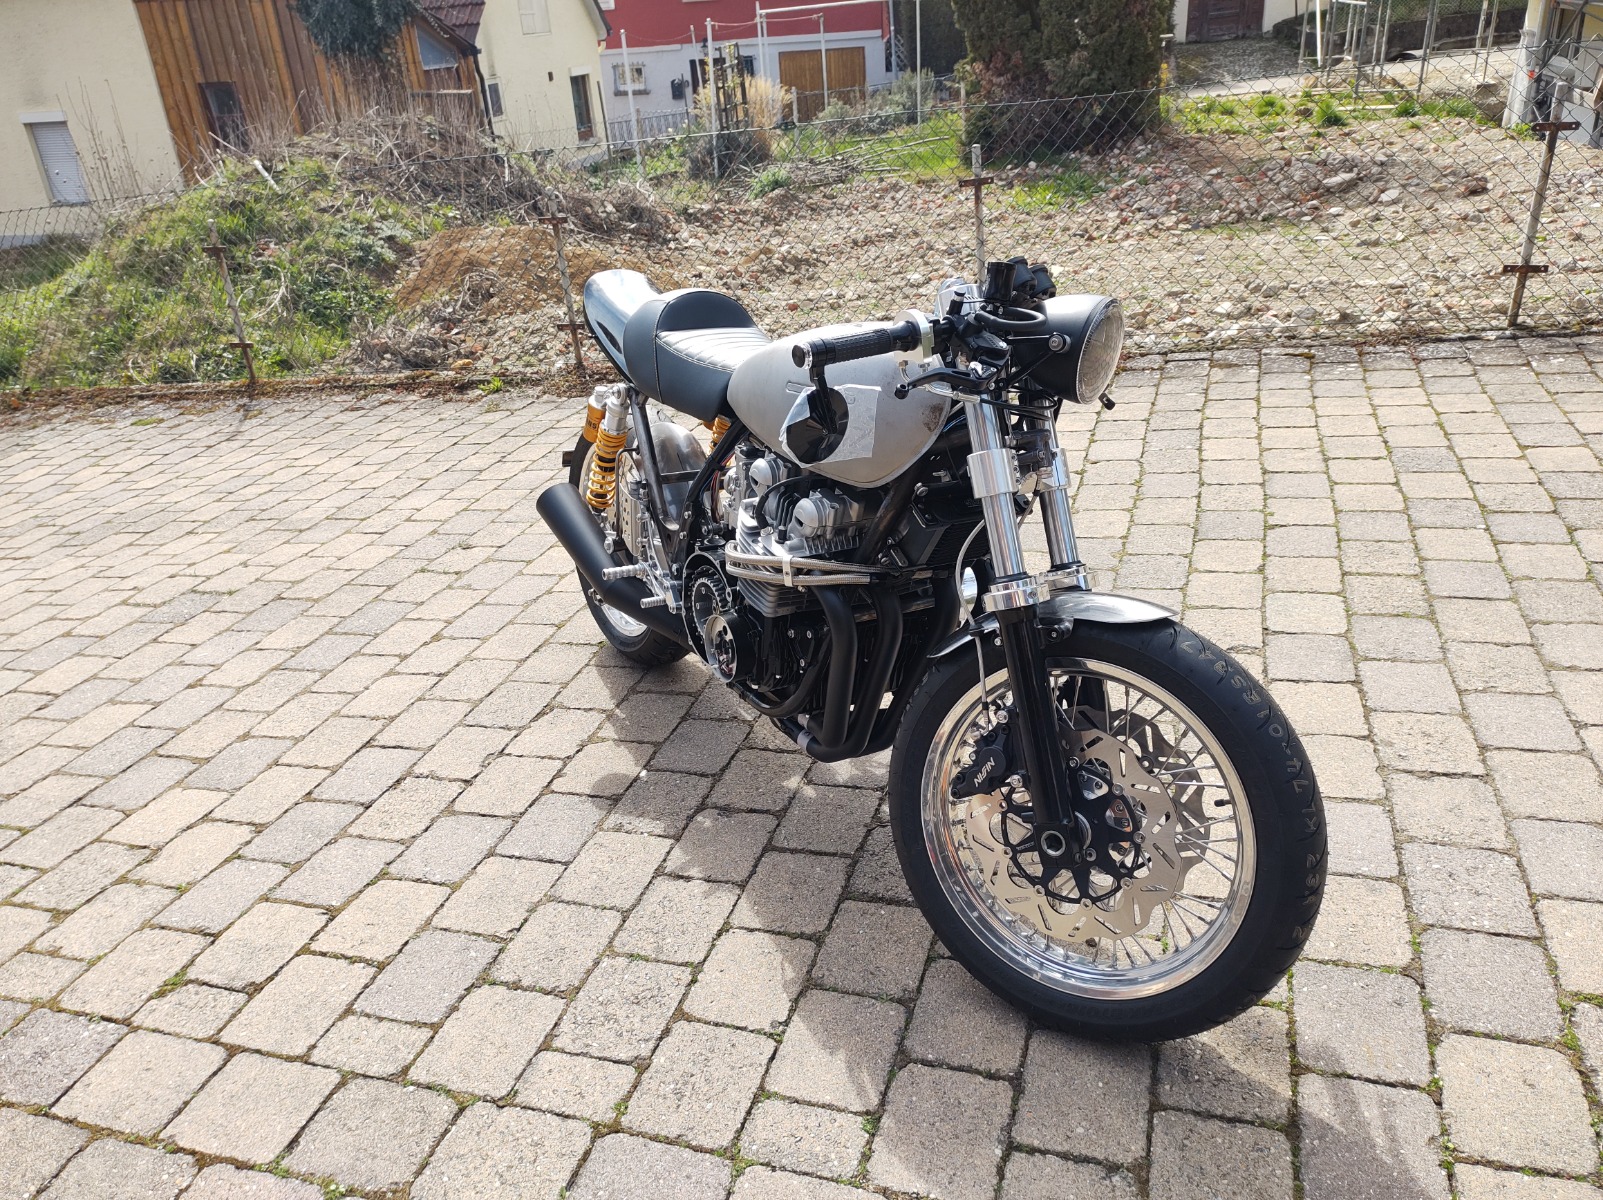
After that I got the brake lines on, the chain and sprockets properly aligned (third time lucky!), then I made a rear fender and a license plate bracket (will get a plate laser cut and weld it on for mounting the actual license plate). Got some holes in the side of the tank vent fitting and made some brackets for the brake lines. Finally welded the nuts onto the oil cooler brackets.
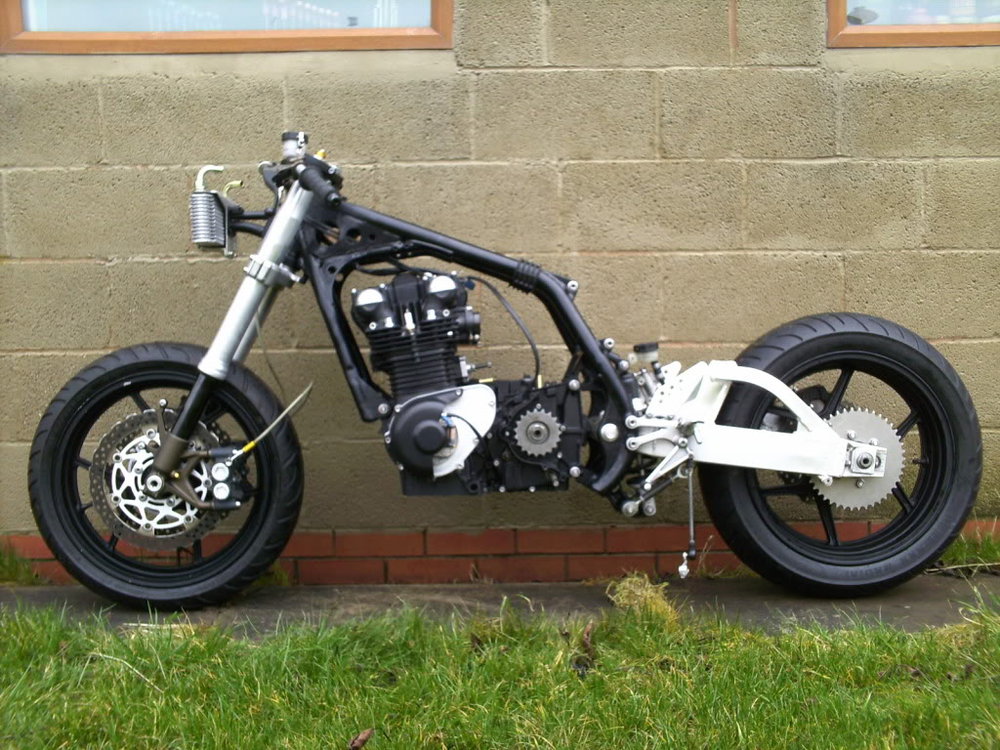
After all that it was time to roll the bike out of the garage for a few photos. I'll be tearing everything down over the next couple of weeks. I need to get some minor changes made to the swingarm, straighten the tail out and get a guy to make me a catch can (don't fancy trying to weld an aluminium box that doesn't leak). After that it's time to start bead blasting and painting before reassembly.
EDIT: I should note that the forks are pretty soft (new springs are still on the shelf). The static sag is about 40-50mm so the front end will sit a bit higher when it's done.
After that I got the brake lines on, the chain and sprockets properly aligned (third time lucky!), then I made a rear fender and a license plate bracket (will get a plate laser cut and weld it on for mounting the actual license plate). Got some holes in the side of the tank vent fitting and made some brackets for the brake lines. Finally welded the nuts onto the oil cooler brackets.
After all that it was time to roll the bike out of the garage for a few photos. I'll be tearing everything down over the next couple of weeks. I need to get some minor changes made to the swingarm, straighten the tail out and get a guy to make me a catch can (don't fancy trying to weld an aluminium box that doesn't leak). After that it's time to start bead blasting and painting before reassembly.
EDIT: I should note that the forks are pretty soft (new springs are still on the shelf). The static sag is about 40-50mm so the front end will sit a bit higher when it's done.
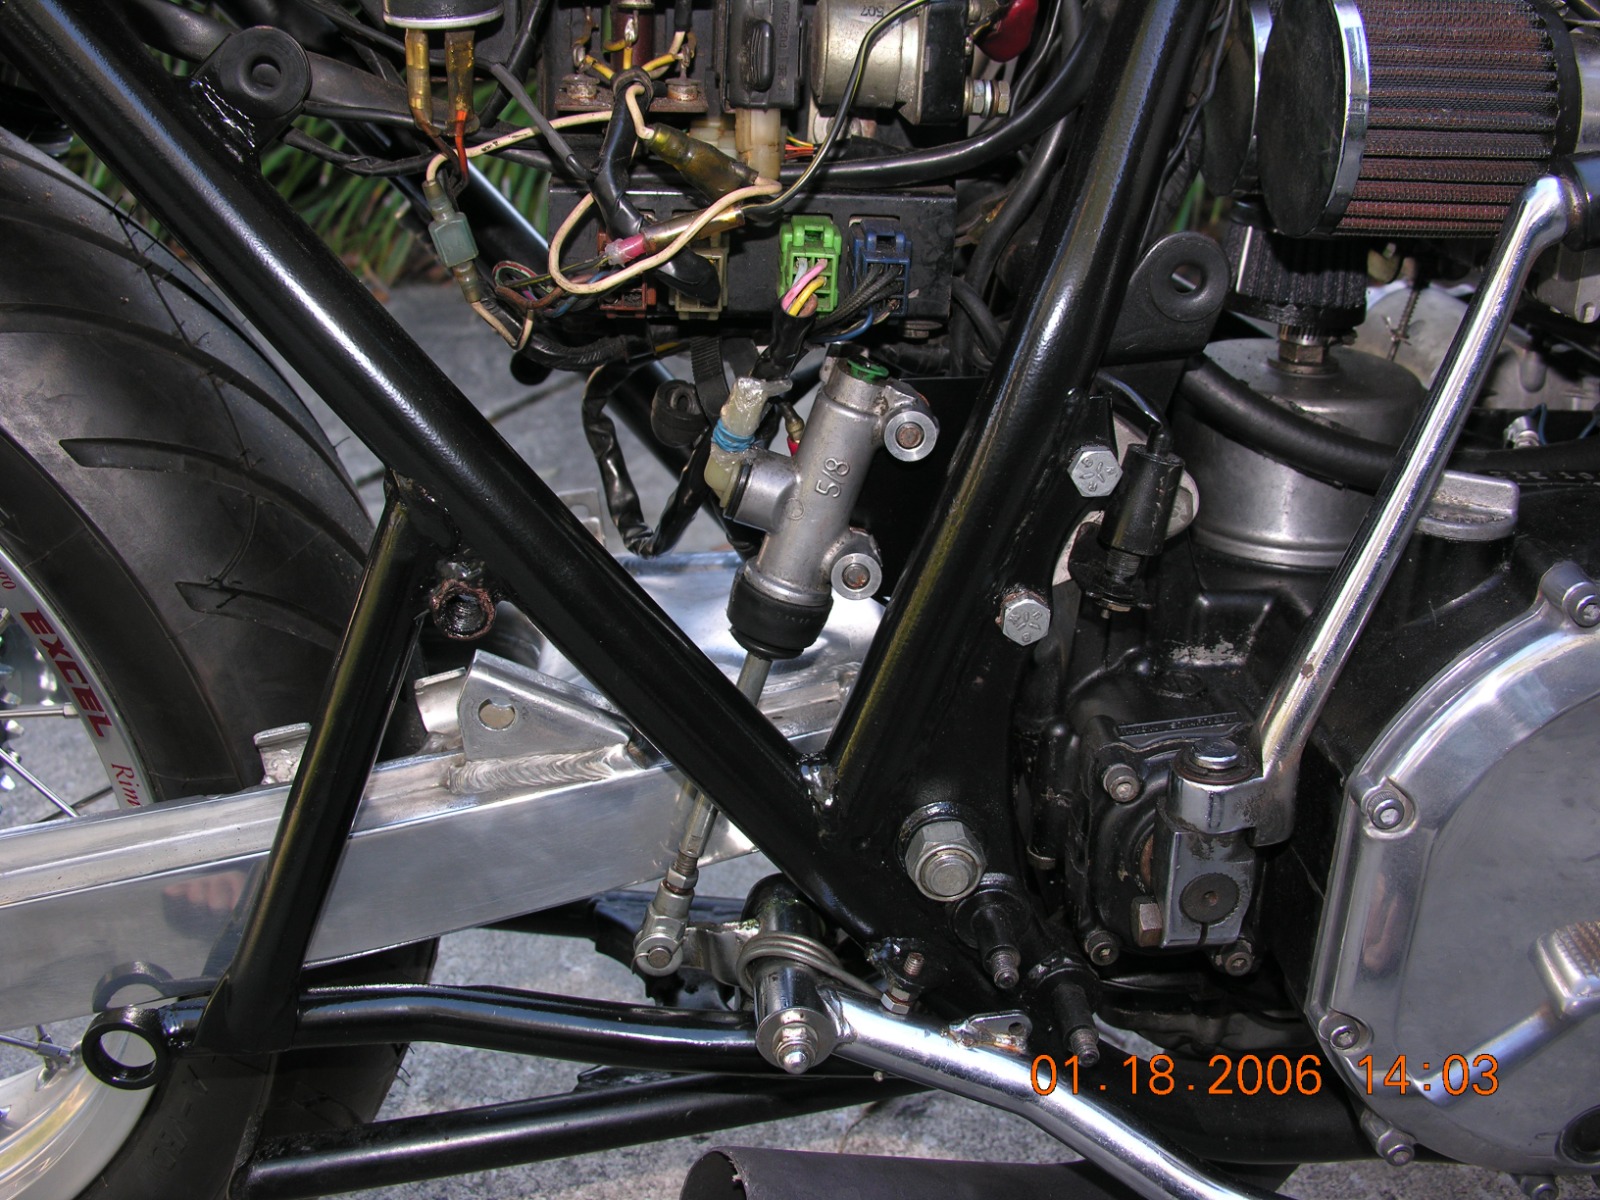
I installed a Suzuki GS1100 swingarm, '77-'78 rear brake rotor and caliper, and a KZ rear brake master cylinder on my 1973 Z1-900. I made a mount for the rear brake master cylinder that bolted on the thick aftermarket right engine mount.
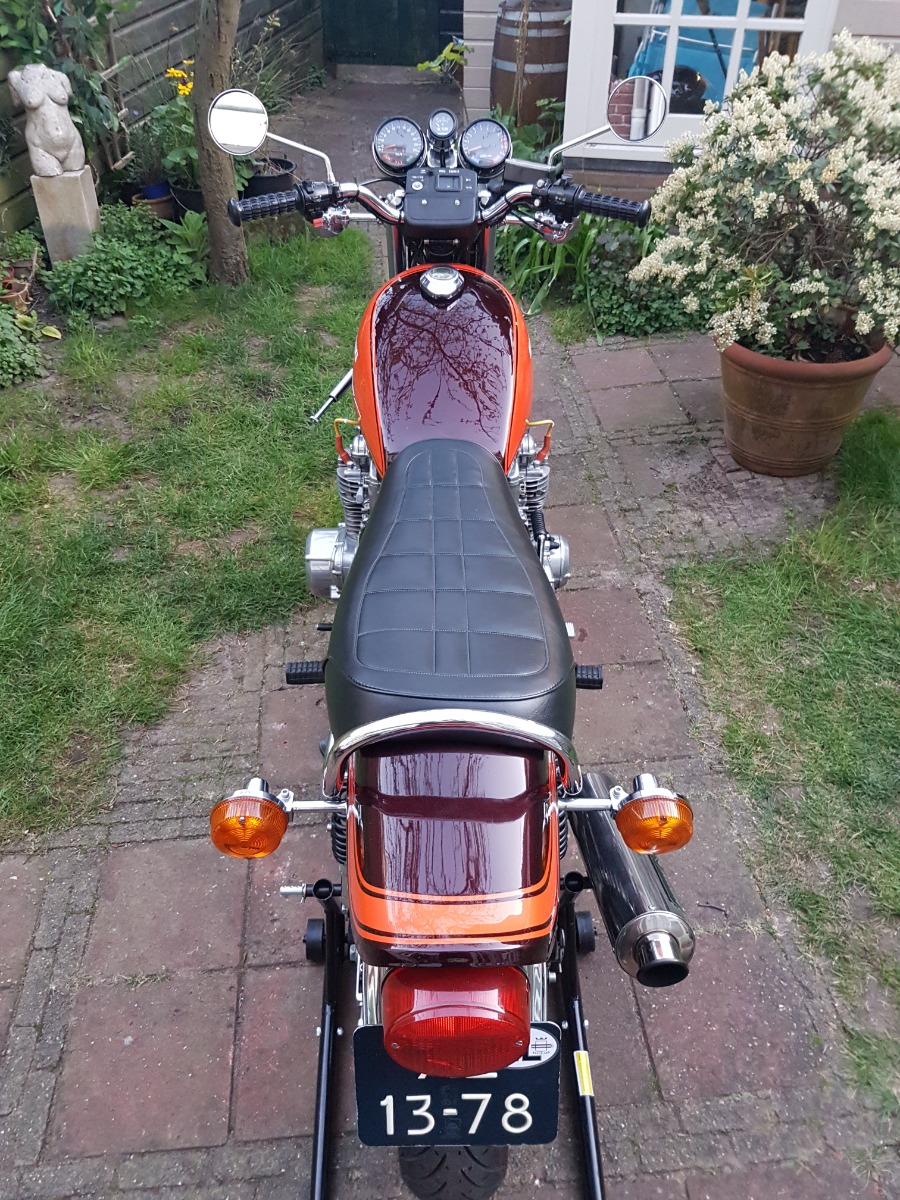
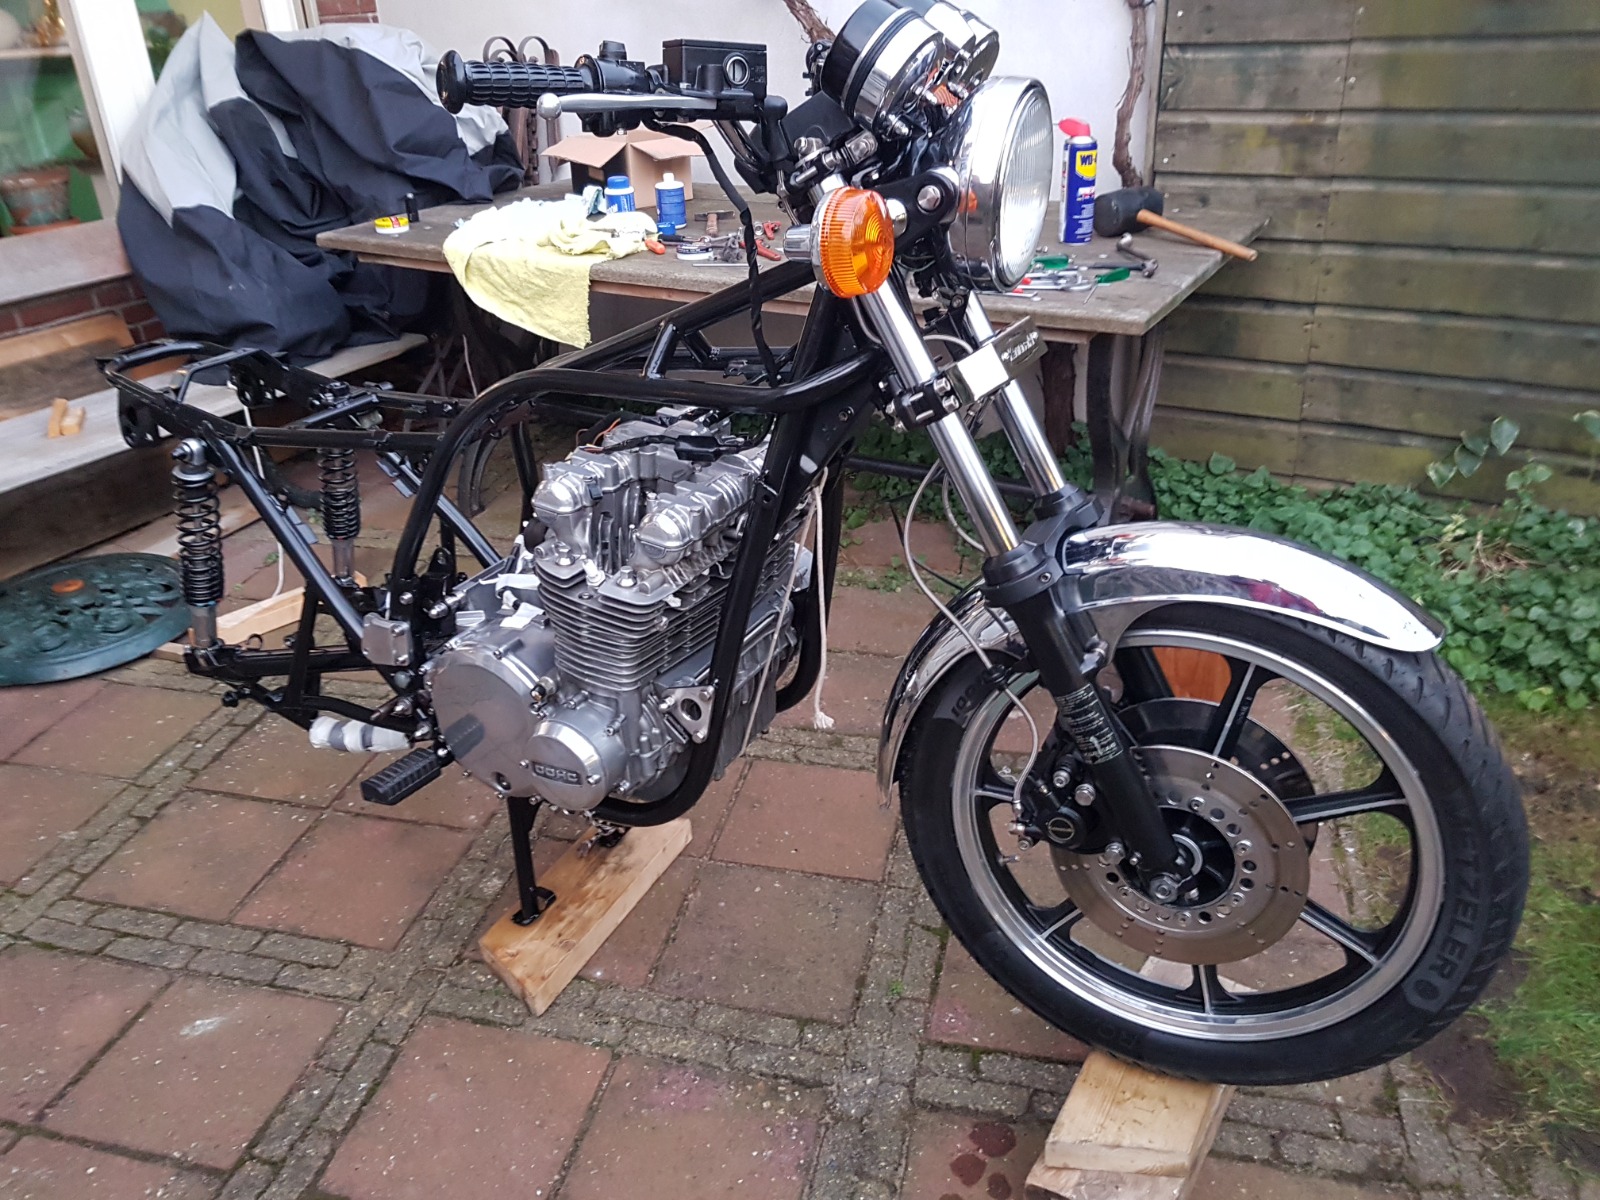
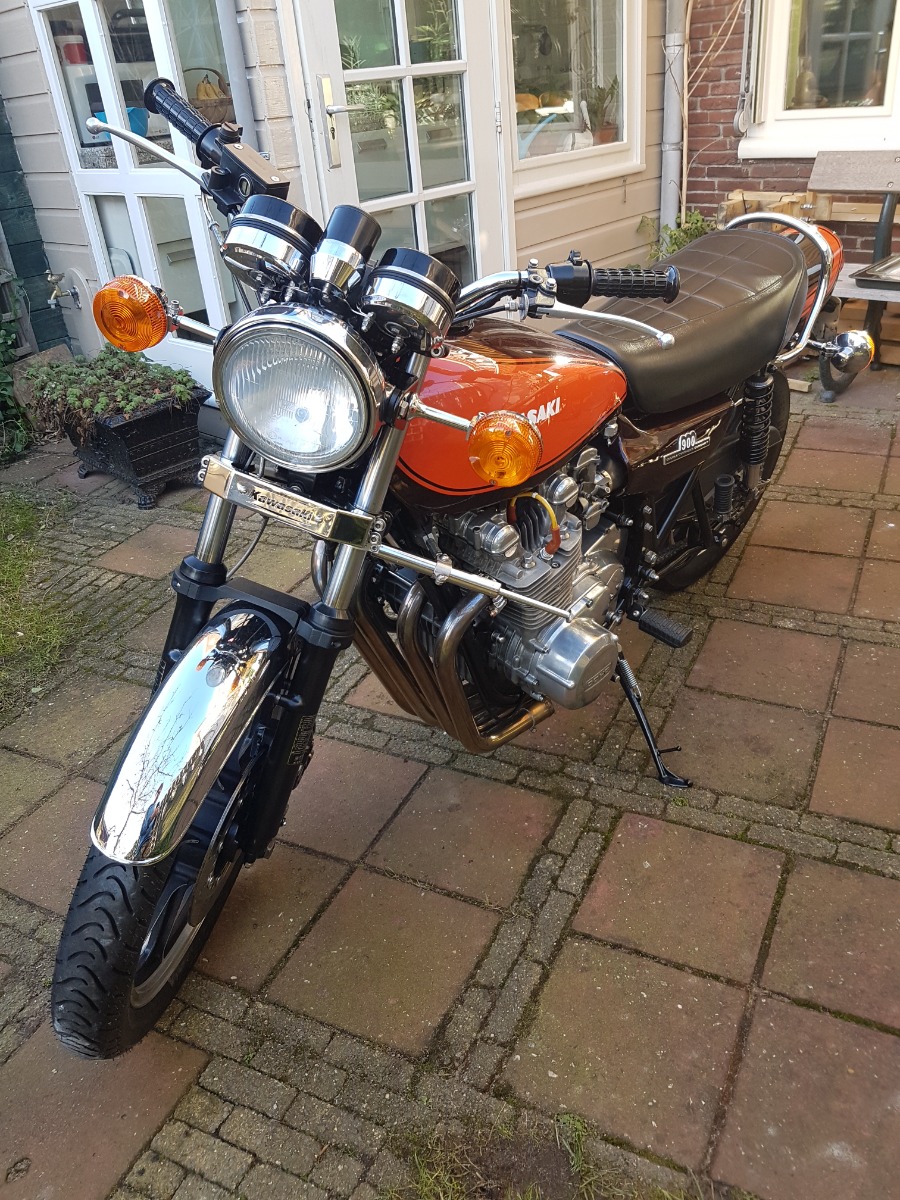
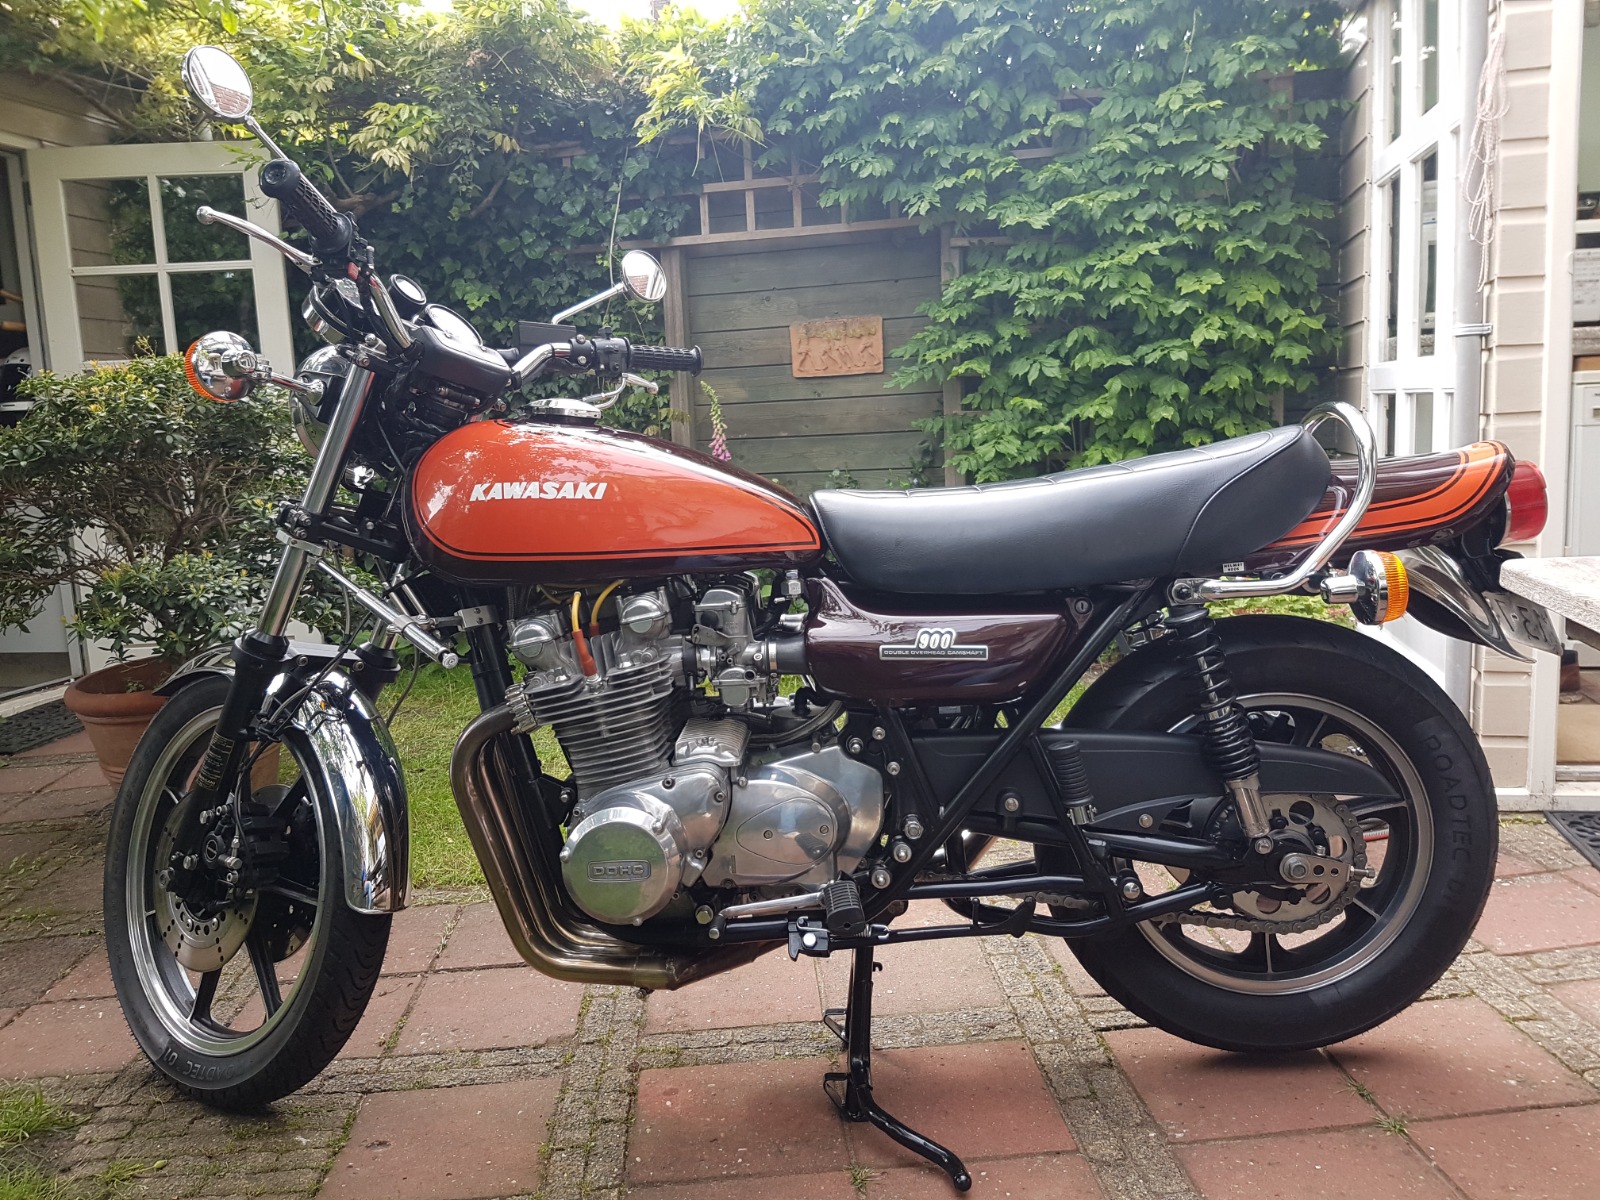
This month we are continue the “globetrotting” with a sweet Z1B from the Netherlands. This particular “Z” resides with its proud owner WillemZ900. This is the story of a 40 year relationship which has had it’s “ups and downs” but I am sure the “ups” outweigh any “downs” along the way. The bike is a 75 Z1B imported to the Netherlands in 76.7 years later enter Willem with a pocketful of cash and “got to have it” eyes. The bike had already gone through some changes at this point prior to the purchase (KZ1000J forks, clocks and wheels). The relationship hit a bump in the road later in that first year when, following a trip to Italy the cam-chain tensioner broke with all the usual unpleasant mechanical lovemaking that follows such an event. Following the engine rebuild the bike received a cosmetic re-fresh.Willem then continued to use the bike until last winter with only routine maintenance, it was at this point that a combination of the bike being tired along with a cracked frame gusset forced the decision to pull the trigger on a full rebuild (Willem had been collecting new parts for many years knowing this day would come)Willem worked on the bike daily for 4 months throughout last winter ready for the summer of 22, in his words “she now rides like a new bike and is fast as hell”
Specs: 1015CC, 29 Mikuni smoothbore pumpers, handmade RVS racing exhaust, electronic ignition. New piston-rings, new hollow cams, new cam chain, new clutch and Ape mushroom, and lots of other new small parts. Frame crack repaired and powder-coated, stock swinging arm braced. rear wheel changed to16. That’s about it
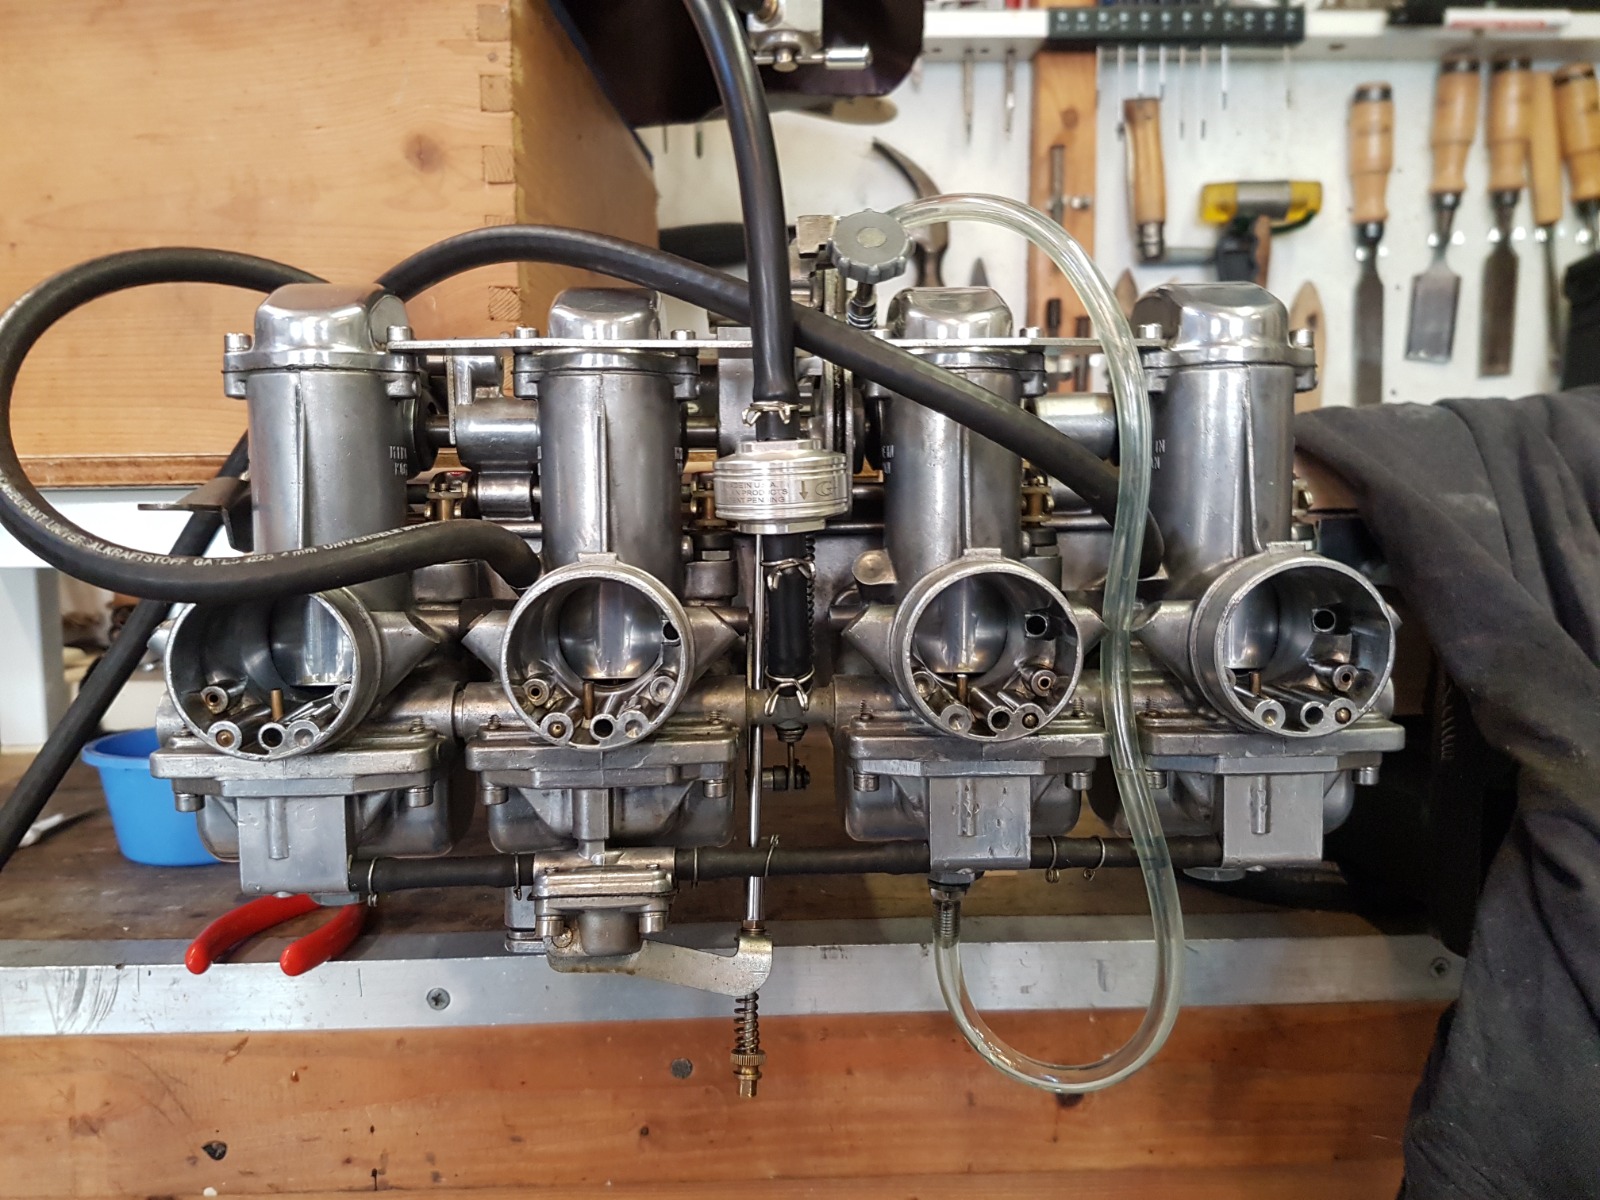
Specs: 1015CC, 29 Mikuni smoothbore pumpers, handmade RVS racing exhaust, electronic ignition. New piston-rings, new hollow cams, new cam chain, new clutch and Ape mushroom, and lots of other new small parts. Frame crack repaired and powder-coated, stock swinging arm braced. rear wheel changed to16. That’s about it
Displaying 141 - 150 out of 7254 results.