
Search Results (Searched for: gs swing arm)
Replied by BohicaBob on topic GS1100 swingarm swap wheel and brake options
25 Mar 2016 07:43 - 25 Mar 2016 10:57
KZ802: On my '73 Z1-900, the chrome front fork tubes are original, believe or not. The fork lowers are from a KZ650 because I wanted to use later model calipers ('79-'80) and because these calipers have 42 mm pistons instead of 38 mm pistons. Also, with the KZ650 lowers I could easily bolt on a Telefix front fork brace - all of this was done many years ago. The damper rods I used came from a '76 KZ900. In the last couple of years I installed RaceTech cartridge emulators which really helped the front end a hell of a lot plus the emulators are tunable.
Yes, the front rim is an 3.5" inch wide 17" Excel rim fitted with a 110 mm wide Avon radial tire and an aftermarket chrome front fender - that required a bit of work to fit. Note that those calipers cannot be installed or removed without first removing the inside brake pad from each caliper because of the 17" rim.
I have a 4.25" wide 17" Excel rim on the back fitted with a 166 mm wide Avon radial tire. I needed a 1/4" offset countershaft sprocket to ensure the drive chain did not rub the rear tire.
This setup provides very stable handling characteristics but remember that I reinforced the frame a long ago so the upgrade to wide wheels and radial tires was feasible. Don't know how all of this would have worked with the stock spaghetti frame however.
Replied by KZ802 on topic GS1100 swingarm swap wheel and brake options
25 Mar 2016 06:55
BohicaBob, I guess it was my browser. I run adblock and ghostery to keep my information tracking to a minimum and even though I paused them I couldn't get it to load. I used a different browser and I was able to see everything. Thank you, that definitely helps me out a bit with what to expect. That's a couple of really nice bikes you have there! I love the white I can't believe more people don't do it! I would black out even more on them and go more towards the storm trooper style. Are those stock forks on the Z1? I was surprised to see the 3.5 fit in there. I got a deal I couldn't pass up on a 5 inch 17 rear rim so we'll see if it fits. I think all it will accept is a 160 or 170 so I think it will be doable, judging by your setup. What did you end up doing to offset the chain?
Replied by BohicaBob on topic GS1100 swingarm swap wheel and brake options
24 Mar 2016 17:45
KZ802: Yes the links are active and they are not secured. What response do you get? "Page not found" or such?
Replied by davido on topic GS1100 swingarm swap wheel and brake options
24 Mar 2016 10:11
I tried a GSXR750/1100 wheel with a 180 tyre in a GS1100 swingarm.No way would it fit.In any direction. For clearance at the front of the tyre,the wheel had to be so far back,there was no way to use the chain tensioner. To have the sprocket bolts not hitting by the shock mount,it had to be so far over to the right, you could fit a sidecar. If I was able to get it to fit,I would have needed a very offset front sprocket and a chunk cut out of the frame to get the chainline running straight and the wheel would still have been off center.
That was my experience. Dont know how others have managed it.
(I ended up going with a GSXR600 arm and a Bandit 600 wheel with a 160 tyre but I was going for a full on front/rear end conversion anyway)
That was my experience. Dont know how others have managed it.
(I ended up going with a GSXR600 arm and a Bandit 600 wheel with a 160 tyre but I was going for a full on front/rear end conversion anyway)
Replied by KZ802 on topic GS1100 swingarm swap wheel and brake options
23 Mar 2016 19:13BohicaBob I tried the links in your signature, only the KZ2 link worked....are they all still active? I'm not sure if it is something on my end...BohicaBob wrote: See "Z1-900" in my signature for some information that might answer some of your questions.
Replied by SWest on topic Swing arm mod Z1/ZZR1200
23 Mar 2016 19:13
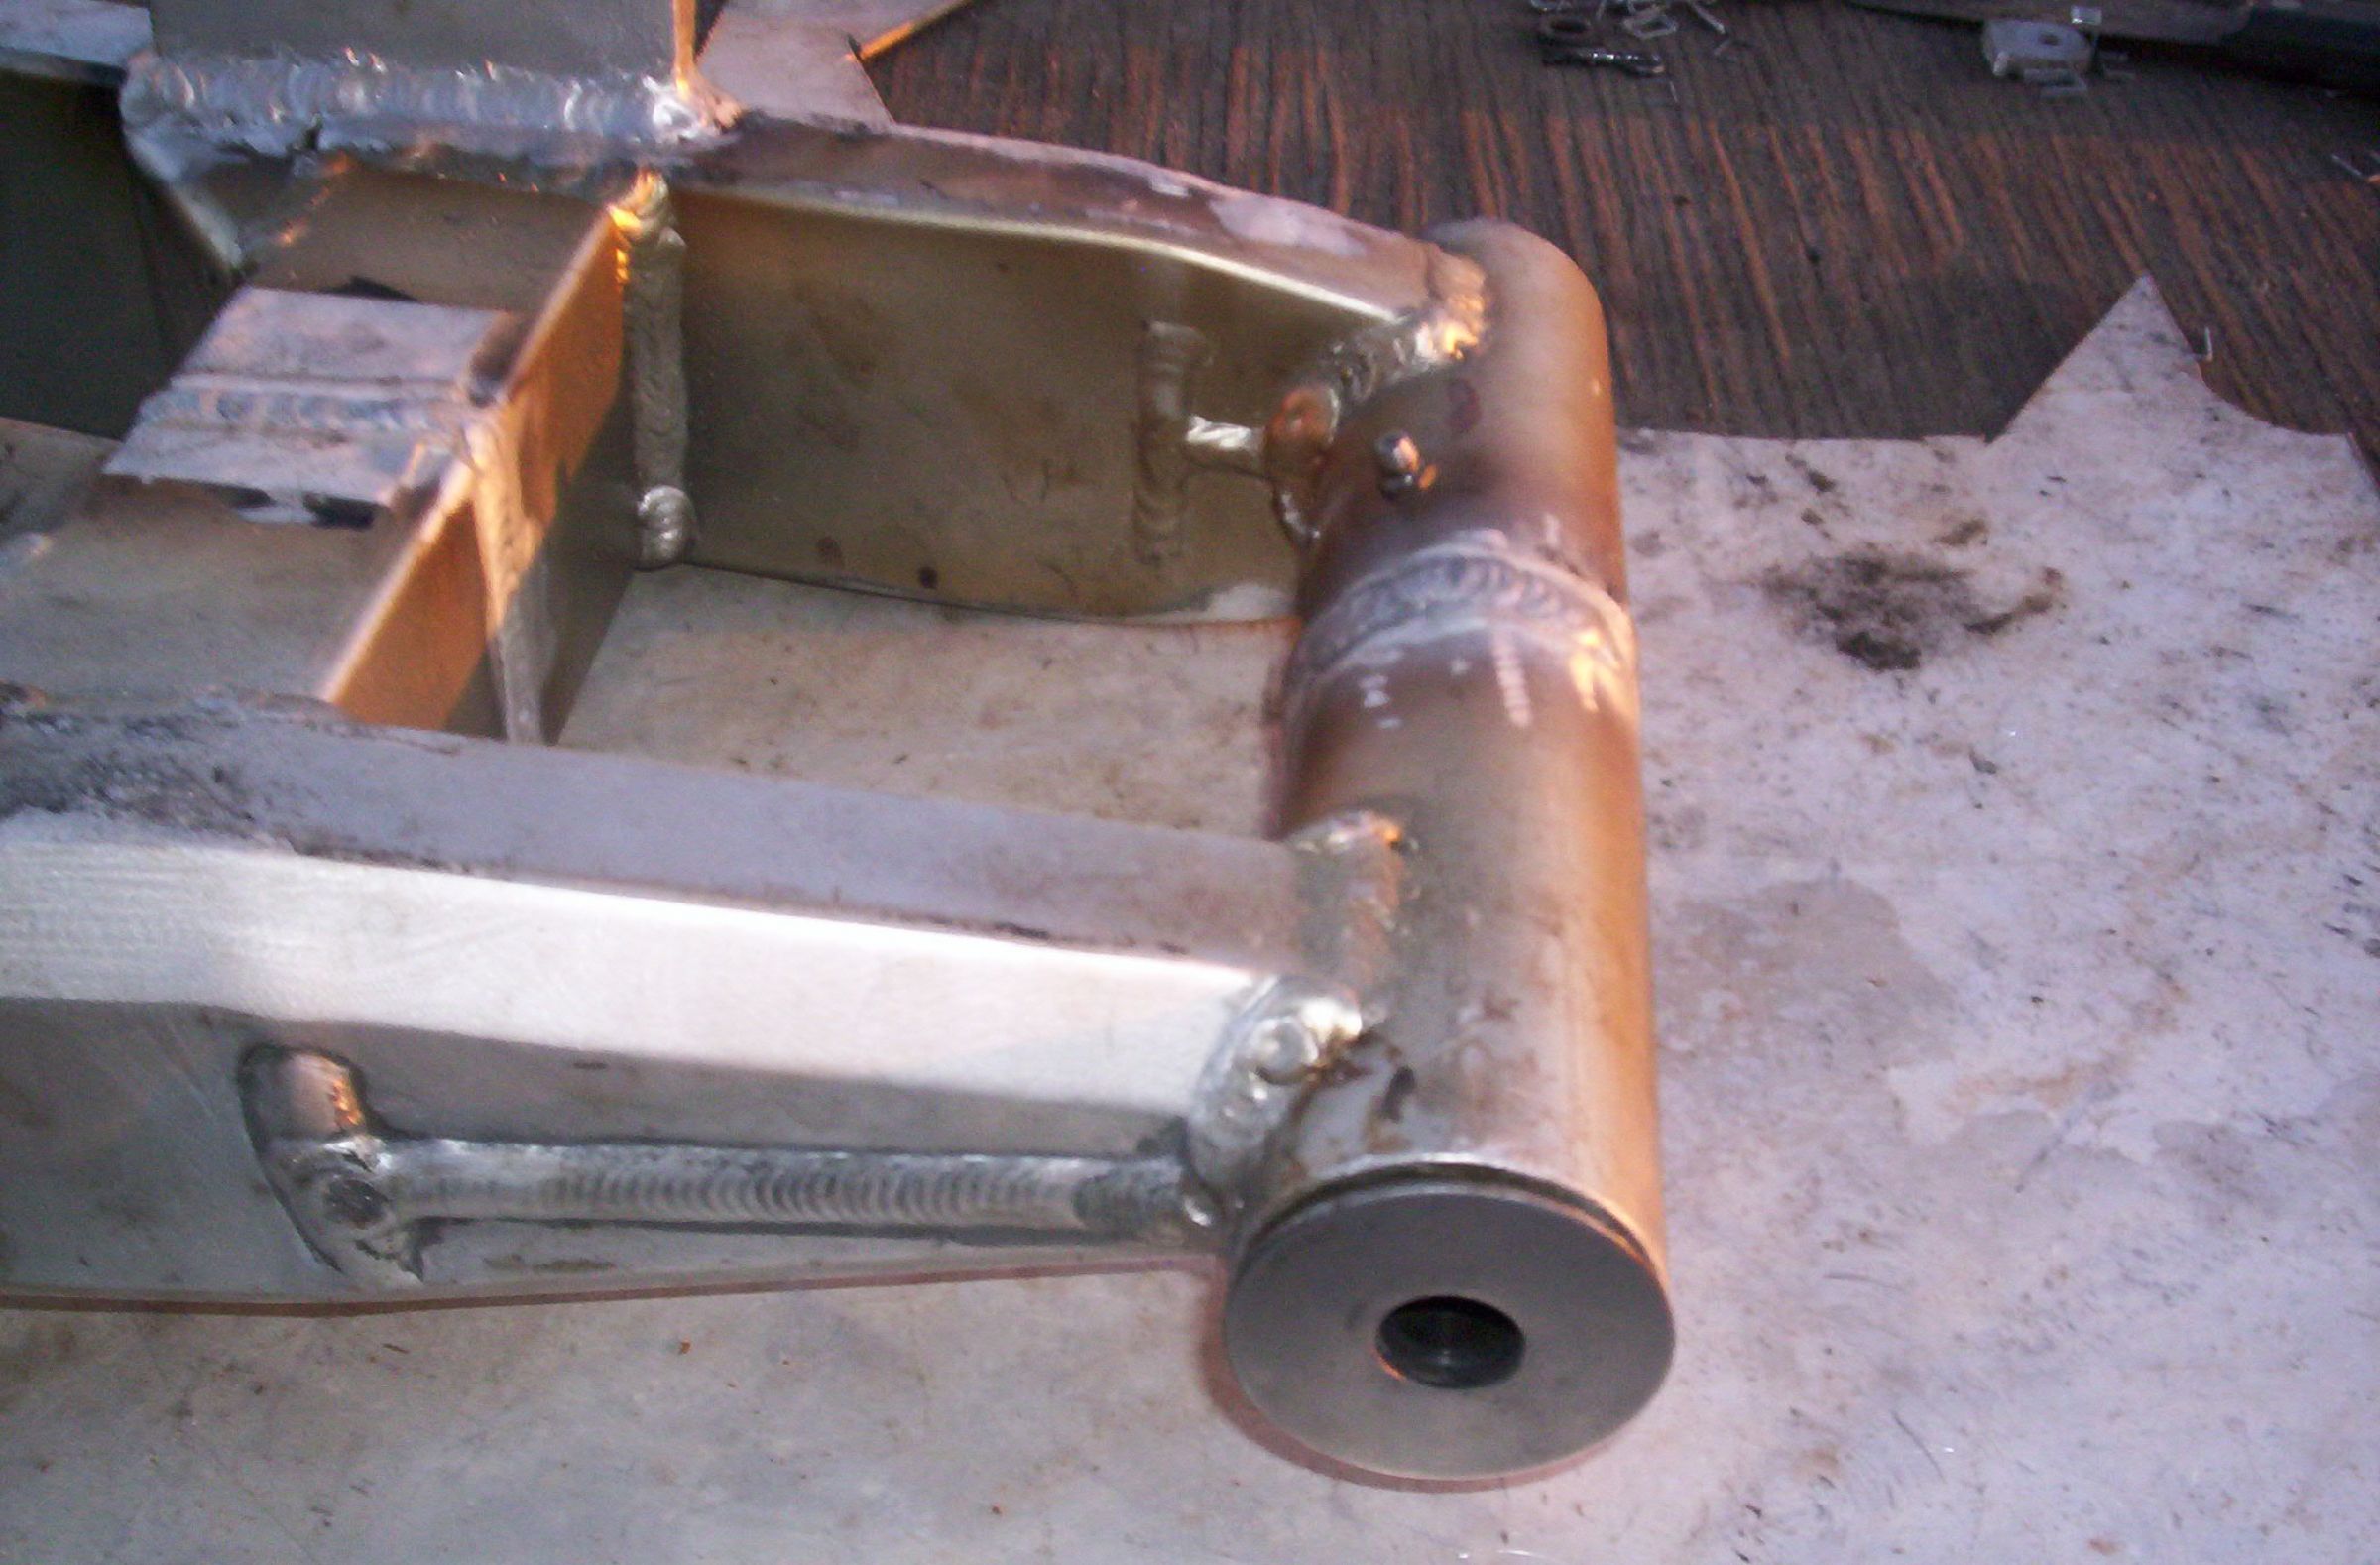
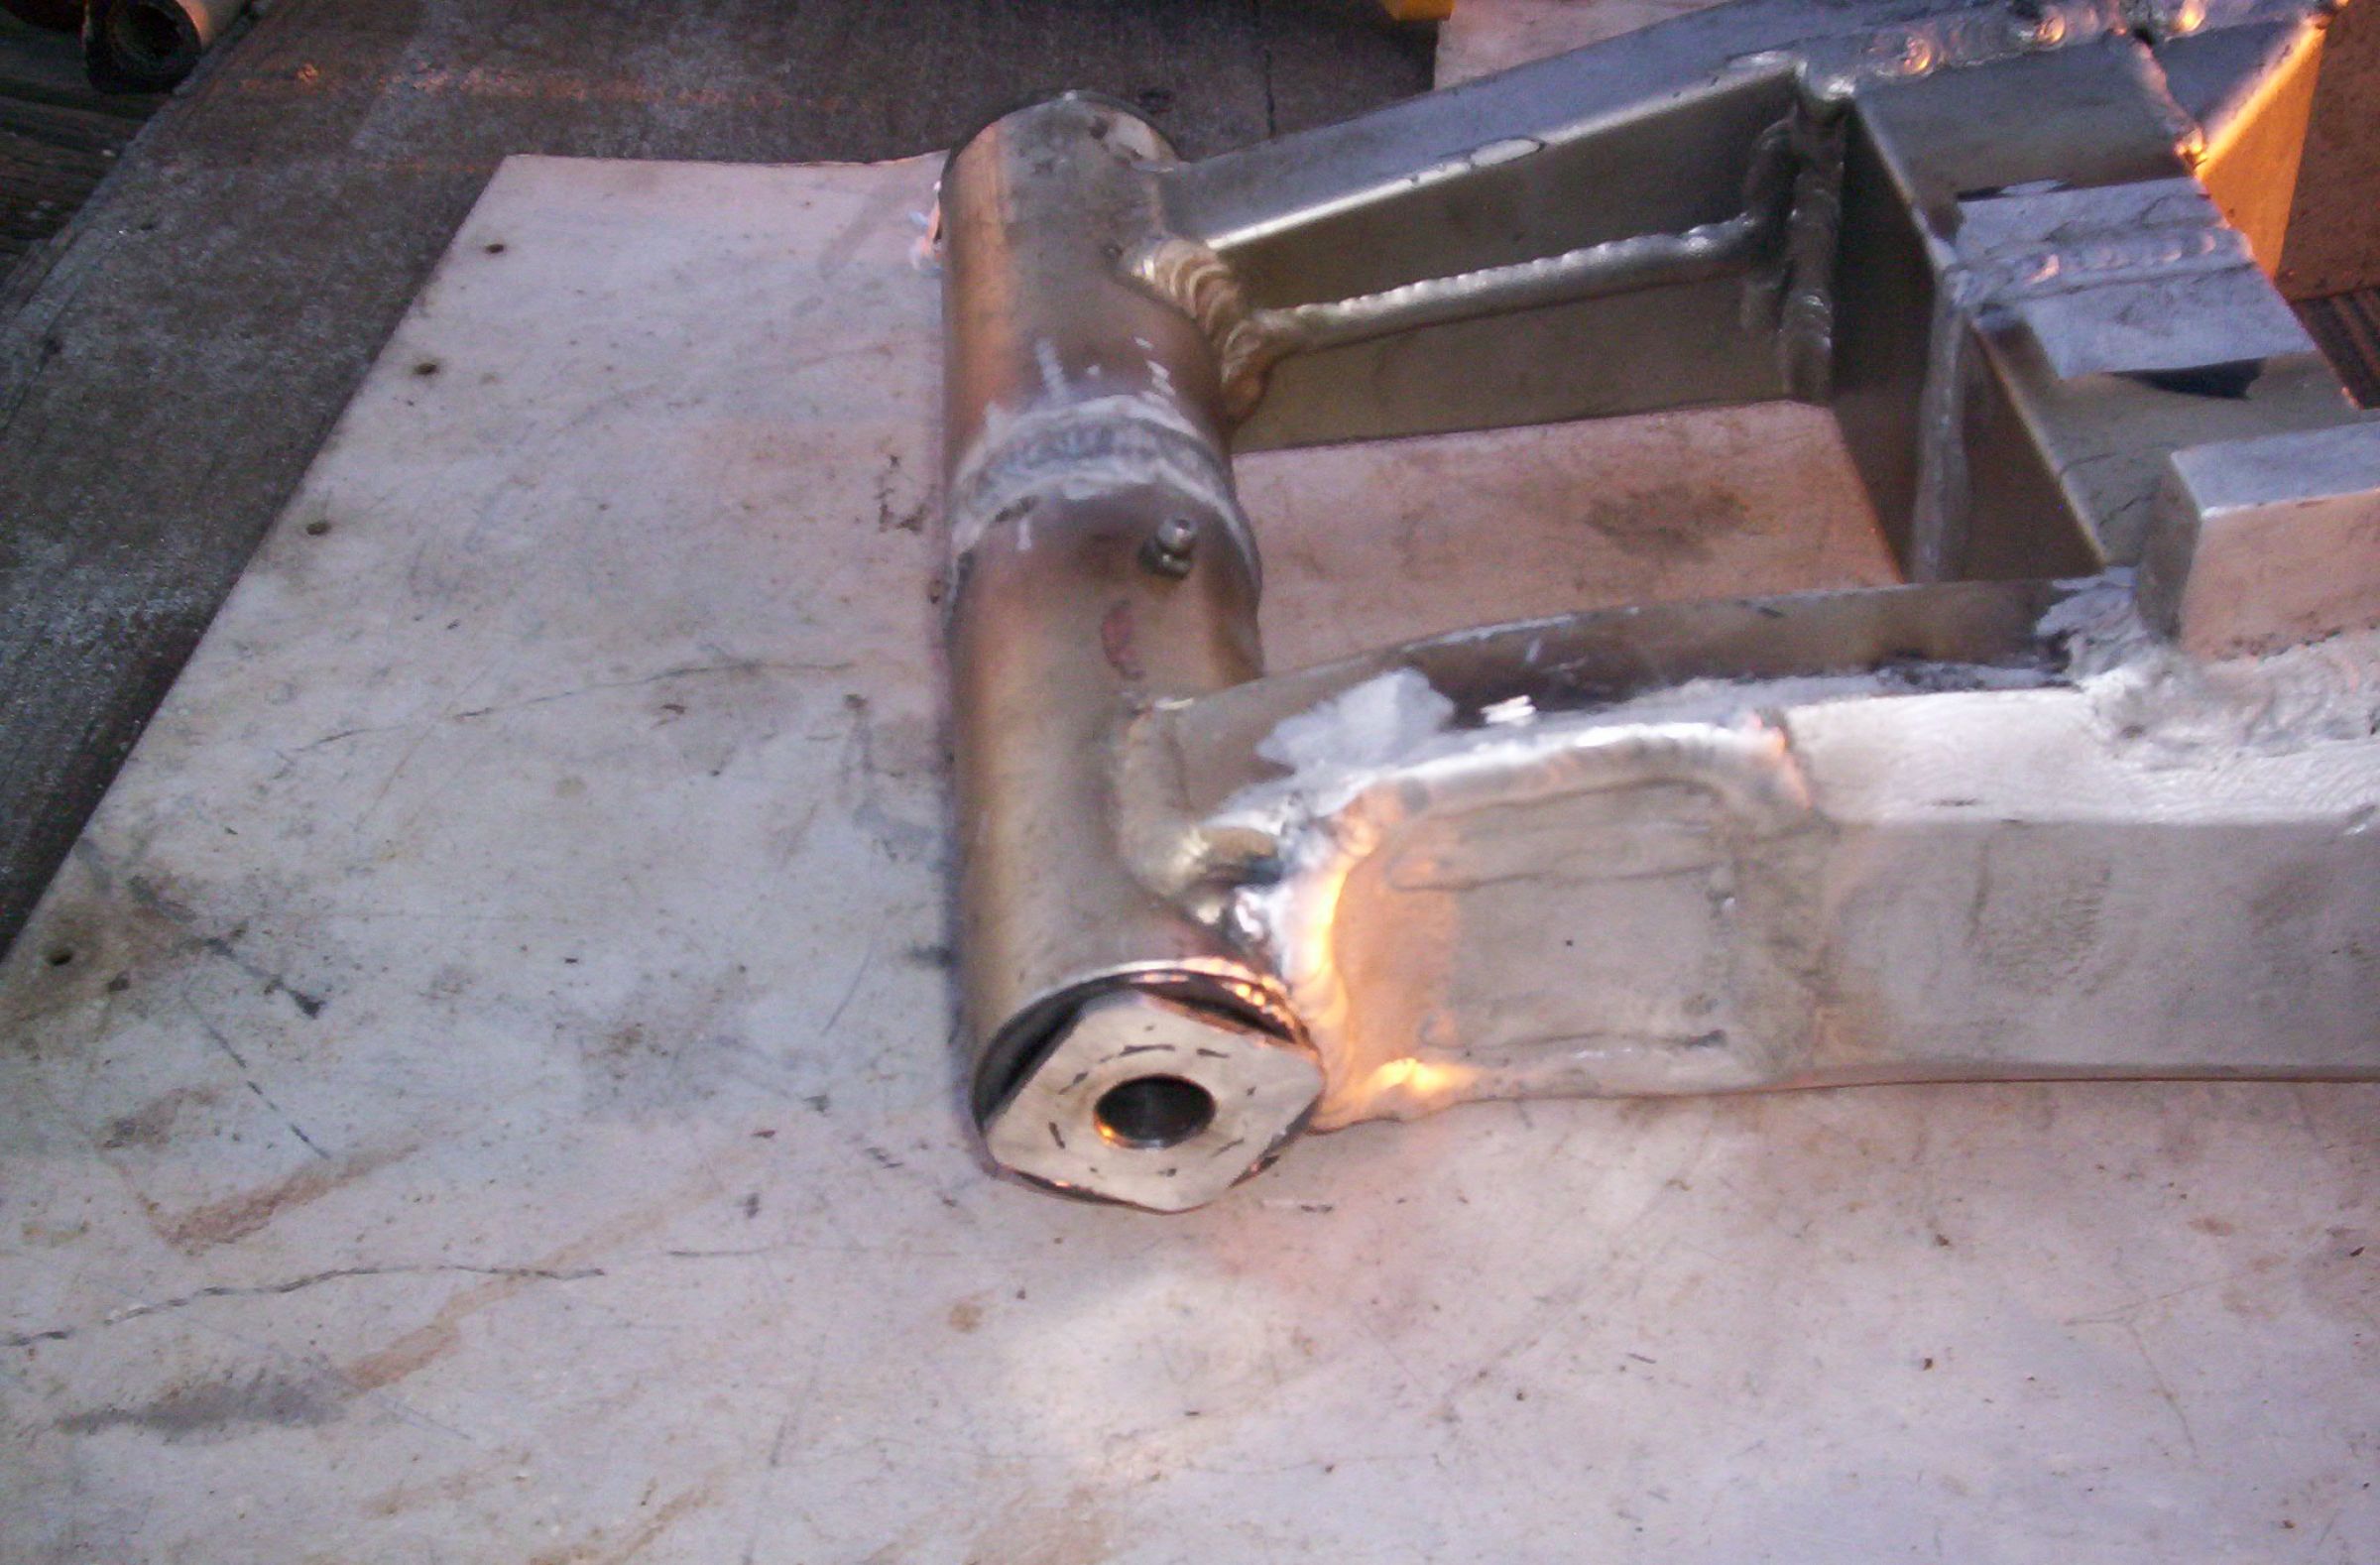
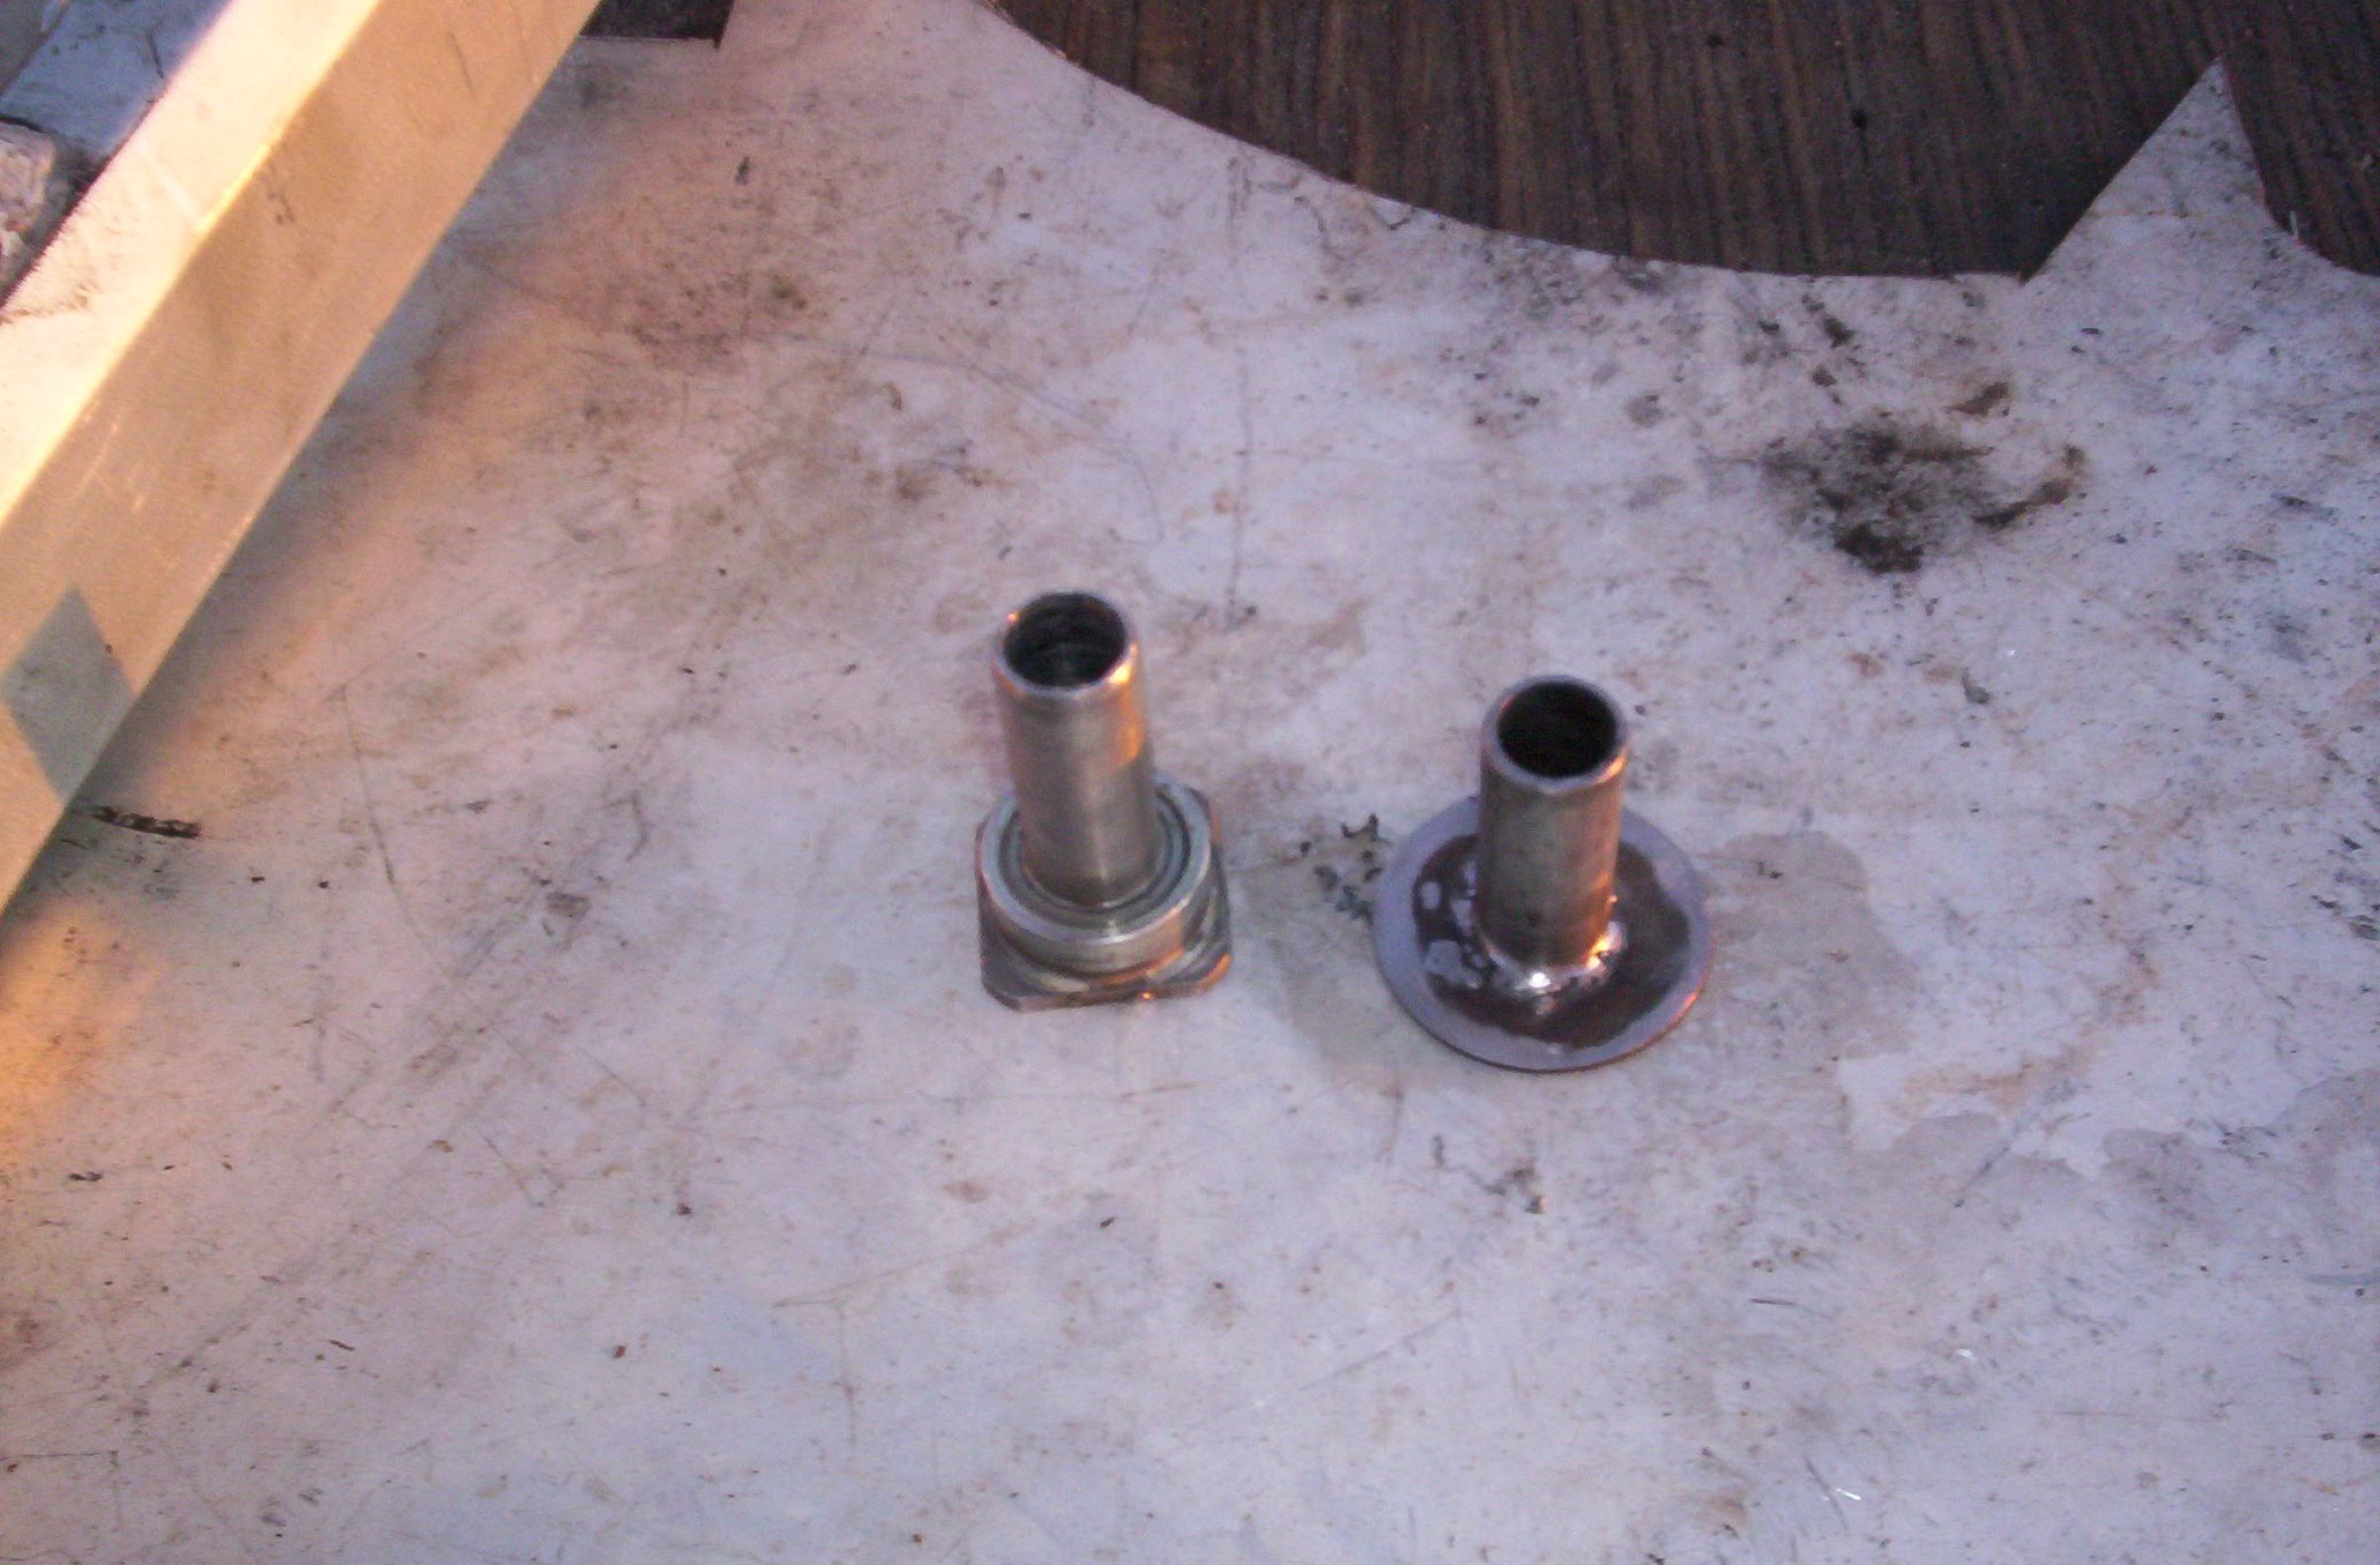
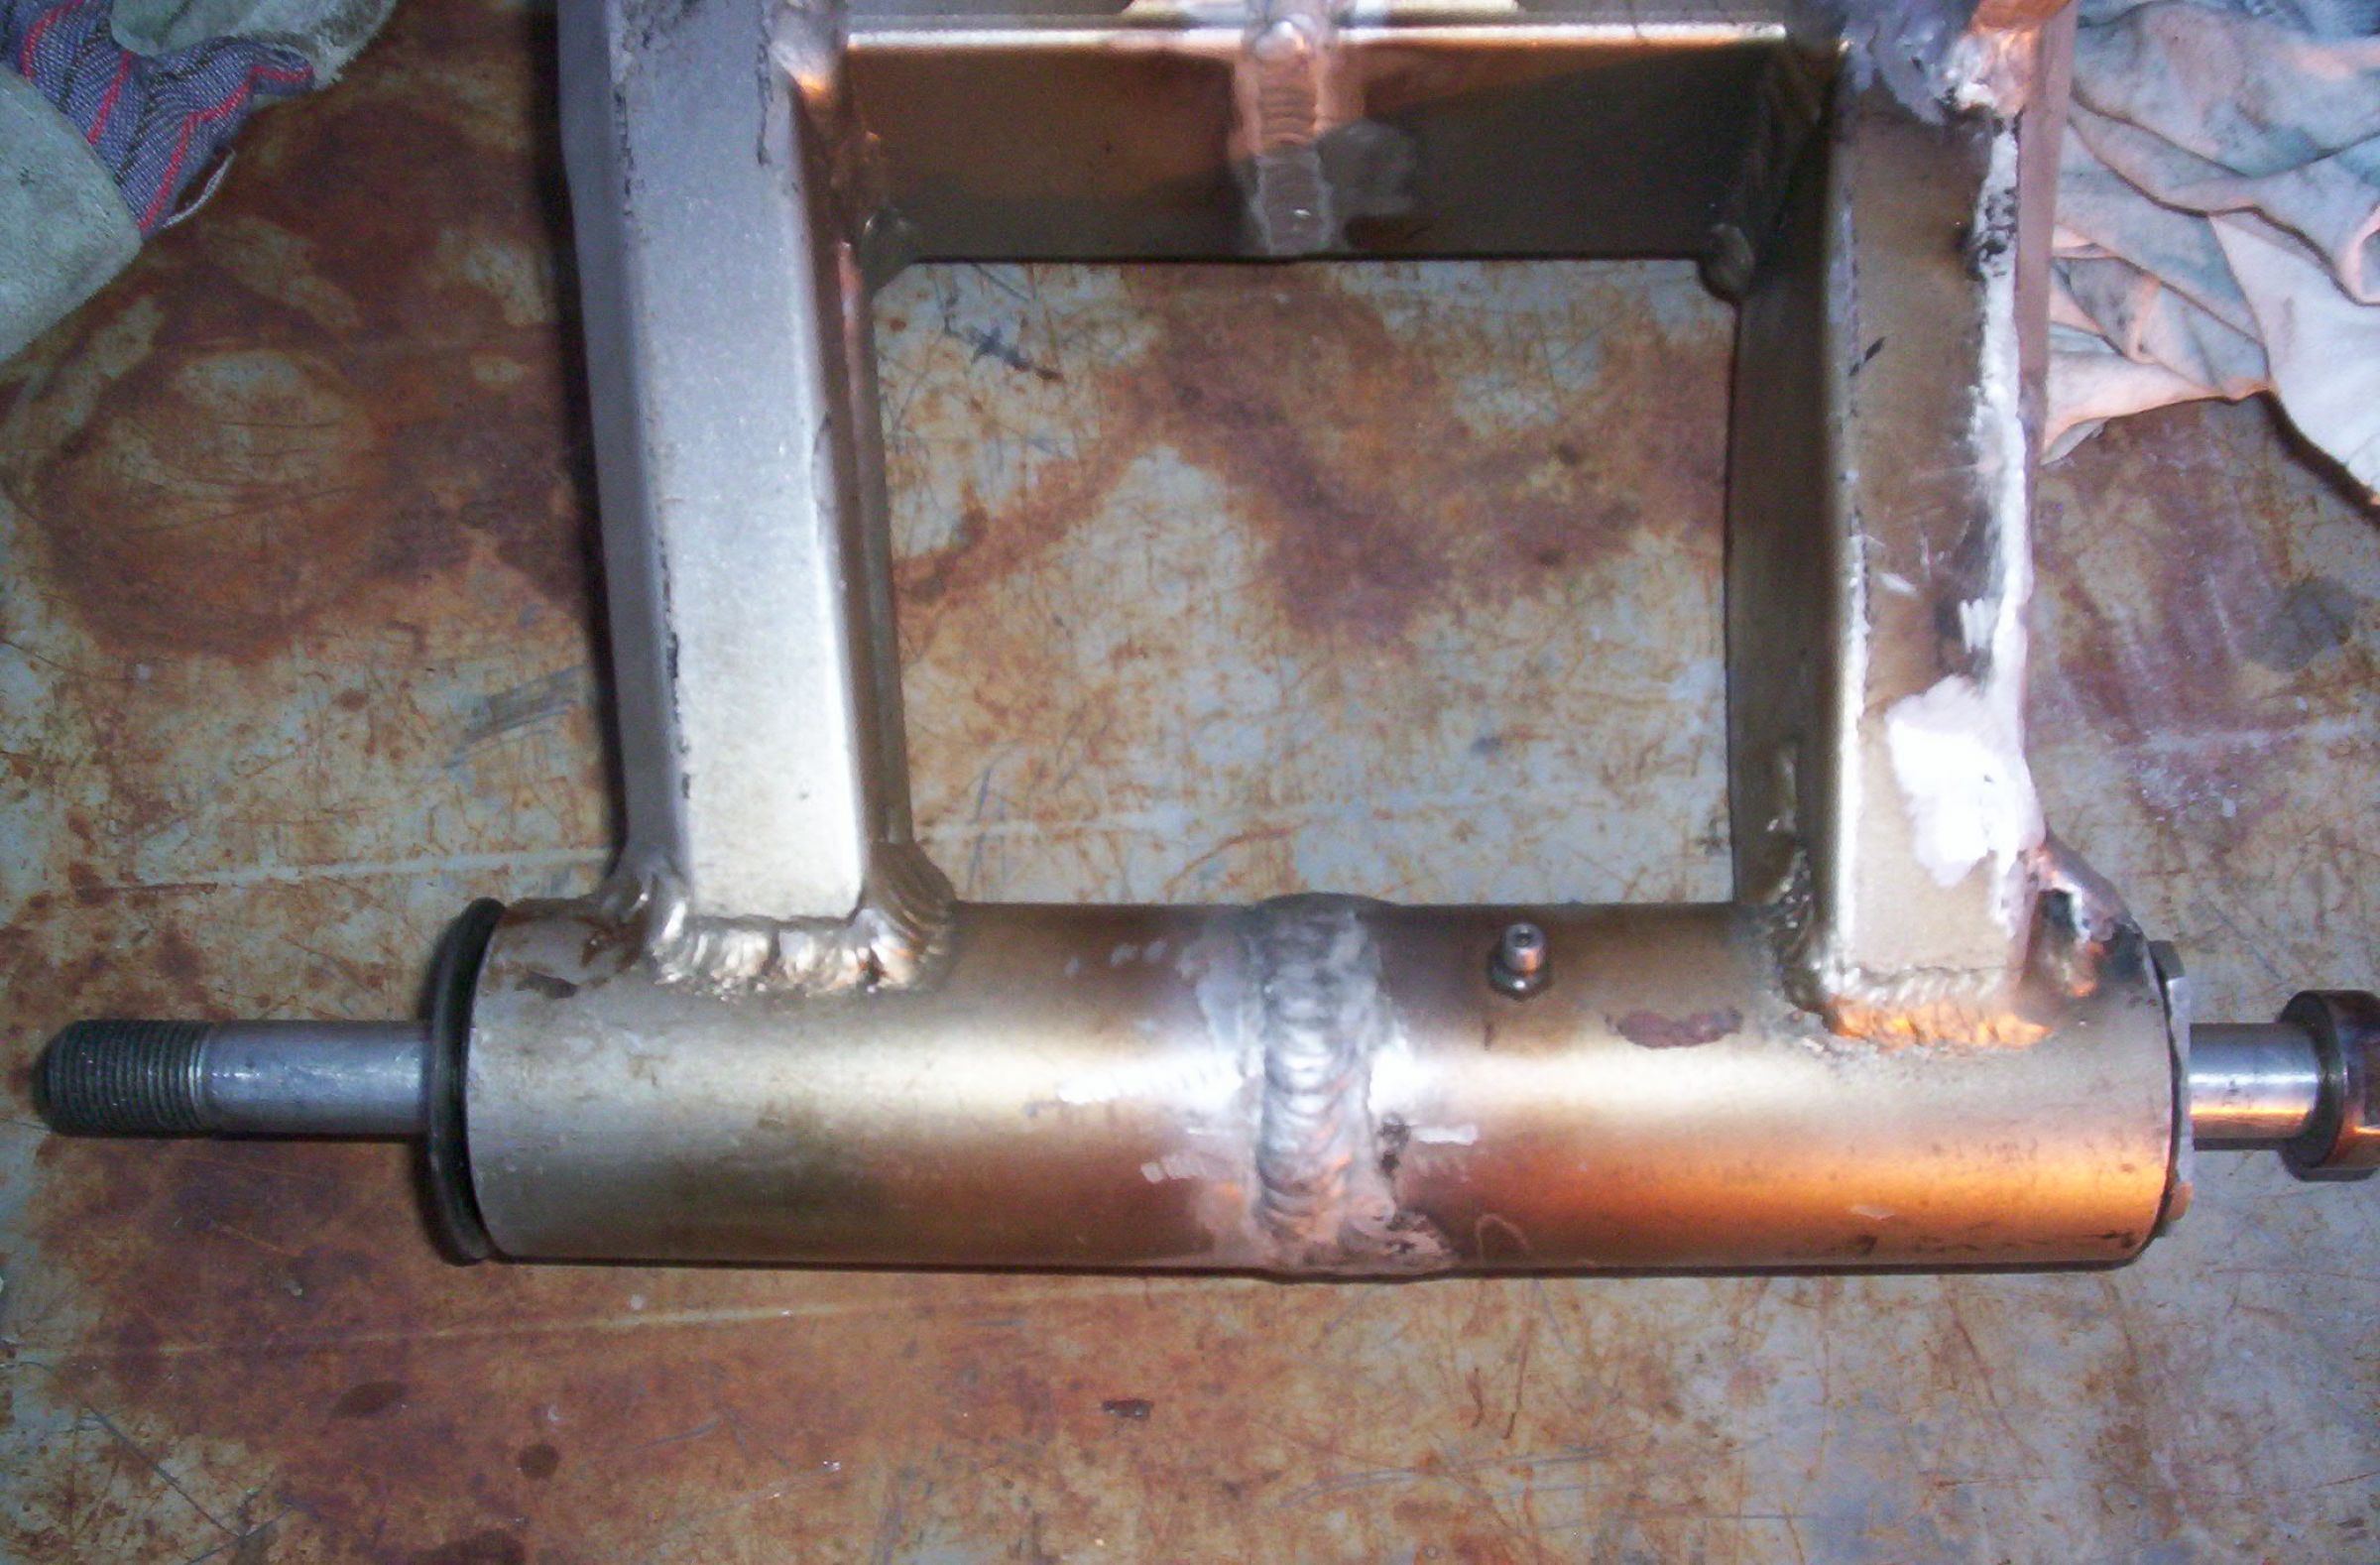
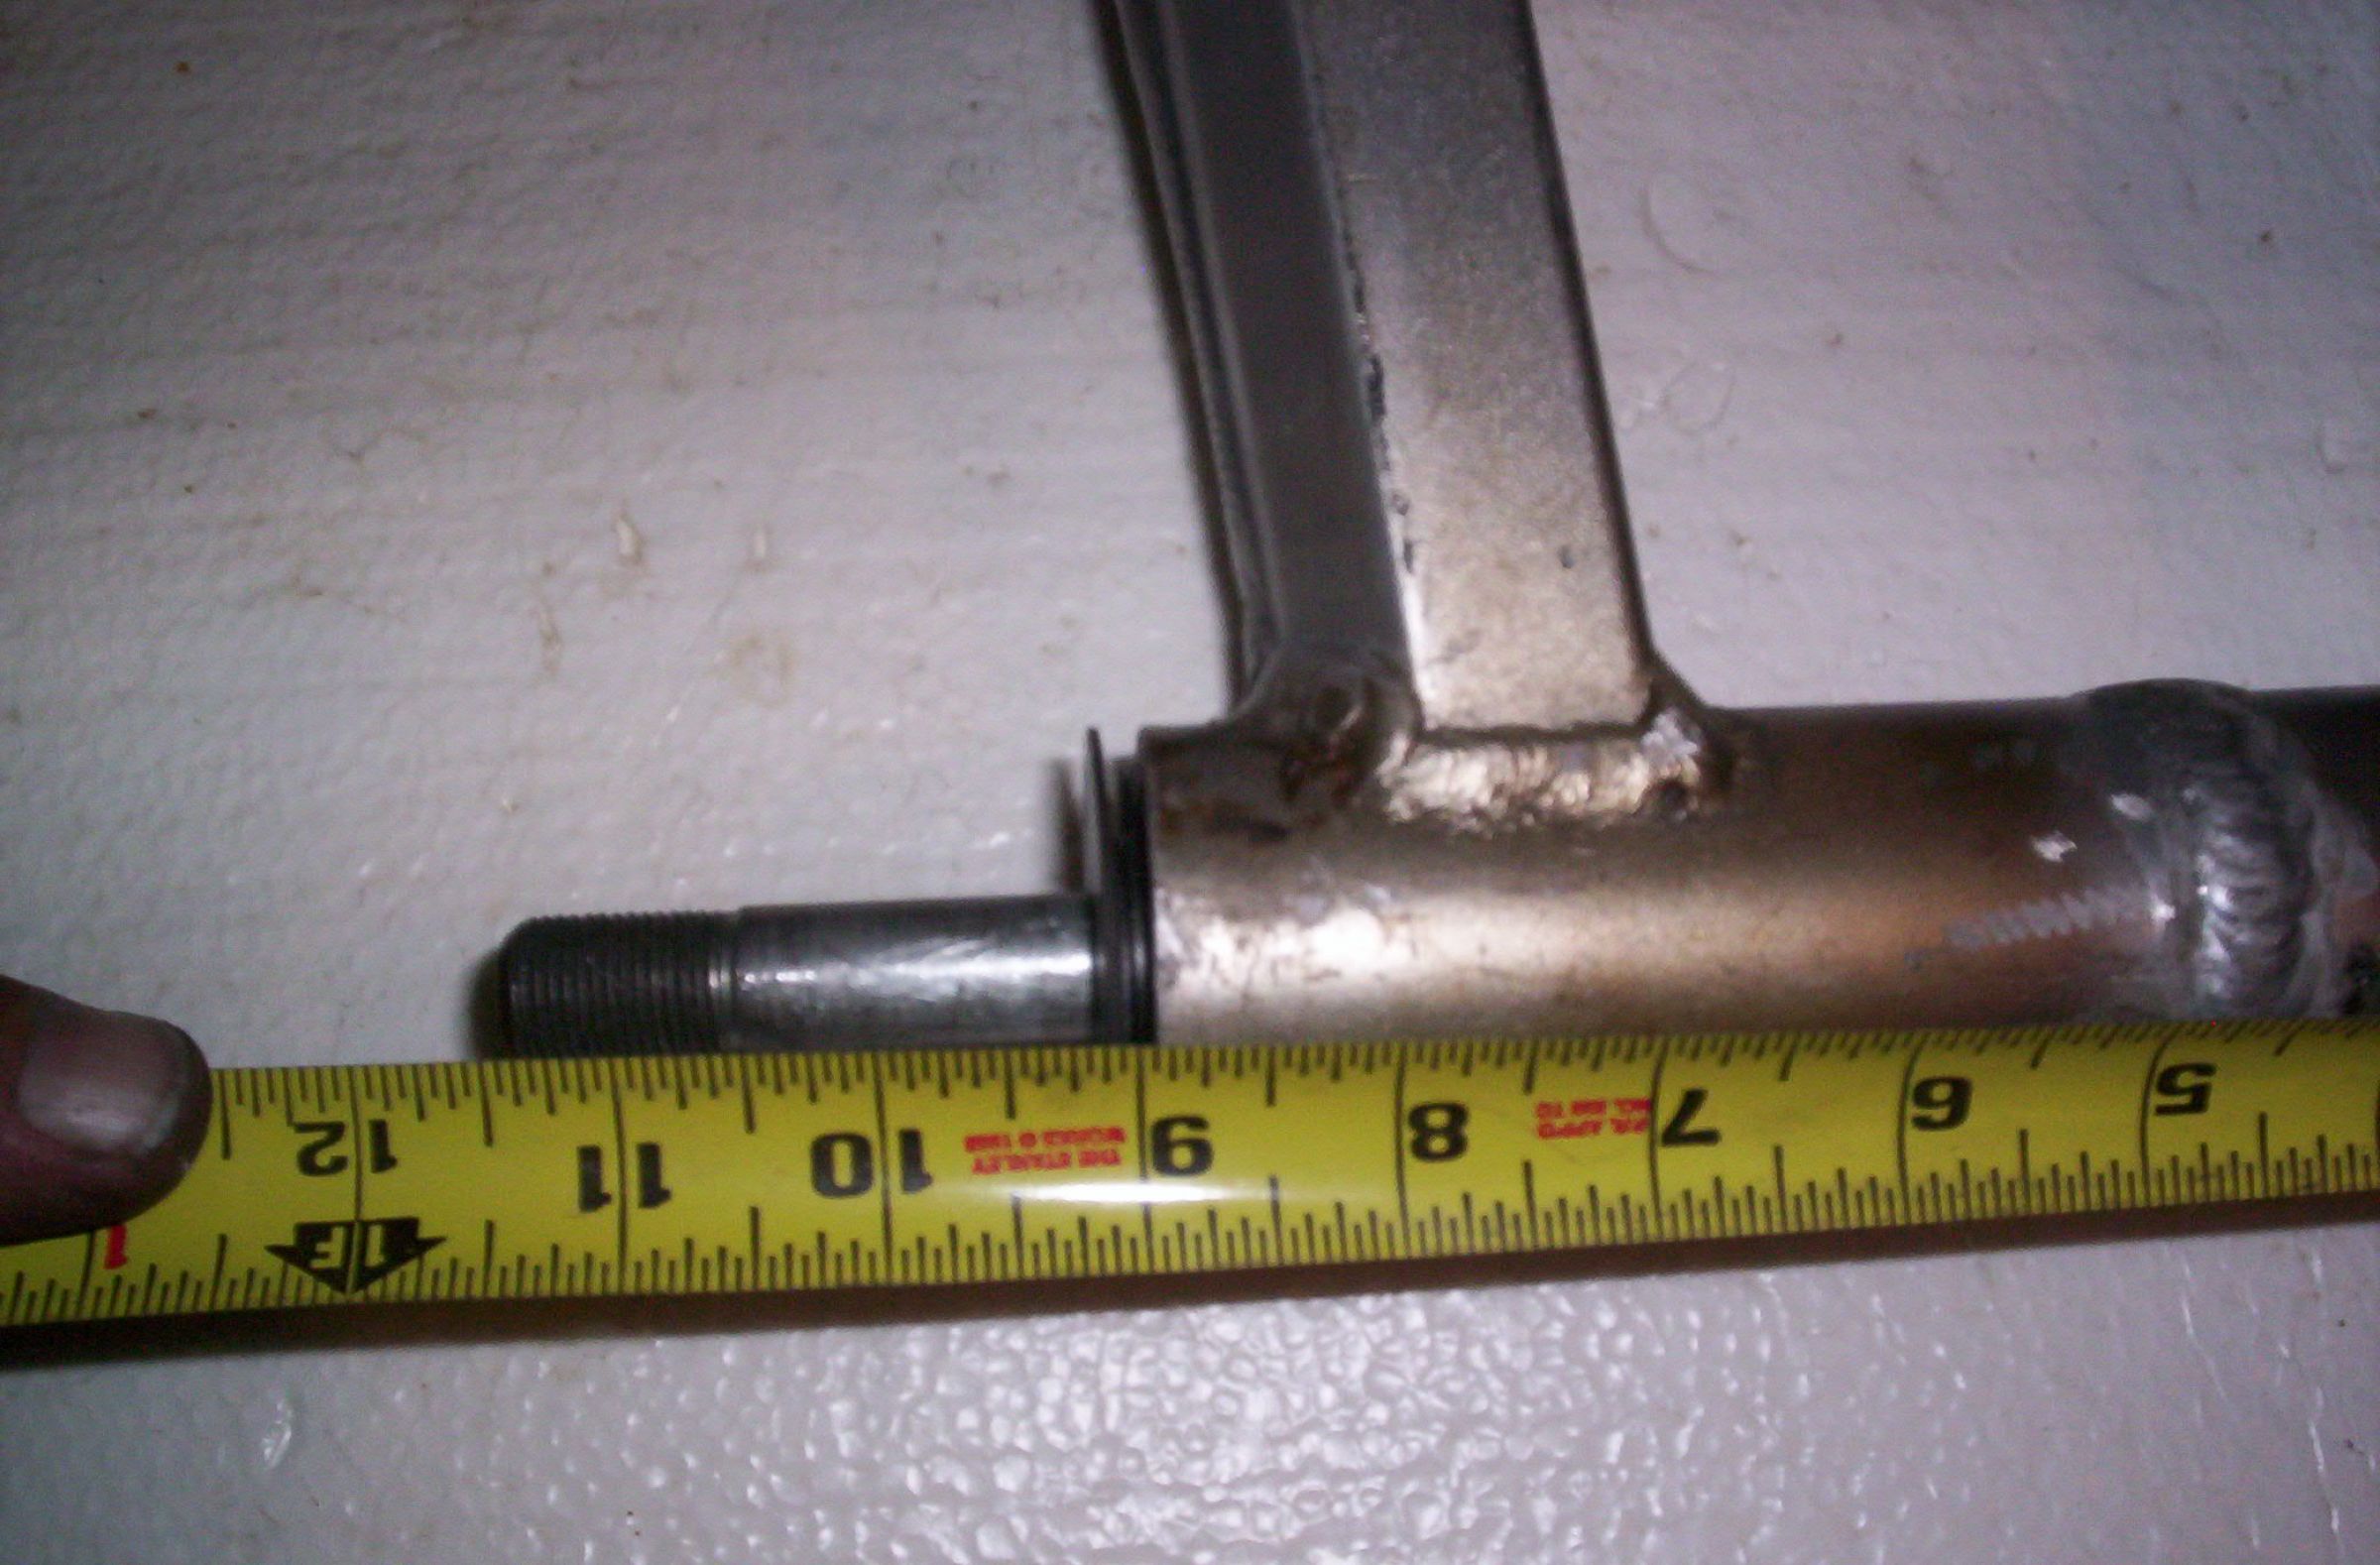
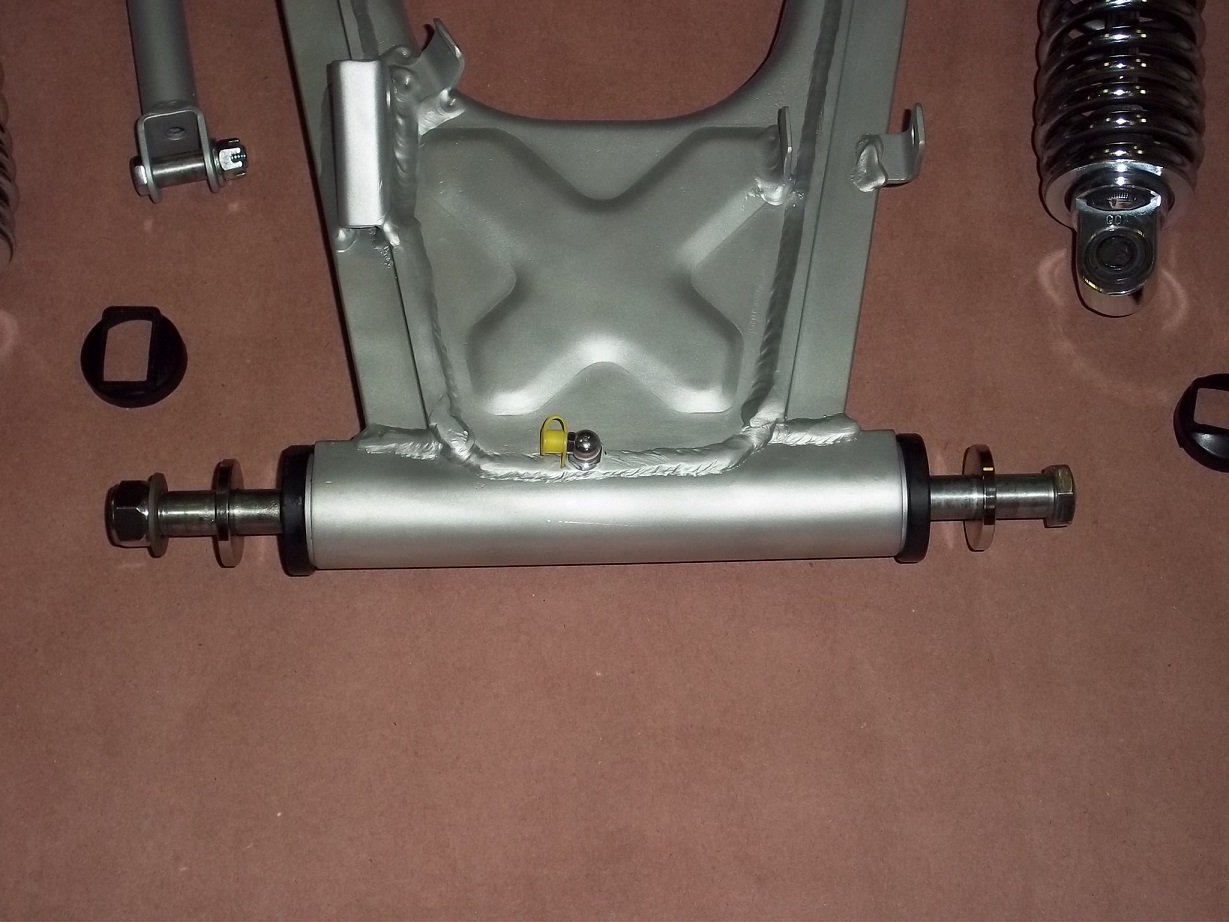
Cut the old pivot shaft and made my bushings. PITA That little welder is a POS. I'll do a little clean up later. If nothing else I have templates to be copied. They'll work but I like Leon's top hats better.
Steve
Steve
Attachment 010.JPG not found
Replied by KZ802 on topic GS1100 swingarm swap wheel and brake options
23 Mar 2016 19:10
z1kzonly I saw your gs swingarm back before christmas it was really nice! I wish I had the money at the time I would have been all over it. The one I got was cheap but it's gonna need a lot of work. That harley rim and tire looks massive! I can't believe that thing would fit. that's crazy.
Replied by z1kzonly on topic GS1100 swingarm swap wheel and brake options
23 Mar 2016 11:59
NO 17" Old School will not let you in to the class room!
Stick with 18" you can go to a 180 tire with the GS swingarm.
But you will need a 5/8" offset or you can cheat with a 3/8" offset countershaft.
The 2 spacers you need are .160" thick if you machine them.
I always sell my stuff then regret it. I had this GS swing up before Christmas. Hope someone on the forum bought it.
And a few years ago I had this Harley that would have fit the GS. The tire was a 180.
Replied by SWest on topic GS1100 swingarm swap wheel and brake options
23 Mar 2016 11:50
I like my drum. It's unaffected by water. Going to a 17 might be a good idea but you're limited to how wide the arm is plus the brake stay arm as well. It's mighty close to the tire as is. 
Steve
Steve
Replied by BohicaBob on topic GS1100 swingarm swap wheel and brake options
23 Mar 2016 11:22
See "Z1-900" in my signature for some information that might answer some of your questions.
Displaying 1101 - 1110 out of 7257 results.