
1977 KZ1000 LTD
- Mikaw
-
- Offline
- Sustaining Member
-

Registered
- Posts: 4825
- Thanks: 1851
Re: 1977 KZ1000 LTD
17 Jul 2020 06:29
Get an impact driver. Aslo make sure you get JIS philips bits for it. Do some research and you can find extended length JIS bits in 5/16 hex to fit the driver.... keep soaking them and shocking them with taps until you get the impact driver
1976 KZ 900 A4
kzrider.com/forum/11-projects/613548-1976-kz-900-a4
1976 KZ 900 B1 LTD
1978 KZ 1000 B2 LTD
1980 KZ 750 E1
Kowledge Speaks, But Wisdom Listens.
Jimi Hendrix.
1976 KZ 900 B1 LTD
1978 KZ 1000 B2 LTD
1980 KZ 750 E1
Kowledge Speaks, But Wisdom Listens.
Jimi Hendrix.
Please Log in or Create an account to join the conversation.
- TheFlyingFreemole
-
 Topic Author
- Offline
- User
-

Registered
- Posts: 87
- Thanks: 8
Re: 1977 KZ1000 LTD
22 Jul 2020 17:43
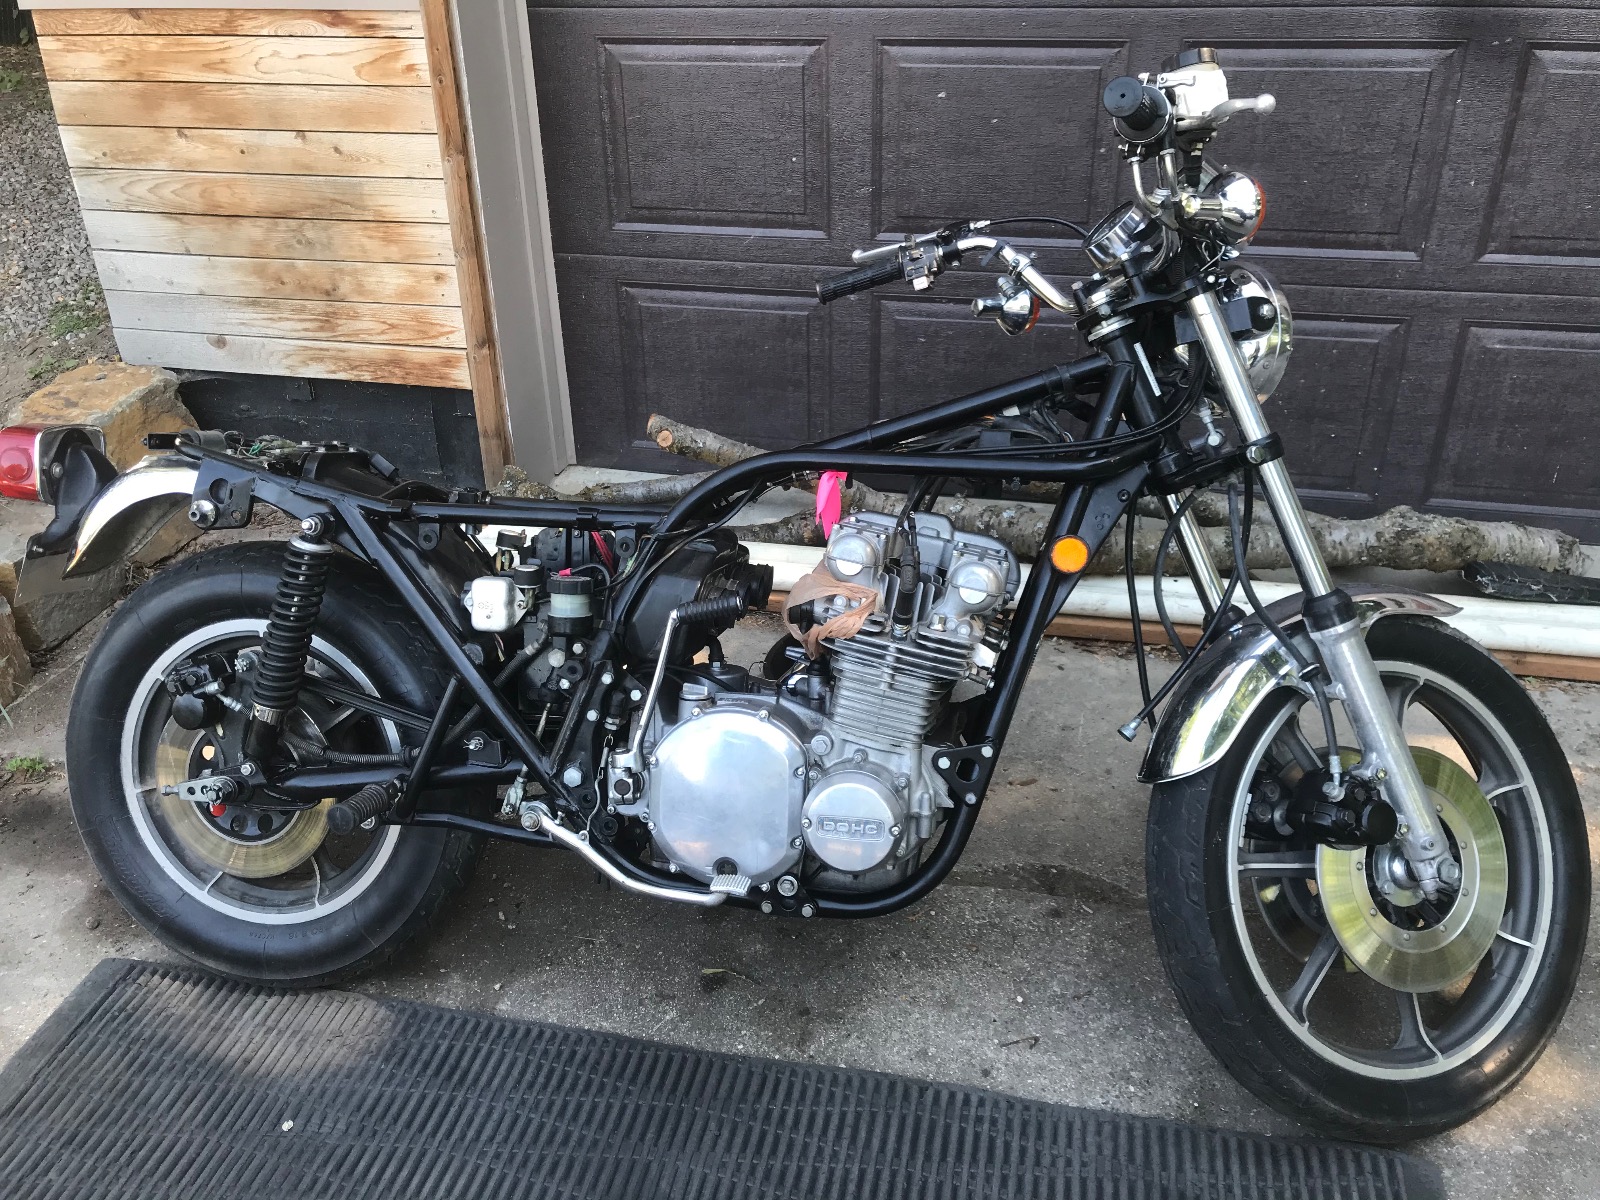
Purchased an impact driver from Ace, had been originally stubborn (and stupid) in trying not to get one as I'm replacing the bulk of the hardware with hex heads and don't foresee needing it much in the future, but better to have it laying around. The #3 head was actually already to JIS standards, and got the covers off that had been stuck.
Made some progress in the last few days, got a few steps forward and then had a set back today. Successfully flushed the old brake fluid out with new fluid, probably ran more through than needed and wasted some, but I'm a fan of not using an old bottle of Dot3 as I have suspicions that the cap might allow moisture in over time and water it down. Replaced the clutch cable and got the clutch feeling much better, it used to be a hard pull and would wear my hand out quickly. The new cable, lube, and grease where called for definitely help. Ran the cable two different routes while replacing, ended up running it on the front/outside of the frame tube. The inside seemed more protected but also caused the cable to be in very close contact to the crankcase which I thought would cause wear faster over time due to more direct heat transfer.
Cleaned up the stater grommet and applied some high temp oil proof silicone around the inside and outside, I had previously had some dribbles of oil coming from there and planned on replacing the grommet. Once assessing I opted not to cut the wires and solder them, instead trying first to use a better "wall" of silicone to prevent too much oil from escaping. Time will tell, but I have a new grommet if I end up needing to replace and cut wires.
Dropped the oil pan and got that cleaned up. The oil drain plug was slightly stripped from when I had bought the bike. With the pan off I carefully filed two flat edges onto the bolt so I could place it securely into a bench vise. I ended up not removing the bolt, even though I had a new magnetized plug in hand, as I was getting the feeling that the aluminum was going to crack before the plug released. I had used plenty of penetrating oil and some heat before attempting too, I think a gorilla put that plug in years ago and its part of the pan now. Some point in the future I will have to replace the whole pan when I find a decent one available.
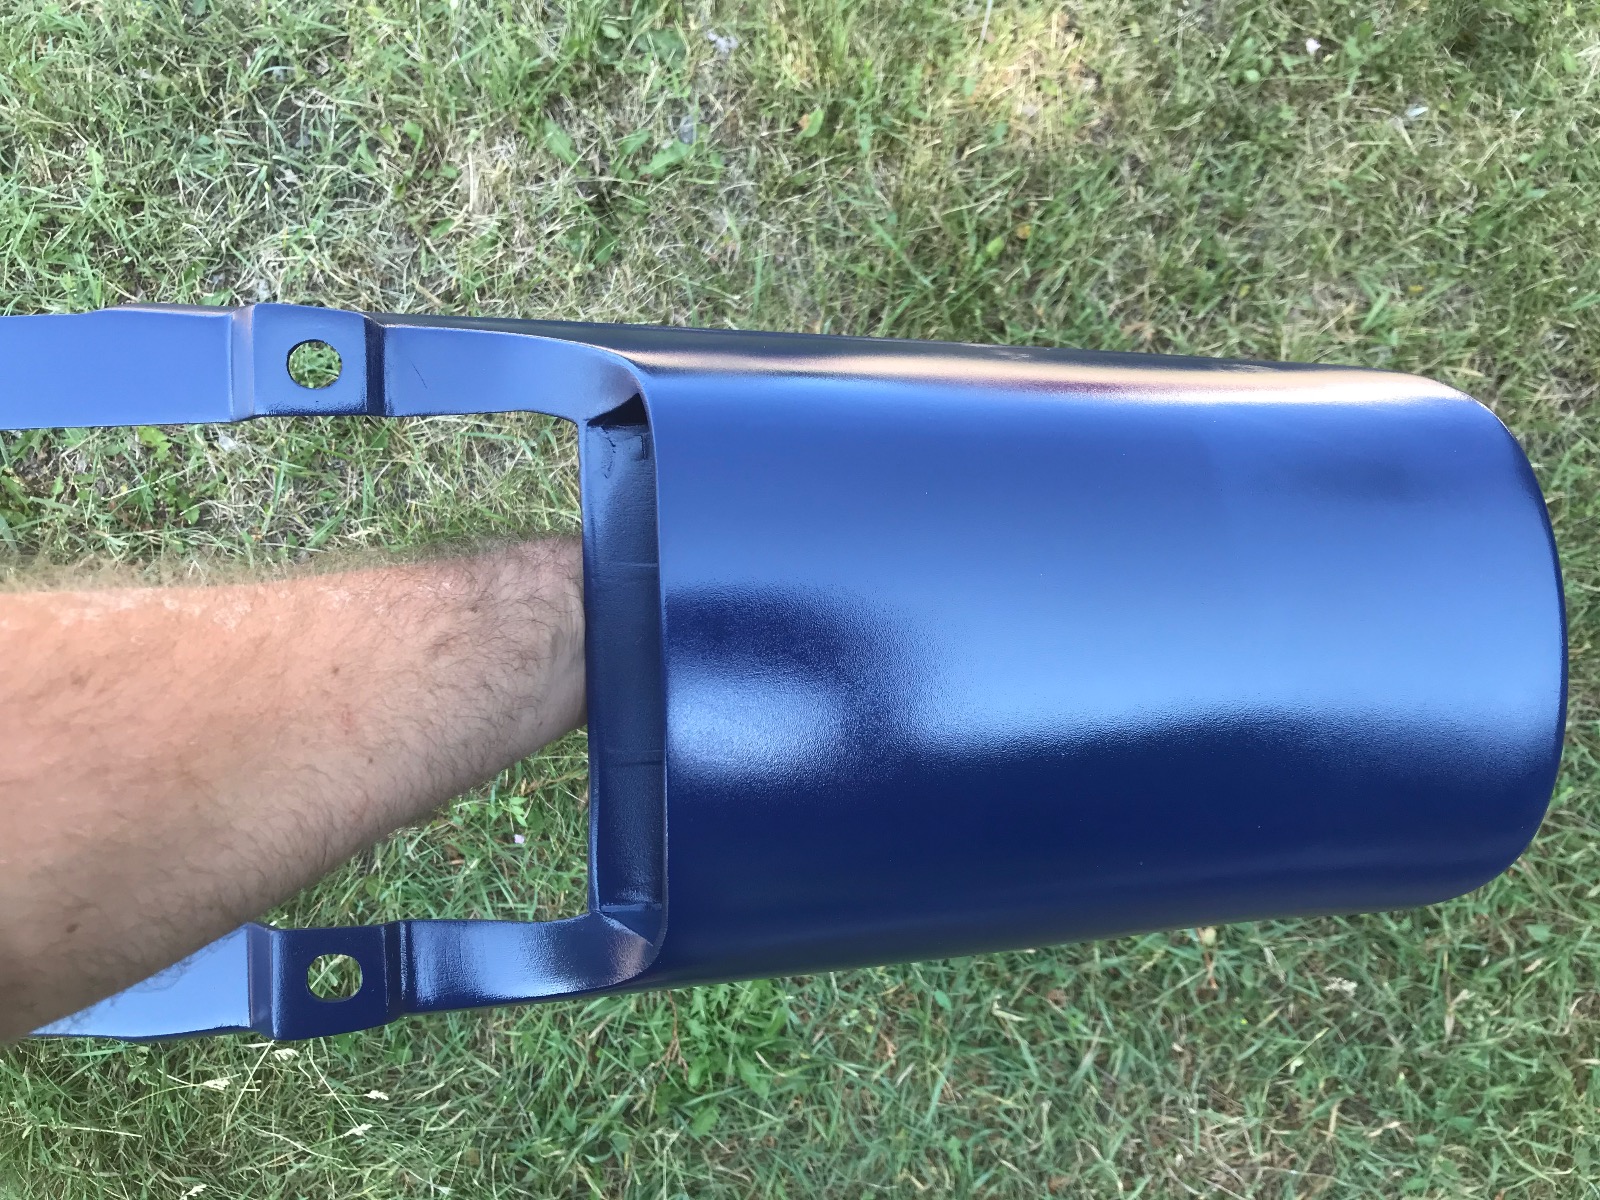
Put down the first light layers of color on the tank/fender/sides. Letting that cure up before a little wet sand for imperfections. I wasn't sure about the color until it was on the pieces. I'm pretty happy with it, it is a dark blue/navy blue. Will be doing a 2k clear coat over the color for sun/gas/etc protection.
Today was the day for two steps forward, one step back. I put the cylinder head back on and torqued it to spec. Then added some fresh oil to the cam lobes and set the timing chain. Torqued all the cam caps down and put the chain tensioner and guide on. Went to do a couple revolutions to check if the timing was correct but the chain seized up after getting to the the 2/3 TDC mark. I stopped and looked for possible binding spots, read up on this site and decided a lunch break would help too. Removed everything down to the head again and was able to easily turn the timing bolt fully. While lining up 1/4 TDC mark I noticed the timing chain wasn't catching and was freely spinning. Ended up having to have someone come and do a few slow revolutions while I sat on the bike so it was vertical and held better tension on the chain. The downside of the LTD not having a center stand!
Got it all aligned and in place and was able to easily and successfully rotate the bolt, the timing was good and holding after a few revolutions.
And now for the bad... I was carefully torquing the cam bolts down and wouldn't you know, on bolt #16 of 16 bolts I heard the dreaded ping of it snapping. I considered trying to get it out today, but will wait and attempt it fresh on another day. I happen to be going away from the bike for a couple days so it will be sitting there waiting for me once I return.
Will try to get some pictures up with the next update.
Made some progress in the last few days, got a few steps forward and then had a set back today. Successfully flushed the old brake fluid out with new fluid, probably ran more through than needed and wasted some, but I'm a fan of not using an old bottle of Dot3 as I have suspicions that the cap might allow moisture in over time and water it down. Replaced the clutch cable and got the clutch feeling much better, it used to be a hard pull and would wear my hand out quickly. The new cable, lube, and grease where called for definitely help. Ran the cable two different routes while replacing, ended up running it on the front/outside of the frame tube. The inside seemed more protected but also caused the cable to be in very close contact to the crankcase which I thought would cause wear faster over time due to more direct heat transfer.
Cleaned up the stater grommet and applied some high temp oil proof silicone around the inside and outside, I had previously had some dribbles of oil coming from there and planned on replacing the grommet. Once assessing I opted not to cut the wires and solder them, instead trying first to use a better "wall" of silicone to prevent too much oil from escaping. Time will tell, but I have a new grommet if I end up needing to replace and cut wires.
Dropped the oil pan and got that cleaned up. The oil drain plug was slightly stripped from when I had bought the bike. With the pan off I carefully filed two flat edges onto the bolt so I could place it securely into a bench vise. I ended up not removing the bolt, even though I had a new magnetized plug in hand, as I was getting the feeling that the aluminum was going to crack before the plug released. I had used plenty of penetrating oil and some heat before attempting too, I think a gorilla put that plug in years ago and its part of the pan now. Some point in the future I will have to replace the whole pan when I find a decent one available.
Put down the first light layers of color on the tank/fender/sides. Letting that cure up before a little wet sand for imperfections. I wasn't sure about the color until it was on the pieces. I'm pretty happy with it, it is a dark blue/navy blue. Will be doing a 2k clear coat over the color for sun/gas/etc protection.
Today was the day for two steps forward, one step back. I put the cylinder head back on and torqued it to spec. Then added some fresh oil to the cam lobes and set the timing chain. Torqued all the cam caps down and put the chain tensioner and guide on. Went to do a couple revolutions to check if the timing was correct but the chain seized up after getting to the the 2/3 TDC mark. I stopped and looked for possible binding spots, read up on this site and decided a lunch break would help too. Removed everything down to the head again and was able to easily turn the timing bolt fully. While lining up 1/4 TDC mark I noticed the timing chain wasn't catching and was freely spinning. Ended up having to have someone come and do a few slow revolutions while I sat on the bike so it was vertical and held better tension on the chain. The downside of the LTD not having a center stand!
Got it all aligned and in place and was able to easily and successfully rotate the bolt, the timing was good and holding after a few revolutions.
And now for the bad... I was carefully torquing the cam bolts down and wouldn't you know, on bolt #16 of 16 bolts I heard the dreaded ping of it snapping. I considered trying to get it out today, but will wait and attempt it fresh on another day. I happen to be going away from the bike for a couple days so it will be sitting there waiting for me once I return.
Will try to get some pictures up with the next update.
1977 KZ1000 LTD B1 (needs minor fine tuning)
Please Log in or Create an account to join the conversation.
- Mikaw
-
- Offline
- Sustaining Member
-
Registered
- Posts: 4825
- Thanks: 1851
Re: 1977 KZ1000 LTD
22 Jul 2020 19:57 - 23 Jul 2020 07:04
Sounds like some good progress... good luck with the cam bolt
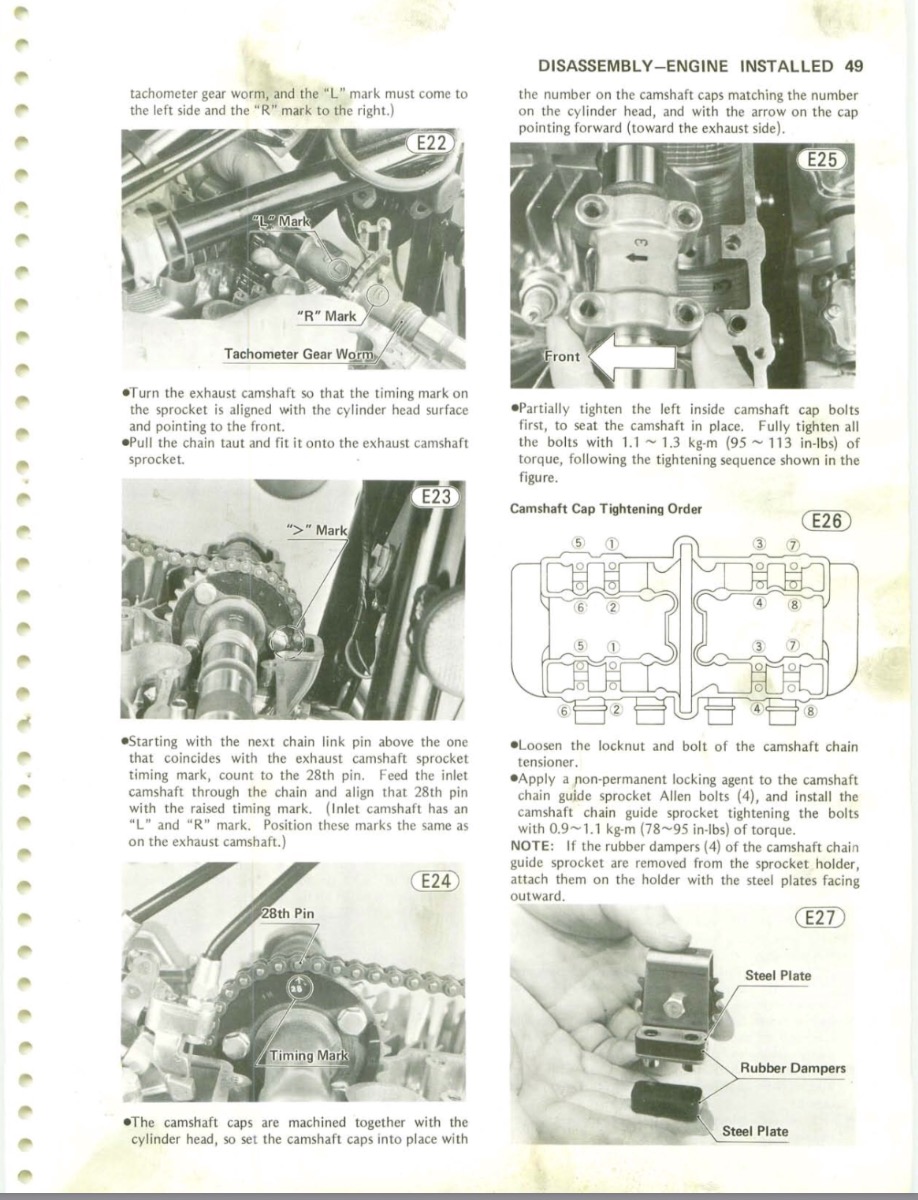
EDIT; I have read here, that some manuals have the cam cap torque listed wrong... before continuing let’s see if the experts chime in here with the correct torque so you don’t snap any more bolts...
EDIT; I have read here, that some manuals have the cam cap torque listed wrong... before continuing let’s see if the experts chime in here with the correct torque so you don’t snap any more bolts...
1976 KZ 900 A4
kzrider.com/forum/11-projects/613548-1976-kz-900-a4
1976 KZ 900 B1 LTD
1978 KZ 1000 B2 LTD
1980 KZ 750 E1
Kowledge Speaks, But Wisdom Listens.
Jimi Hendrix.
1976 KZ 900 B1 LTD
1978 KZ 1000 B2 LTD
1980 KZ 750 E1
Kowledge Speaks, But Wisdom Listens.
Jimi Hendrix.
Last edit: 23 Jul 2020 07:04 by Mikaw.
The following user(s) said Thank You: TheFlyingFreemole
Please Log in or Create an account to join the conversation.
- Mikaw
-
- Offline
- Sustaining Member
-
Registered
- Posts: 4825
- Thanks: 1851
Re: 1977 KZ1000 LTD
23 Jul 2020 07:12
Bump....
Asking for help with the correct cam cap torque... if read on this forum that some manuals have it listed to high of a number....
I’ll be building a big bore engine this fall so I could use this information also...
Asking for help with the correct cam cap torque... if read on this forum that some manuals have it listed to high of a number....
I’ll be building a big bore engine this fall so I could use this information also...
1976 KZ 900 A4
kzrider.com/forum/11-projects/613548-1976-kz-900-a4
1976 KZ 900 B1 LTD
1978 KZ 1000 B2 LTD
1980 KZ 750 E1
Kowledge Speaks, But Wisdom Listens.
Jimi Hendrix.
1976 KZ 900 B1 LTD
1978 KZ 1000 B2 LTD
1980 KZ 750 E1
Kowledge Speaks, But Wisdom Listens.
Jimi Hendrix.
The following user(s) said Thank You: TheFlyingFreemole
Please Log in or Create an account to join the conversation.
- hardrockminer
-

- Offline
- Sustaining Member
-
Registered
- Posts: 3112
- Thanks: 1229
Re: 1977 KZ1000 LTD
23 Jul 2020 08:01
The Z1 spec is 105 inch pounds. I think KZ1000 spec is the same. Same bolts, same head. But I'm not 100% certain.
The cam cover spec is 70 inch lbs. This is the spec for almost every M6 bolt on the engine.
The cam cover spec is 70 inch lbs. This is the spec for almost every M6 bolt on the engine.
I have several restored bikes along with a 2006 Goldwing with a sidecar.
The following user(s) said Thank You: TheFlyingFreemole
Please Log in or Create an account to join the conversation.
- TheFlyingFreemole
-
Topic Author
- Offline
- User
-
Registered
- Posts: 87
- Thanks: 8
Re: 1977 KZ1000 LTD
23 Jul 2020 08:30
My manual called for 9 foot lbs for the caps on a kz1000, and I had my wrench set at 8.5 when the last one snapped.
1977 KZ1000 LTD B1 (needs minor fine tuning)
Please Log in or Create an account to join the conversation.
- Mikaw
-
- Offline
- Sustaining Member
-
Registered
- Posts: 4825
- Thanks: 1851
Re: 1977 KZ1000 LTD
23 Jul 2020 09:06
HRM, I Found the same spec. I’ve read but can’t find that some manuals are wrong... is the 95-113 inch pounds correct...
1976 KZ 900 A4
kzrider.com/forum/11-projects/613548-1976-kz-900-a4
1976 KZ 900 B1 LTD
1978 KZ 1000 B2 LTD
1980 KZ 750 E1
Kowledge Speaks, But Wisdom Listens.
Jimi Hendrix.
1976 KZ 900 B1 LTD
1978 KZ 1000 B2 LTD
1980 KZ 750 E1
Kowledge Speaks, But Wisdom Listens.
Jimi Hendrix.
Please Log in or Create an account to join the conversation.
- hardrockminer
-
- Offline
- Sustaining Member
-
Registered
- Posts: 3112
- Thanks: 1229
Re: 1977 KZ1000 LTD
23 Jul 2020 11:22
The torque spec for a Z1 is 105 inch pounds, as previously mentioned. That's right in the middle of the spec you mentioned. Some people don't torque to nearly that amount for fear of damaging the insert threads. For the cap bolts I think it's important to follow the spec because:
There is a relationship between the torque on a bolt and the tension in the bolt itself. It's actually the tension that is the necessary amount that the designer is looking for. It's what holds the bolt from turning and what sets the proper bearing clearance on the cam bearings.
For those reasons I would go up to the minimum torque specified. If one or more inserts has been damaged then I might consider a lower value.
I have several restored bikes along with a 2006 Goldwing with a sidecar.
The following user(s) said Thank You: TheFlyingFreemole
Please Log in or Create an account to join the conversation.
- TheFlyingFreemole
-
Topic Author
- Offline
- User
-
Registered
- Posts: 87
- Thanks: 8
Re: 1977 KZ1000 LTD
27 Jul 2020 16:30 - 27 Jul 2020 16:35
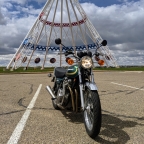
Spent a few days floating along a river, which probably was a good thing to get a few days away from the project as I returned with a calm head and steady hands.
Used a titanium 3/32 bit and some oil and slowly drilled into the broken cam bolt after setting a mark with a center punch. Had everything around it covered/sealed and stuffed a few clean towels around the cam and area to catch any stray metal that escaped my magnet. After a bit of drilling and cleaning I gently tapped a LH screw bit into it and was able to spin it out by hand. Didn’t appear to be damage to the head nor threading from when it snapped off.

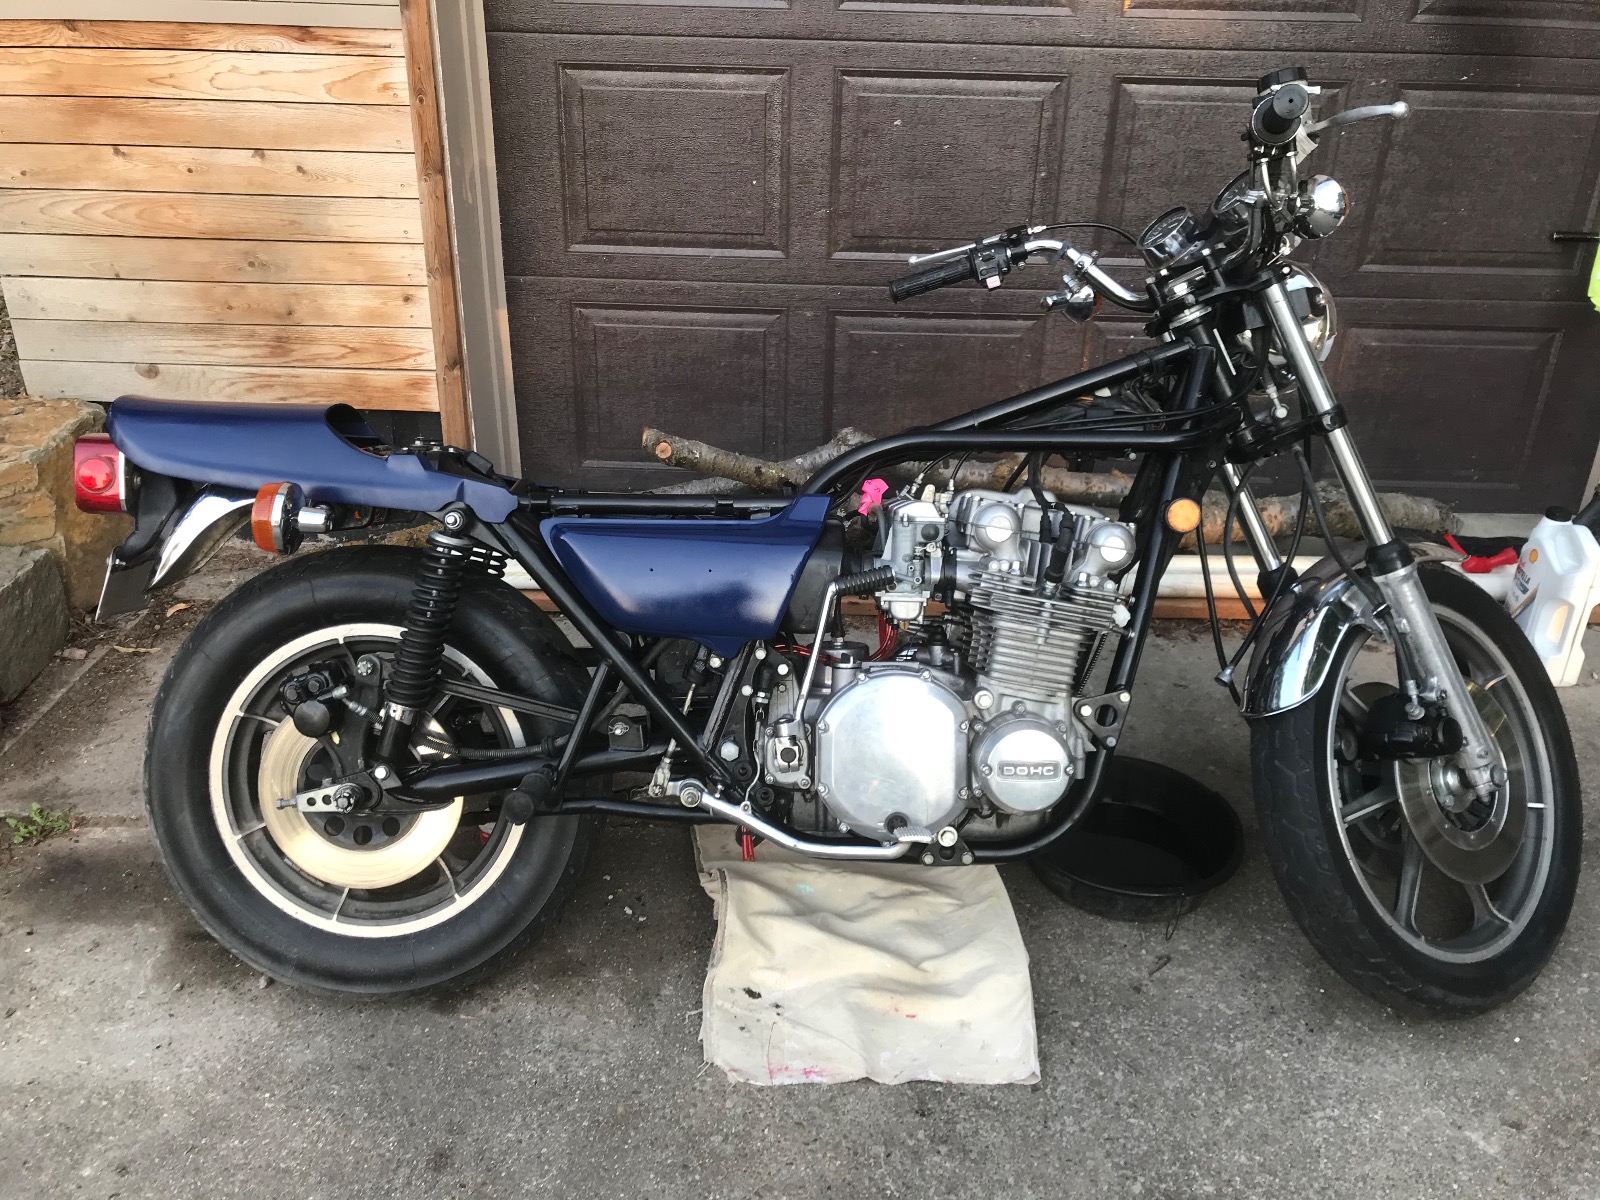
Tightened my cams, valve clearances were good and I covered the top. Replaced the oil pan gasket and have the bottom back on. Battery box, air box back in place. Bike is starting to look whole again.
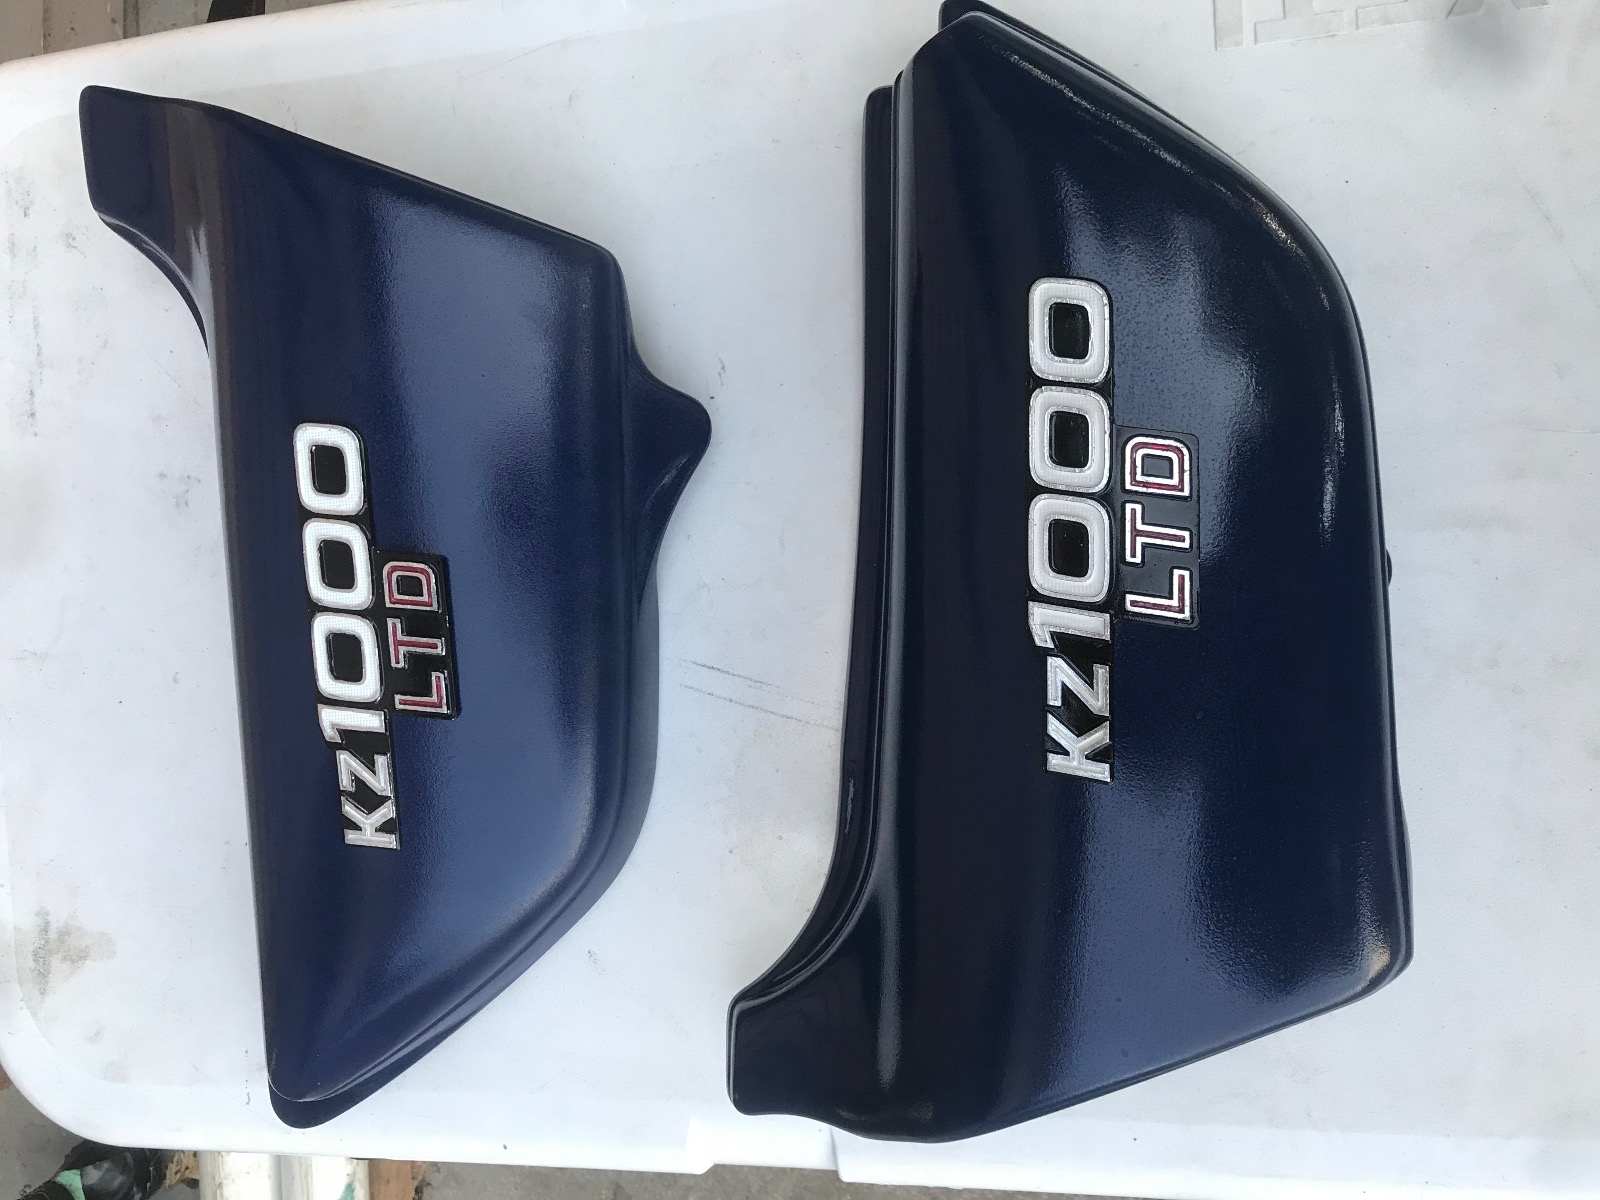
Did a light sanding and put down another color coat on the tank and plastics. Letting that cure a day or so before doing a super fine grit sand to get ready for the clear. It’s not the original color code but I am pretty happy with the dark blue.
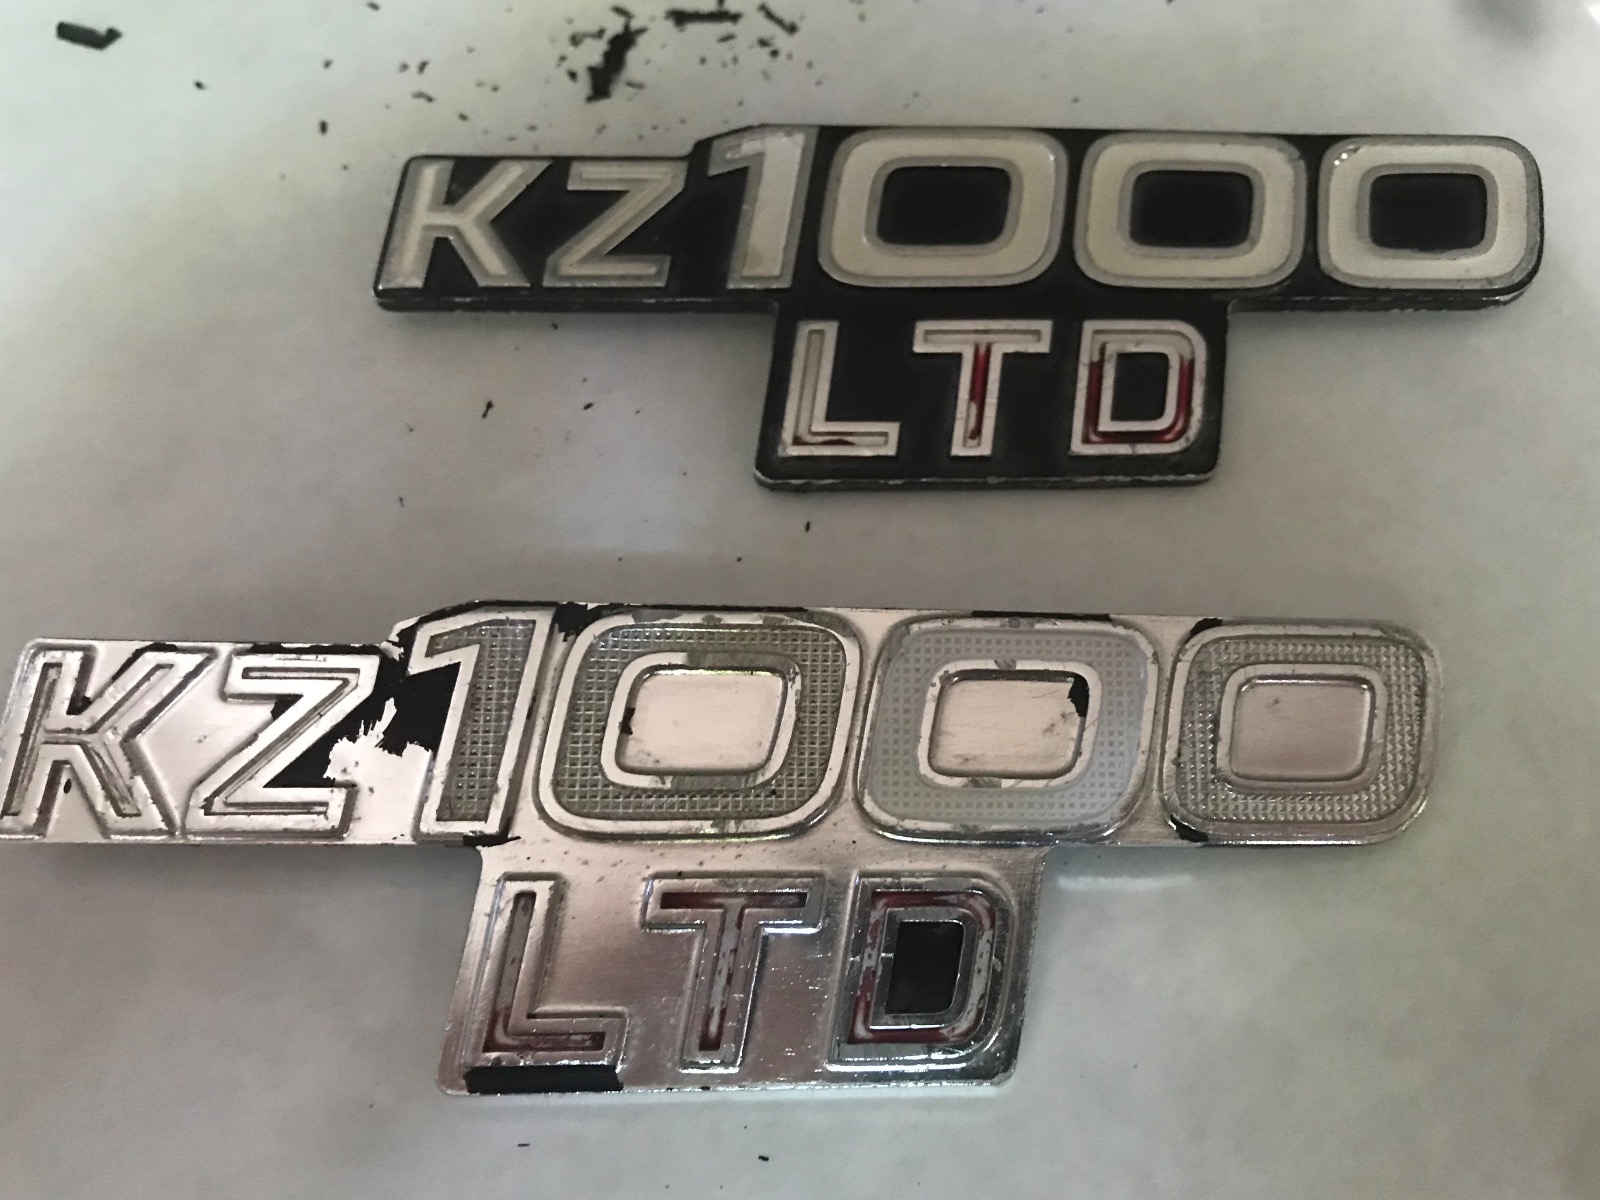
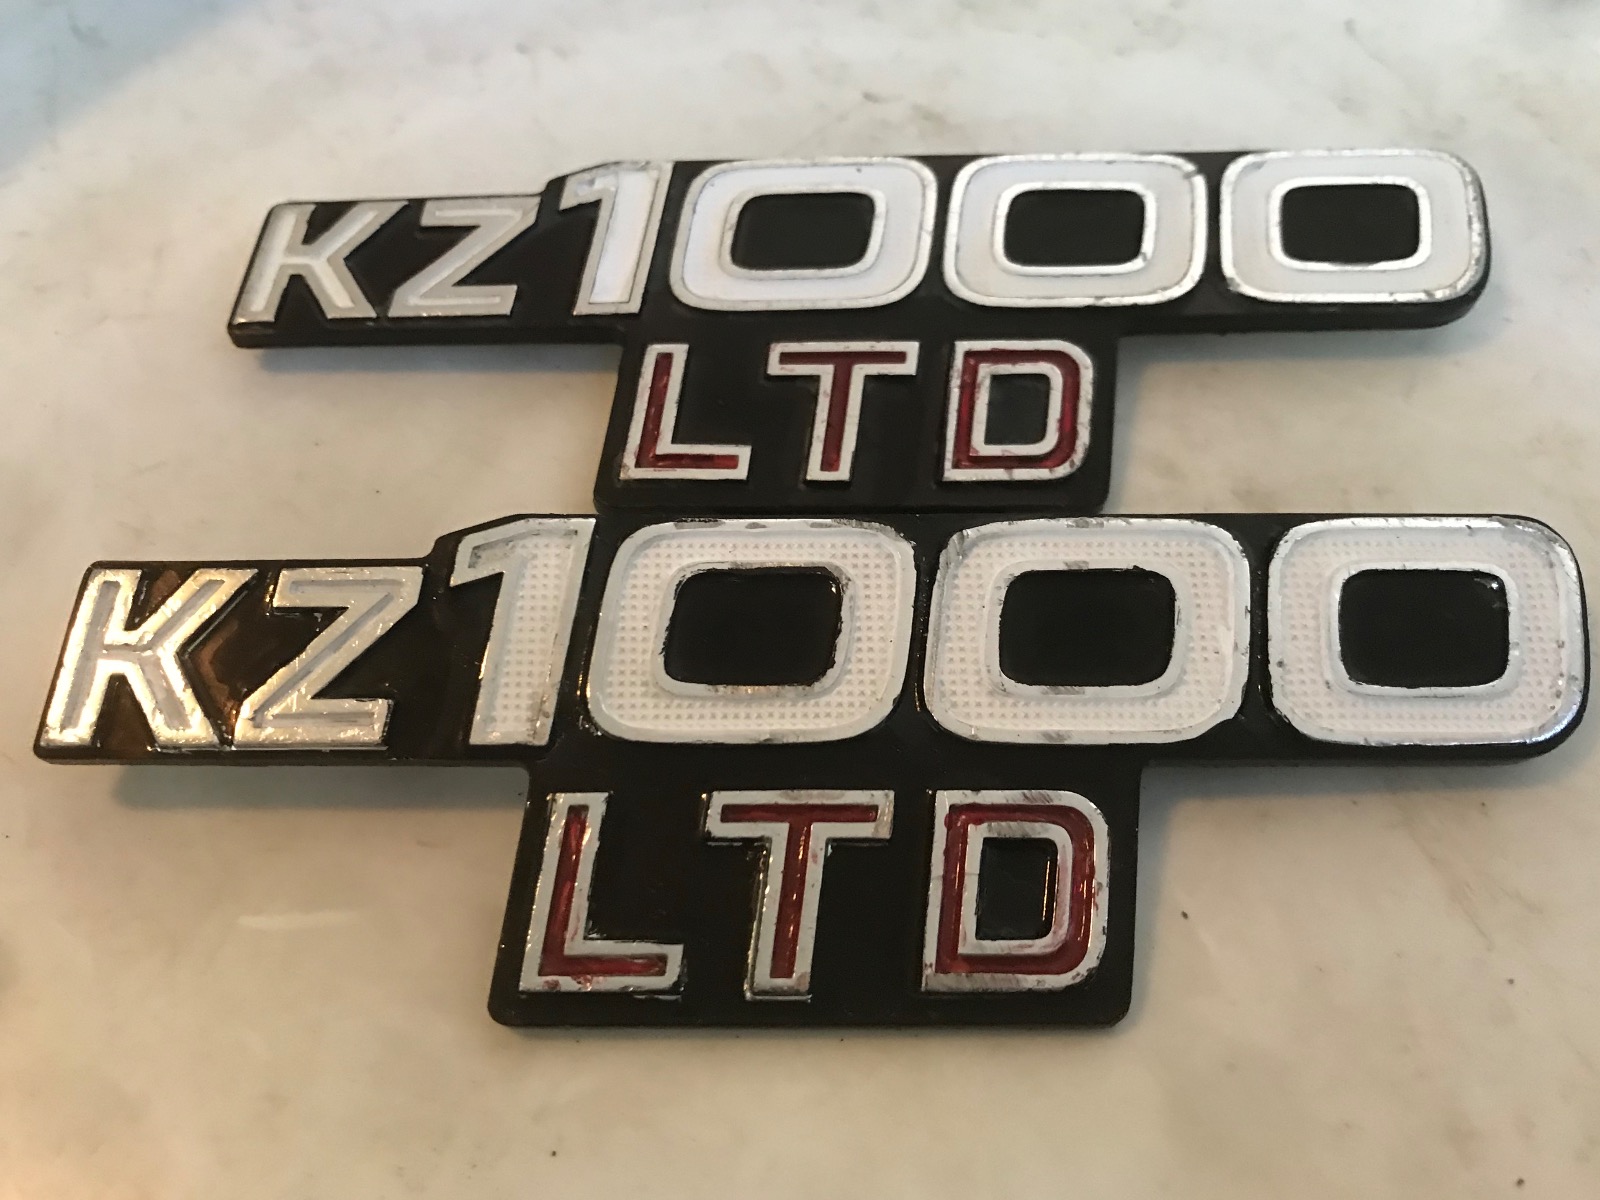
Also used some paint pens and refreshed the side cover emblems. One was basically down to bare metal.
Used a titanium 3/32 bit and some oil and slowly drilled into the broken cam bolt after setting a mark with a center punch. Had everything around it covered/sealed and stuffed a few clean towels around the cam and area to catch any stray metal that escaped my magnet. After a bit of drilling and cleaning I gently tapped a LH screw bit into it and was able to spin it out by hand. Didn’t appear to be damage to the head nor threading from when it snapped off.
Tightened my cams, valve clearances were good and I covered the top. Replaced the oil pan gasket and have the bottom back on. Battery box, air box back in place. Bike is starting to look whole again.
Did a light sanding and put down another color coat on the tank and plastics. Letting that cure a day or so before doing a super fine grit sand to get ready for the clear. It’s not the original color code but I am pretty happy with the dark blue.
Also used some paint pens and refreshed the side cover emblems. One was basically down to bare metal.
1977 KZ1000 LTD B1 (needs minor fine tuning)
Last edit: 27 Jul 2020 16:35 by TheFlyingFreemole. Reason: Doh! Couple pics were upside down
Please Log in or Create an account to join the conversation.
- Mikaw
-
- Offline
- Sustaining Member
-
Registered
- Posts: 4825
- Thanks: 1851
Re: 1977 KZ1000 LTD
27 Jul 2020 17:27")
1976 KZ 900 A4
kzrider.com/forum/11-projects/613548-1976-kz-900-a4
1976 KZ 900 B1 LTD
1978 KZ 1000 B2 LTD
1980 KZ 750 E1
Kowledge Speaks, But Wisdom Listens.
Jimi Hendrix.
1976 KZ 900 B1 LTD
1978 KZ 1000 B2 LTD
1980 KZ 750 E1
Kowledge Speaks, But Wisdom Listens.
Jimi Hendrix.
Please Log in or Create an account to join the conversation.
- Kaylinator
-
- Offline
- Sustaining Member
-
Registered
- Posts: 341
- Thanks: 74
Re: 1977 KZ1000 LTD
27 Jul 2020 23:07 - 27 Jul 2020 23:08TheFlyingFreemole wrote: Did a light sanding and put down another color coat on the tank and plastics. Letting that cure a day or so before doing a super fine grit sand Ato get ready for the clear. It’s not the original color code but I am pretty happy with the dark blue.
You need to clear within 24 hours of laying base. You should never sand before clear.
1978 KZ1000-A2
kzrider.com/forum/11-projects/613296-1978-kz1000-a2-barn-find
1978 KZ400-B1
2022 Z900RS SE
kzrider.com/forum/11-projects/613296-1978-kz1000-a2-barn-find
1978 KZ400-B1
2022 Z900RS SE
Last edit: 27 Jul 2020 23:08 by Kaylinator.
The following user(s) said Thank You: TheFlyingFreemole
Please Log in or Create an account to join the conversation.
- TheFlyingFreemole
-
Topic Author
- Offline
- User
-
Registered
- Posts: 87
- Thanks: 8
Re: 1977 KZ1000 LTD
31 Jul 2020 10:16
Had a few days of higher humidity and some afternoon thunderstorms, so waited that out before slightly scuffing my tank and putting down alight color for the clear coat to adhere to. Let that dry for a day and did a very light and wet 800 grit sand. Will need to get some compound or polish to make it pop, but it’s in a good enough place for now.
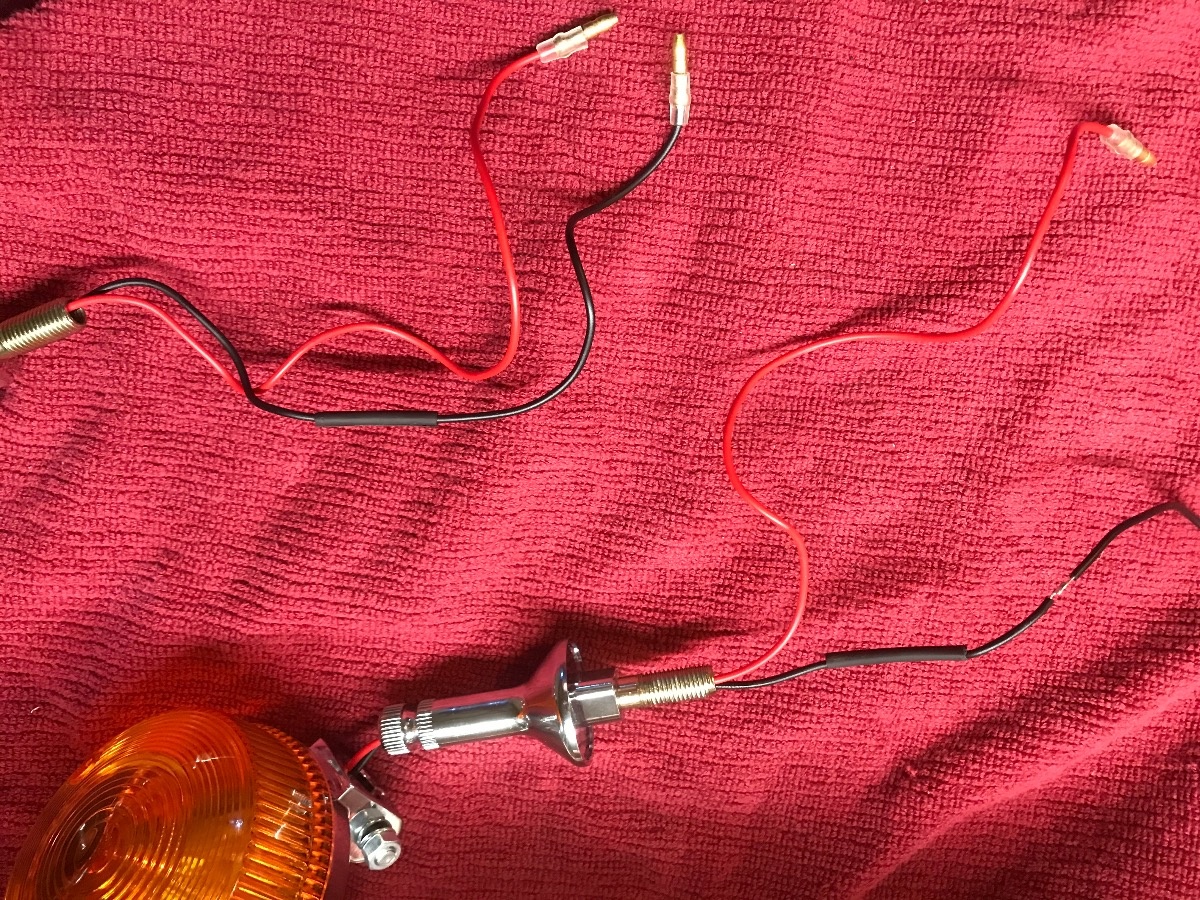
During the rain I got the new rear indicator lights wired up. The 2 wire style I ordered were not threaded through the stem and wouldn’t fit both wires through... so I cut one wire, got it through, soldered it together and hit it with some shrink tubing.
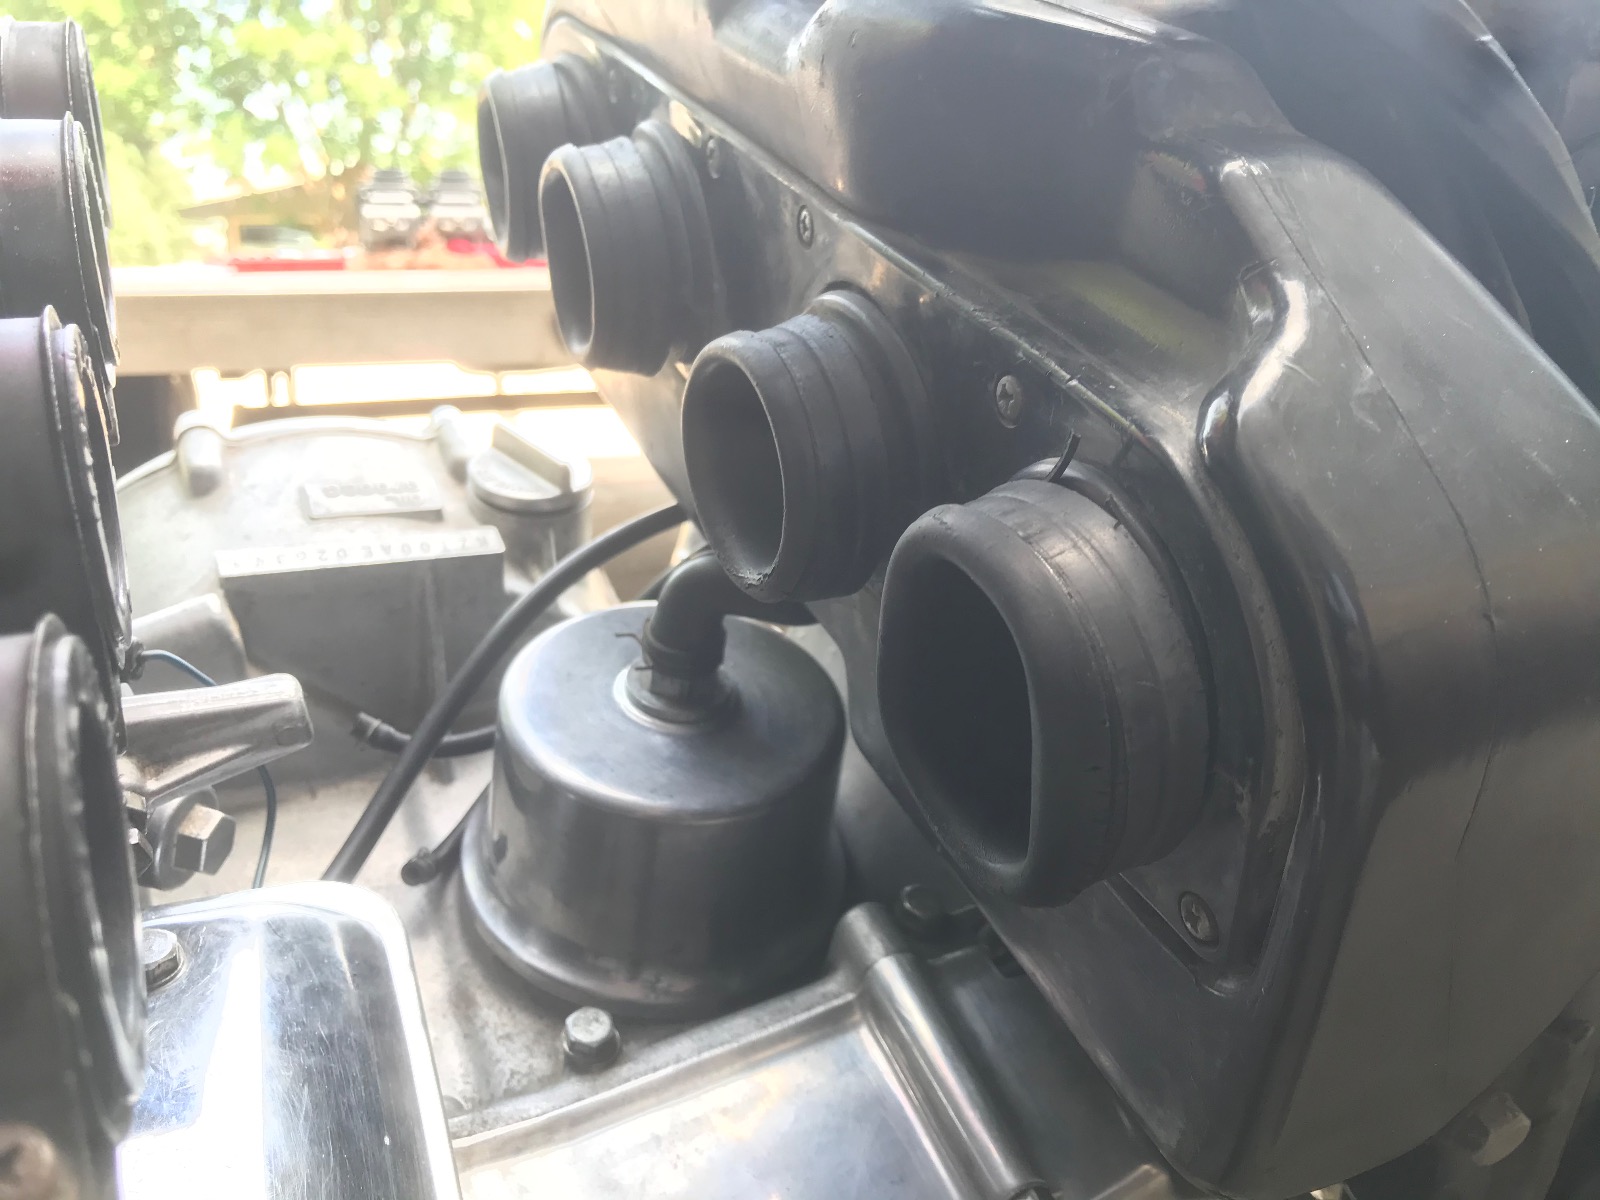
Reattached the carbs, warming up the air box boots with a hair dryer and rolling them back on themselves. That extra bit of room makes it so much easier to get the carbs back in.
Added a liter of oil to the bike to test the new gaskets and seals. So far so good. I know that the real test will be once it is running again for any leaks.
Will be getting a new battery today, topping off the oil, adding gas, and holding my breathe that it starts up. I’m crossing my fingers that I don’t have any electrical issues, but I will have an idea soon enough!
During the rain I got the new rear indicator lights wired up. The 2 wire style I ordered were not threaded through the stem and wouldn’t fit both wires through... so I cut one wire, got it through, soldered it together and hit it with some shrink tubing.
Reattached the carbs, warming up the air box boots with a hair dryer and rolling them back on themselves. That extra bit of room makes it so much easier to get the carbs back in.
Added a liter of oil to the bike to test the new gaskets and seals. So far so good. I know that the real test will be once it is running again for any leaks.
Will be getting a new battery today, topping off the oil, adding gas, and holding my breathe that it starts up. I’m crossing my fingers that I don’t have any electrical issues, but I will have an idea soon enough!
1977 KZ1000 LTD B1 (needs minor fine tuning)
Please Log in or Create an account to join the conversation.
Moderators: Street Fighter LTD