78 Z1R Winter Project
- JakeB
-
 Topic Author
- Offline
- User
-

Registered
- Posts: 174
- Thanks: 0
Re: 78 Z1R Winter Project
07 Mar 2010 21:20
Alright, Saturday I degreased the frame and swing arm so that they are ready to get blasted and powder coated.
Today I cleaned the wiring harness; rubbing alcohol makes the plastic covers on the bullet connectors look like new!
I did find that the cover on one of the connectors was a bit melted. When I was removing the harness from the frame I noticed one of the connectors came apart really easy, and I think it was probably the same connector that was melted.
I also got my engine stand built, well I think so anyway. I haven't put the engine on it yet, but I think it will work with only a few more tweaks. Sorry I don't have pictures yet, but when I get it to work I will post again with pics and some more info.
1978 Z1-R
Please Log in or Create an account to join the conversation.
- JakeB
-
 Topic Author
- Offline
- User
-

Registered
- Posts: 174
- Thanks: 0
Re: 78 Z1R Winter Project
09 Mar 2010 20:19
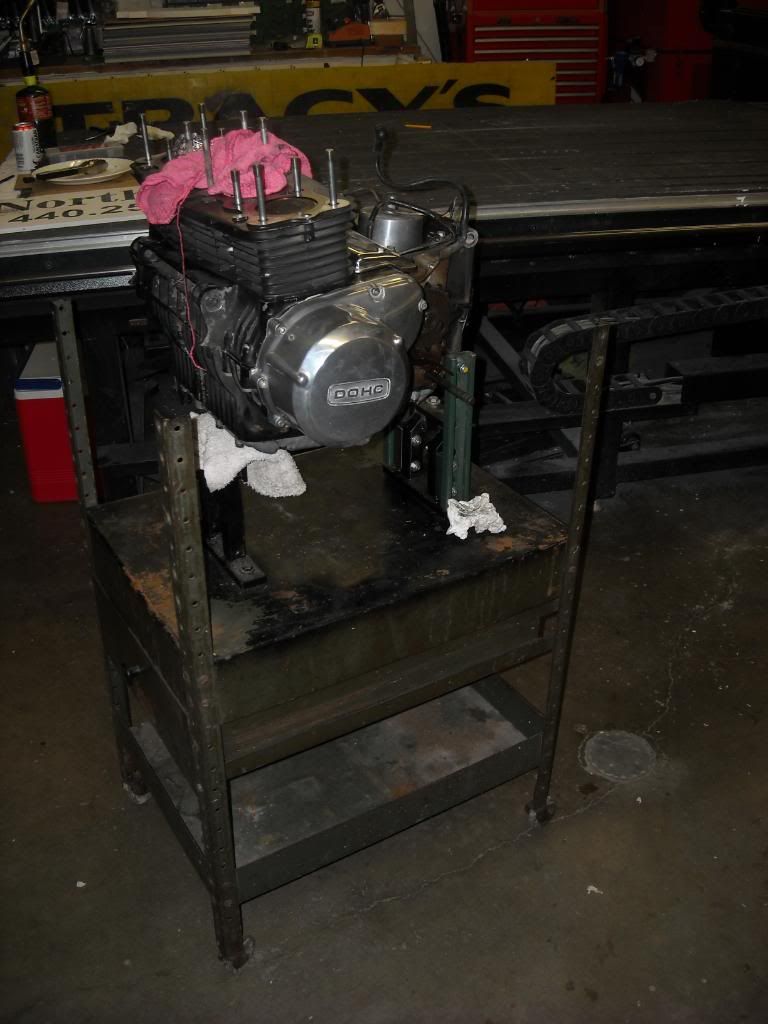
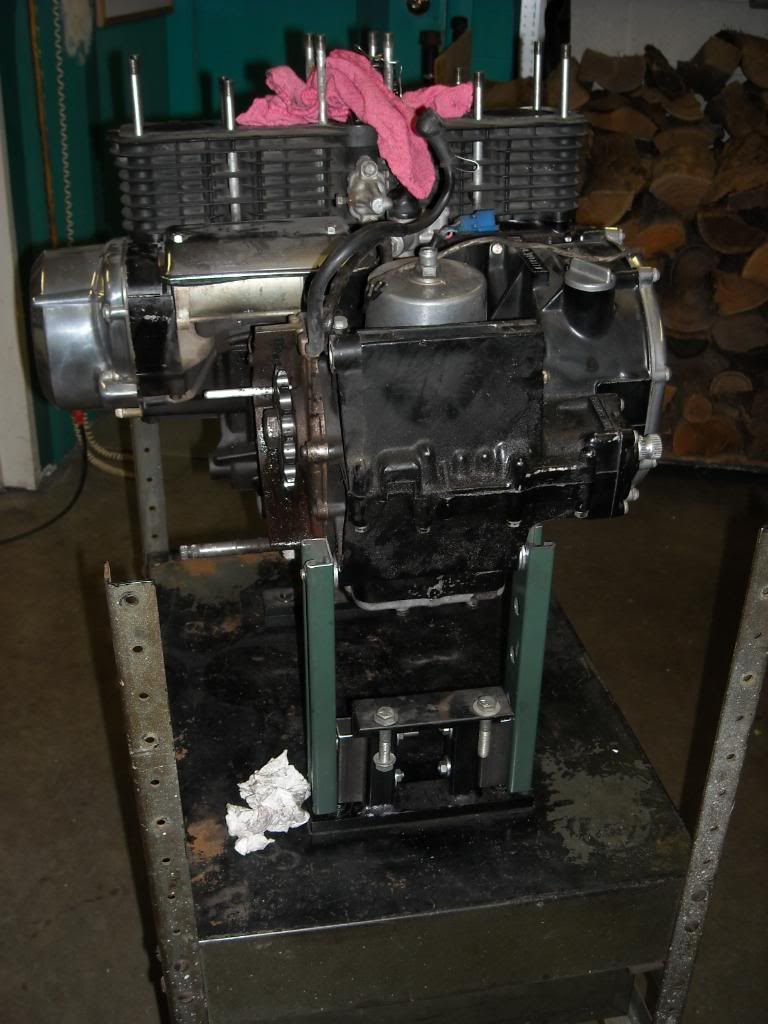
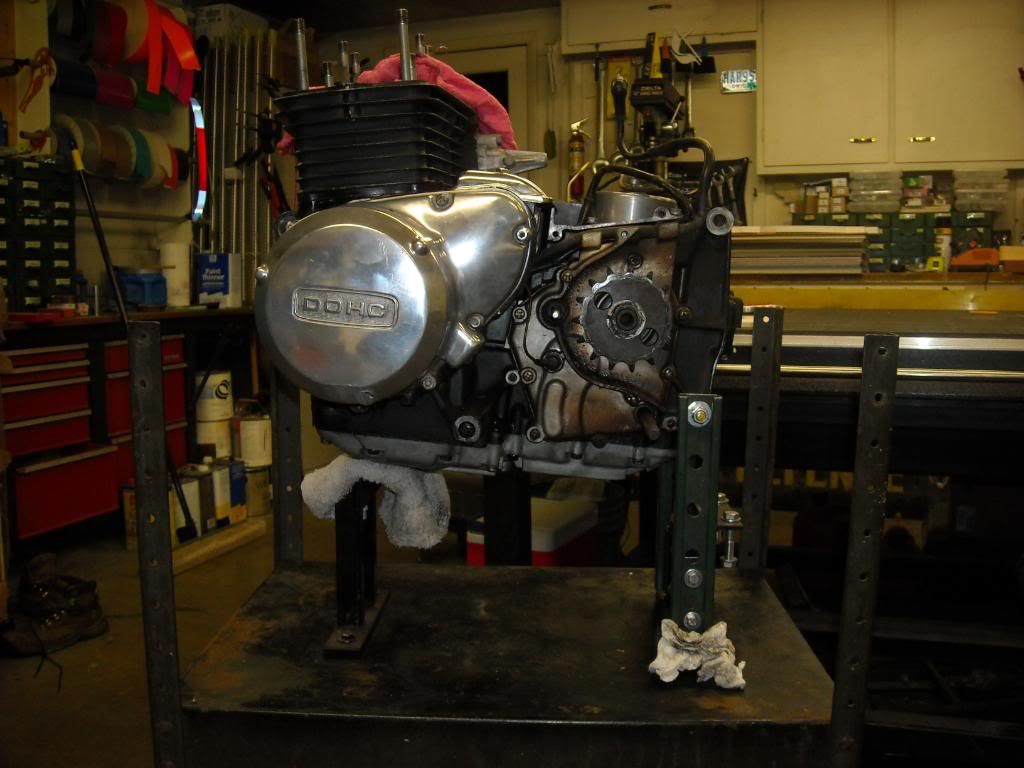
As promised, here are some pictures and more info on my engine stand that I finished up today.
It was an engine stand that my Dad built for the harley motor, and only needed a little work to get the KZ engine to mount to it.
The way the harley motor mounts to the frame is much different than the KZ, but there were a couple of vertical tubes on the stand mount that I could work with. I added a couple of spacers made from 1" square tube and used some uni-strut to make the uprights that support the rear of the motor. Then I just ran a piece of 3/8" threaded rod through the top holes on the uni-strut and the lower rear motor mount. I used some 3/8" washers to make sure the uni-strut cleared some castings that stuck out a bit on the motor.
Then the front of the motor just rests on the other mount. So I can secure the stand to a bench then flip the motor back and get to the oil pan.
Originally the top of the cart was all the way up to the top of those four pieces of angle at the corners, but I would have needed a step stool to work on the motor and the cart felt like it wanted to fall over. So I dropped the whole thing down to where it is comfortable to work on, and it feels nice and stable now.
When I'm done rebuilding the KZ I can pull four bolts and get the harley mount back to the way it was (with some extra holes for weight savings :laugh:). Then I just move the top of the cart back up to where it was, and it's ready to rebuild a harley! :woohoo:
I'm sure others on here have built much nicer stands than this, but it should do what I need it to. I'm really happy with the way it came out especially since it was 95% done and only needed a few hours to get it to work with the KZ.
Let me know what you guys think.
1978 Z1-R
Please Log in or Create an account to join the conversation.
- JakeB
-
 Topic Author
- Offline
- User
-

Registered
- Posts: 174
- Thanks: 0
Re: 78 Z1R Winter Project
17 Mar 2010 20:01 - 17 Mar 2010 20:07
I thought that this was just going to be a quick update because it seems like I haven't worked on the bike much lately. Then I read my last post and realized that I have gotten more done than I thought!
Sunday I pulled the cover to check out my clutch. At first the cover didn't want to come off, and after a few good whacks with a rubber mallet did nothing, my Dad suggested I use a little heat around the edges. I heated it up with the heat gun on high for a few minutes then I just tapped it with the mallet and it came right off!
All of my clutch plates were well within spec so I just deglazed them and reinstalled. I still have to scrap the clutch cover gasket, but I left it for now because it's not my favorite thing to do.
Then I decided to pull my cylinders, and they came off easily. Luckily the gasket only stuck to the case, and most of that came off in one piece.
The pistons look good; only the tops had any gunk built up, and that came off easily with a little lacquer thinner and a paper towel.
Monday I was lazy and fell asleep on the couch instead of working on the bike. :blush:
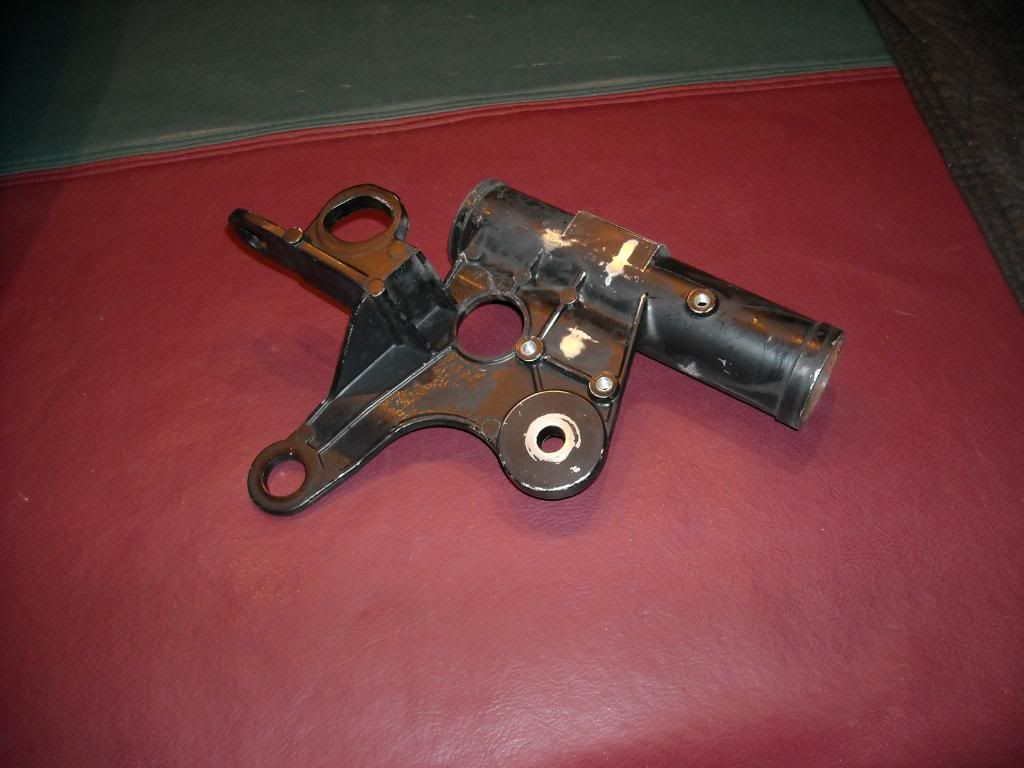
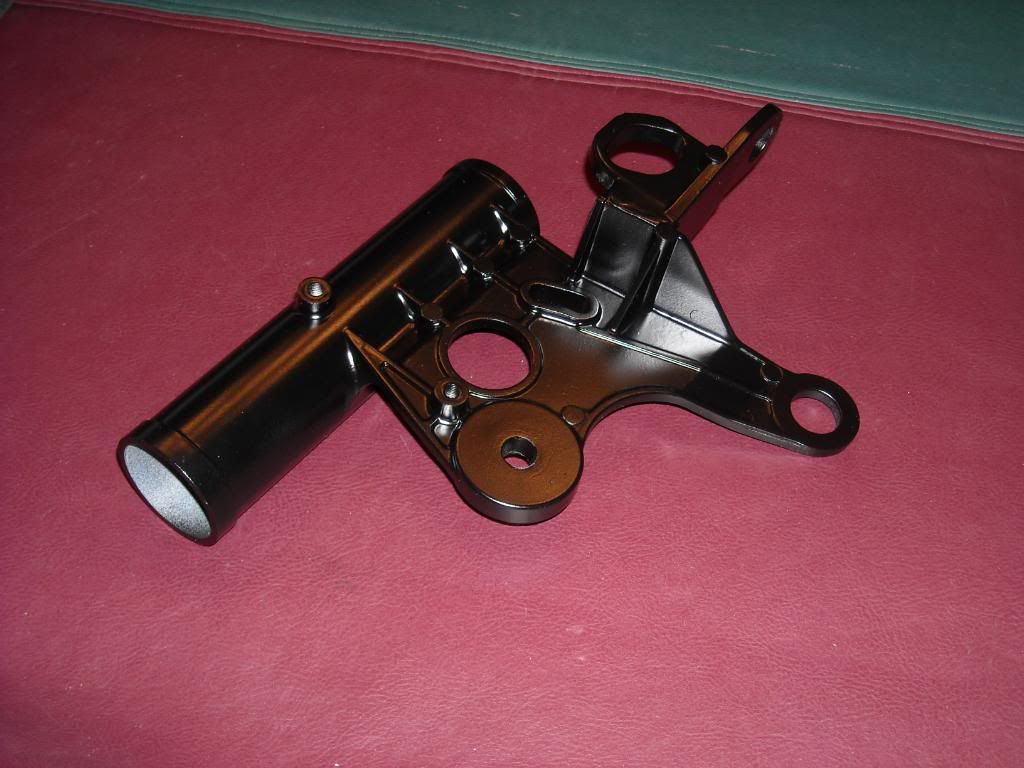
Tuesday was really nice outside so I decided to try out the paint I got to do the triple trees and headlight ears. I used Rustoleum professional series gray primer, and high performance enamel semi-gloss black in rattle cans.
I cleaned one of the headlight ears with a toothbrush and some dish soap, then I sanded the spots where paint had chipped off. I scuffed the whole thing with scotch-brite, rewashed, then dried and wiped it down with rubbing alcohol. I sprayed three coats of primer about five minutes apart. The can said that color can be applied immediately so I gave it about 10 or 15 minutes and sprayed two coats of the black. From start to finish it took less than an hour to do; the few minutes apart on the recoat times and being able to spray the color right away helped a lot!
I am really happy with the way the finish came out; I'm a big fan of the semi-gloss because it doesn't require a perfect spray job to look good. I forgot to take a before pic so all I have is one of the other side after I washed and sanded down the edges of the chipped paint. (it's not completely scuffed yet)
And here is how the side I painted turned out.
Tonight I prepped the upper and lower triple trees as well as the handlebar clamps the same way I did the first piece. Hopefully I'll have another nice day soon so I can spray those.
I also talked to my powdercoater and I will be dropping off parts this weekend. It sounds like it will be ready to pick up next weekend, so I gotta get moving on the engine so I can start reassembly! :woohoo:
1978 Z1-R
Last edit: 17 Mar 2010 20:07 by JakeB. Reason: pic resize
Please Log in or Create an account to join the conversation.
- testarossa
-
- Offline
- User
-

Registered
- Attack life, it's only trying to kill you.
- Posts: 3674
- Thanks: 82
Re: 78 Z1R Winter Project
17 Mar 2010 20:14
New paint looks nice. Don't feel bad about Monday. Hell, I do the same thing every Monday. Steady progress. Keep it coming. I'm glad that your clutch survived. Mine didn't.
1978 KZ1000 A2 Click--->Build Thread
2004 ZX-10R
2007 Harley Sportster 1200
2020 Harley Street Glide Special
Angola, IN
2004 ZX-10R
2007 Harley Sportster 1200
2020 Harley Street Glide Special
Angola, IN
Please Log in or Create an account to join the conversation.
- JakeB
-
 Topic Author
- Offline
- User
-

Registered
- Posts: 174
- Thanks: 0
Re: 78 Z1R Winter Project
23 Mar 2010 12:27
Not much to report this time. I took my frame etc. to the powdercoater's on Saturday, I will post some pictures when I get the stuff back in a few weeks.
I also finished painting the rest of the triple tree / headlight ear parts.
I still have a lot left to do, but I'm starting to catch glimpses of light coming from the end of the tunnel!
This thing may be done in time for riding season after all! :woohoo:
I also finished painting the rest of the triple tree / headlight ear parts.
I still have a lot left to do, but I'm starting to catch glimpses of light coming from the end of the tunnel!
This thing may be done in time for riding season after all! :woohoo:
1978 Z1-R
Please Log in or Create an account to join the conversation.
- 531blackbanshee
-
- Offline
- Vendor
-

Vendors
- Posts: 7444
- Thanks: 796
Re: 78 Z1R Winter Project
23 Mar 2010 14:15
i can't wait to see the freshly powdercoated frame.
keep us posted,
leon
keep us posted,
leon
skiatook,oklahoma 1980 z1r,1978 kz 1000 z1r x 3,
1976 kz 900 x 3
i make what i can,and save the rest!
billybiltit.blogspot.com/
www.kzrider.com/forum/5-chassis/325862-triple-tree-custom-work
kzrider.com/forum/5-chassis/294594-frame-bracing?limitstart=0
1976 kz 900 x 3
i make what i can,and save the rest!
billybiltit.blogspot.com/
www.kzrider.com/forum/5-chassis/325862-triple-tree-custom-work
kzrider.com/forum/5-chassis/294594-frame-bracing?limitstart=0
Please Log in or Create an account to join the conversation.
- JakeB
-
 Topic Author
- Offline
- User
-

Registered
- Posts: 174
- Thanks: 0
Re: 78 Z1R Winter Project
27 Mar 2010 08:53
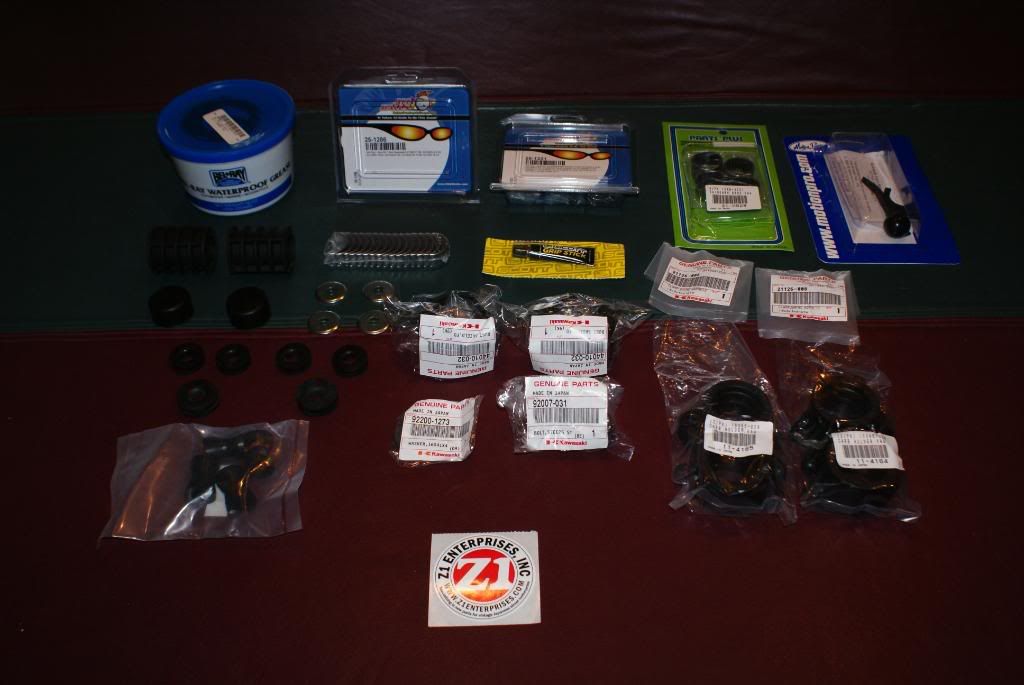
Yay new parts! :woohoo:
Ordered on Tuesday and they got here on Friday, thanks again Z1E!
Here's a pic of what I got yesterday:
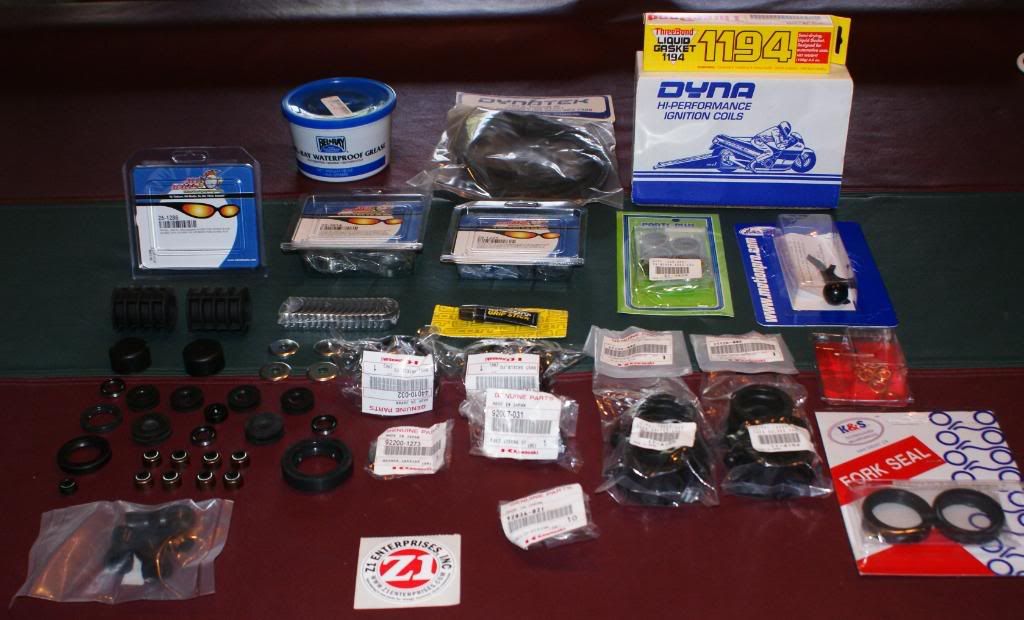
And another with some more of the parts that I have gotten in past orders from Z1E:
Sorry, I get excited about new parts!
I got the tires pulled off, and I plan to restore the wheels following Salvy's lead. I will be happy if mine turn out half as nice as his did.
Here's a pic of his front wheel, I hope he doesn't mind me posting his pic.
Here's his thread in case anyone else is interested:
kzrider.com/archive/viewthread.php?tid=19155#pid168414
It's got good step-by-step directions and good tips as well.
1978 Z1-R
Please Log in or Create an account to join the conversation.
- JakeB
-
 Topic Author
- Offline
- User
-

Registered
- Posts: 174
- Thanks: 0
Re: 78 Z1R Winter Project
05 Apr 2010 08:27
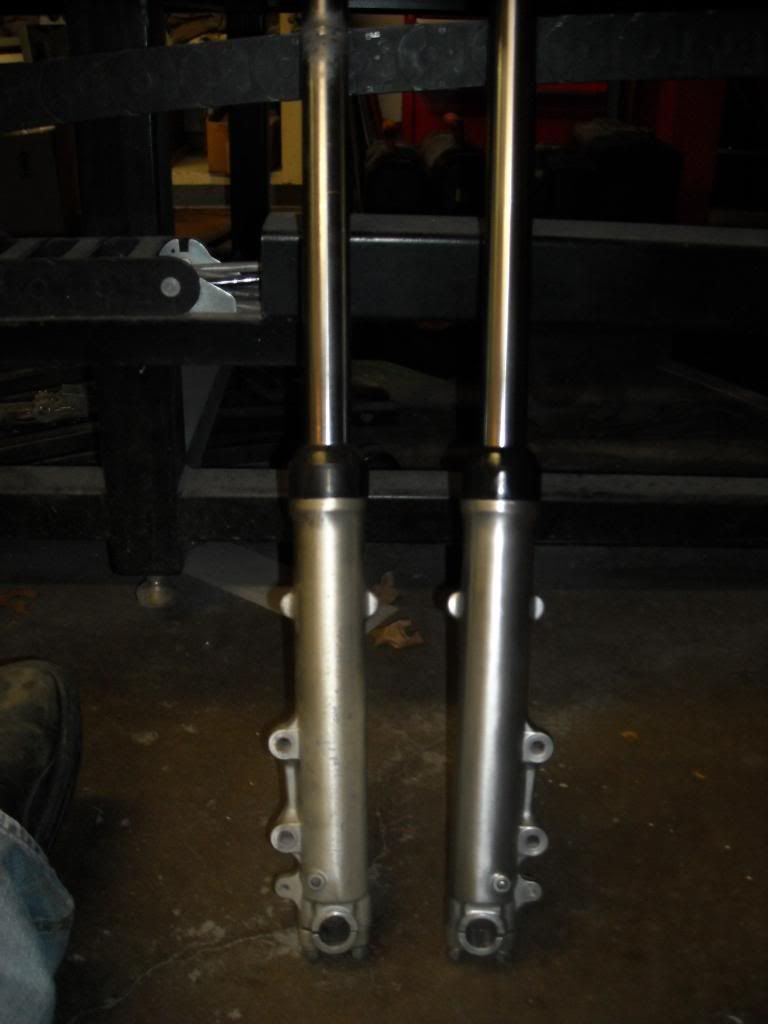
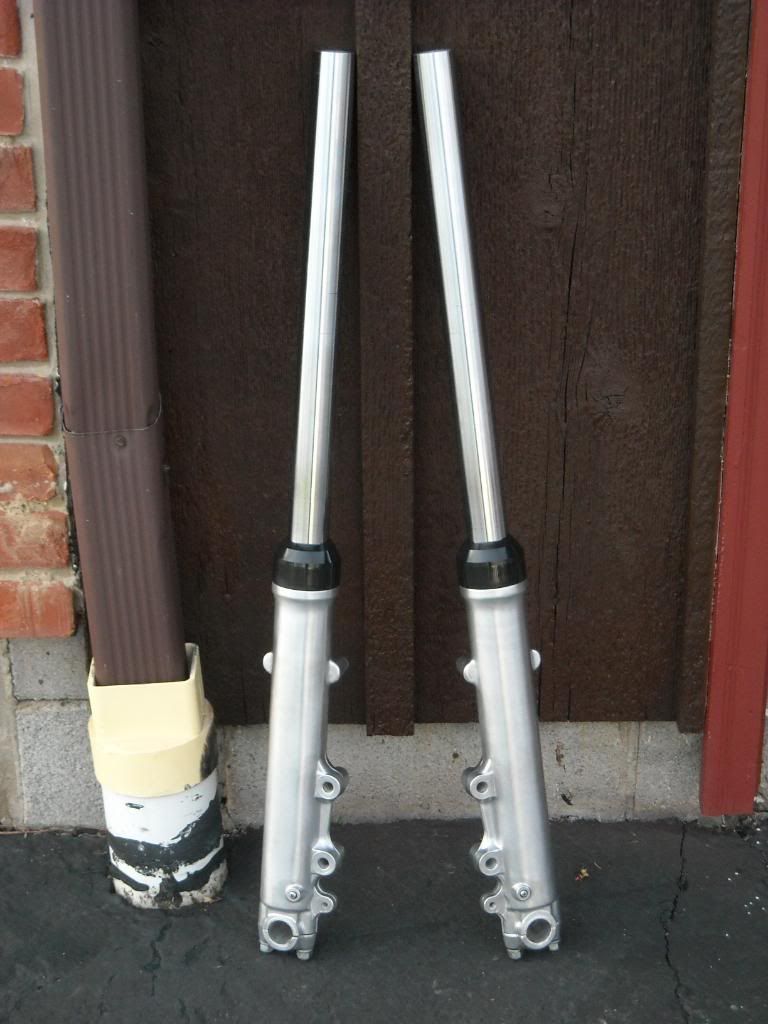
This weekend I got my forks rebuilt. This was the first time I have ever disassembled forks and the first one took quite a while, but the second one was finished in half the time. 
I stripped the clear off of the lowers then cleaned off all the corrosion. With new seals, dust covers and oil these things are like brand new again! :woohoo:
Here's a shot after one side was done, you can see what they used to look like.
And another with both sides done and some better light.
I stripped the clear off of the lowers then cleaned off all the corrosion. With new seals, dust covers and oil these things are like brand new again! :woohoo:
Here's a shot after one side was done, you can see what they used to look like.
And another with both sides done and some better light.
1978 Z1-R
Please Log in or Create an account to join the conversation.
- 531blackbanshee
-

- Offline
- Vendor
-

Vendors
- Posts: 7444
- Thanks: 796
Re: 78 Z1R Winter Project
06 Apr 2010 12:57
NICE!
keep postin,
leon
keep postin,
leon
skiatook,oklahoma 1980 z1r,1978 kz 1000 z1r x 3,
1976 kz 900 x 3
i make what i can,and save the rest!
billybiltit.blogspot.com/
www.kzrider.com/forum/5-chassis/325862-triple-tree-custom-work
kzrider.com/forum/5-chassis/294594-frame-bracing?limitstart=0
1976 kz 900 x 3
i make what i can,and save the rest!
billybiltit.blogspot.com/
www.kzrider.com/forum/5-chassis/325862-triple-tree-custom-work
kzrider.com/forum/5-chassis/294594-frame-bracing?limitstart=0
Please Log in or Create an account to join the conversation.
- porchev914
-
- Offline
- User
-

Registered
- Whats that? Half of my swingarm is missing?!?!?
- Posts: 2709
- Thanks: 19
Re: 78 Z1R Winter Project
07 Apr 2010 09:02
If you make the rest of the bike look like that, it'll look showroom new :woohoo:
FRANKEN Z!
1978 KZ1000 A2A with 08'Speed Triple SSSA and '06 GSXR1000 front end
1978 KZ1000 A2A with 08'Speed Triple SSSA and '06 GSXR1000 front end
Please Log in or Create an account to join the conversation.
- JakeB
-
 Topic Author
- Offline
- User
-

Registered
- Posts: 174
- Thanks: 0
Re: 78 Z1R Winter Project
07 Apr 2010 09:16
porchev914 wrote:
Thanks!
I sure hope it turns out that way! :laugh:
If you make the rest of the bike look like that, it'll look showroom new :woohoo:
Thanks!
I sure hope it turns out that way! :laugh:
1978 Z1-R
Please Log in or Create an account to join the conversation.
- testarossa
-

- Offline
- User
-

Registered
- Attack life, it's only trying to kill you.
- Posts: 3674
- Thanks: 82
Re: 78 Z1R Winter Project
07 Apr 2010 11:50
Hey Jake,
It's been about a month since you dropped the body work off at the painter. Is it done? Can we see? Looks like you went the same route as I did with your cam bearings. That frame is gonna look killer with the powdercoat. Keep up the good work.
It's been about a month since you dropped the body work off at the painter. Is it done? Can we see? Looks like you went the same route as I did with your cam bearings. That frame is gonna look killer with the powdercoat. Keep up the good work.
1978 KZ1000 A2 Click--->Build Thread
2004 ZX-10R
2007 Harley Sportster 1200
2020 Harley Street Glide Special
Angola, IN
2004 ZX-10R
2007 Harley Sportster 1200
2020 Harley Street Glide Special
Angola, IN
Please Log in or Create an account to join the conversation.
Moderators: Street Fighter LTD

