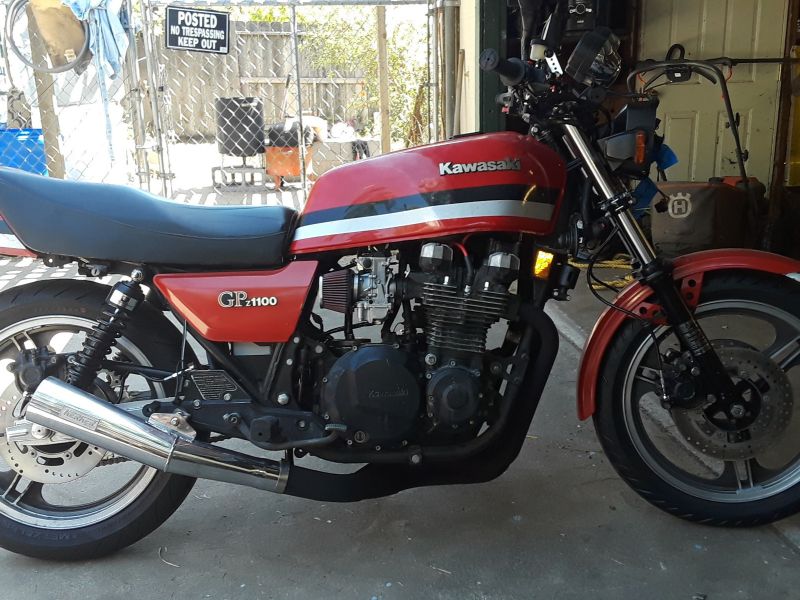
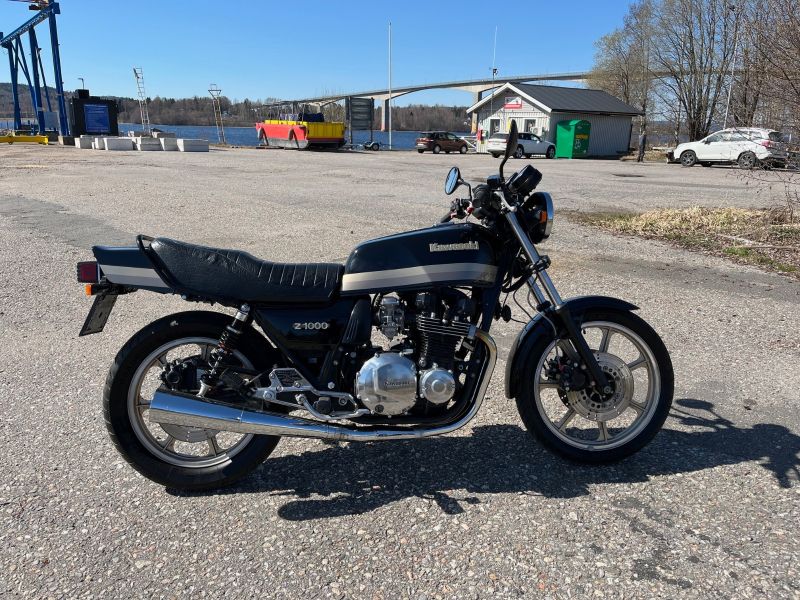
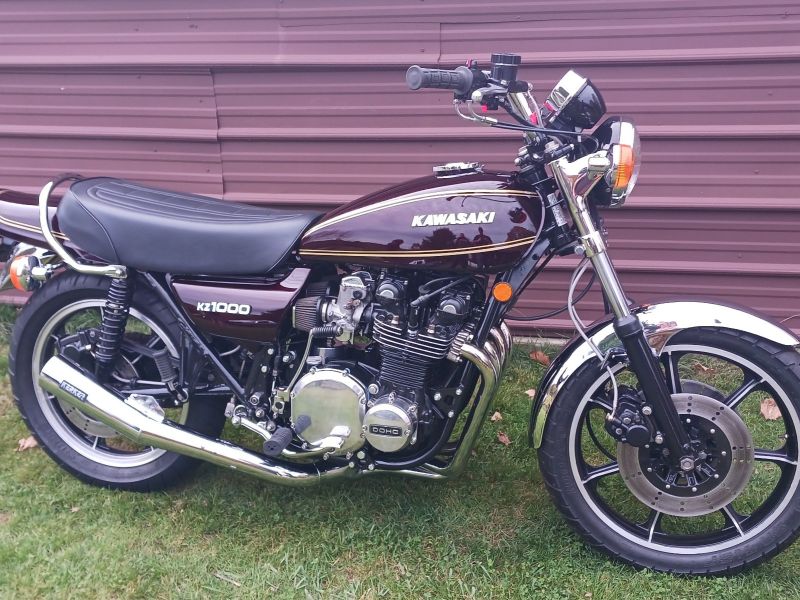
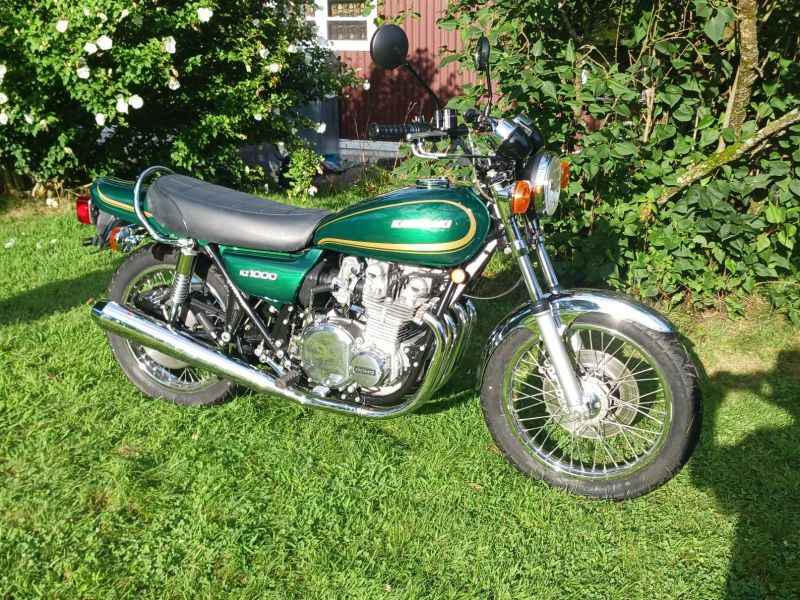
KZR's Bikes of the Month for 2024

KZ 650 Front Fork Pinch Bolt Stud - Help Please!

  • Forrest
  • Topic Author
  • Offline
  • Sustaining Member
  • The Mad Duck
More
07 Mar 2022 11:20 #863309 by Forrest
Yes, I have gone and done it!  While re installing the front wheel, I snapped off one of the 8 X 35 mm  Pinch Bolt Studs at the bottom of the fork leg.  I don't have enough thread to double nut even two thin nuts.  I have been trying to remove from the lower fork leg with vise grips.  The vise grips have been getting a good bite.  However, I have not been able to budge the stud.  I do get some slippage on occasion resulting in some of the aluminum stud body shaving off.  I am a bit cautious that if I turn too hard, I could break off more of the stud.  My main question is:  Are these studs threaded normally on both ends?  I am attempting to turn counter clockwise with no success.  It seems to make sense they are threaded normally on both ends and not reverse threaded on the fork leg end.   

I can order replacement studs but would like to get this broken stud removed first.  Is there a best practice here?  Any process such as removing the fork leg from the bike and placing in a vice?  Anyone care to help me here?  It would be much appreciated.  

KZ RIDER RELAY FLAG CARRIER #55
1977 KZ650B Ready & Fit to Roll Anywhere!
1974 F7 175 -first bike and still own, full resto soon!
2002 ZRX1200R -Red the faster color
2011 Concours 14 -Now a Snarling Wolf in Sheep's Clothing!

Please Log in or Create an account to join the conversation.

More
07 Mar 2022 12:01 #863310 by Wookie58
Hi. forest, you need to overcome the corrosive effect of dissimilar metals which is often an issue with steel & alloy (car wheels corroding onto hubs etc) it is only my opinion but I would suggest removing the fork and inverting it in a vice (try and clamp it as close as possible to the offending area) then apply very localised heat around the area where the stud is located, remove the heat source and spray with WD40 etc. Repeat this process several times and the penetrating fluid should get drawn into the thread. You can try drilling the stud and using an "easy-out" but from experience with a stud this small you are likely to break the tool in the stud and make the problem worse. If you have a welder personally after heat cycling and applying penetrating fluid I would screw on a nut as far as possible then weld it to the stud and use a spanner on it DON'T FORGET PENETRATING FLUID IS FLAMABLE be patient. Best of luck
The following user(s) said Thank You: Forrest

Please Log in or Create an account to join the conversation.

More
07 Mar 2022 12:35 - 07 Mar 2022 12:36 #863312 by Mikaw
I just recently replaced all 4 axle clamp studs. Them boogers are in there. Gray locking compound on them OEM. Heat cycles and penetrate oil is your friend. Like mentioned weld a nut to the stump. The heat from the weld will really help. I made an install tool out of hardware components. 


1976 KZ 900 A4 kzrider.com/forum/11-projects/613548-1976-kz-900-a4
1976 KZ 900 B1 LTD
1978 KZ 1000 B2 LTD
1980 KZ 750 E1
Kowledge Speaks, But Wisdom Listens.
Jimi Hendrix.
Last edit: 07 Mar 2022 12:36 by Mikaw.
The following user(s) said Thank You: Forrest

Please Log in or Create an account to join the conversation.

  • Forrest
  • Topic Author
  • Offline
  • Sustaining Member
  • The Mad Duck
More
07 Mar 2022 12:44 #863313 by Forrest
Thank you Wookie for the tips.  I have considered removing the fork leg and applying heat via a small hand held torch.  I have used penetrating oil on the threads but with the fork mounted, gravity is not my friend there.  Looks like I will remove the fork leg and get set up in my vise.  Appreciate the reminder on flammable aspect of penetrating fluid.  Will give this a go. 
 
As a back story, I like most of us here work very methodically and the less distractions the better.  My neighbor, you know one of those who continually talks & offers his advice was over in my garage as I was re-installing the front wheel.  I used a torque wrench on the large axel nut.  Then used the torque wrench on the first pinch clamp nut even though it only takes 11-16 ft./lb. Why even use a torque wrench?!  Sure enough, I do not hear any click and suddenly the wrench gives and then "snap!"  I blame myself.  Lesson learned, keep all distractions out when focusing on wrenching.  

Will let you know how this goes.  

KZ RIDER RELAY FLAG CARRIER #55
1977 KZ650B Ready & Fit to Roll Anywhere!
1974 F7 175 -first bike and still own, full resto soon!
2002 ZRX1200R -Red the faster color
2011 Concours 14 -Now a Snarling Wolf in Sheep's Clothing!

Please Log in or Create an account to join the conversation.

  • Forrest
  • Topic Author
  • Offline
  • Sustaining Member
  • The Mad Duck
More
07 Mar 2022 12:57 #863314 by Forrest
Thanks Mikaw for the photos. I do not have a welding torch.  I may try the penetrating oil and heat first.  I have a small hand held torch that is adjustable.  Should be able to pin point the heat onto the stud.
Man your forks look like brandy new.  Mine have all this old coating on them.  Your install tool looks good too.  Can you tell me what the steel ball does and the dark knurled knob does?  Some sort of adjustable locking mechanism?  

KZ RIDER RELAY FLAG CARRIER #55
1977 KZ650B Ready & Fit to Roll Anywhere!
1974 F7 175 -first bike and still own, full resto soon!
2002 ZRX1200R -Red the faster color
2011 Concours 14 -Now a Snarling Wolf in Sheep's Clothing!

Please Log in or Create an account to join the conversation.

More
07 Mar 2022 13:00 #863315 by Wookie58
I know what you mean with the neighbour, doesn’t it make you feel inadequate knowing the bloke next door is an expert in everything 

Please Log in or Create an account to join the conversation.

  • SWest
  • Offline
  • Sustaining Member
  • 10 22 2014
More
07 Mar 2022 16:04 #863331 by SWest
I've been known to pick up a large wrench and aim it at the jerk. .Most of the time no words are needed. 
Steve

Please Log in or Create an account to join the conversation.

More
07 Mar 2022 17:34 #863339 by Mikaw

I've been known to pick up a large wrench and aim it at the jerk. .Most of the time no words are needed. 
Steve
if you can dodge a wrench you can dodge a ball… lol

1976 KZ 900 A4 kzrider.com/forum/11-projects/613548-1976-kz-900-a4
1976 KZ 900 B1 LTD
1978 KZ 1000 B2 LTD
1980 KZ 750 E1
Kowledge Speaks, But Wisdom Listens.
Jimi Hendrix.

Please Log in or Create an account to join the conversation.

More
07 Mar 2022 17:54 - 07 Mar 2022 18:08 #863341 by Mikaw
Here’s another pic. The threaded coupling is 8 x 1.25 I think, been a minute. The ball bearing is out of an old head stock loose bearing setup. The jamb nut and cap bolt are also 8 x 1.25. Run the jamb nut all the way on the cap bolt, put the cap bolt into the coupling a few threads. Drop the bearing in and run the assembly onto the clamp stud so the end of the clamp stud is inserted a little less then half the coupling length. Run the cap bolt in till the ball bearing tightens on the clamp stud. Tighten The jamb nut against the coupling. Then use an Allen socket in the cap bolt to tighten the clamp bolt into the female of the lower fork tube. I went to 14 ft/lbs and used Loctite 518 flange sealant. I used that on the Allen bolt holding the damper in the lower and it was handy. To take off the assembly hold the cap bolt with a Allen socket and back off the jamb nut. Everything comes hand loose. Remove and repeat. Leaves a factory looking dimple in the end of the clamp stud. The ball bearing keeps the coupling assembly from jamming on the clamp stud. 


1976 KZ 900 A4 kzrider.com/forum/11-projects/613548-1976-kz-900-a4
1976 KZ 900 B1 LTD
1978 KZ 1000 B2 LTD
1980 KZ 750 E1
Kowledge Speaks, But Wisdom Listens.
Jimi Hendrix.
Last edit: 07 Mar 2022 18:08 by Mikaw.
The following user(s) said Thank You: Forrest

Please Log in or Create an account to join the conversation.

  • SWest
  • Offline
  • Sustaining Member
  • 10 22 2014
More
07 Mar 2022 17:55 - 07 Mar 2022 17:59 #863342 by SWest
if you can dodge a wrench you can dodge a ball… lol


It gets the point across. 
Steve
Last edit: 07 Mar 2022 17:59 by SWest. Reason: add text

Please Log in or Create an account to join the conversation.

More
07 Mar 2022 18:16 #863343 by Mikaw

if you can dodge a wrench you can dodge a ball… lol


It gets the point across. 
Steve
Yep!

The lowers we’re vapor blasted. It gives you an amazing satin finish. Finding a good blaster is key. Someone that can produce constant finish results even with jobs in different batches. 

1976 KZ 900 A4 kzrider.com/forum/11-projects/613548-1976-kz-900-a4
1976 KZ 900 B1 LTD
1978 KZ 1000 B2 LTD
1980 KZ 750 E1
Kowledge Speaks, But Wisdom Listens.
Jimi Hendrix.

Please Log in or Create an account to join the conversation.

  • hardrockminer
  • Offline
  • Sustaining Member
More
07 Mar 2022 18:25 #863346 by hardrockminer
Replied by hardrockminer on topic KZ 650 Front Fork Pinch Bolt Stud - Help Please!
Vapour blasting should be done after sanding out the blemishes or the blemishes will still show after blasting.

I have a set of 650 forks that I don't intend to use.  Keep trying to get the stud out but know that you have a backup plan.  If you need them You can have them for the cost of shipping and a small donation to the site.  I live in BC, Canada.

I have several restored bikes along with a 2006 Goldwing with a sidecar. My wife has a 2019 Suzuki DR 650 for on and off road.
The following user(s) said Thank You: Forrest

Please Log in or Create an account to join the conversation.

Powered by Kunena Forum

If you like KZR Please consider making a donation. Thank you.

KZRider is free, but not without cost.

Please consider chipping in a few bucks to help cover the cost of running the KZR servers.