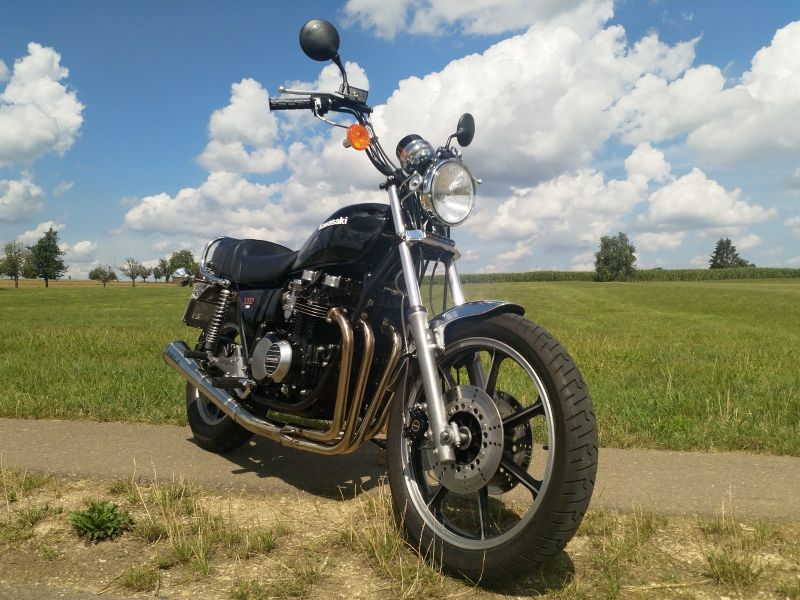
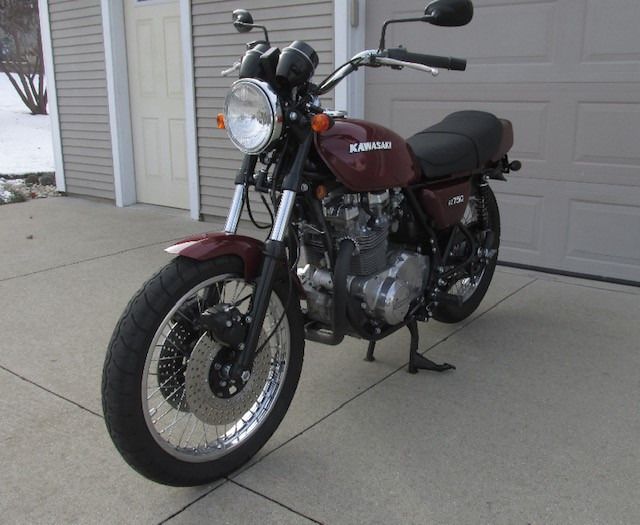
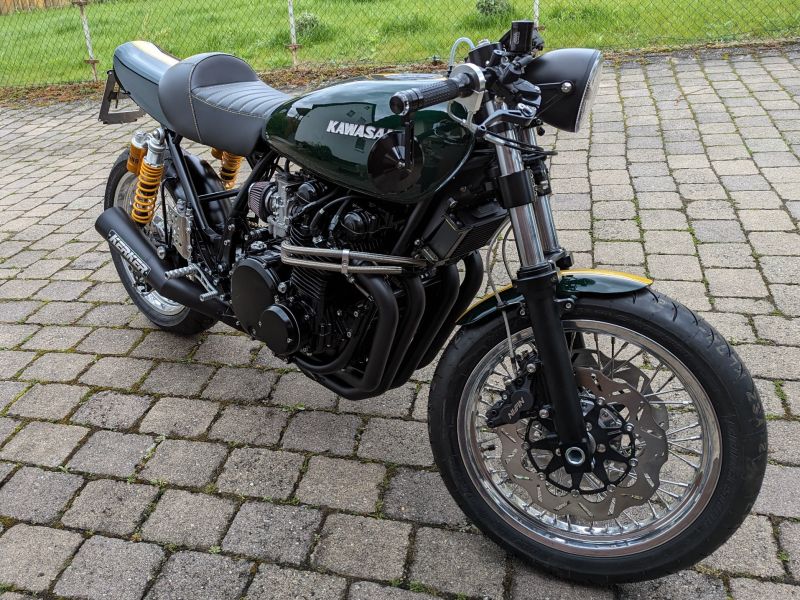
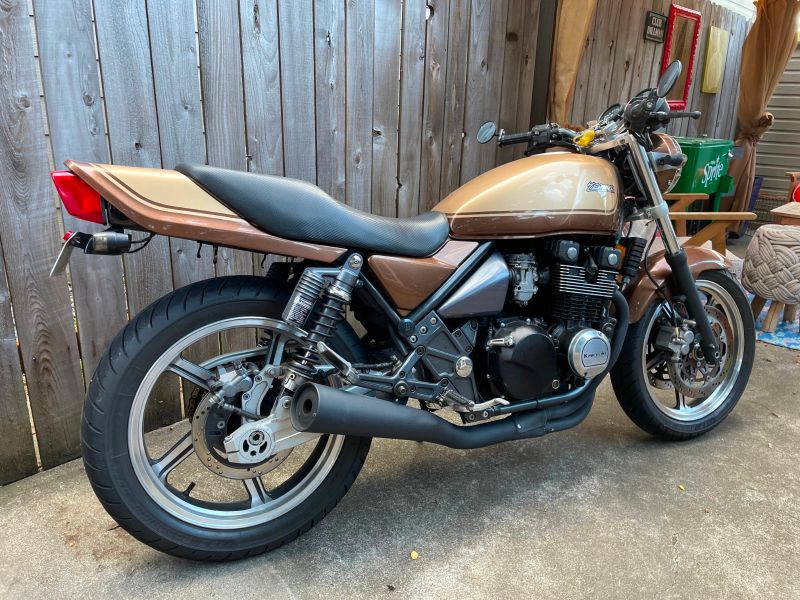
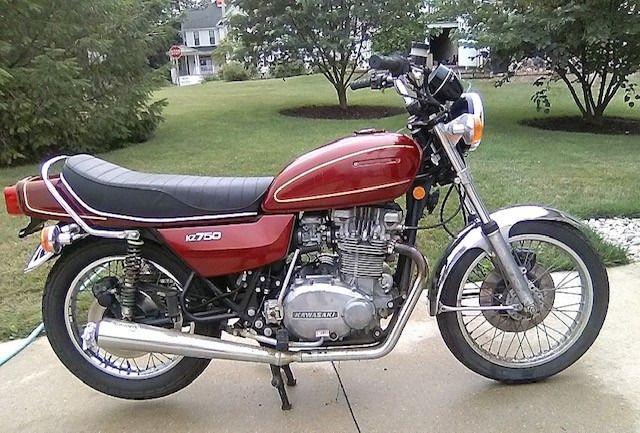
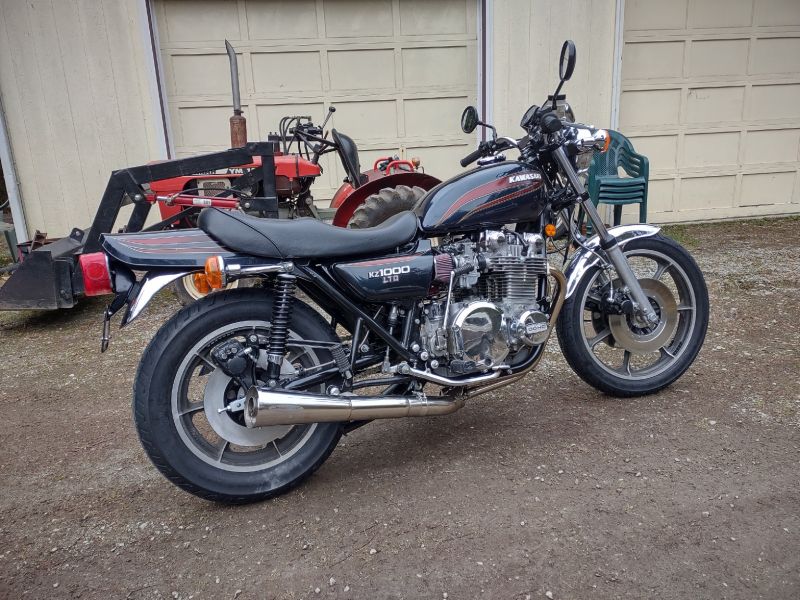
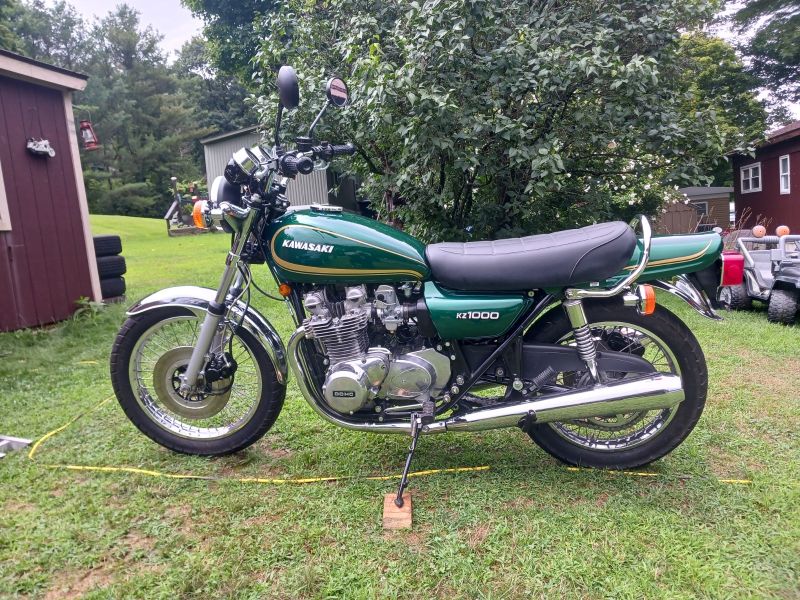
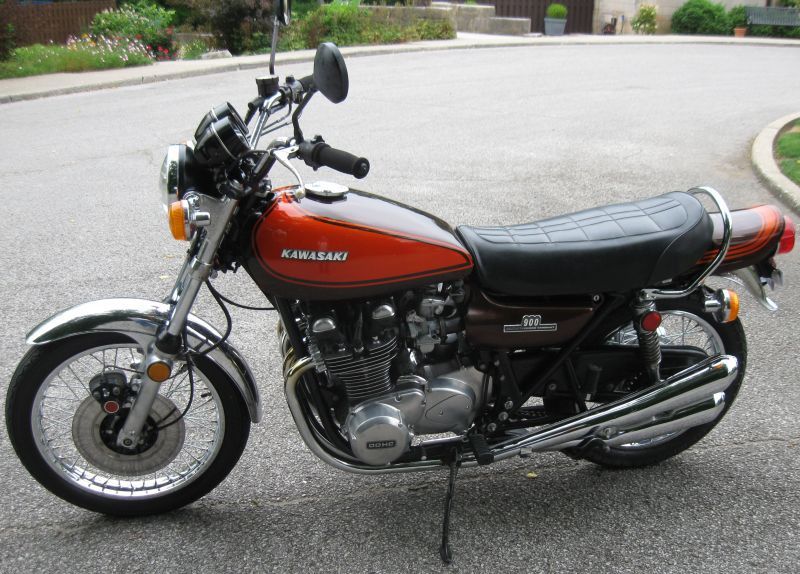
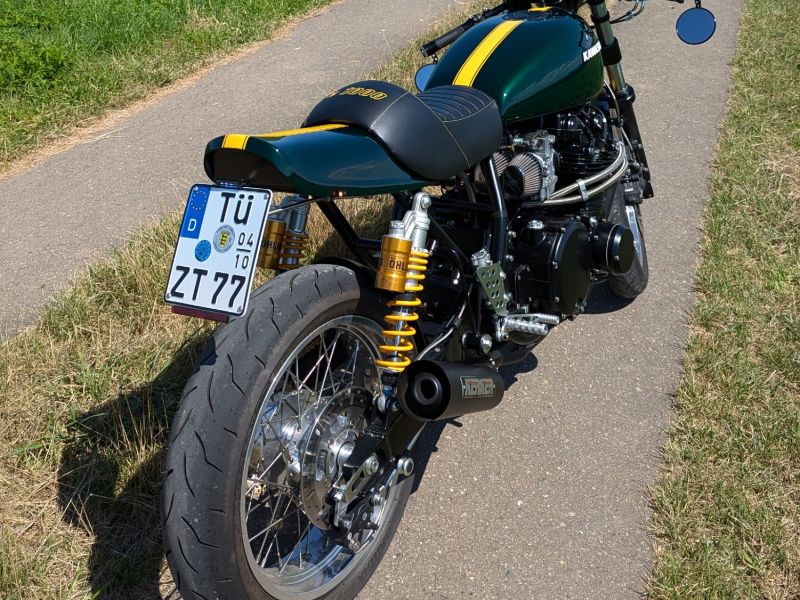
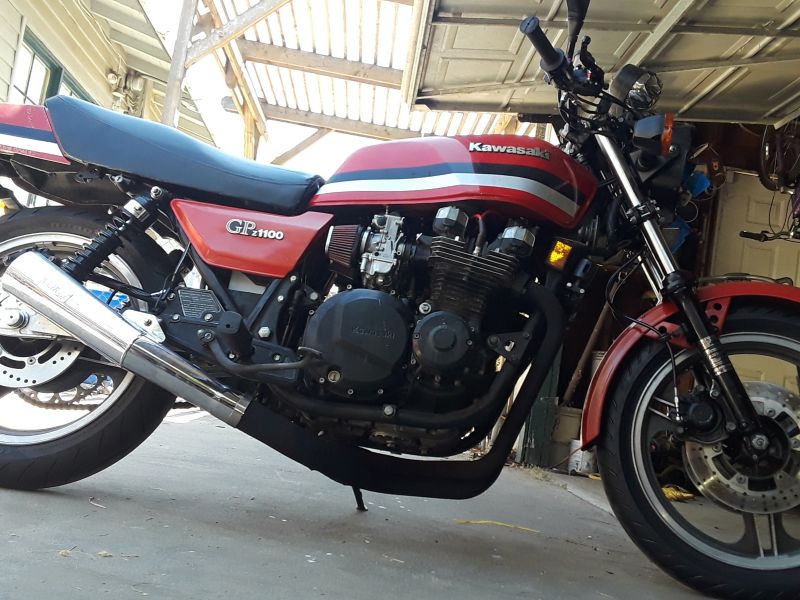
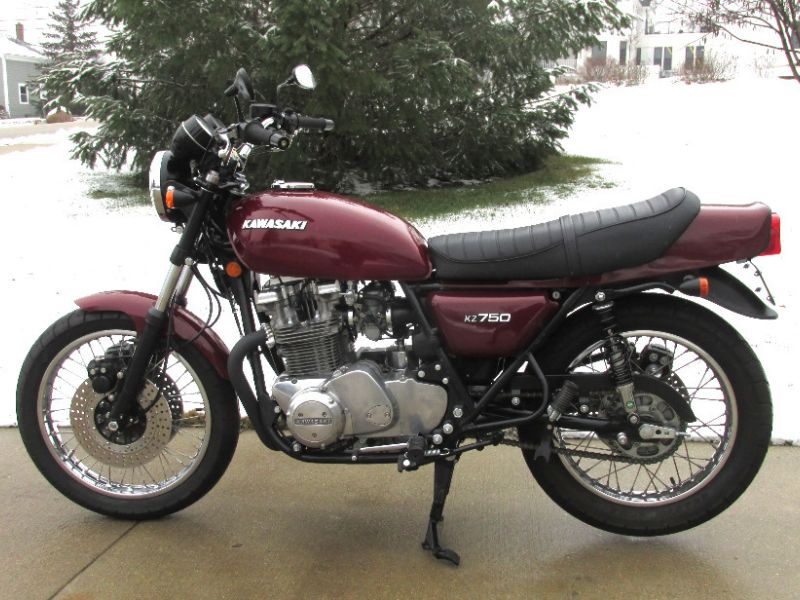
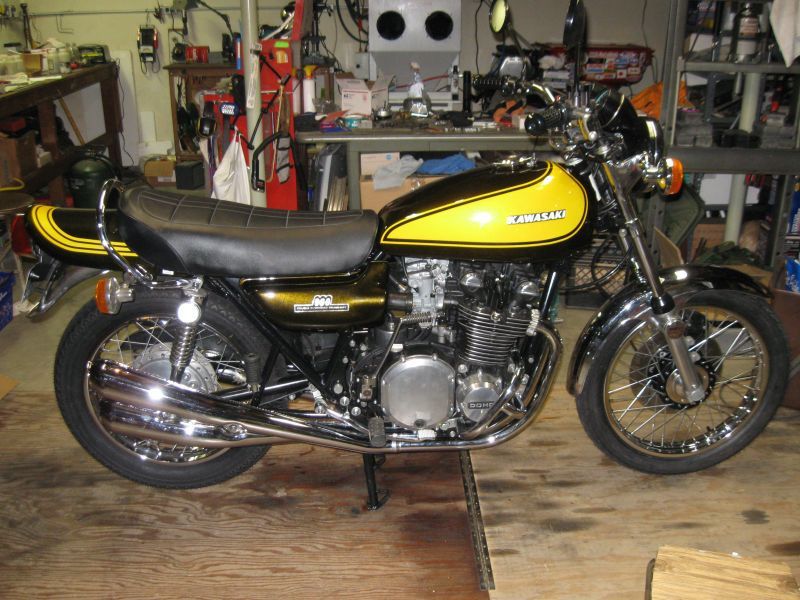
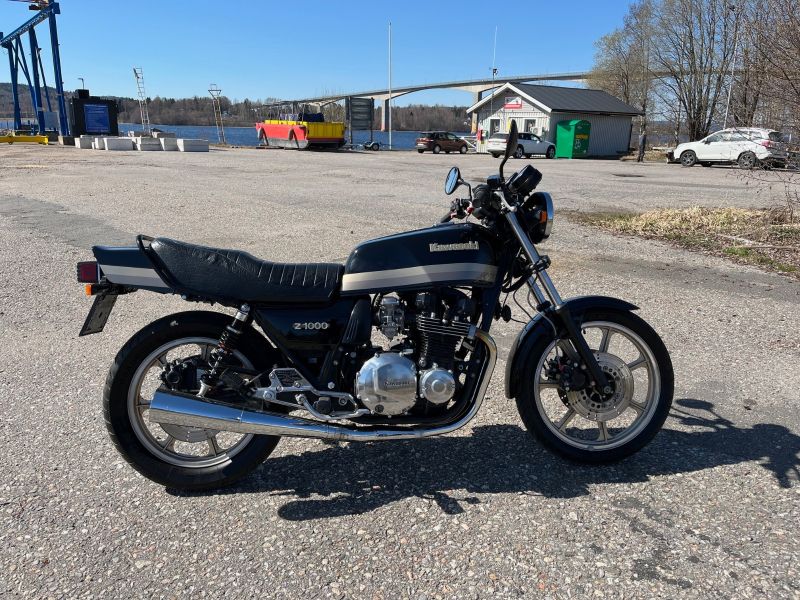
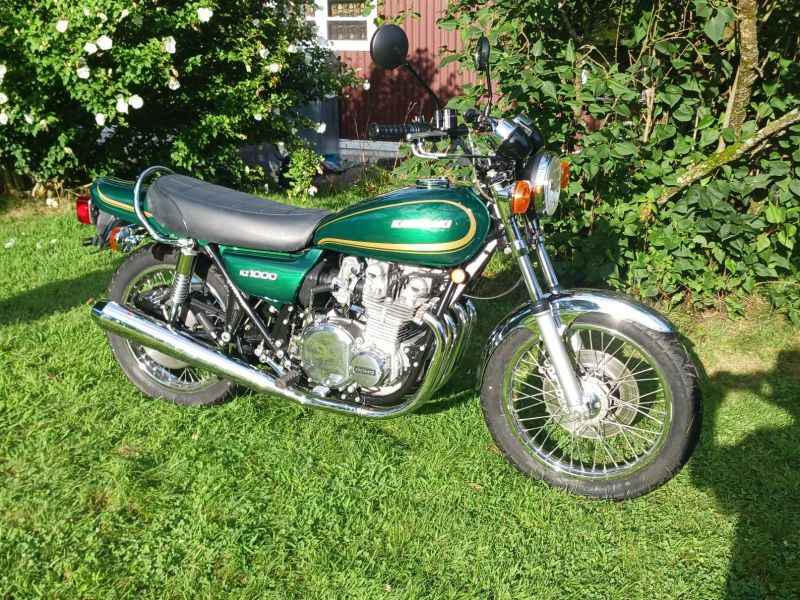
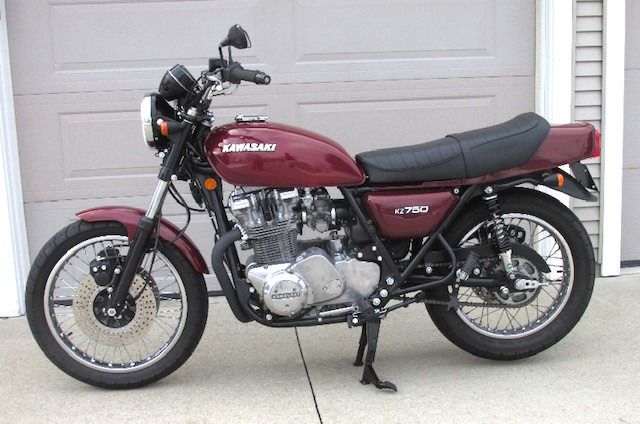
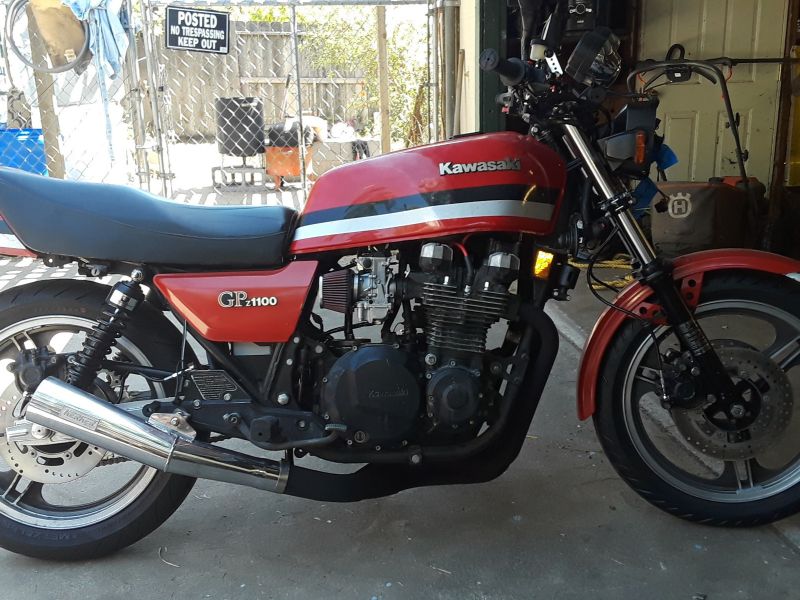
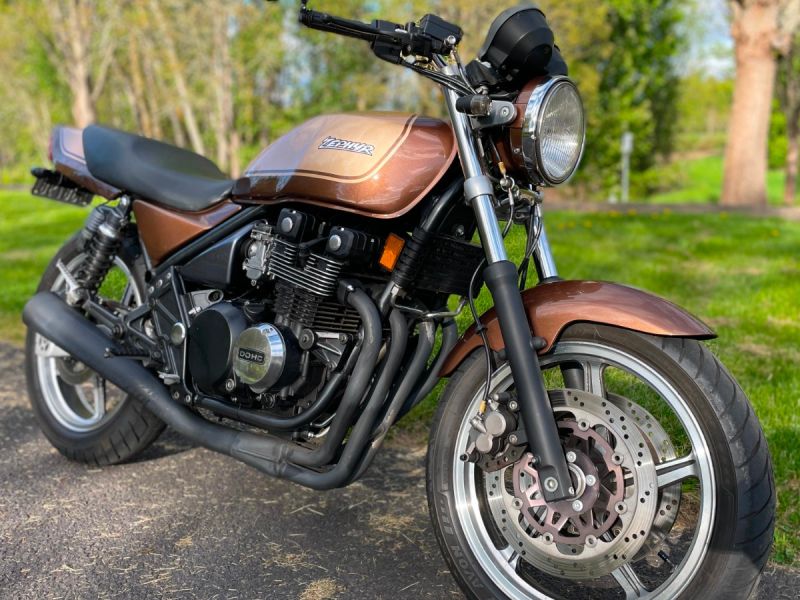
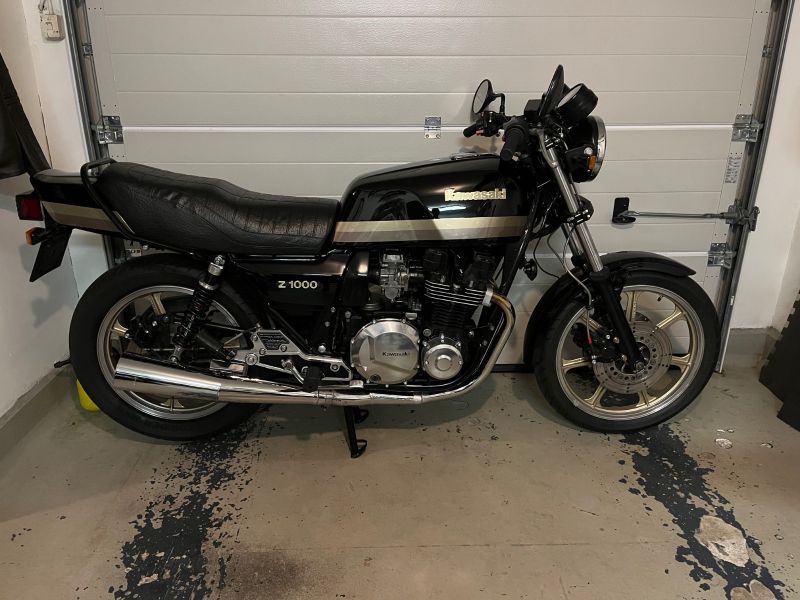
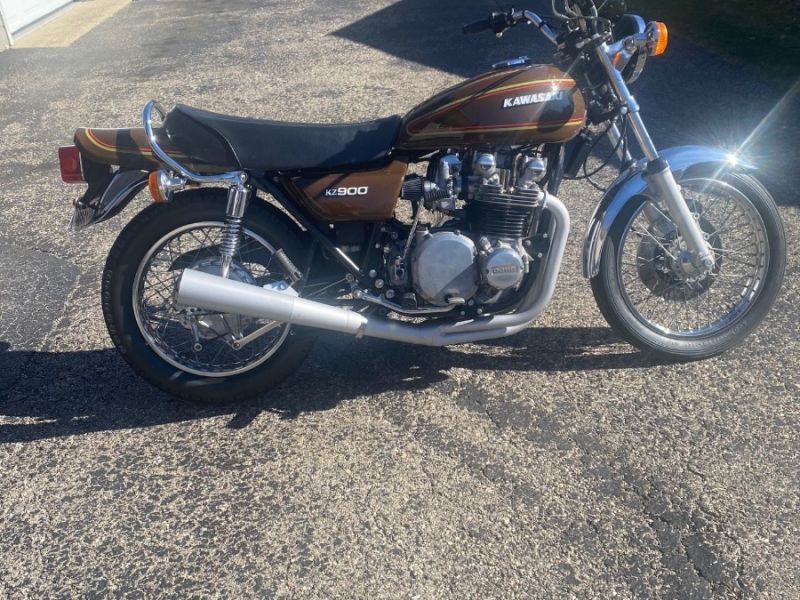
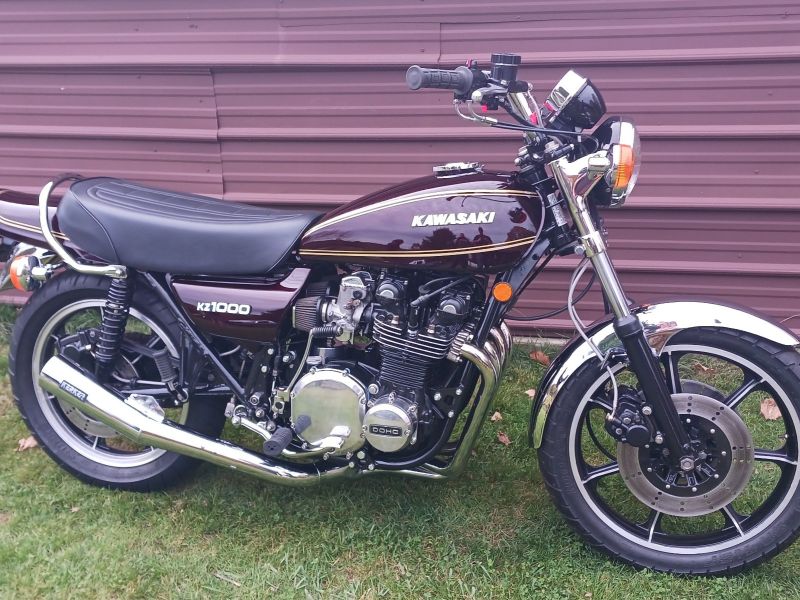
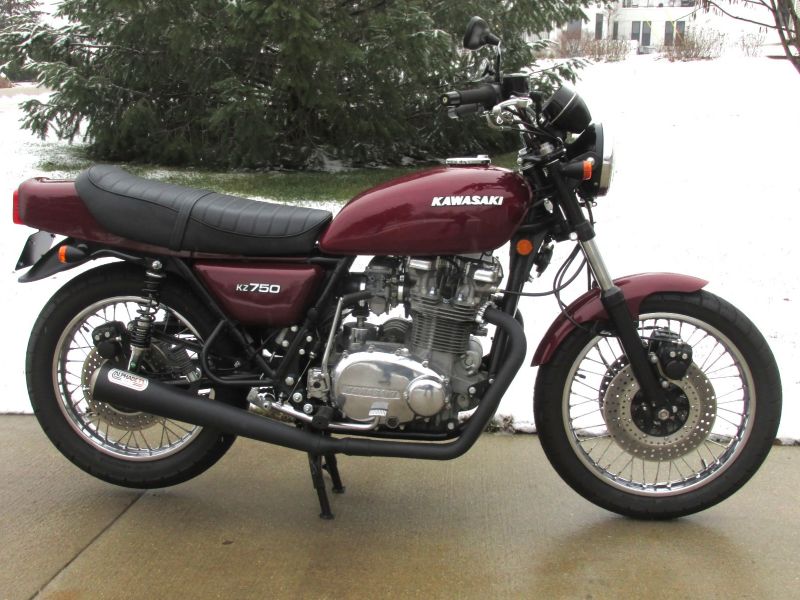
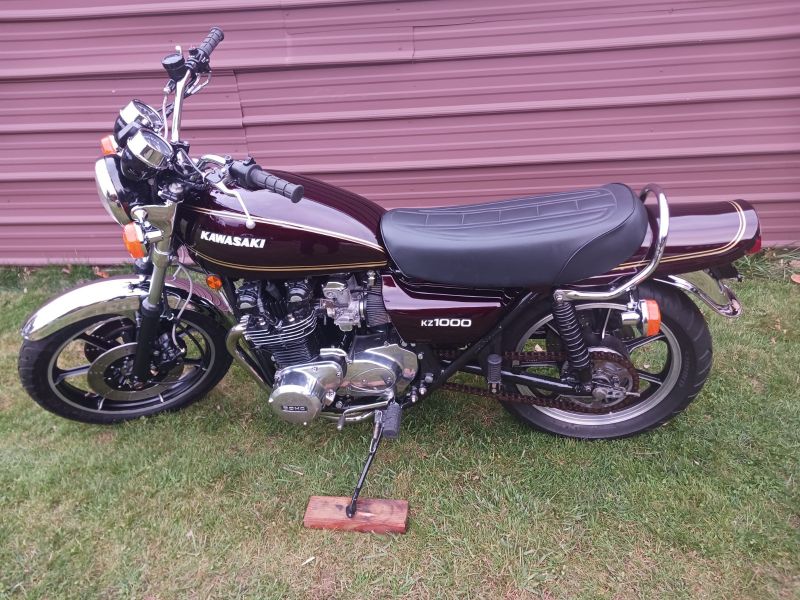
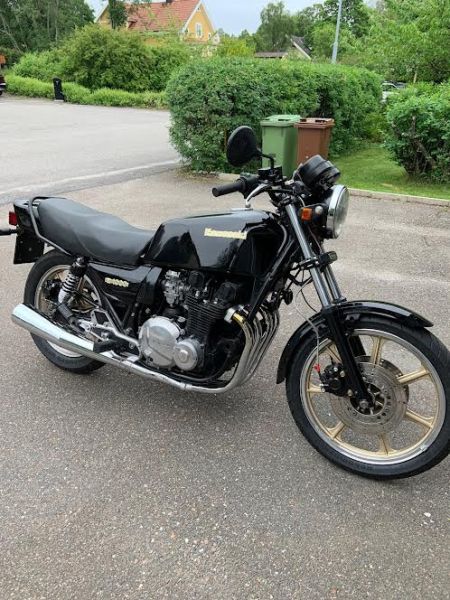
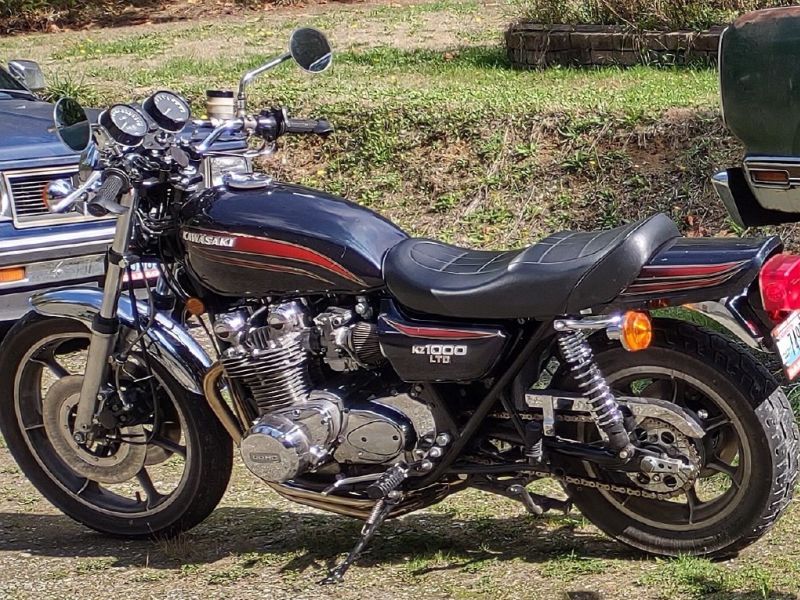
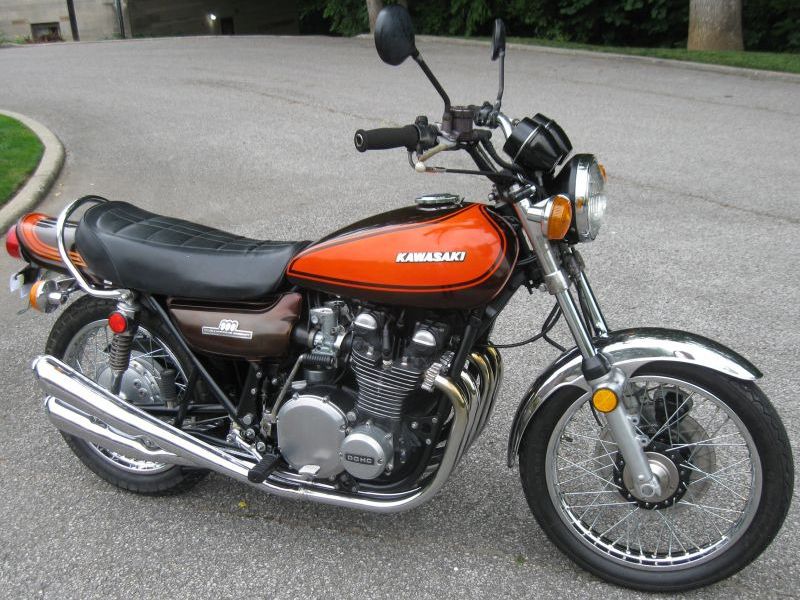
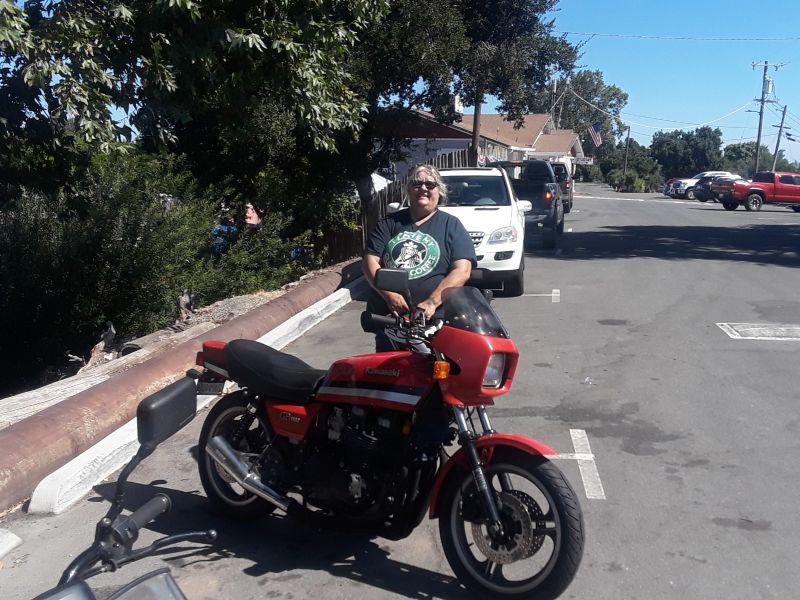
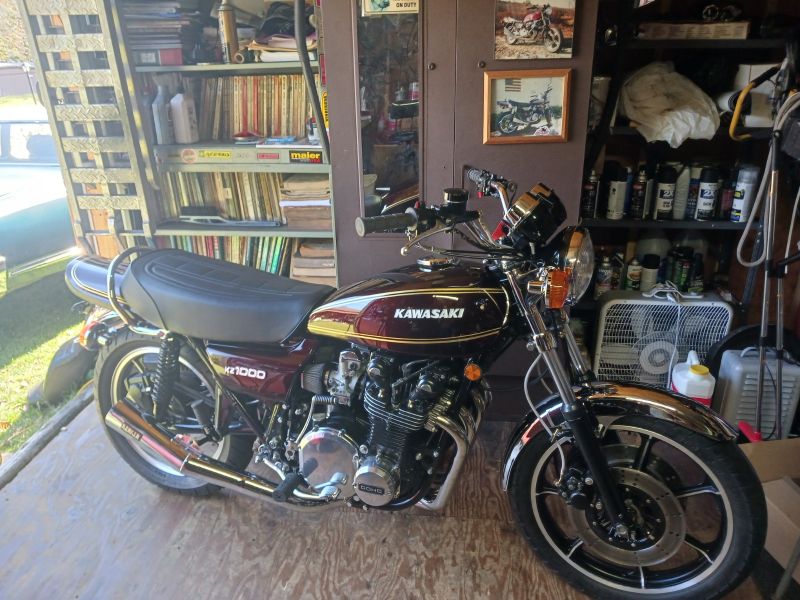
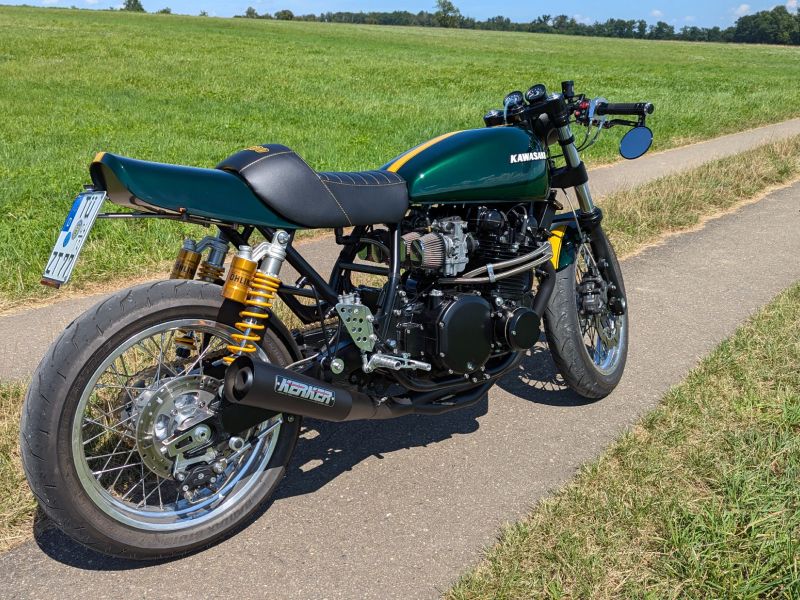
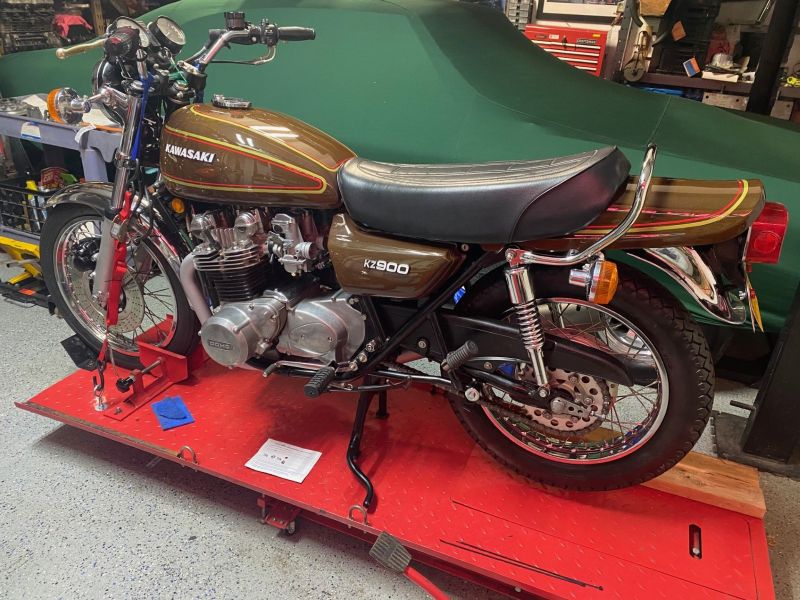
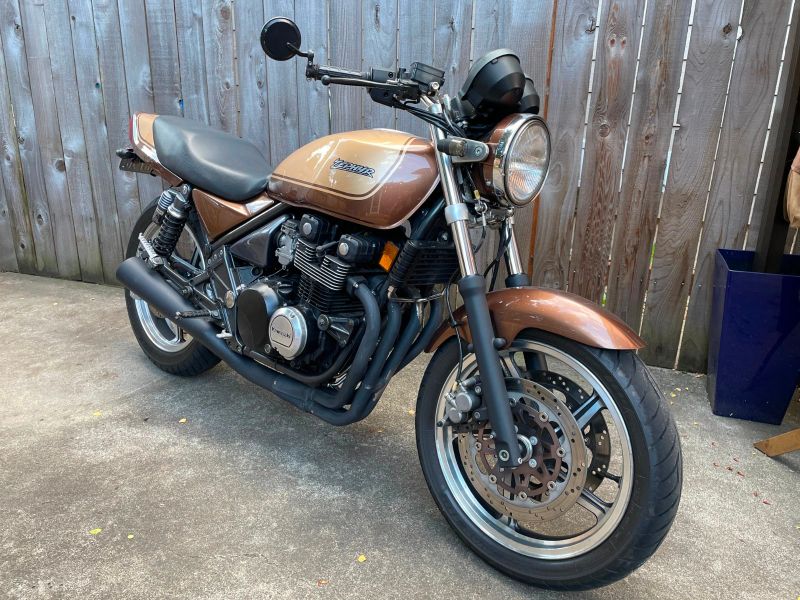
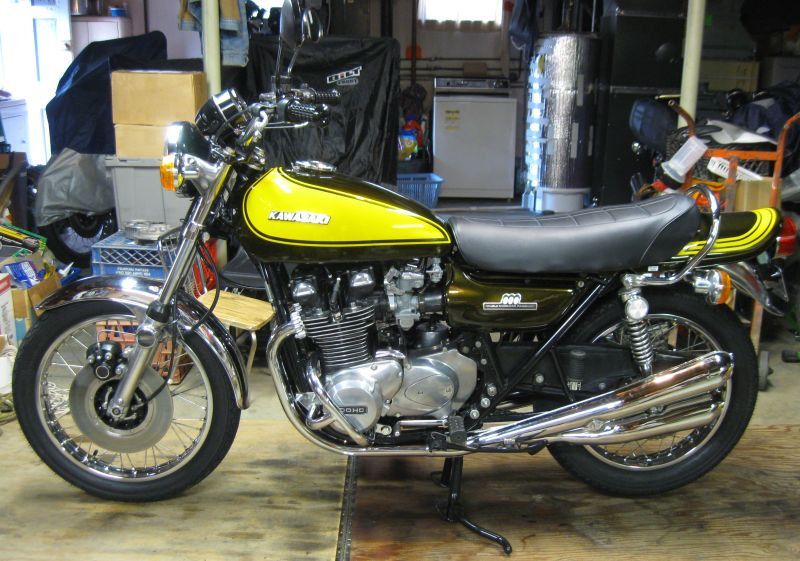
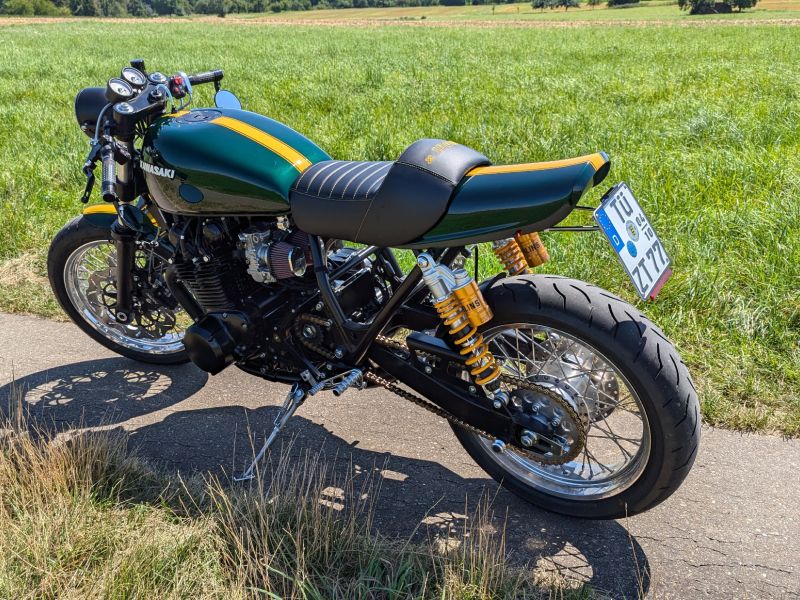
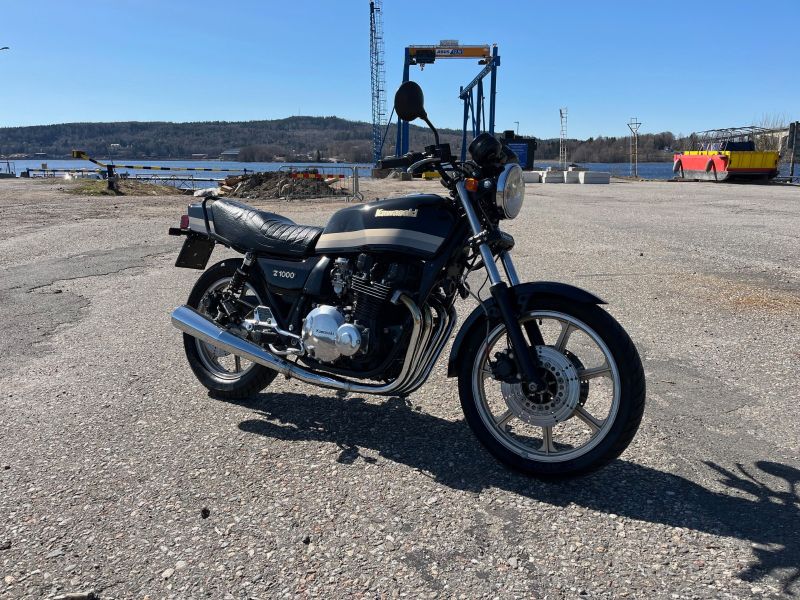
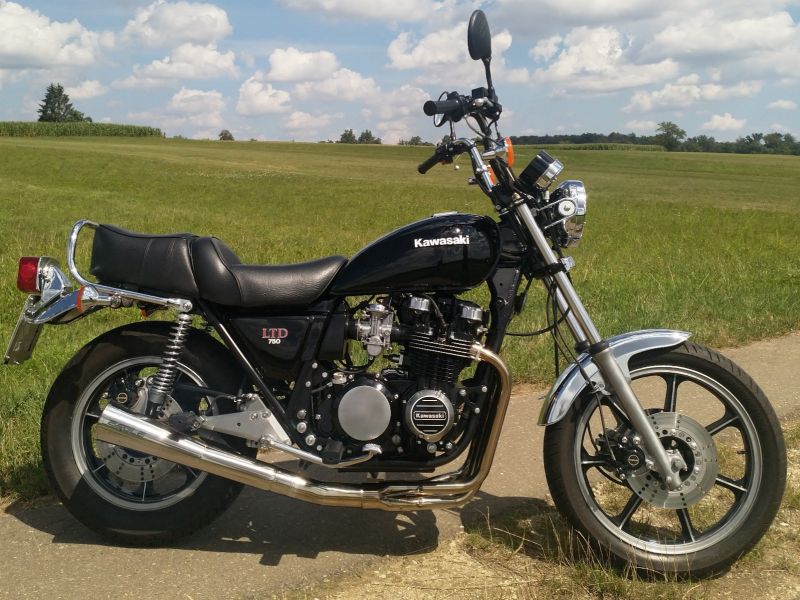
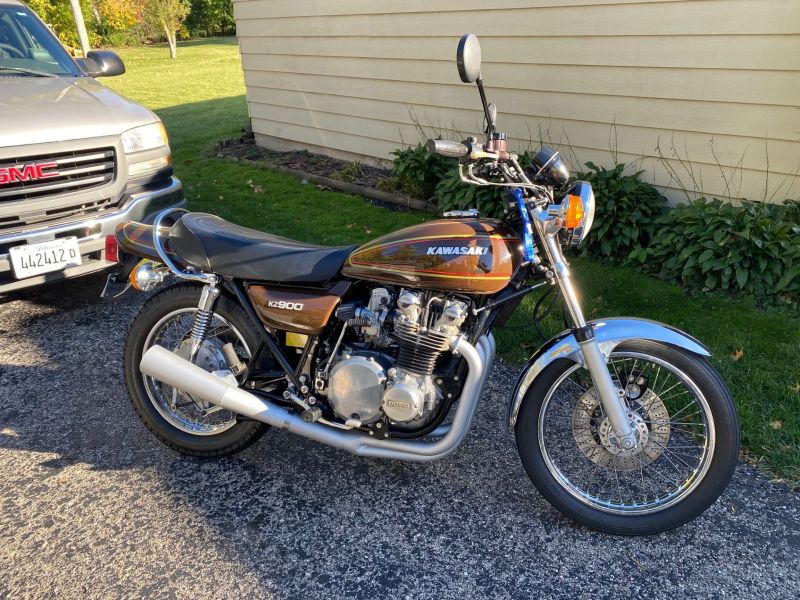
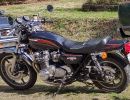
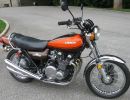
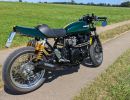
KZR's Bikes of the Month for 2024
frame bracing

More
06 Nov 2014 04:28 #653017 by PLUMMEN
Replied by PLUMMEN on topic frame bracing
I think shot peening would leave it pretty rough,I suppose it would depend on size of shot used though. :)

Still recovering,some days are better than others.

Please Log in or Create an account to join the conversation.

More
06 Nov 2014 05:42 #653022 by NakedFun
Replied by NakedFun on topic frame bracing

DoctoRot wrote: You could shot peen the frame. I looked into it a while ago and found a company that would do a frame for $250 but i ultimately decided it was overkill.

www.metalimprovement.com/shot_peening.php


That is good info. The same goes for heat treatment as well, as I am sure their are companies out there willing to do
It for John Smith, but probable costly as well.

Cory

2008 Kawasaki Concours 14
1999 Kawasaki ZRX1100
1976 Kawasaki KZ900

Please Log in or Create an account to join the conversation.

More
06 Nov 2014 12:44 #653069 by CruisingRam
Replied by CruisingRam on topic frame bracing

PLUMMEN wrote: Welding puts stresses on the metal from the heat of the welding,and as it cools it tries to pull in different directions.
Back when I did foundry work I talked to the plant engineer about coming up with a really stout jig to tie a frame together with then shove it into the oven where they heat treated castings .
The plan was to heat it to a pre determined temp for a certain amount of time then cool it down slowly to "destress "
the frame.
Its the same reason they use frame jigs when building a frame to help control distortion from the welding and cooling of the materials. :)
The excessive heat of the welding also makes the material more brittle,same reason why you should never weld straight up and down the side of a car/truck frame,you should put a step or atleast an angle where the 2 pieces of frame are butted back together.


I agree- I guess it depends on how much metal you are putting on the frame. Small gussets shouldn't be heat sinking and distorting the frame. Shouldn't be that much metal going on it. Thoughts? BTW- 'cause I could- I did pre-heat and stress relief my frame in the "lucifer oven" we had at the time. I put the frame on the frame jig before welding- couldn't take the jig to where I was welding at the time- welded it, brought it back, and there was absolutely no frame distortion at all. Not tons of metal going on to it either- or tons of heat. I used a MIG machine.

I would have to find my notes from back in the day on frame thickness- one thing I do remember- it is absolutely NOT consistent thickness throughout the frame. There were 3 or 4 different thicknesses depending on where on frame.

1975 Z1 B 900- soon to be heavily modded
Pahoa, Hawaii is my new hom
I am working hard to save up the shipping money to get my shop opened here in Hawaii
I hate electrical stuff.
The following user(s) said Thank You: bluezbike, NakedFun

Please Log in or Create an account to join the conversation.

More
07 Dec 2014 23:54 - 08 Dec 2014 00:03 #655621 by jcw
Replied by jcw on topic frame bracing
A follow up on my experience with frame bracing...

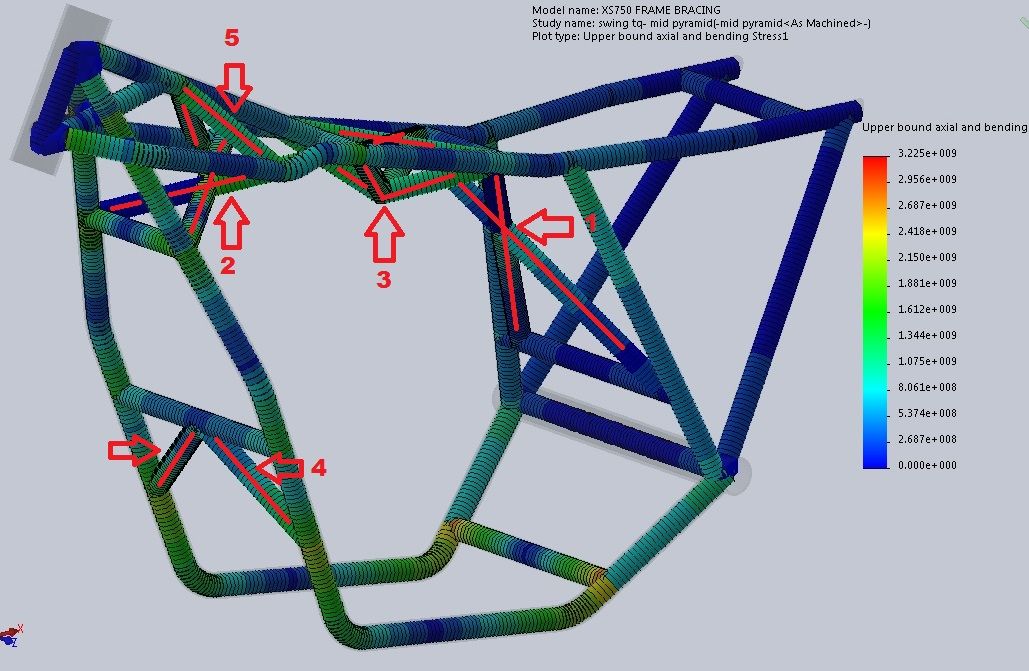
I ended up running my frame (yamaha xs750) through solidworks and came up with this. Applied torsion forces through the swingarm and forces to simulate braking and compression forces through the head stock and ran simulations to determine stresses and displacement through the frame.
[IMG


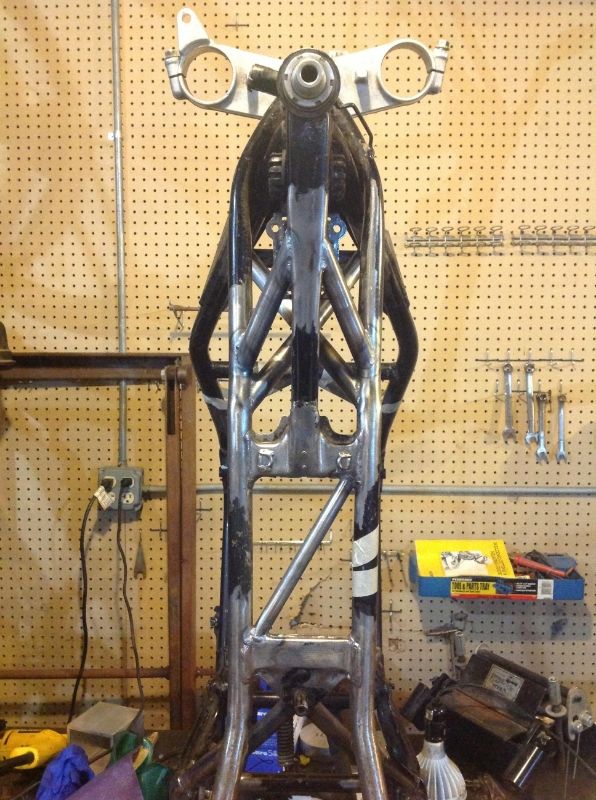
Here's the parts test fitted
[IMG


Here's most of them tig'd.
[IMG


This thread has been extremely helpful to me starting out. Then it all snowballed with the FEA. Solidworks also helped with coping patterns particularly of some of the more complex joints. Took a long time to learn but it was helpful.

Thanks again for the great thread.
Last edit: 08 Dec 2014 00:03 by jcw.

Please Log in or Create an account to join the conversation.

More
08 Dec 2014 00:29 - 08 Dec 2014 00:35 #655623 by jcw
Replied by jcw on topic frame bracing
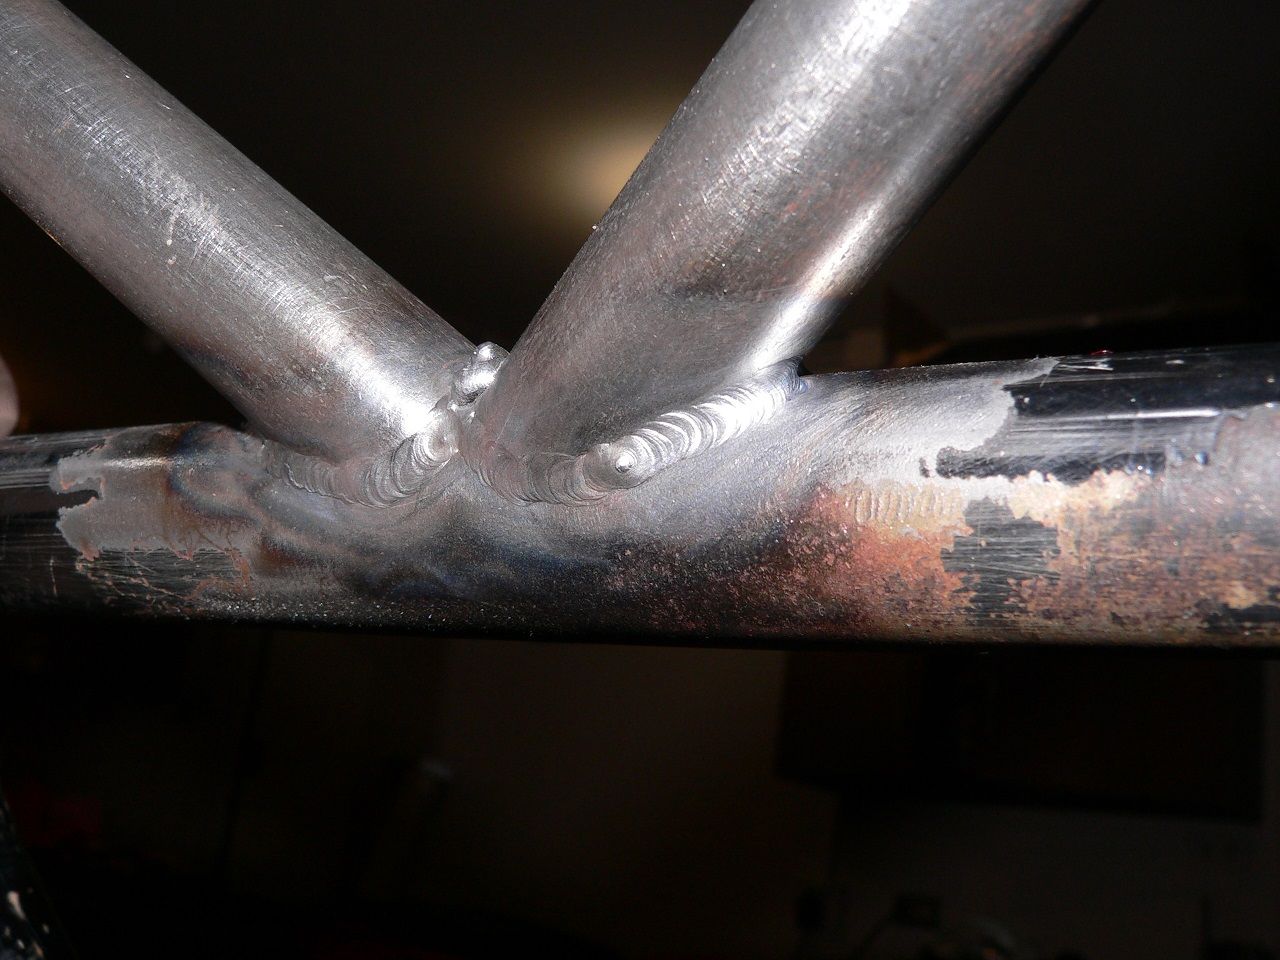
Tig worked fine. 7 gas lens, ck flex loc torch, 1/16 tungsten, .040" or 1/16" filler depending on gap, +/- 60 amps with the foot pedal.

Ran into the ocassional outgassing or blow out cause i didn't drill vent holes.

Bolted the crankcase and swingarm before welding and tried to do short segments at a time alternating sides to minimize distorsion.

I'm far from a professional weldor but the welds turned out halfway decent. Between the braces is one of the blow outs.
[IMG
Last edit: 08 Dec 2014 00:35 by jcw.
The following user(s) said Thank You: PLUMMEN

Please Log in or Create an account to join the conversation.

More
08 Dec 2014 06:34 #655629 by kaw-a-holic
Replied by kaw-a-holic on topic Re:frame bracing
Nice job. Those welds look better than the factory ones on my bike.

Jon
1977 KZ1000a1
Mesa, AZ
Phoenix Fighter Project
The following user(s) said Thank You: jcw

Please Log in or Create an account to join the conversation.

More
11 Dec 2014 13:31 #655855 by jerry a smith
Replied by jerry a smith on topic frame bracing
I've been vintage racing a '75 Z1 for 10 years.Started out stock and as I improved I switched to racing rubber and then the problems began.The street Metzlers would slide predictably when pushed but the sticky rubber transferred the stress to the frame and became dangerous entering high speed corners(front became vague and would run wide).My buddy found what looks like the same info from Japan.I made cardboard templates and then cut out the metal and my buddy welded them in.I took a front end off of 6 cylinder shaft drive and replaced the stock front end and put in Progressive springs.Mikes XS (Yamaha) makes emulators for the 650(cheap $60) .Too small but we made a recessed washer the right size for the larger forks.I found a Suzuki box section swing arm for $50 to replace the stock.By moving the forks up in the triple clamp I found where they work best.The bike works far better than I expected and is great fun to ride.I actually touch my knee down now..My buddy and I got a podium in the 3hr endurance at Grandbend last summer because the it worked so well.Cheap but worthwhile fix.
The following user(s) said Thank You: PLUMMEN, jcw

Please Log in or Create an account to join the conversation.

More
06 Jan 2016 17:24 #705845 by kaw-a-holic
Replied by kaw-a-holic on topic frame bracing
Hey gang, found some great information on how to notch tubes. Hope you find it as interesting as I did.

www.thefabricatorseries.com/build-blogs/...thout-a-tube-notcher


Jon
1977 KZ1000a1
Mesa, AZ
Phoenix Fighter Project
The following user(s) said Thank You: PLUMMEN, SWest

Please Log in or Create an account to join the conversation.

More
06 Jan 2016 18:56 #705852 by PLUMMEN
Replied by PLUMMEN on topic frame bracing

CruisingRam wrote:

PLUMMEN wrote: Welding puts stresses on the metal from the heat of the welding,and as it cools it tries to pull in different directions.
Back when I did foundry work I talked to the plant engineer about coming up with a really stout jig to tie a frame together with then shove it into the oven where they heat treated castings .
The plan was to heat it to a pre determined temp for a certain amount of time then cool it down slowly to "destress "
the frame.
Its the same reason they use frame jigs when building a frame to help control distortion from the welding and cooling of the materials. :)
The excessive heat of the welding also makes the material more brittle,same reason why you should never weld straight up and down the side of a car/truck frame,you should put a step or atleast an angle where the 2 pieces of frame are butted back together.


I agree- I guess it depends on how much metal you are putting on the frame. Small gussets shouldn't be heat sinking and distorting the frame. Shouldn't be that much metal going on it. Thoughts? BTW- 'cause I could- I did pre-heat and stress relief my frame in the "lucifer oven" we had at the time. I put the frame on the frame jig before welding- couldn't take the jig to where I was welding at the time- welded it, brought it back, and there was absolutely no frame distortion at all. Not tons of metal going on to it either- or tons of heat. I used a MIG machine.

I would have to find my notes from back in the day on frame thickness- one thing I do remember- it is absolutely NOT consistent thickness throughout the frame. There were 3 or 4 different thicknesses depending on where on frame.

Differant areas of the frame are under differant stresses,no need to make everything the same thickness if its not needed,just adds extra weight in unneeded areas.

Still recovering,some days are better than others.

Please Log in or Create an account to join the conversation.

More
06 Jan 2016 18:59 #705853 by PLUMMEN
Replied by PLUMMEN on topic frame bracing

jcw wrote: A follow up on my experience with frame bracing...

I ended up running my frame (yamaha xs750) through solidworks and came up with this. Applied torsion forces through the swingarm and forces to simulate braking and compression forces through the head stock and ran simulations to determine stresses and displacement through the frame.


Here's the parts test fitted
[IMG


Here's most of them tig'd.
[IMG


This thread has been extremely helpful to me starting out. Then it all snowballed with the FEA. Solidworks also helped with coping patterns particularly of some of the more complex joints. Took a long time to learn but it was helpful.

Thanks again for the great thread.

Looks pretty stout to me! ;)

Still recovering,some days are better than others.

Please Log in or Create an account to join the conversation.

More
06 Jan 2016 19:22 #705854 by PLUMMEN
Replied by PLUMMEN on topic frame bracing
Thats definately an easy way to do it,I usually figure the contour I need to fit the 2 together with by butting the pipes at what ever point/angle theyre going to be put together then tracing around the contour of the tubing with a sharpy.
Once I figure how far it needs to overlap the other piece I transfer the contour back to that point.
Straight pieces between 2 pieces of tubing are fairly easy .
Once you figure out where the center of cross tube is and mark it around the full diameter of the tube you mark you upper and lower points on the verticals.
Then measure between the 2 upright pieces to get the length of inside of the countor you need for your cross piece,measuring off the center allows you compensate for differant angles in verticle pieces. :)
The only tools I use for notching tubing is a 4" grinder with a cut off wheel and a flapper wheel for fine tuning,I also use a die grinder with metal carbide for areas you cant get at with the 4" grinder.

Still recovering,some days are better than others.

Please Log in or Create an account to join the conversation.

  • 531blackbanshee
  • Topic Author
  • Offline
  • Vendor
More
07 Jan 2016 03:35 #705865 by 531blackbanshee
Replied by 531blackbanshee on topic frame bracing
there are some really cool tube coping calculator's online for free that you can use to print a paper template cut it out and wrap and mark the tube.
www.metalgeek.com/static/cope.pcgi

this one also has some other helpful calculators.
www.blocklayer.com/Pipe-Notching.aspx

leon

skiatook,oklahoma 1980 z1r,1978 kz 1000 z1r x 3,
1976 kz 900 x 3
i make what i can,and save the rest!

billybiltit.blogspot.com/

www.kzrider.com/forum/5-chassis/325862-triple-tree-custom-work

kzrider.com/forum/5-chassis/294594-frame-bracing?limitstart=0
The following user(s) said Thank You: PLUMMEN, SWest

Please Log in or Create an account to join the conversation.

Powered by Kunena Forum

If you like KZR Please consider making a donation. Thank you.

KZRider is free, but not without cost.

Please consider chipping in a few bucks to help cover the cost of running the KZR servers.