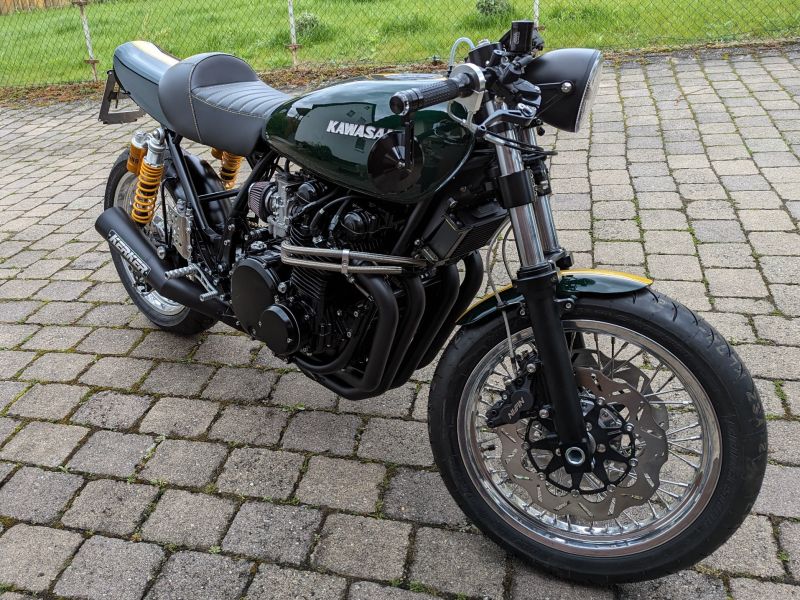
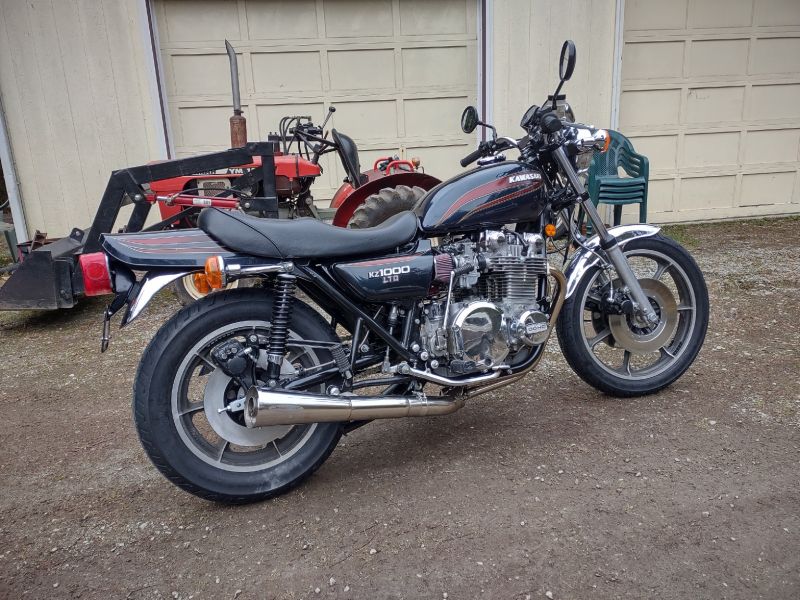
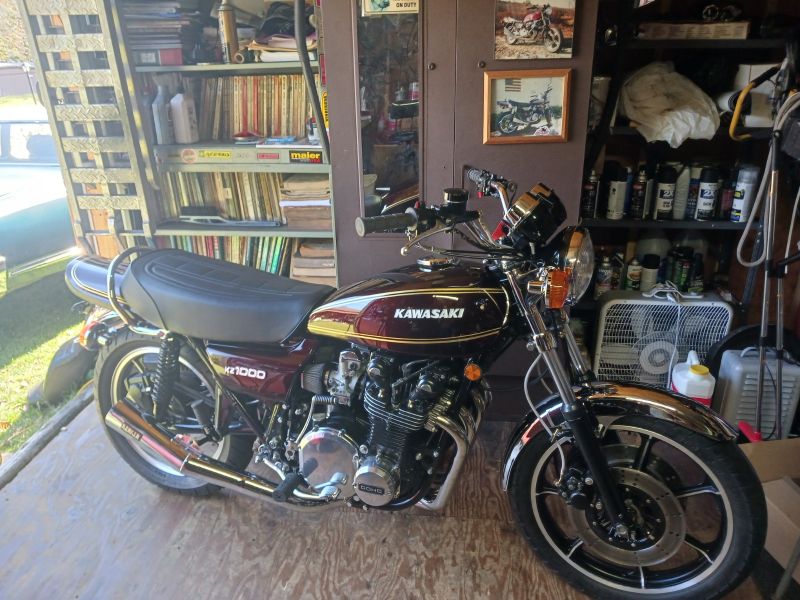
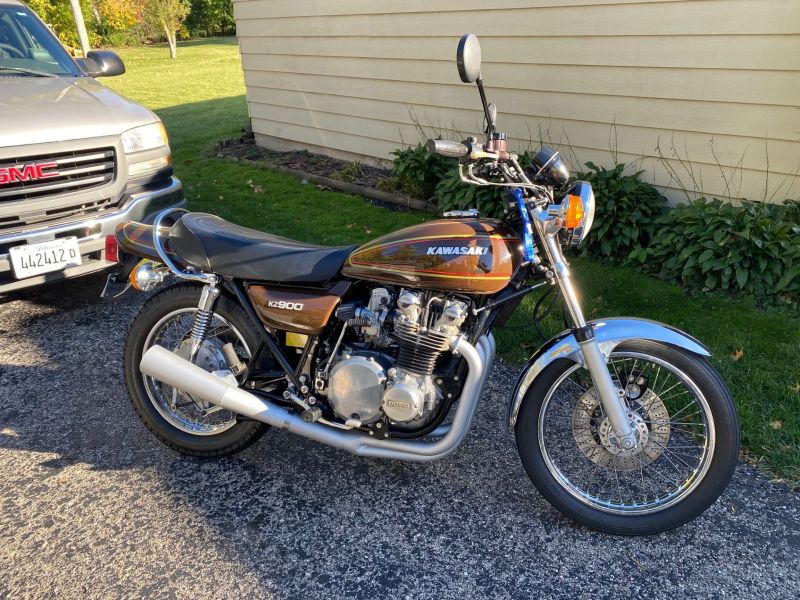
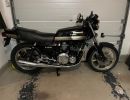
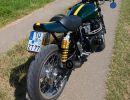
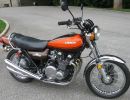
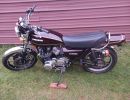
KZR's Bikes of the Month for 2024
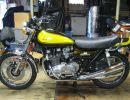
Trying to Rescue a Late 1970s (1977??) Kawasaki KZ1000

More
05 Oct 2023 18:26 #890129 by wdhewson

Yes those are LTD handle bar mount turn signals. You can remove them from the clamp mount and mount them on any Z1- Kz 900 stem to convert them. Hard part is the wire hole in the stem is just big enough for the wires. If you splice the wire you need to stagger the splice location and keep them as close to uncut wire OD as possible or you will not get the wires through the stem. I converted those exact TS to mount on the rear of my ‘78 LTD along with red lenses to add running likes. 


I like the idea of the red rears...............
 

Nothing quite like the rip of a Big KZ

Please Log in or Create an account to join the conversation.

  • TexasKZ
  • Away
  • Platinum Member
More
05 Oct 2023 19:21 #890132 by TexasKZ
The D.I.D. instructions are not the best, as is so often the case with translated ones. I believe the point of that picture is to show that the rivet on the right is correctly done, while the rivet on the left has been over flared. 

1982 KZ1000 LTD parts donor
1981 KZ1000 LTD awaiting resurrection
2000 ZRX1100 not ridden enough

www.kzrider.com/11-projects/620336-anoth...uild-thread?start=24
The following user(s) said Thank You: wdhewson, sf4t7

Please Log in or Create an account to join the conversation.

More
05 Oct 2023 22:03 #890139 by wdhewson

The D.I.D. instructions are not the best, as is so often the case with translated ones. I believe the point of that picture is to show that the rivet on the right is correctly done, while the rivet on the left has been over flared. 


Good catch TexasKZ.  I hadn't considered the translation issue.  I think your interpretation is correct.

With about 40 thou per millimeter, going from 5.5 to 5.8 is a change of 0.3 mm or about 13 thou diameter increase, more akin to the  right peen in the picture than the left peen.


Nothing quite like the rip of a Big KZ

Please Log in or Create an account to join the conversation.

More
06 Oct 2023 01:35 - 07 Oct 2023 16:45 #890142 by cb900f

The D.I.D. instructions are not the best, as is so often the case with translated ones. I believe the point of that picture is to show that the rivet on the right is correctly done, while the rivet on the left has been over flared. 


I remember when rivet style links included a couple of 'w' shaped wire gauges that went in between outer and inner link when riveting.  The thickness of the wire gauge was set to provide the exact final squish of the O rings when riveting - making it difficult to over flare the rivet.  Once riveted, the gauge wires were pulled out.  Some new chains still show the gauge with the master link but I haven't seen a master link that includes them for years.

Personally, I prefer the clip style master links - no guesswork - but not always available.
Last edit: 07 Oct 2023 16:45 by cb900f.
The following user(s) said Thank You: wdhewson, sf4t7

Please Log in or Create an account to join the conversation.

More
06 Oct 2023 05:33 #890146 by wdhewson

The D.I.D. instructions are not the best, as is so often the case with translated ones. I believe the point of that picture is to show that the rivet on the right is correctly done, while the rivet on the left has been over flared. 


I remember when rivet style links included a couple of 'w' shaped wire gauges that went in between outer and inner link when reveting.  The thickness of the wire gauge was set to provide the exact final squish of the O rings when riveting - making it difficult to over flare the rivet.  Once riveted, the gauge wires were pulled out.  Some new chains still show the gauge with the master link but I haven't seen a master link that includes them for years.

Personally, I prefer the clip style master links - no guesswork.


Even bicycles have gotten rid of the master link, making me think it's an extra cost to be whittled out of the system.

On this RK Max-O chain, the O-ring squish seems to be controlled by a shoulder on the piece that the pin goes through.  When you press on the outer plate, it butts onto this shoulder.  Making it still possible to over due the peen.


Nothing quite like the rip of a Big KZ

Please Log in or Create an account to join the conversation.

More
06 Oct 2023 17:20 #890171 by wdhewson
Partly installed that beefy RK Max-O chain this morning.

Those O-ring chains sure have a lot of pin friction due to the O-rings.  Hard to handle.

Since my images seem to load in any order, I'll just comment, and the associated picture will be somewhere below.

Tried the full 110 links, and there was way too much slack, so I marked the pin with some copper wire where I wanted to grind the staked pin off, drive out the pin, and loose two links.... going down to 108.

Punched out the ground pin into the "anvil hole" and through the vise jaws.

With the master link in, and no side plate yet pressed on, this seemed to give about the right chain slack, about mid axle adjustment.  So I pressed on the side plate, eventually with a small socket to let the pin head through.  Didn't forget the O-rings.

That pressed on side plate locates on pips so you don't over squish the O-ring which is nice, but I was using those Vernier calipers to watch it go down to the 22 mm width of the other chain's links.

No rivet tool yet, so I posted a sign on the bike near the chain that she's not riveted.  Hopefully a sufficient reminder!!!!!!!!

Thanks guys..........

Nothing quite like the rip of a Big KZ

Please Log in or Create an account to join the conversation.

  • SWest
  • Offline
  • Sustaining Member
  • 10 22 2014
More
06 Oct 2023 17:25 #890172 by SWest
The following user(s) said Thank You: wdhewson

Please Log in or Create an account to join the conversation.

More
06 Oct 2023 17:40 - 06 Oct 2023 17:41 #890173 by wdhewson

I've peened them over with a hammer and RODE THE PISS OUT OF IT. 
Steve

Thanks Steve.  One of my friends worked in England building aircraft frames where there was a lot of rivet work,  I might see what kind of tool and process he recommends.  I'm likely too old to ride the piss out of it, unless the road is really wide and long!!


Nothing quite like the rip of a Big KZ
Last edit: 06 Oct 2023 17:41 by wdhewson.
The following user(s) said Thank You: SWest, Wookie58

Please Log in or Create an account to join the conversation.

  • SWest
  • Offline
  • Sustaining Member
  • 10 22 2014
More
06 Oct 2023 17:51 #890175 by SWest
Those hollow tips are softer than the rest of the pins. If you don't feel good about doing it then I'd buy the tool. I've done it many times. I got it too tight once so I had to spread the link a bit and it worked well. This is on a 630 chain though and most tools won't do it. 
Steve 
The following user(s) said Thank You: wdhewson

Please Log in or Create an account to join the conversation.

More
08 Oct 2023 08:09 #890233 by wdhewson
Got a coffee date with my aircraft rivet friend, Frank.  I'll let you know what he recommends...........

Meanwhile, with the chain in place, I can install the clutch cable.  The cable that came with the bike looked correct but had way to much free end so the two adjusters (mid-cable and lever) were maxed out to get any clutch lift.  With the lift mechanism screw and jam nut properly (I think) adjusted.

So shortened the cable, made up a brass ferrule at the release end and soldered the cable into it.  Dimpled the end of the ferrule to receive the peened cable end, applied some old flux a machinist gave me 20 y ago, propane torch, and 50/50 plumbing solder.

Installed, it didn't pop off with 20 or 30 lever pulls, so far........

The KZ1000 is pretty good, the release lever is just at 90 deg to the cable with the hand lever halfway in.

A clutchless broken cable ride home on a heavy motorcycle might be an adventure!!


Nothing quite like the rip of a Big KZ

Please Log in or Create an account to join the conversation.

  • SWest
  • Offline
  • Sustaining Member
  • 10 22 2014
More
08 Oct 2023 10:17 #890236 by SWest
Never had much luck for very long that way. I adjust the screw and lock nut first and have a couple washers where it comes out of the cover. That makes up for the short cheap MP cable middle adjuster, then adjust at the lever to my liking. I always carry a spare cable just in case. Broken cables SUCK. 
Steve
The following user(s) said Thank You: wdhewson

Please Log in or Create an account to join the conversation.

  • howardhb
  • Offline
  • Sustaining Member
  • God, I trust
More
08 Oct 2023 23:31 - 08 Oct 2023 23:38 #890246 by howardhb
Ja, a cable break right in the middle of a busy intersection, 30 miles from home is NOT fun!

I had no option but to use the starter motor to start off in first gear, to get going, then clutchless shifts...
Up shifts are kinda ok, if you feather the throttle carefully just before shifting, but down shifting requires some careful rpm planning!
Shifting down at the lowest rpm possible seemed to have the least mechanical "impact" .


H.

'81 GPz 550 D1
'81 GPz 1100 B1 ELR "Tribute" www.kzrider.com/our-forum/11-projects/61...-elr-tribute?start=0
'82 Yamaha YB100 Fizzie
'79 Suzuki GT200 X5 TWO STROKE TWIN - SMOKER!
Last edit: 08 Oct 2023 23:38 by howardhb.
The following user(s) said Thank You: wdhewson

Please Log in or Create an account to join the conversation.

Powered by Kunena Forum

If you like KZR Please consider making a donation. Thank you.

KZRider is free, but not without cost.

Please consider chipping in a few bucks to help cover the cost of running the KZR servers.