
Search Results (Searched for: gs swing arm)
Replied by Kelly E on topic 1987 ZG1000 parts bike with title
10 May 2025 12:35
It won't work because the swingarm mounting area is wider and different. There's castings in the frame there. It's the same basic motor as the other liquid cooled 1000cc bikes but tuned for torque. The bike was built for long distance rides, does it very well and you can have a lot of fun along the way. They handle really well and you won't scrape parts in the corners like a Goldwing.
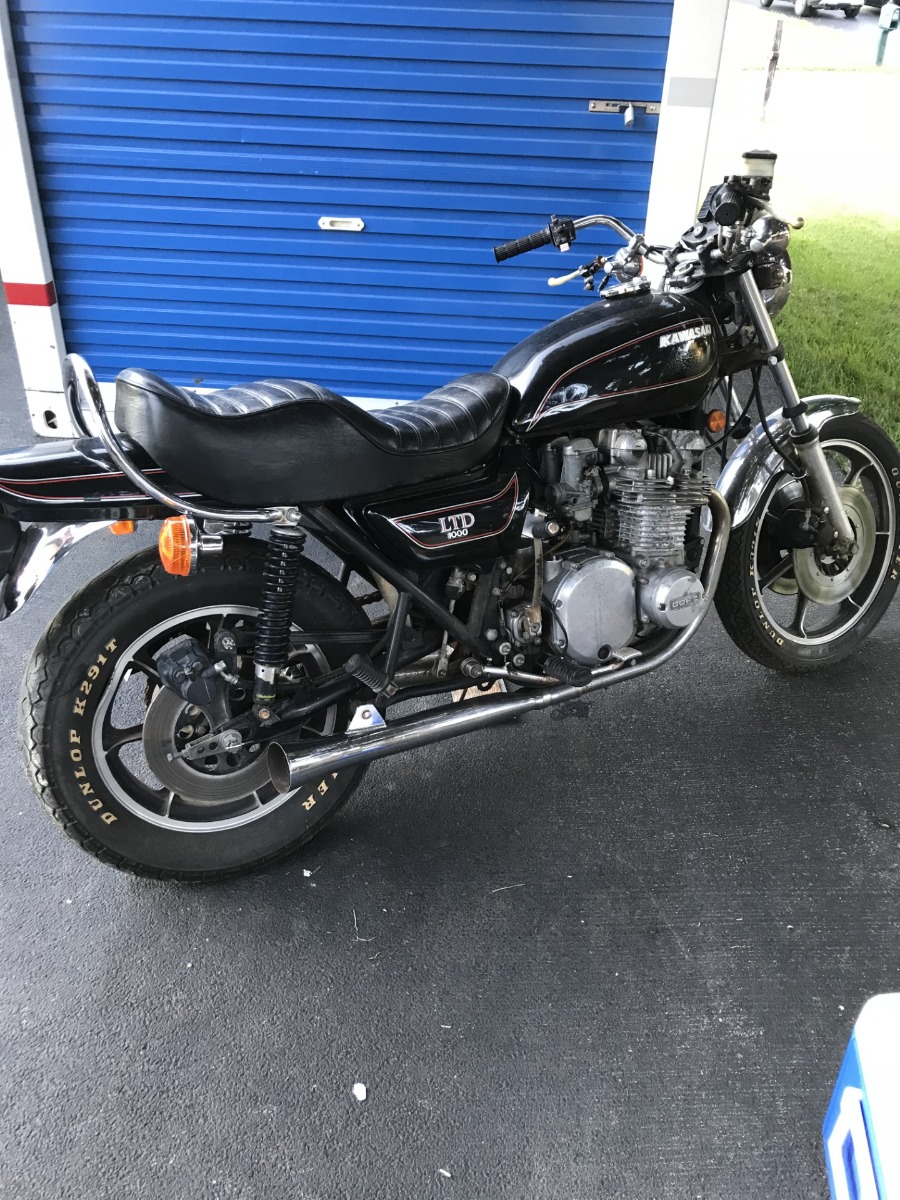
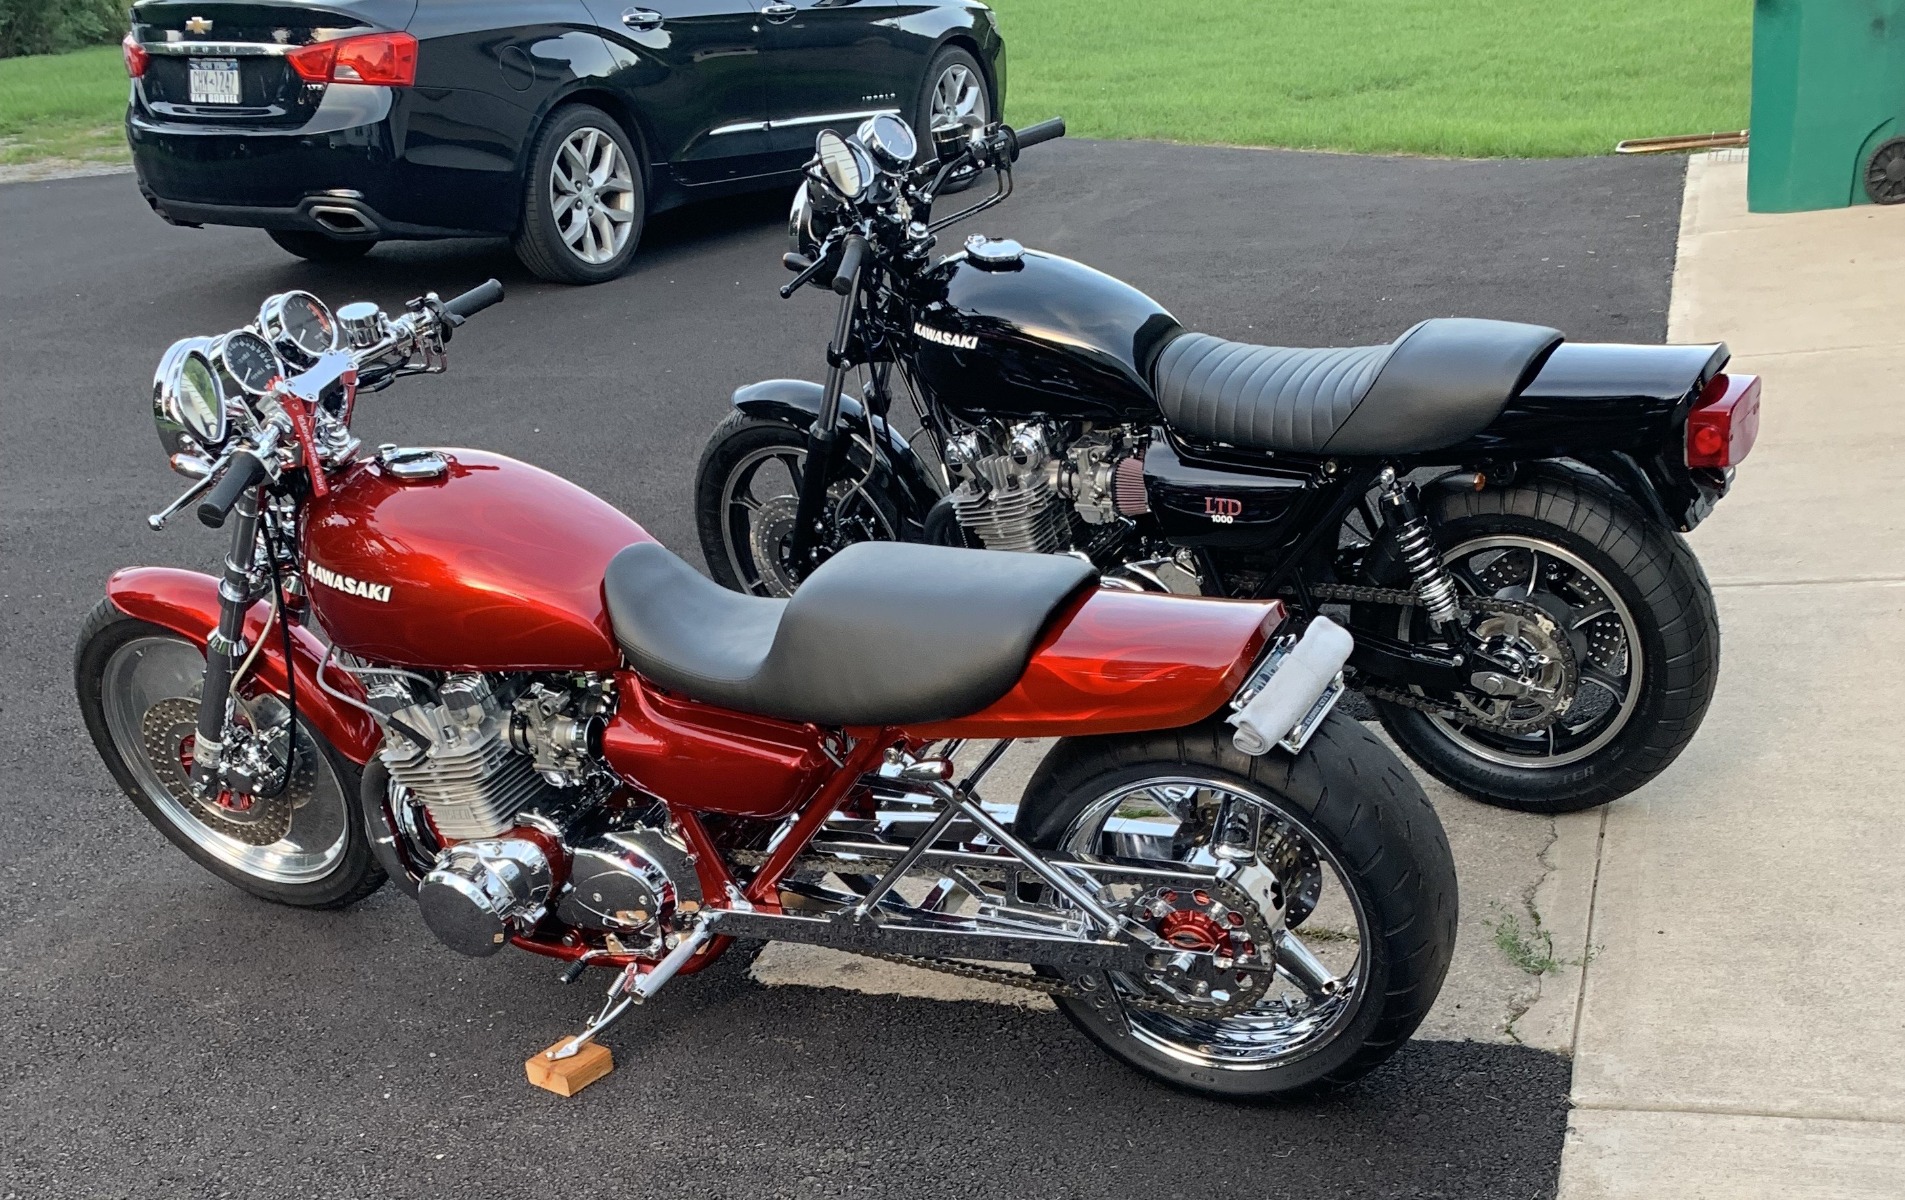
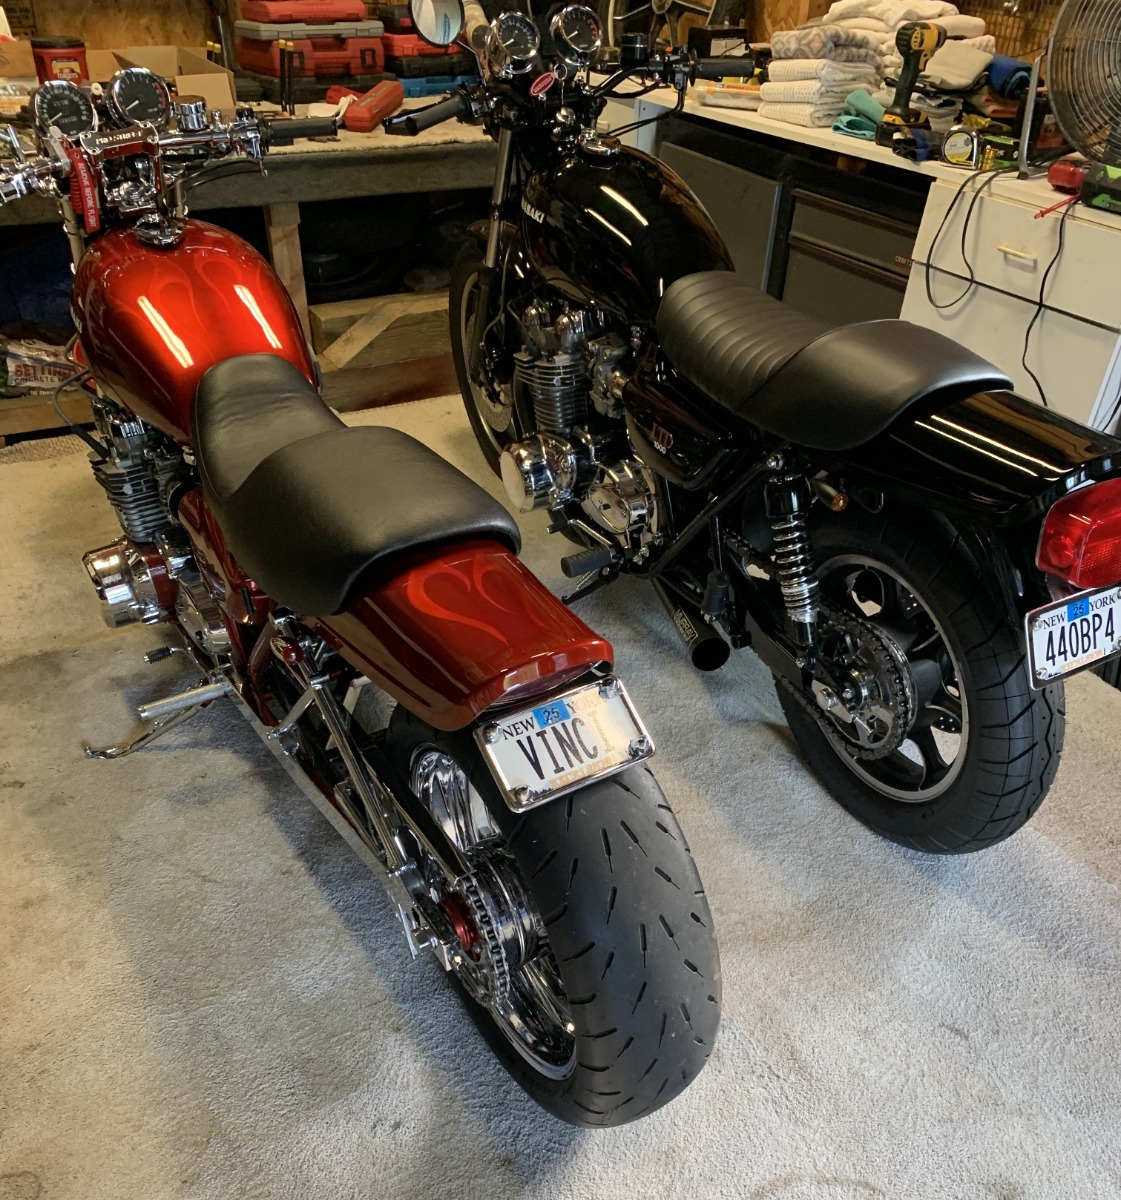
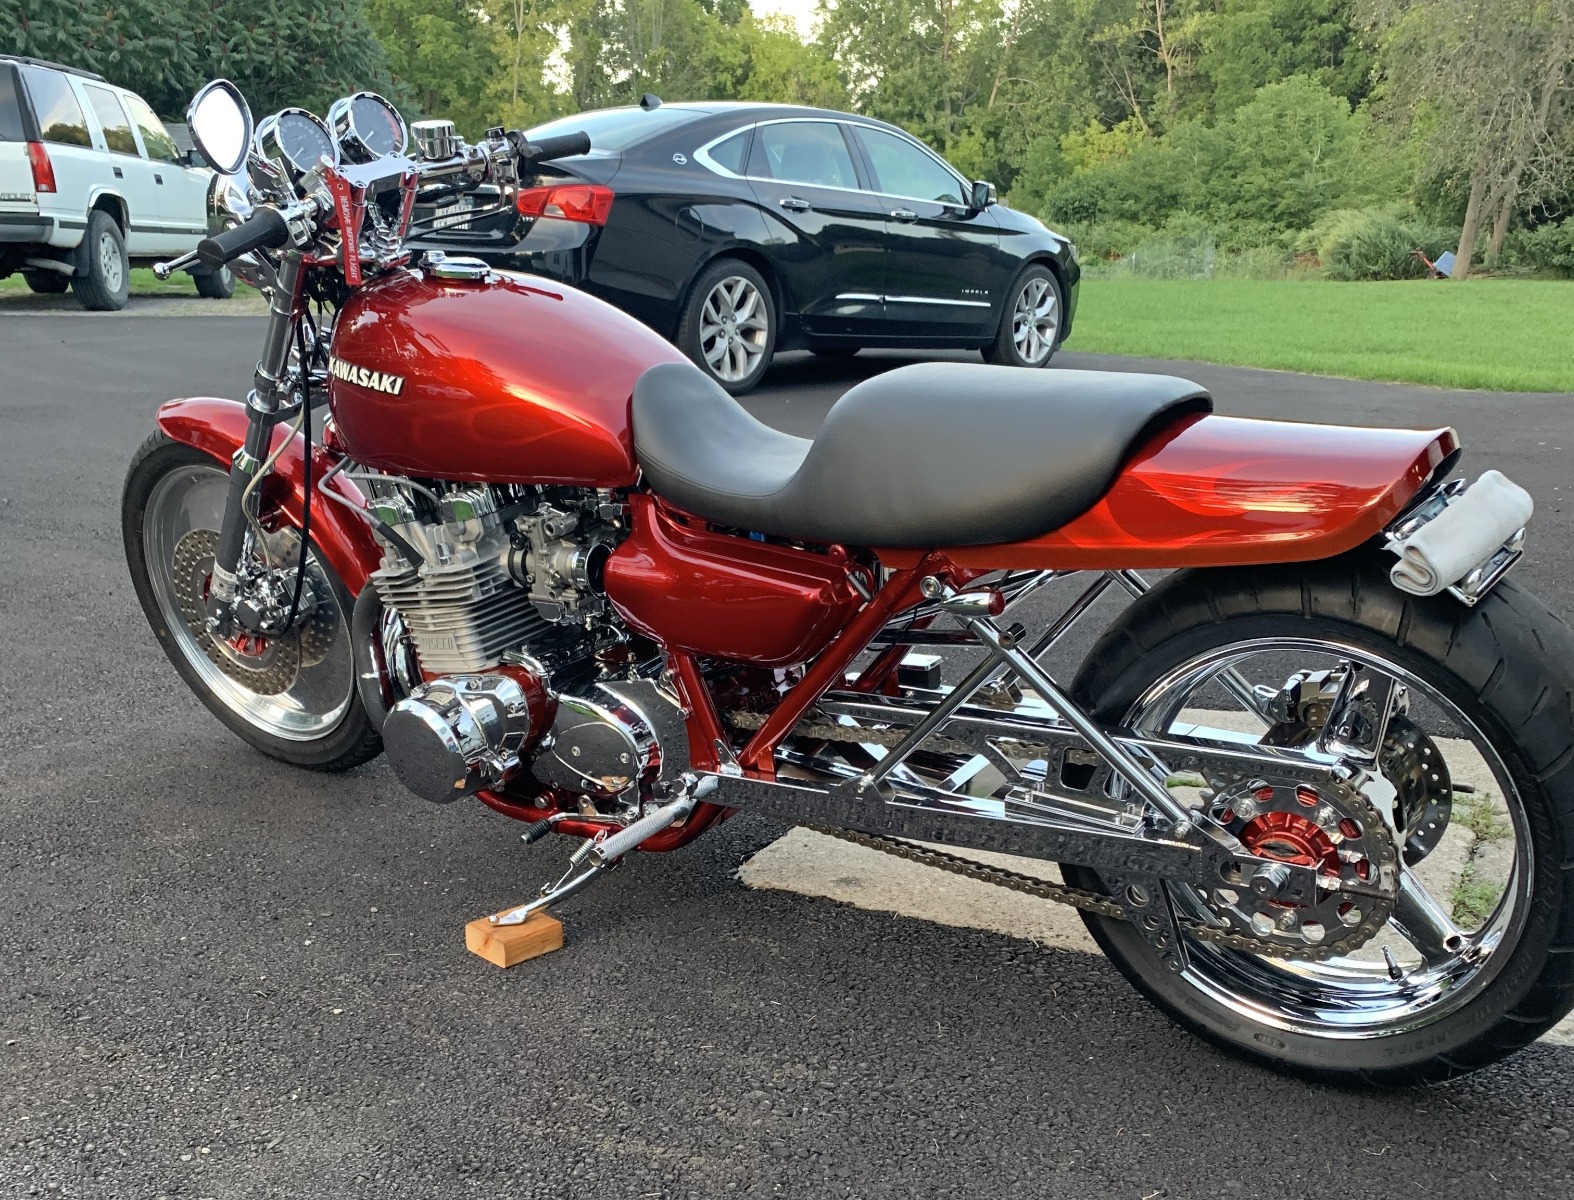
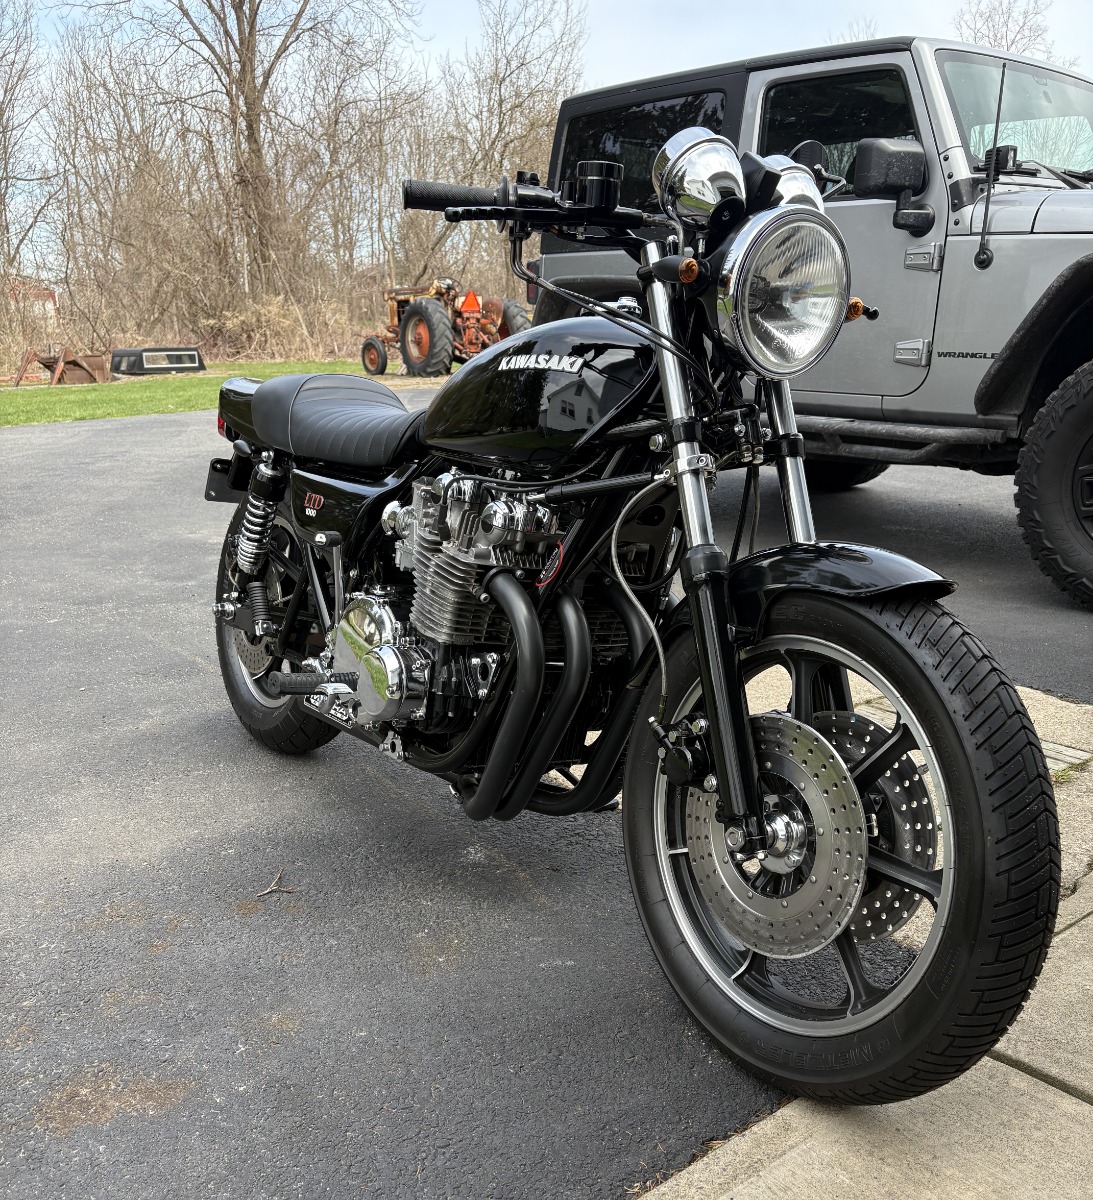
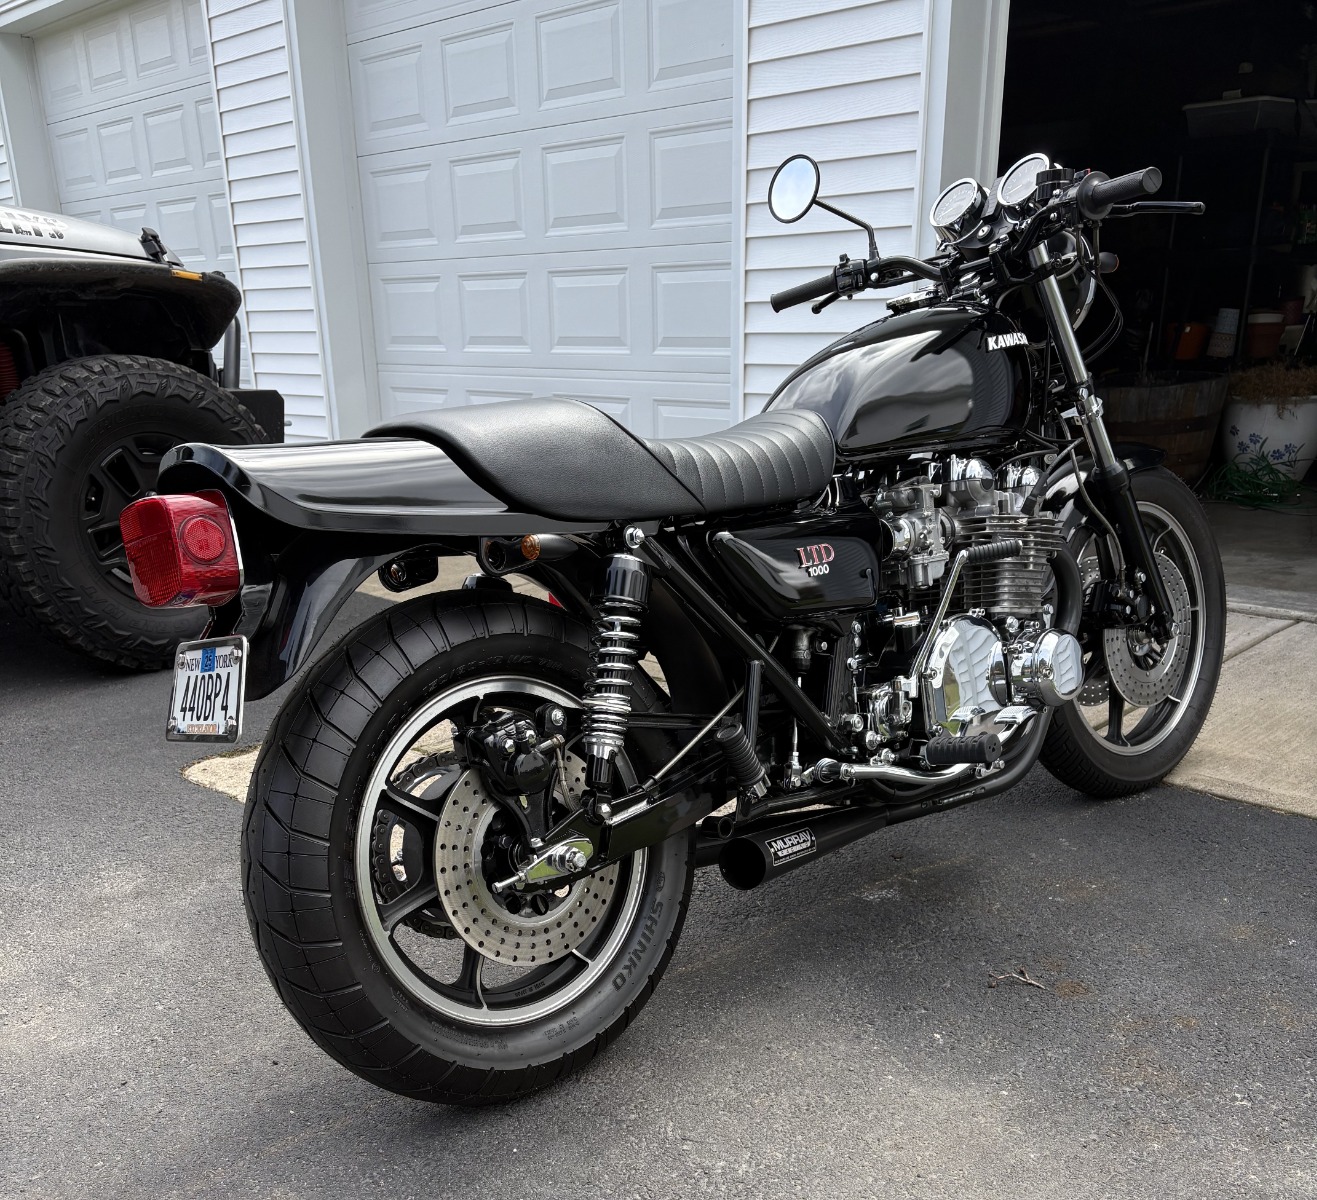
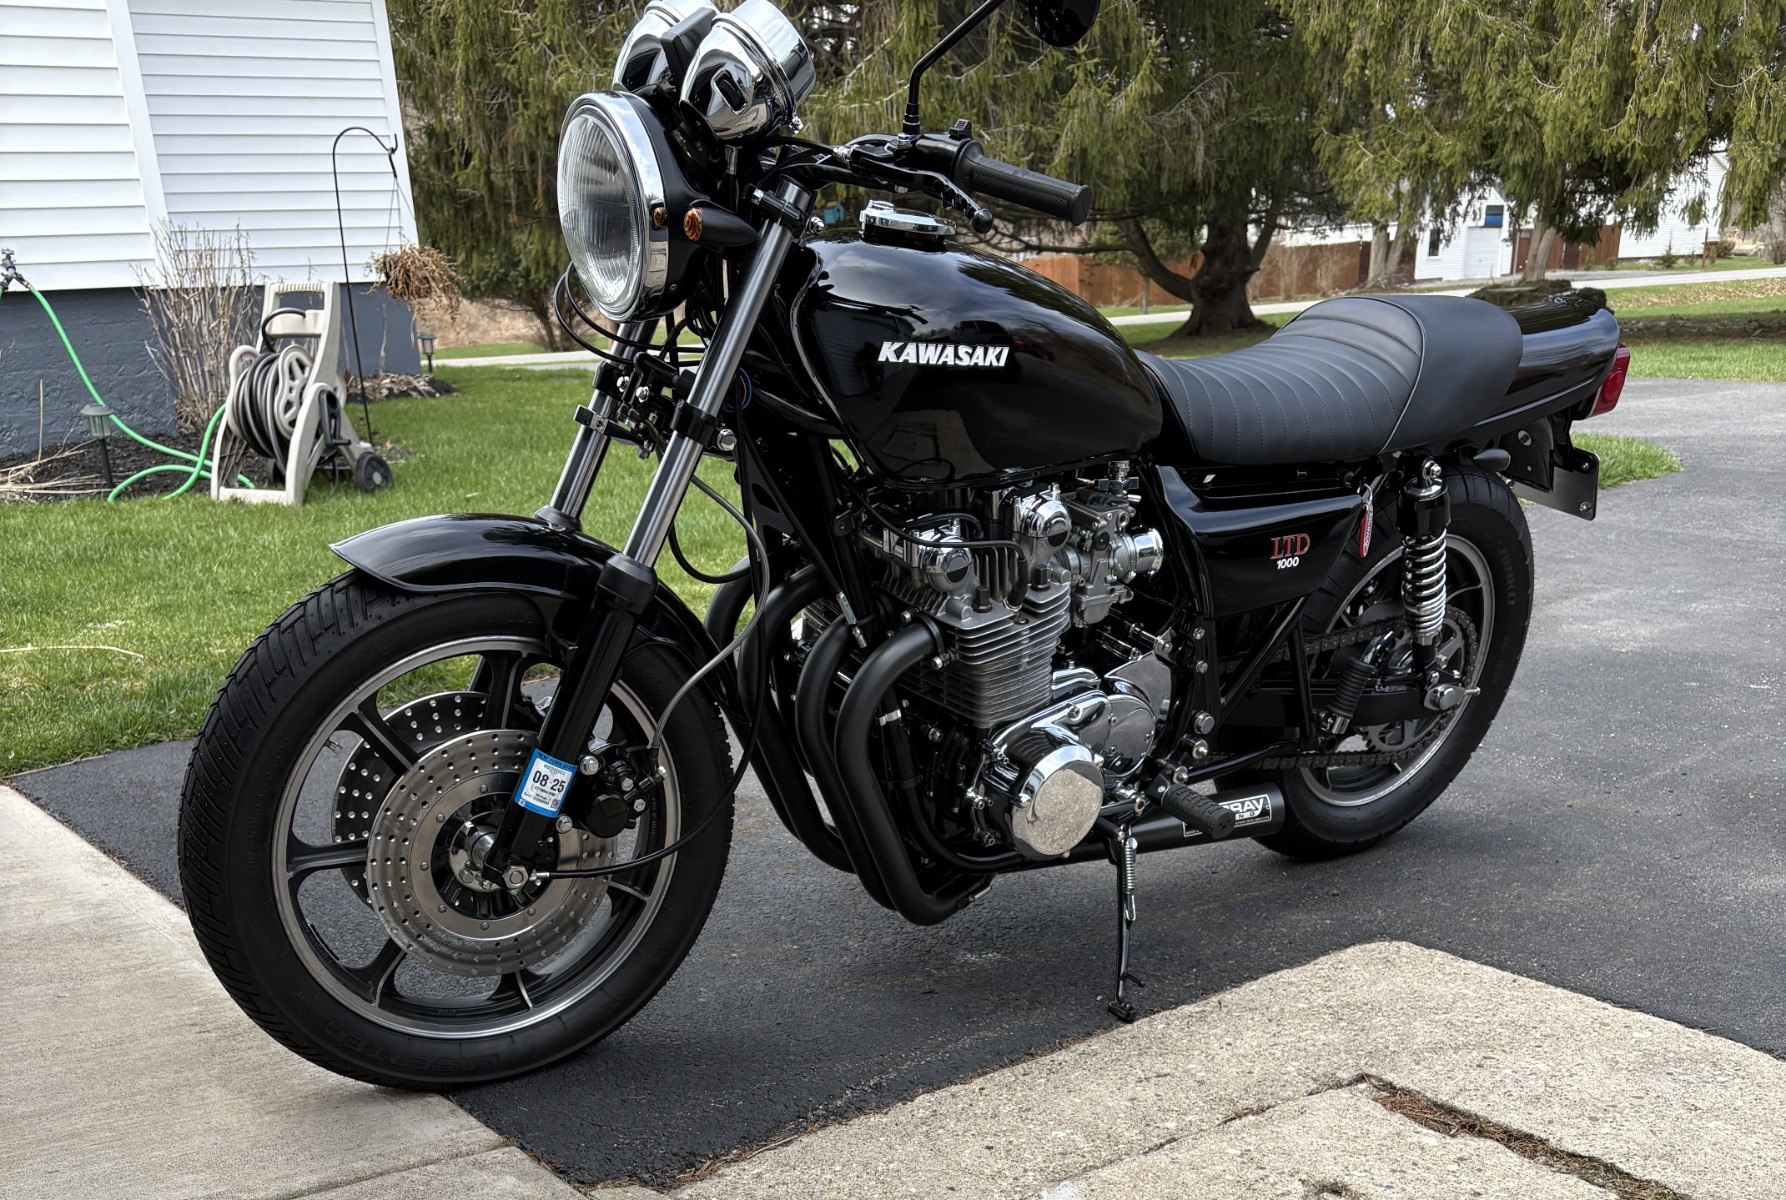
Staying in the US for May with this stunning black Ltd from Joseph. The bike has a poignant back story involving the loss of a great friend, there is perhaps a lesson for all of us here given that another great builder “Indian Larry” was also lost in a similar “freak accident”. You will see alongside the “main feature bike” I have included some pics of Joe’s other KZ a beautiful 1327 “Pro-Street” not just because it’s gorgeous but more importantly this bike also has links to Joe’s great friend Vinny.
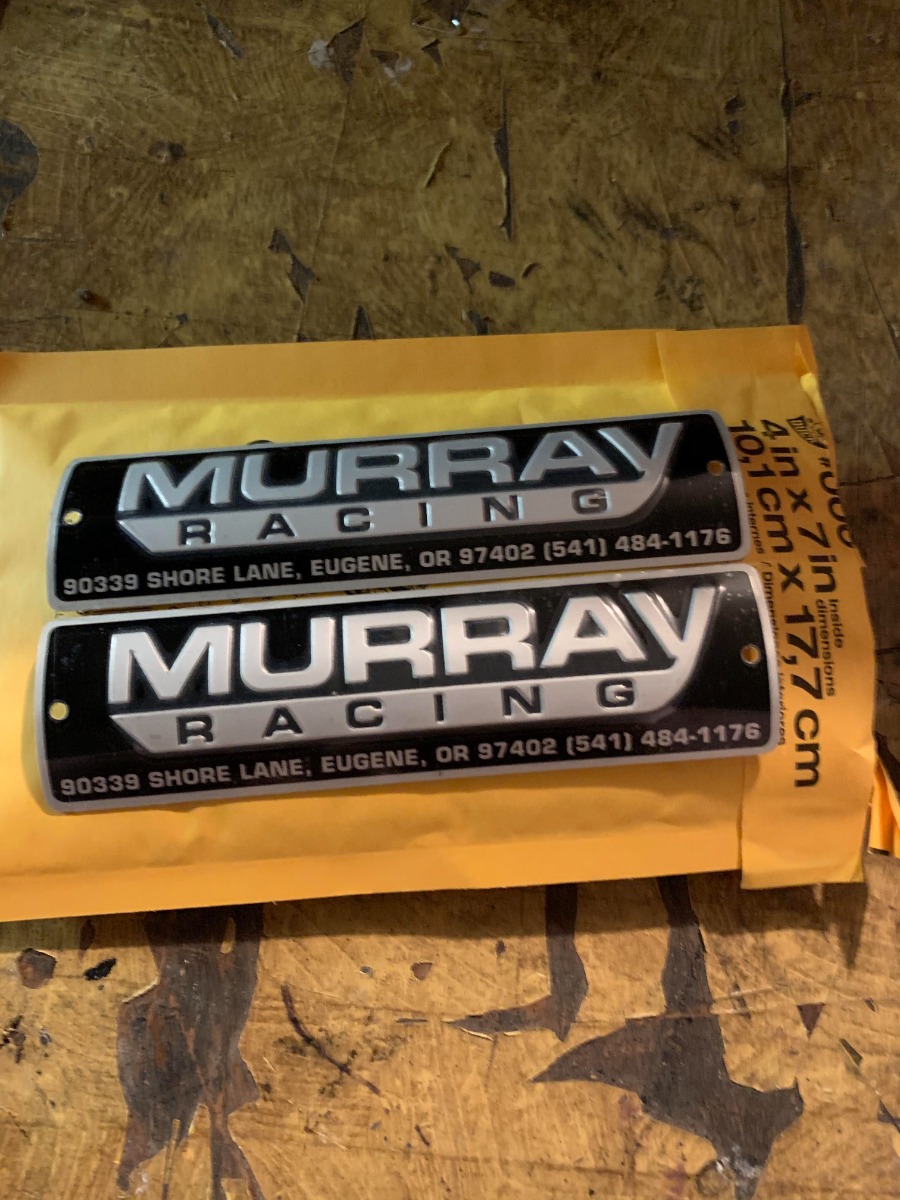
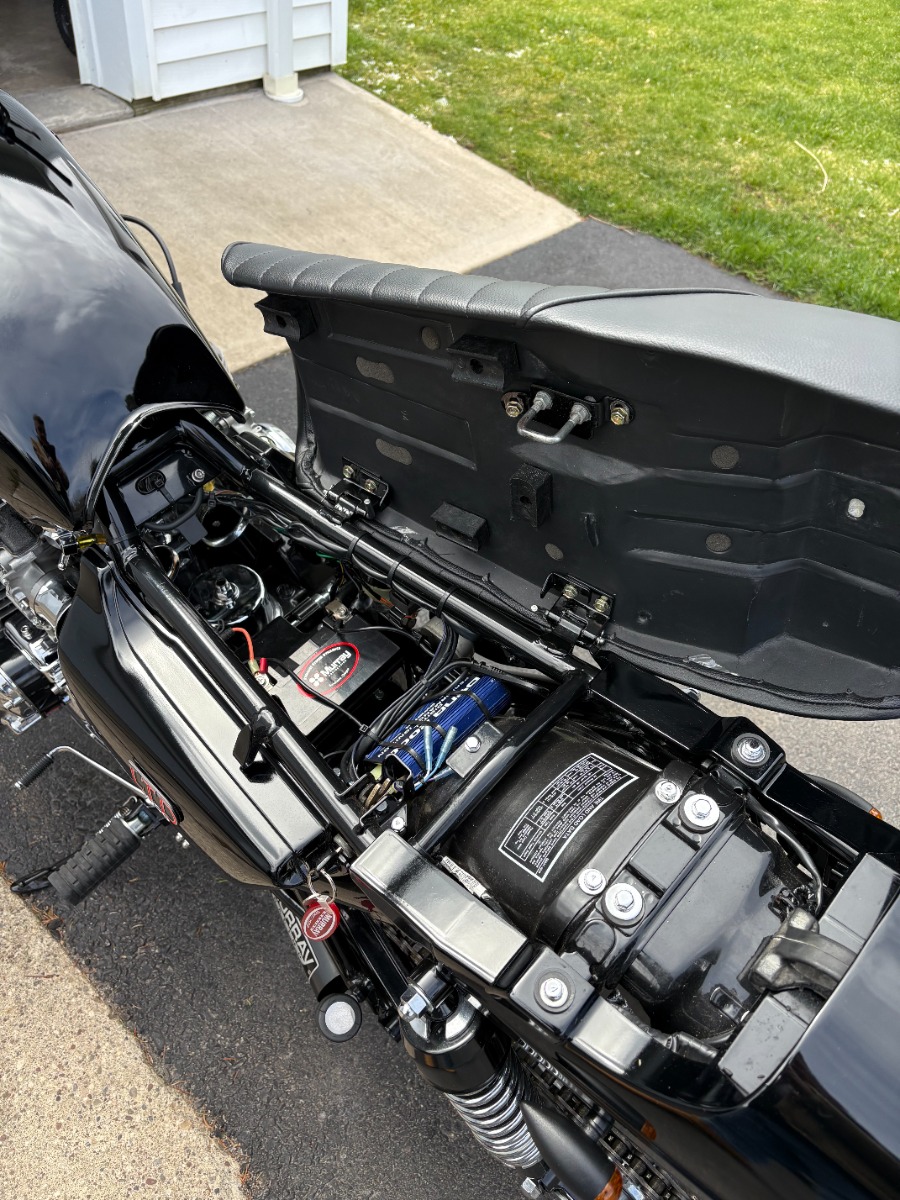
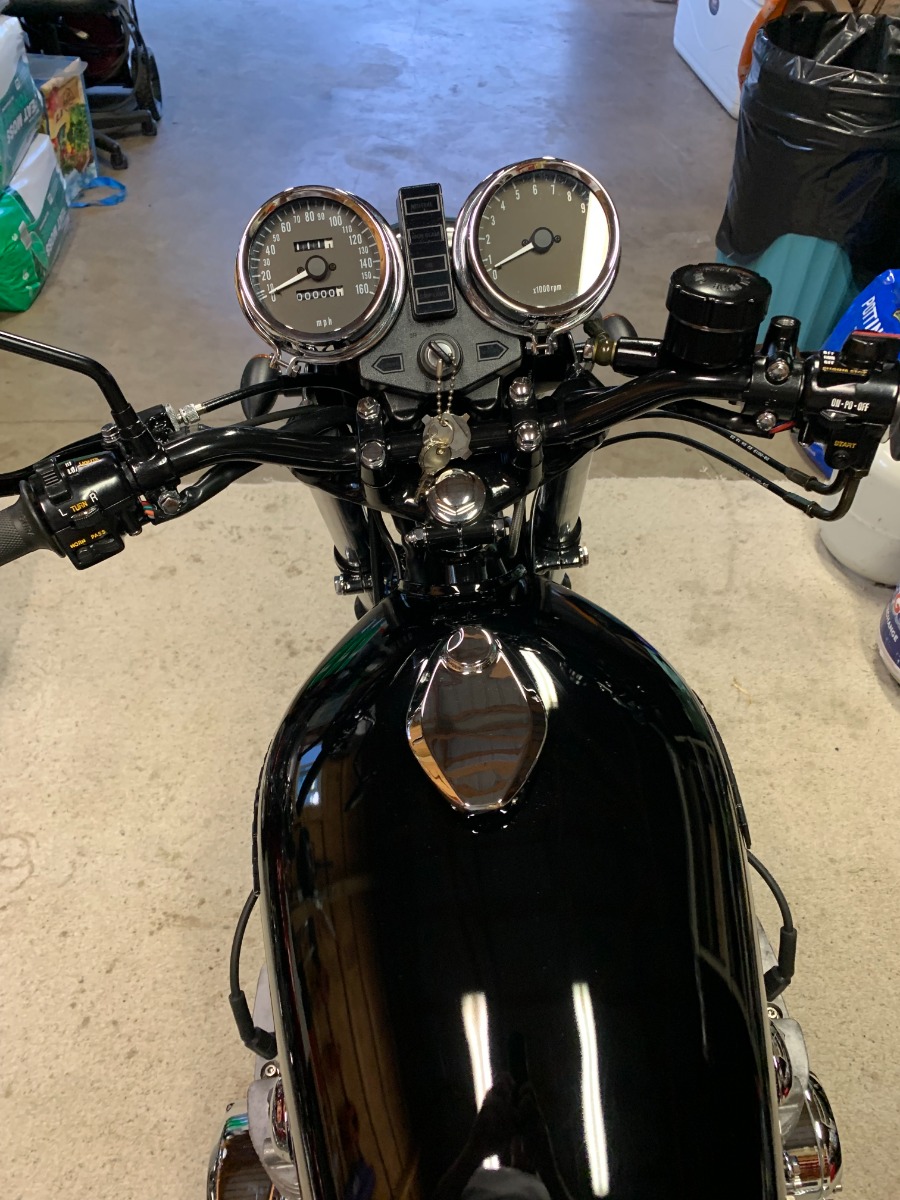
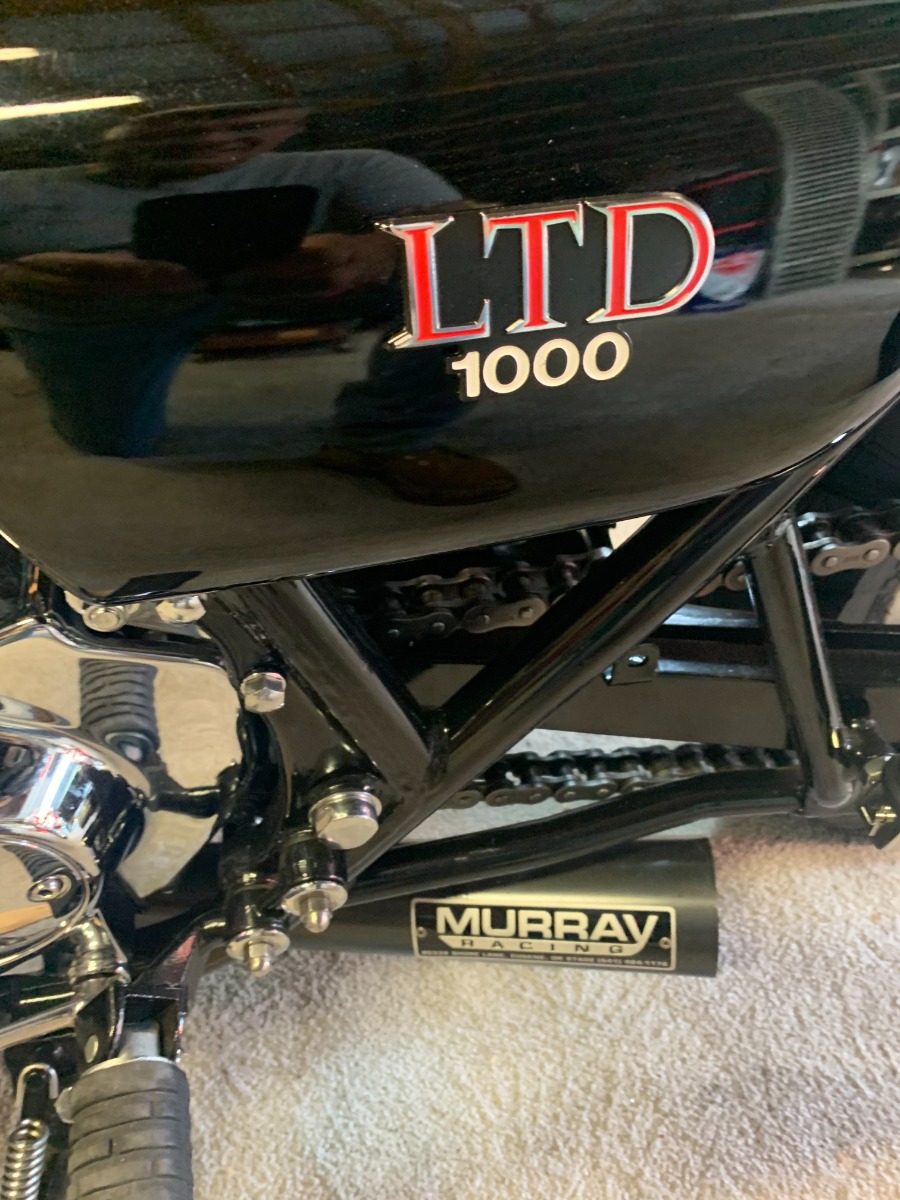
Well, the story goes that my very good friend and bike builder Vinny Cira passed away on the bike. Vinny and I built numerous bikes over the last 25 or so years. Vinny was an auto body painter and loved colour. He had built KZs in the colours Lamborghini red, yellow and orange. I've always had a black KZ1000 (three in fact) and we called them my cruisers as they could run on pump gas and go anywhere. Every one I built sold rather quickly and I used to tell him because it was black. Vinny didn't care for black bikes but did like mine. Vinny painted my 75 Z1 pro street in PPG radiance colour line and it has three colours. We did it twice (but that is another story!) Another friend and Vinny had gone down to PA to buy two bikes and brought them up to NY to a self storage unit. Our other friend Tom was the purchaser and is a great engine builder... he has several KZs and planned to restore this particular bike. At the storage unit after unloading, Tom decided he wanted to take the bike to his house not far from where they were at. Vinny said “let me warm up the bike and oil” ( easier to drain it).... making a few short laps around the storage area. No helmet and unfortunately he hit a loose metal drainage grate at less than 15 miles an hour and the bike jerked him off, the bike landing on his head. He passed away a couple days later. I have to add that Vinny was a very experienced rider... crazy how this happened and haunts me to this day. The bike sat in the impound lot for a crazy amount of time due to the death, I told Tom I wanted to buy it, he agreed and I was able to buy it and carry out a complete “redo” of the bike.More resto mod as it has a few I think upgrades... GS1150 swingarm.... 18 front mag wheel and brand new Murray X Pipe... all new throttle speedo tach and clutch cables. Brand new custom seat and pan. The bike was a frame off complete. Powder coated frame swingarm brake callipers triple trees battery box etc. Every harness and electronics on the bike including lights and controls are brand new. Complete dyna 2000 ignition and brand new tires (16 rear 18 front). Brand new Mikuni 34 flatslides. Every single nut bolt and washer was chromed including axles and engine covers and velocity stacks. Lower engine painted black. New “all balls” steering head and wheel bearings seals and completely rebuilt brake callipers and rear master cylinder. Front master cylinder is brand new. All engine seals and gaskets replaced. Braided brake lines. I have no intention to tear into this engine as it had very low miles other than I added a pan gate in the oil pan and adjusted valves. Besides, I have a built 1327cc Pro street 1975 Z1 for different days. Building the bike was a labour of love and so many things come to mind as I write this. Vinny and I both loved the sound of the Murray X pipe as Tommy has one on a bike of his.....making contact with Dennis Murray and actually buying one from him was priceless. Vinny and I rode many days and nights together with great friends from all walks of life and different riding styles from Harley guys and crotch rockets to pro street guys. It didn't matter what you were riding as long as you were in the wind. Ironically this is bike number 11 that I have been involved in building and they say that has a religious ring to it. It's been therapeutic building this one and I think of him all the time,,, especially when I ride this bike.

Well, the story goes that my very good friend and bike builder Vinny Cira passed away on the bike. Vinny and I built numerous bikes over the last 25 or so years. Vinny was an auto body painter and loved colour. He had built KZs in the colours Lamborghini red, yellow and orange. I've always had a black KZ1000 (three in fact) and we called them my cruisers as they could run on pump gas and go anywhere. Every one I built sold rather quickly and I used to tell him because it was black. Vinny didn't care for black bikes but did like mine. Vinny painted my 75 Z1 pro street in PPG radiance colour line and it has three colours. We did it twice (but that is another story!) Another friend and Vinny had gone down to PA to buy two bikes and brought them up to NY to a self storage unit. Our other friend Tom was the purchaser and is a great engine builder... he has several KZs and planned to restore this particular bike. At the storage unit after unloading, Tom decided he wanted to take the bike to his house not far from where they were at. Vinny said “let me warm up the bike and oil” ( easier to drain it).... making a few short laps around the storage area. No helmet and unfortunately he hit a loose metal drainage grate at less than 15 miles an hour and the bike jerked him off, the bike landing on his head. He passed away a couple days later. I have to add that Vinny was a very experienced rider... crazy how this happened and haunts me to this day. The bike sat in the impound lot for a crazy amount of time due to the death, I told Tom I wanted to buy it, he agreed and I was able to buy it and carry out a complete “redo” of the bike.More resto mod as it has a few I think upgrades... GS1150 swingarm.... 18 front mag wheel and brand new Murray X Pipe... all new throttle speedo tach and clutch cables. Brand new custom seat and pan. The bike was a frame off complete. Powder coated frame swingarm brake callipers triple trees battery box etc. Every harness and electronics on the bike including lights and controls are brand new. Complete dyna 2000 ignition and brand new tires (16 rear 18 front). Brand new Mikuni 34 flatslides. Every single nut bolt and washer was chromed including axles and engine covers and velocity stacks. Lower engine painted black. New “all balls” steering head and wheel bearings seals and completely rebuilt brake callipers and rear master cylinder. Front master cylinder is brand new. All engine seals and gaskets replaced. Braided brake lines. I have no intention to tear into this engine as it had very low miles other than I added a pan gate in the oil pan and adjusted valves. Besides, I have a built 1327cc Pro street 1975 Z1 for different days. Building the bike was a labour of love and so many things come to mind as I write this. Vinny and I both loved the sound of the Murray X pipe as Tommy has one on a bike of his.....making contact with Dennis Murray and actually buying one from him was priceless. Vinny and I rode many days and nights together with great friends from all walks of life and different riding styles from Harley guys and crotch rockets to pro street guys. It didn't matter what you were riding as long as you were in the wind. Ironically this is bike number 11 that I have been involved in building and they say that has a religious ring to it. It's been therapeutic building this one and I think of him all the time,,, especially when I ride this bike.
Replied by KzEnormous on topic 86 87 GSXR750 or GSXR1100 wheels on a KZ1000
19 Apr 2025 13:35Anyone have a GS1100 swingarm they could measure?I've never tried this swap on a Kz, but I did put 87GSXR750 wheels on my 82GS1100, which was a popular thing back in the day. CalFab swing arm, spacers and offset sprocket did the trick.
I just dumped the one I had sitting around for 36 years : (
Replied by DOHC on topic 86 87 GSXR750 or GSXR1100 wheels on a KZ1000
19 Apr 2025 06:39I've never tried this swap on a Kz, but I did put 87GSXR750 wheels on my 82GS1100, which was a popular thing back in the day. CalFab swing arm, spacers and offset sprocket did the trick.
I wonder if the GS1100 swingarm is wider. I had one a while ago but sold it. I did install it briefly on an '80 kZ1000, using the stock KZ wheel and caliper, and I recall it was an easy swap.
But for the GSXR wheel, if the left arm extends farther out to the left side of the bike it would be easier to center the GXSR wheel.
Anyone have a GS1100 swingarm they could measure?
Replied by KzEnormous on topic 86 87 GSXR750 or GSXR1100 wheels on a KZ1000
18 Apr 2025 16:22 - 18 Apr 2025 16:34
I've never tried this swap on a Kz, but I did put 87GSXR750 wheels on my 82GS1100, which was a popular thing back in the day. CalFab swing arm, spacers and offset sprocket did the trick.
Replied by DOHC on topic 86 87 GSXR750 or GSXR1100 wheels on a KZ1000
17 Apr 2025 18:36 - 17 Apr 2025 18:37577nitro lays it out clear enough in his post. It sounds like it is gonna take a a bit of machining and fabrication on many components but fairly straight forward - assuming the GPZ1100 is reasonably close in dimensions to KZ1000. How much lighter are the GSX-R wheels than the KZ?
Not really. He mentions milling the from wheel to fit, adding spacers, and the rear brake caliper. But no details about what may have been done to the rear wheel or sprocket carrier.
As for the weight, here is what I measured for the wheel itself, with nothing but the wheel bearings installed:
78 Z1R rear 18x2.15: 6.070 kg
86 gsxr1100 rear, 18x4: 6.690 kg
Lester rear kz1000 (4 bolt disc): 6.730 kg
so it's not about the weight (clearly). I just want a wider 18" wheel. Even the Lester I have is the same 2.15" width as the stock wheel.
The rear wheels from the GSXR750 is 18x3.5", and GSXR1110 is 18x4". The fronts are also 18", at 2.5" and 2.75" width.
To the best of my knowledge you will definitely need an offset sprocket to allow the wheel to run central. The GSXR sprocket carrier looks very similar to the MK2 bandit item I am using (20mm axle) I have included a pic of my cut down carrier compared to a GSXR unit. The red line shows where the sprocket mounting bolts sit so still plenty of meat to secure the sprocket with 11.5mm removed. The MK2 bandit calliper hanger also has plenty of meat to allow trimming
That sprocket carrier of yours does look like it's pretty much the same design. I added a green line to your photo.
That green line follows a surface that slopes out (increases in diameter as it gets closer to the base). The casting wall thickness is roughly constant, so the inside wall follows the outside. If one were to continue to cut that center hub surface (centering surface for the sprocket) straight down, at some point it would cut through the casting wall and the entire center bearing carrier would fall off. It may still have enough meat for the bolts that hold on the sprocket, but I think it wouldn't be very useful without the bearing.
")
I still need to try to figure out how to take some real measurements. It's not so much about the chain location, but how much the wheel needs to move over to the left in order to be close to centered in the swingarm. If it needs to move 10-15mm, that's probably fine. If it needs to move 30 or 40mm, then things probably get harder.
Replied by KzEnormous on topic New member - California
16 Apr 2025 21:26
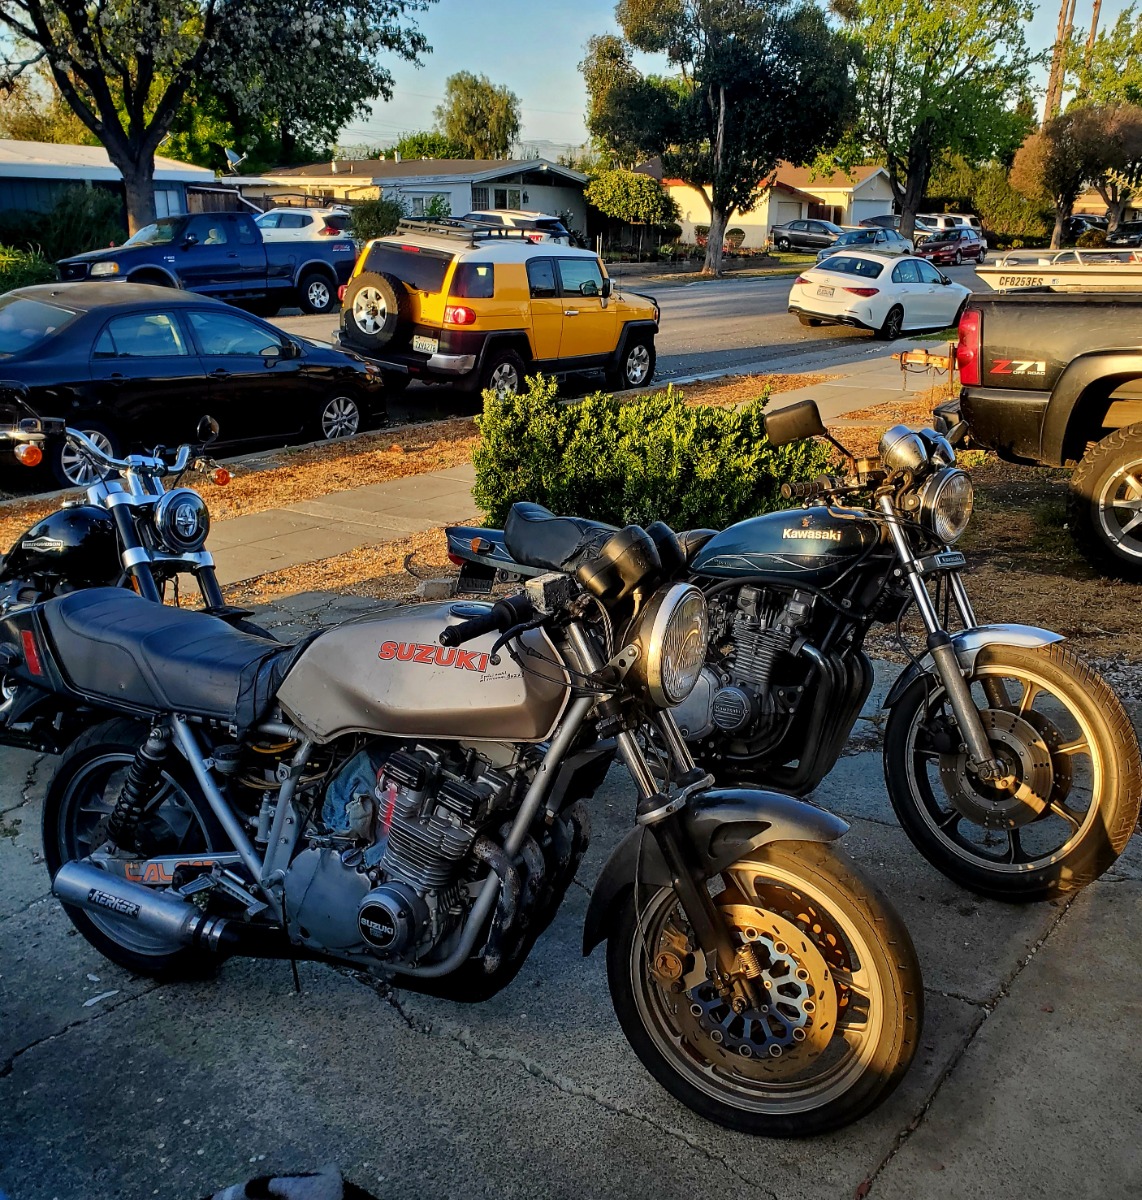
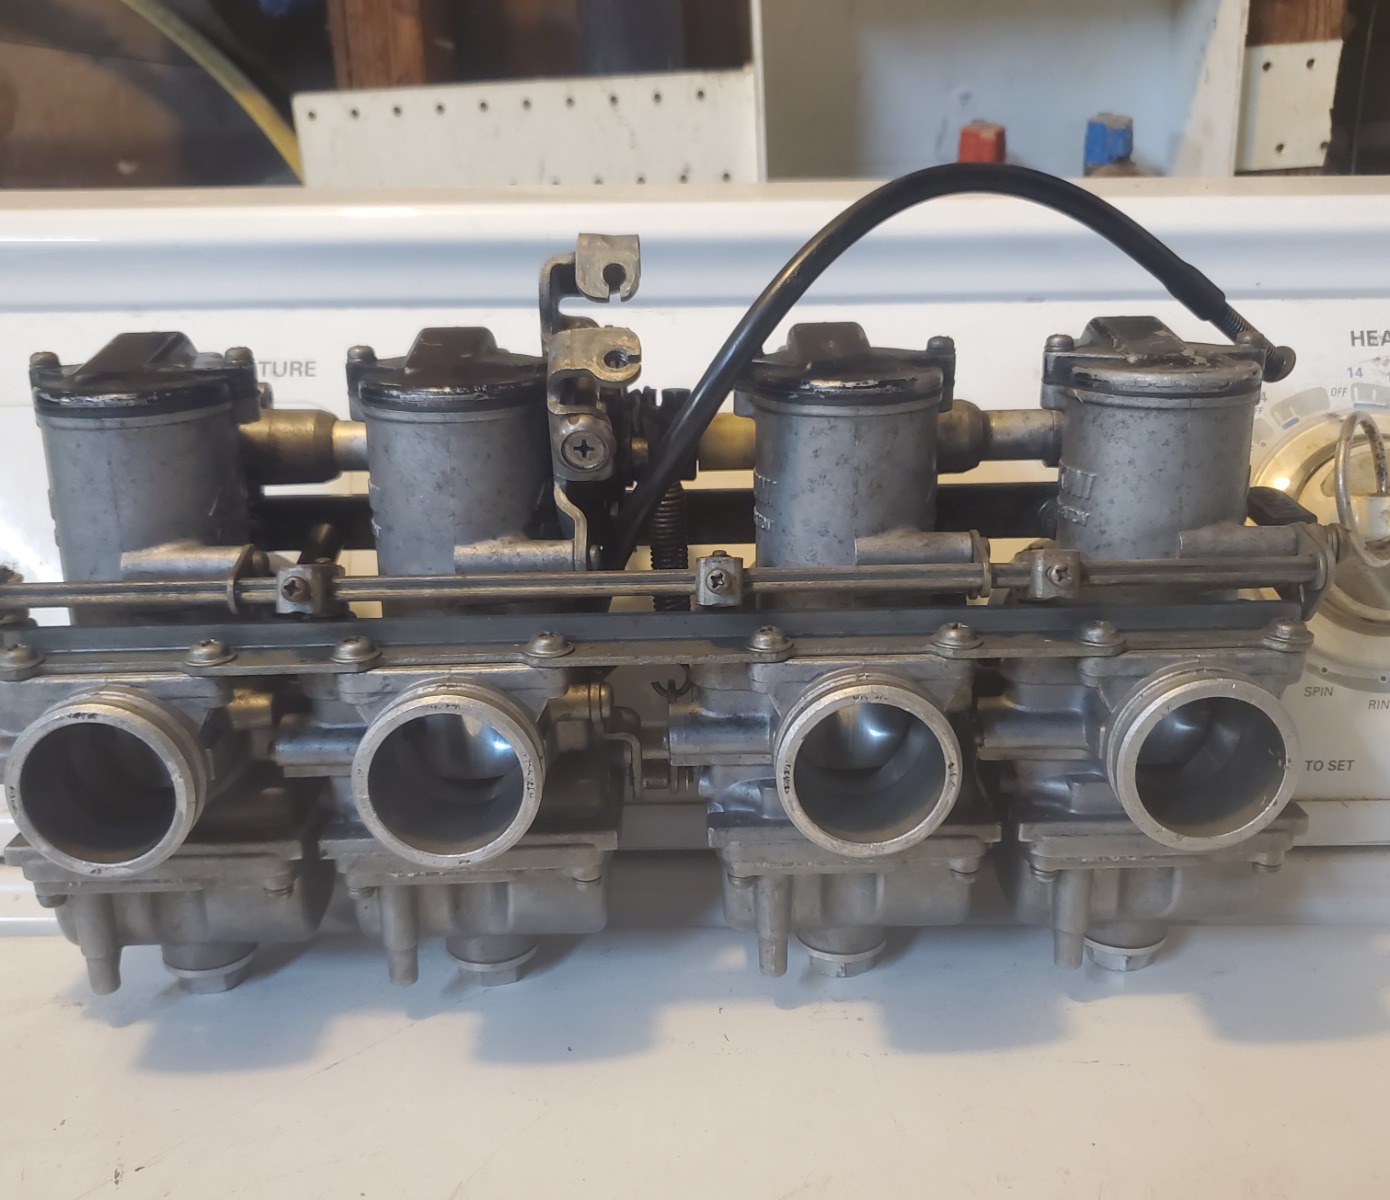
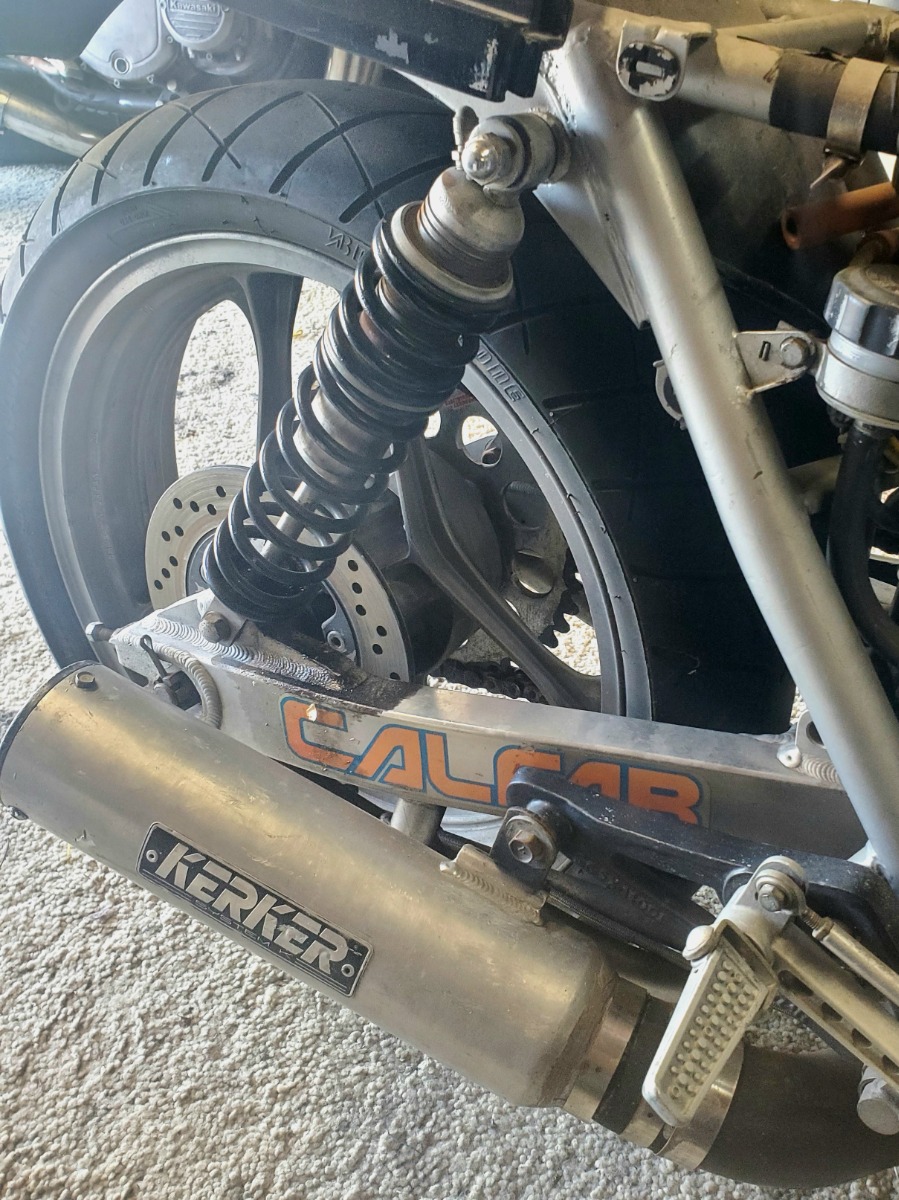
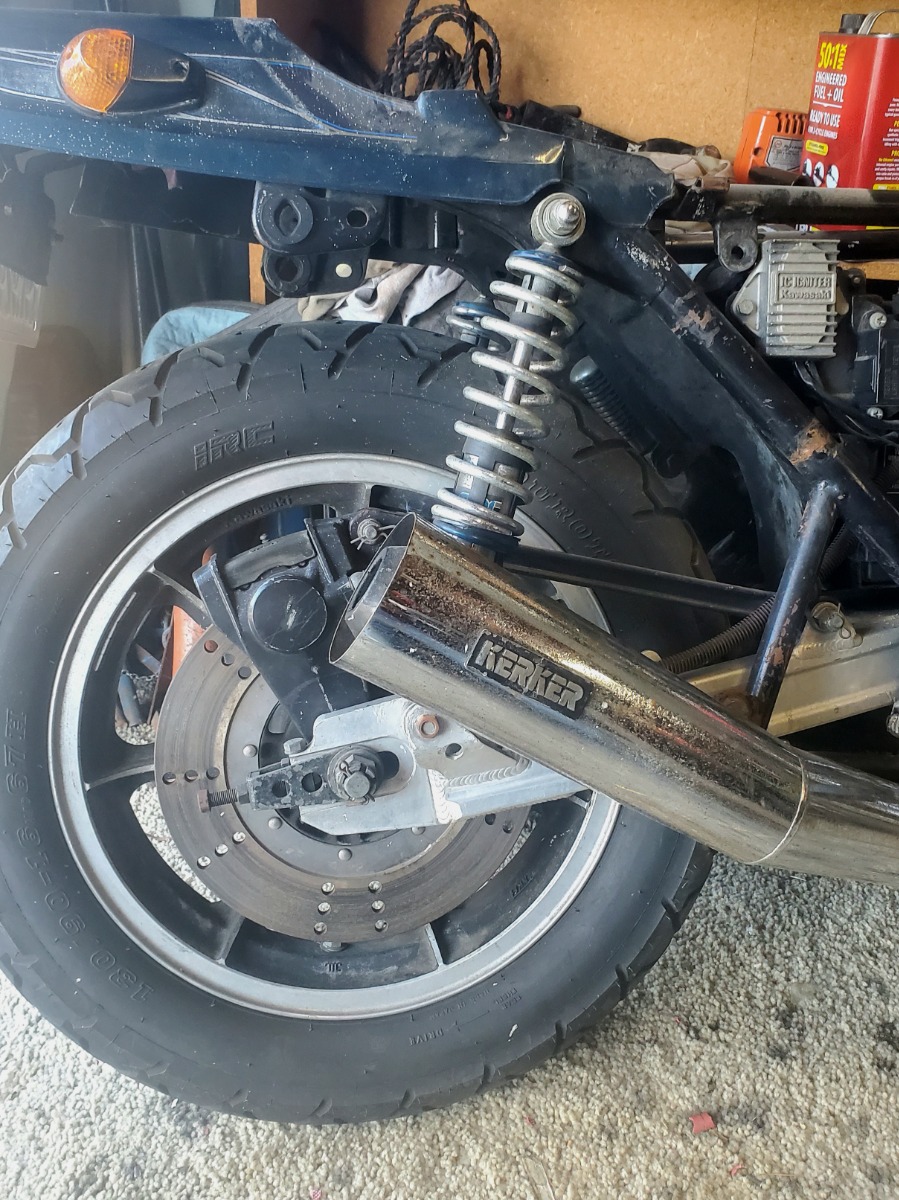
Got the bikes out, a little more abused then I remembered. The Makuni 28's were actually in a box behind the bike and installed on it were a rack of CV's from a 82 Kz. Also in the box were Makuni RS 38's that normally lived on the GS1100, which I had been using on the Kz for a bit. Looking forward to working on both bikes again. Both bikes have CalFab swing arms and Kerker headers/exhaust, megaphone style on Kz and Comp on Gs.
Replied by Wookie58 on topic 86 87 GSXR750 or GSXR1100 wheels on a KZ1000
15 Apr 2025 01:44To the best of my knowledge you will definitely need an offset sprocket to allow the wheel to run central. The GSXR sprocket carrier looks very similar to the MK2 bandit item I am using (20mm axle) I have included a pic of my cut down carrier compared to a GSXR unit. The red line shows where the sprocket mounting bolts sit so still plenty of meat to secure the sprocket with 11.5mm removed. The MK2 bandit calliper hanger also has plenty of meat to allow trimmingI'm mostly curious about how to fit the rear wheel. I happen to have a GXSR750 rear wheel, with sprocket carrier and rotor included. The KZ1000 rear axle is the correct size for the GSXR bearings, it right right in, I test fit the wheel GSXR into a CALFAB swingarm I happened to have handy. The wheel assembly fits between the arms of the swingarm, but it's a bit tight. There isn't much room left for a bracket to hold the rear caliper.
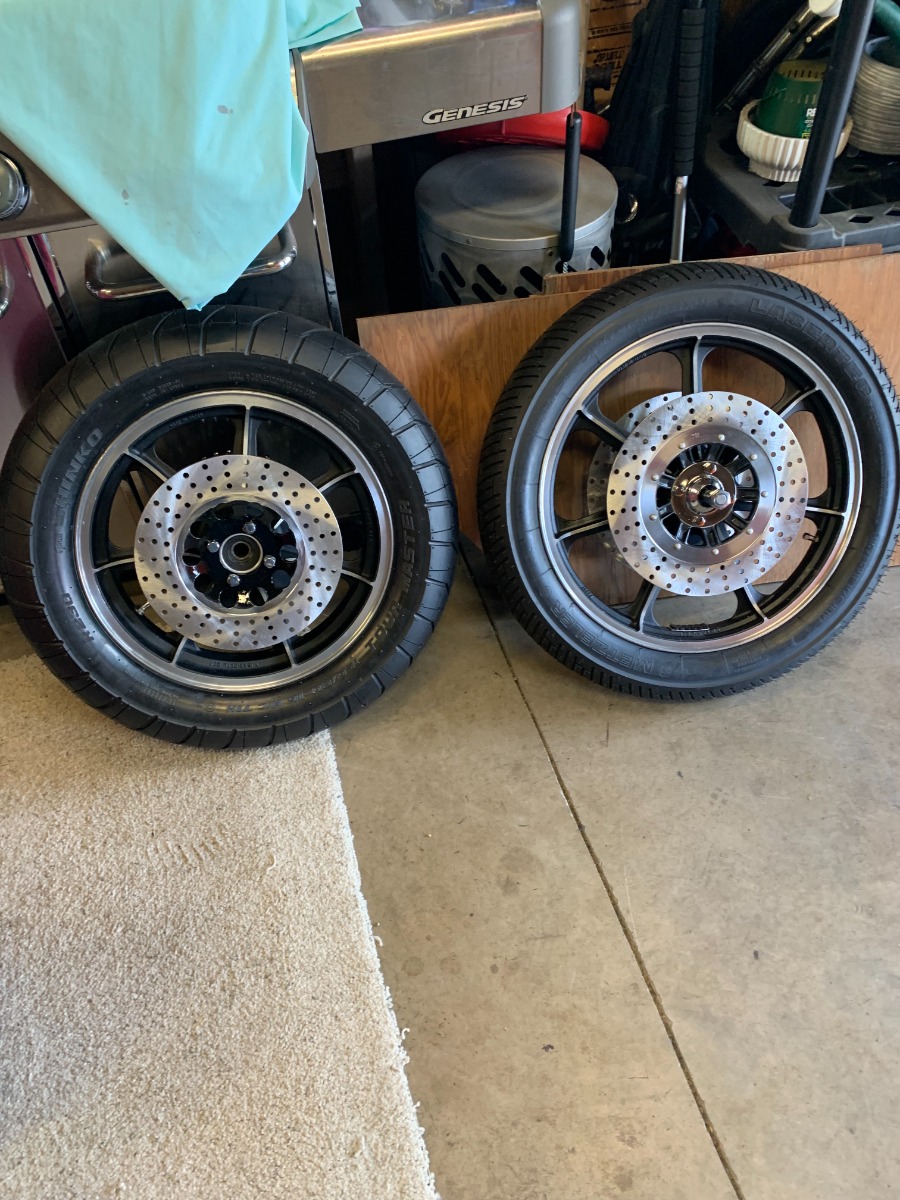
The real issue is that the center of the wheel is substantially offset to the right side. Comparing it to a KZ1000 LTD rear wheel I had handy, the GSXR sprocket is offset much farther away from the center of the wheel than the KZ wheel. Just eyeballing it, It looks like I'd need to take between 1/2" and 1" off of the GSXR sprocket carrier to bring the wheel back to center, when using the stock KZ1000 sprocket and chain line.
However, the sprocket carrier is cast with relatively thin walls, and cutting that far down into the carrier would basically remove the mounting surface for the sprocket. I don't think it's really practical to cut it down so that it has a similar offset to a stock KZ wheel.
86 87 GSXR750 or GSXR1100 wheels on a KZ1000 was created by DOHC
14 Apr 2025 14:48 - 14 Apr 2025 14:49
I'm curious if anyone here has tried to run a set of wheels from a 1986 or 1987 GSXR750 or GSXR1100 on a KZ1000 (77-80).
I thought I recall some folks doing the swap, but searching didn't turn up much. I found 577nitro mention it here:
kzrider.com/forum/11-projects/586776-bet...ike?start=360#781713
But it's been about a year since they have been active.
I thought maybe I recalled slayer61 doing the swap, but those were Kawasaki wheels that look a bit similar.
kzrider.com/forum/11-projects/614473-mrs...rade?start=60#838768
I'm mostly curious about how to fit the rear wheel. I happen to have a GXSR750 rear wheel, with sprocket carrier and rotor included. The KZ1000 rear axle is the correct size for the GSXR bearings, it right right in, I test fit the wheel GSXR into a CALFAB swingarm I happened to have handy. The wheel assembly fits between the arms of the swingarm, but it's a bit tight. There isn't much room left for a bracket to hold the rear caliper.
The real issue is that the center of the wheel is substantially offset to the right side. Comparing it to a KZ1000 LTD rear wheel I had handy, the GSXR sprocket is offset much farther away from the center of the wheel than the KZ wheel. Just eyeballing it, It looks like I'd need to take between 1/2" and 1" off of the GSXR sprocket carrier to bring the wheel back to center, when using the stock KZ1000 sprocket and chain line.
However, the sprocket carrier is cast with relatively thin walls, and cutting that far down into the carrier would basically remove the mounting surface for the sprocket. I don't think it's really practical to cut it down so that it has a similar offset to a stock KZ wheel.
Without making a custom swingarm, or finding one that was much wider, I guess then next option would to be make a custom sprocket carrier? That seems possible, but not trivial.
I guess a middle ground option would be to cut the GSXR sprocket carrier down as much as possible, and then try to use an offset sprocket on the engine side?
So has anyone actually tried do put a GSXR750 or 1100 wheel on a KZ1000? I really do think I remember folks here discussing this swap. But maybe they hadn't actually tried it?
I need to take some pictures...
New member - California was created by KzEnormous
14 Apr 2025 01:18
Hey all,
New member to the site and forums, but have lurked about of and on for years, reading many threads and picking up a lot from all the information, experience, and expertise found within.
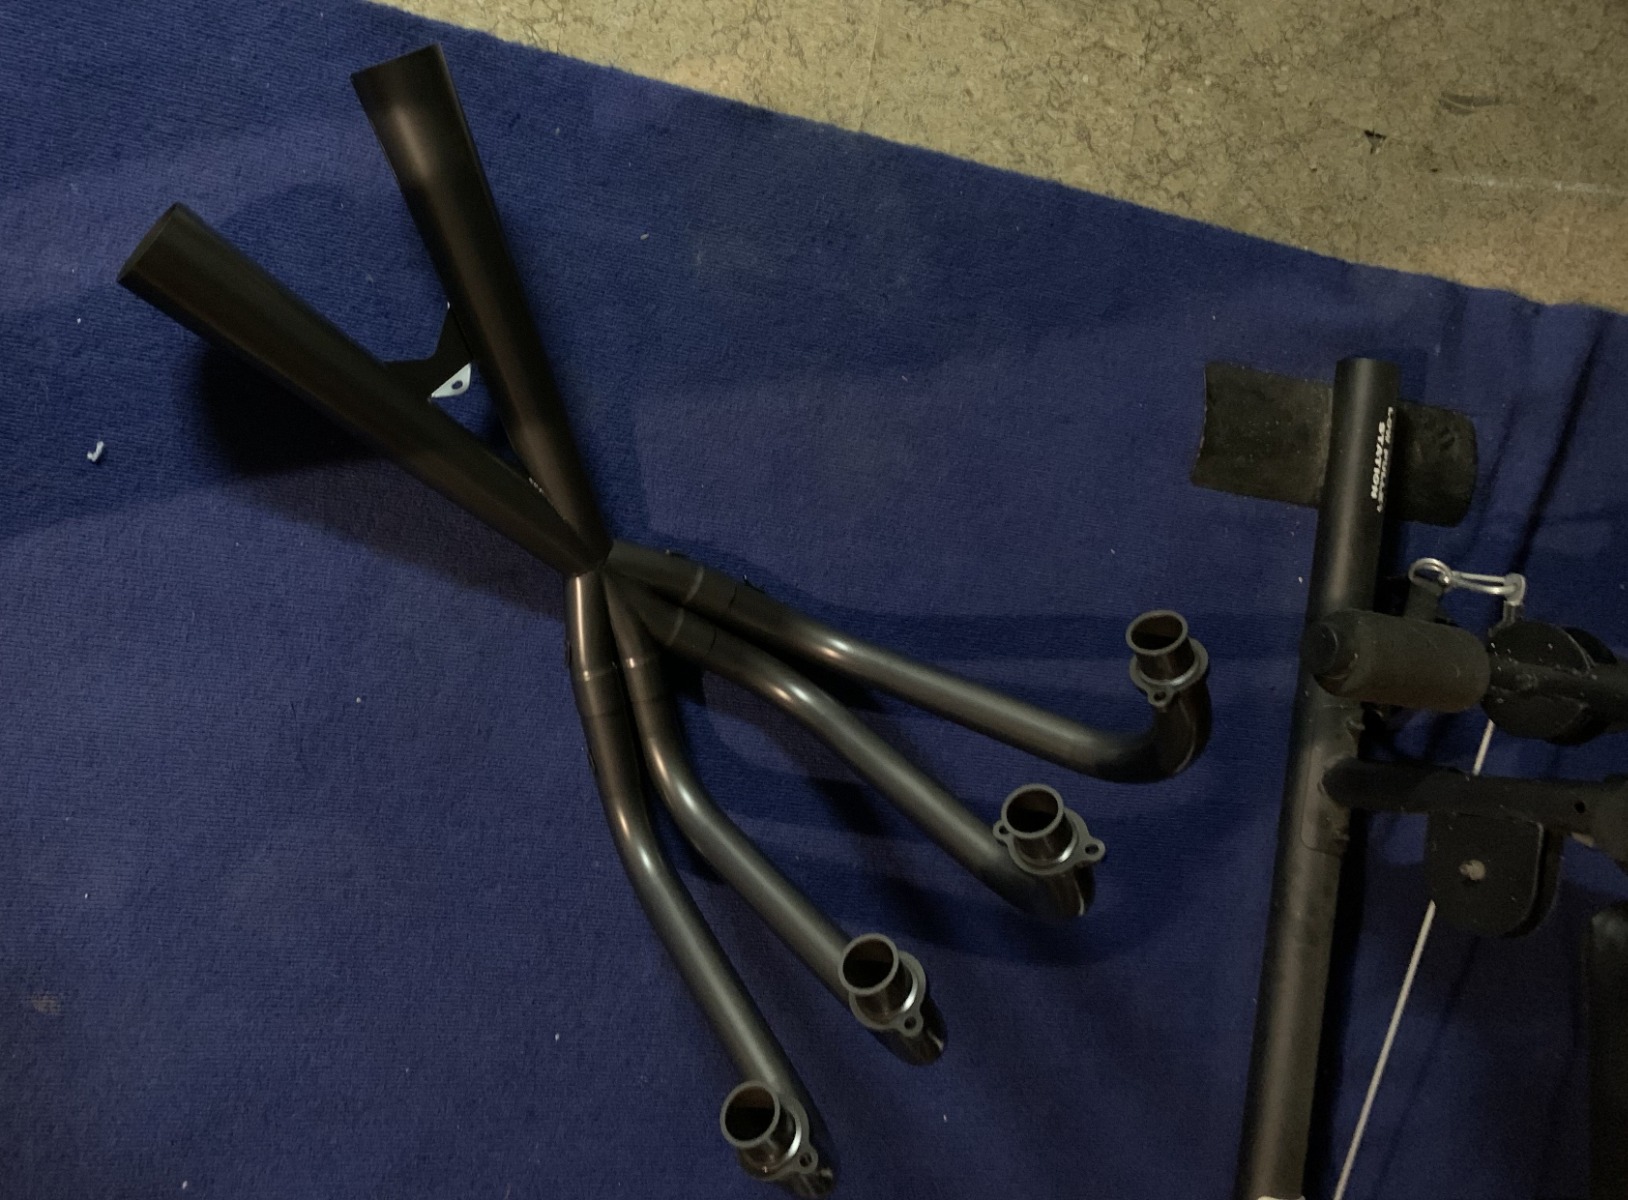
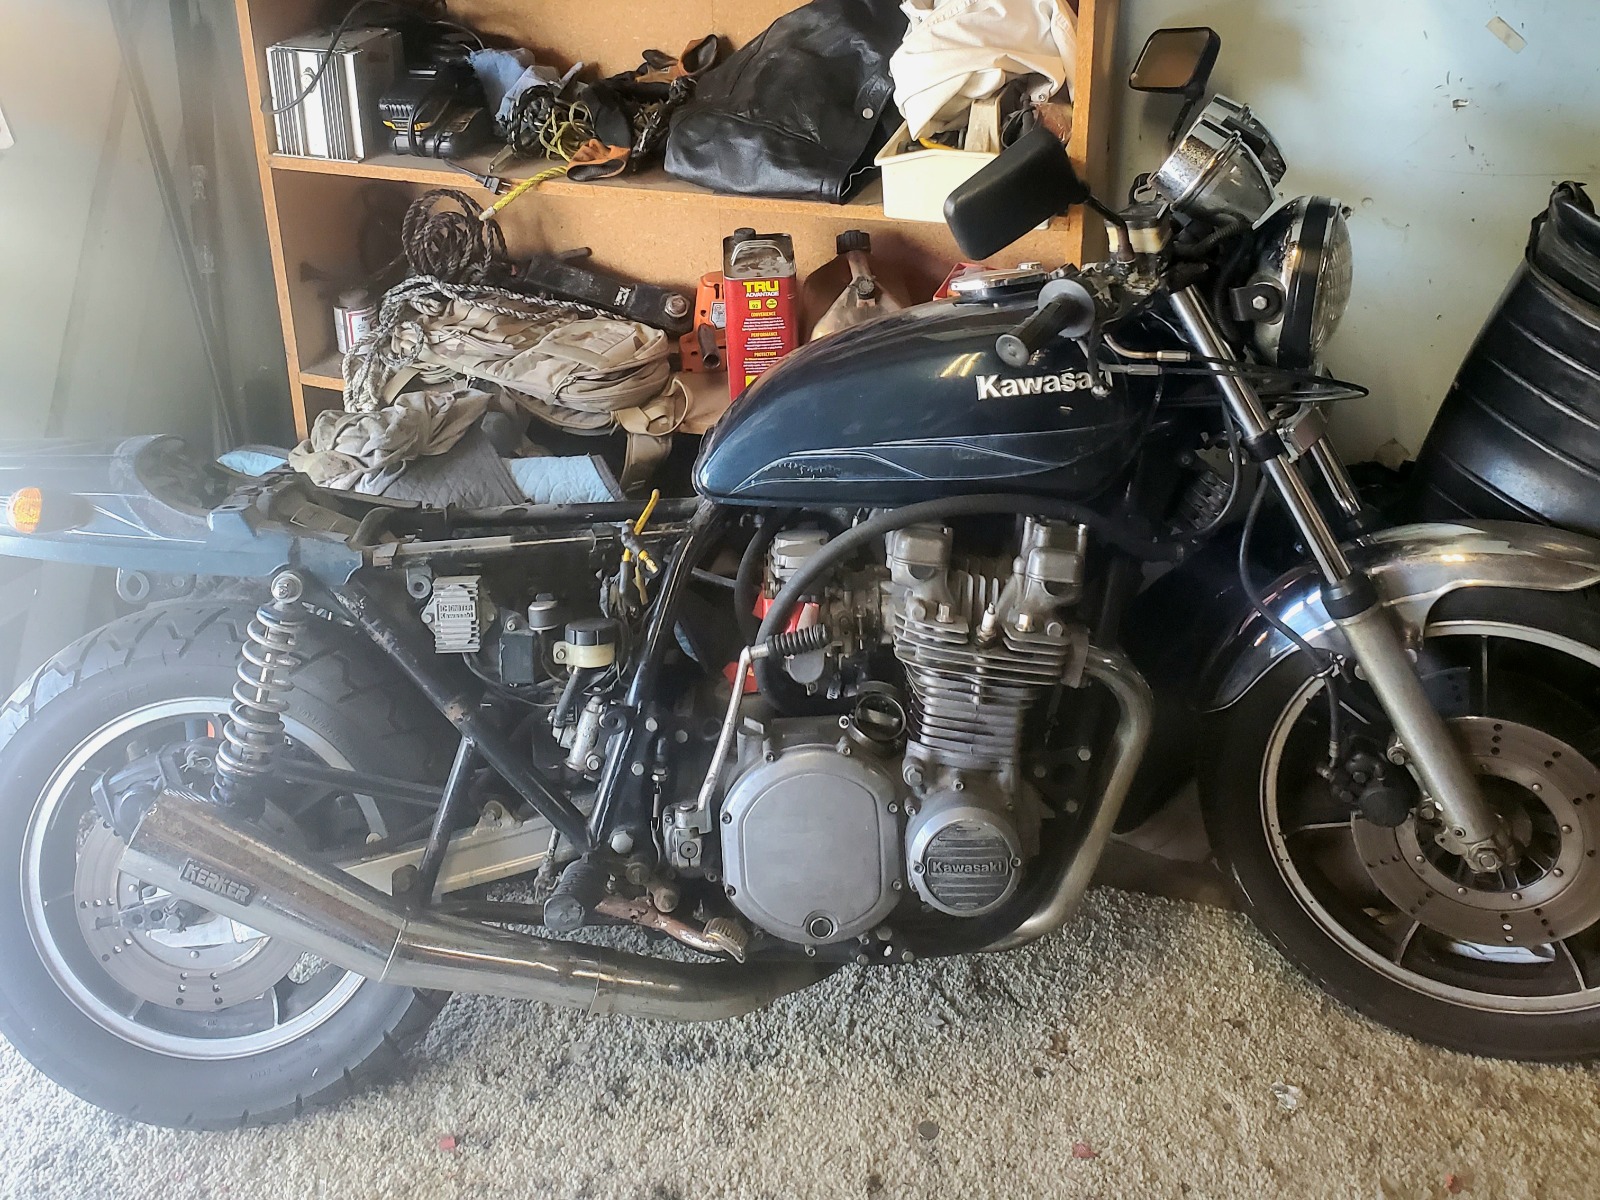
My first Kawi was a 1980 KZ1000 Ltd. Picked it up in 1986, still have it. Modded a bit, Aluminum swing arm, rear sets, drag bars, Kerker header and pipe, a few different sets and sprocket configurations over the years. Never got the cam i felt it needed due to switching attention at the time to 1982 Gs1100 that got the full treatment as it was in the early mid 80's.
Bike currently has the original Mikuni 28's w/accel pump, jetted. Thousands of miles on this bike.
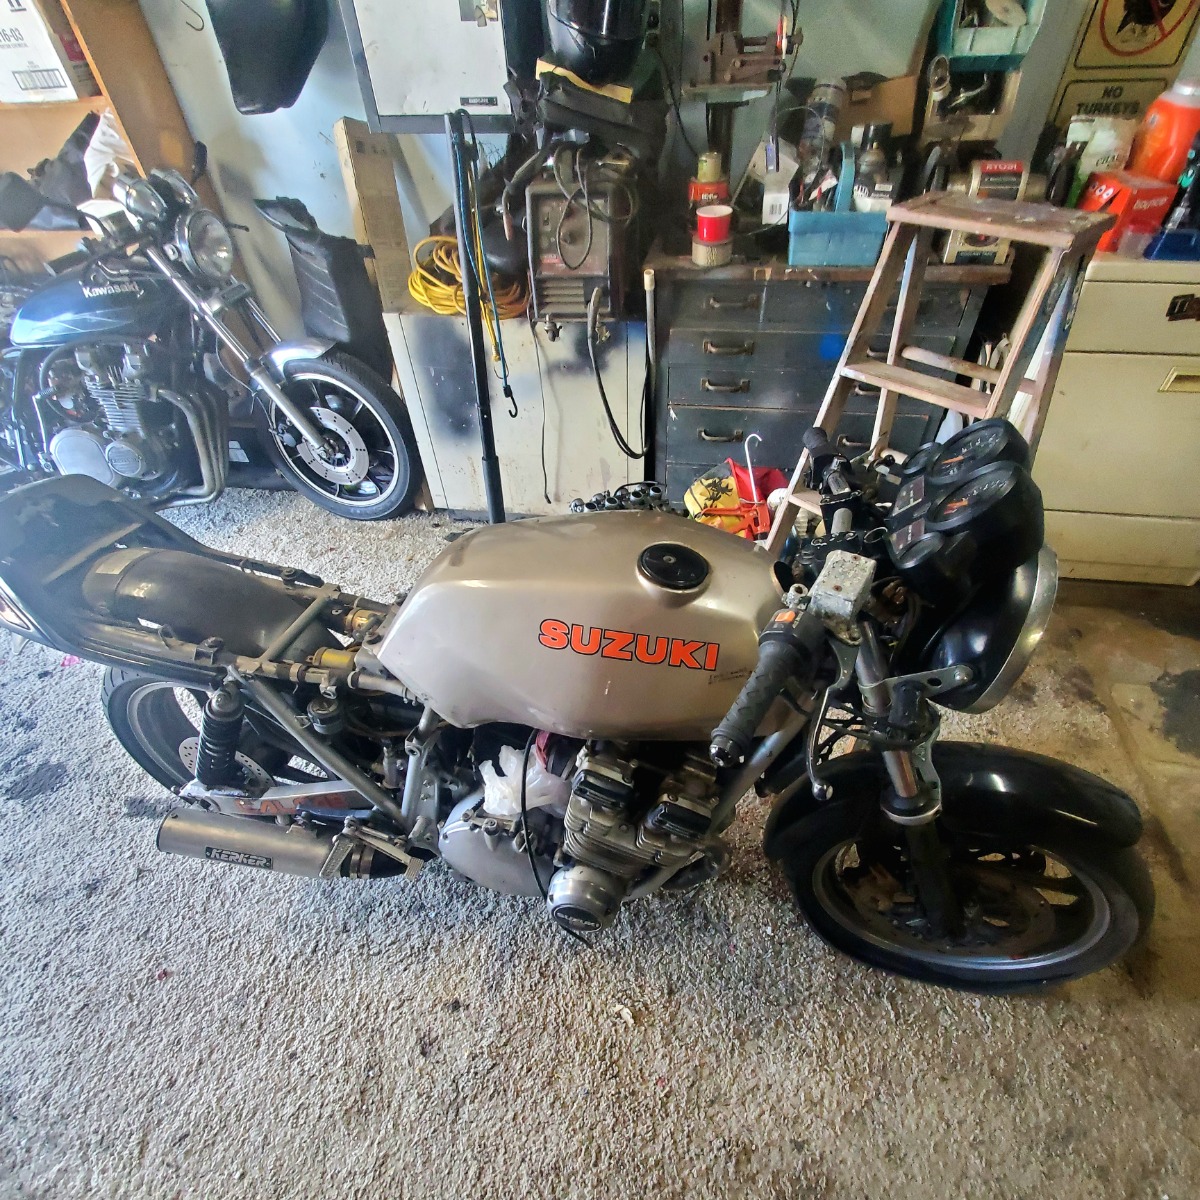
Got into picking up additional bikes of the same vintage, getting them going again and selling. Eventually, moving on to newer bikes and other interests. I find myself today with my original 1980 kz1000 and the Gs1100 in need of attention due to time and lack of use. Which they will get. Plus four other 80's project bikes, 2 kz's and 2 gsx's that never got going and are taking up needed space.
That's my introduction story, glad to be here.
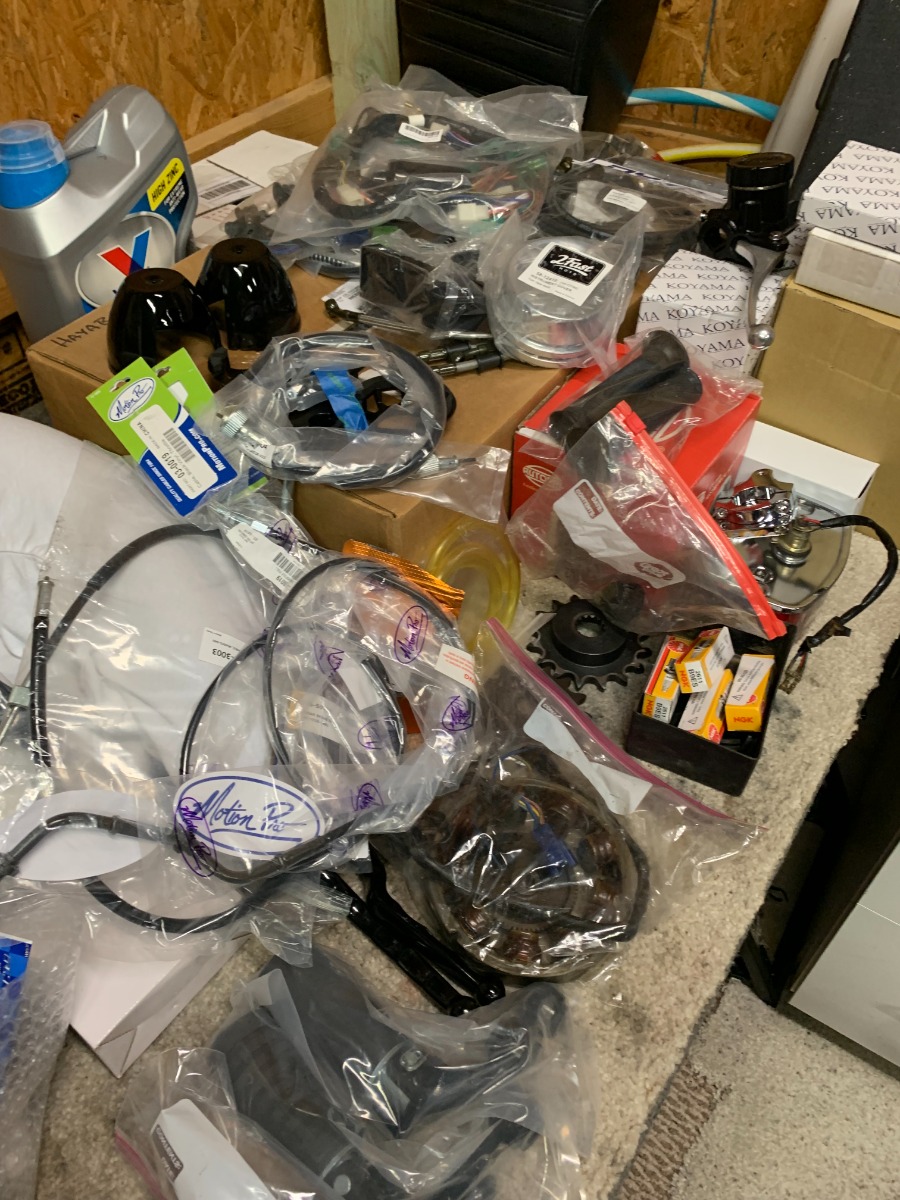
I plan on posting bikes and/or parts in the "For Sale" forum soon with the hope that someone out there might have a want or need for something I have before it ends up as scrap metal.
Pictures coming in near future.
New member to the site and forums, but have lurked about of and on for years, reading many threads and picking up a lot from all the information, experience, and expertise found within.
My first Kawi was a 1980 KZ1000 Ltd. Picked it up in 1986, still have it. Modded a bit, Aluminum swing arm, rear sets, drag bars, Kerker header and pipe, a few different sets and sprocket configurations over the years. Never got the cam i felt it needed due to switching attention at the time to 1982 Gs1100 that got the full treatment as it was in the early mid 80's.
Bike currently has the original Mikuni 28's w/accel pump, jetted. Thousands of miles on this bike.
Got into picking up additional bikes of the same vintage, getting them going again and selling. Eventually, moving on to newer bikes and other interests. I find myself today with my original 1980 kz1000 and the Gs1100 in need of attention due to time and lack of use. Which they will get. Plus four other 80's project bikes, 2 kz's and 2 gsx's that never got going and are taking up needed space.
That's my introduction story, glad to be here.
I plan on posting bikes and/or parts in the "For Sale" forum soon with the hope that someone out there might have a want or need for something I have before it ends up as scrap metal.
Pictures coming in near future.
Displaying 31 - 40 out of 7254 results.