
Search Results (Searched for: gs swing arm)
Replied by tk11b40 on topic 1975 KZ 900 , ZRX Swingarm, 89 GSXR front end
31 May 2015 21:46
:laugh: What took first.
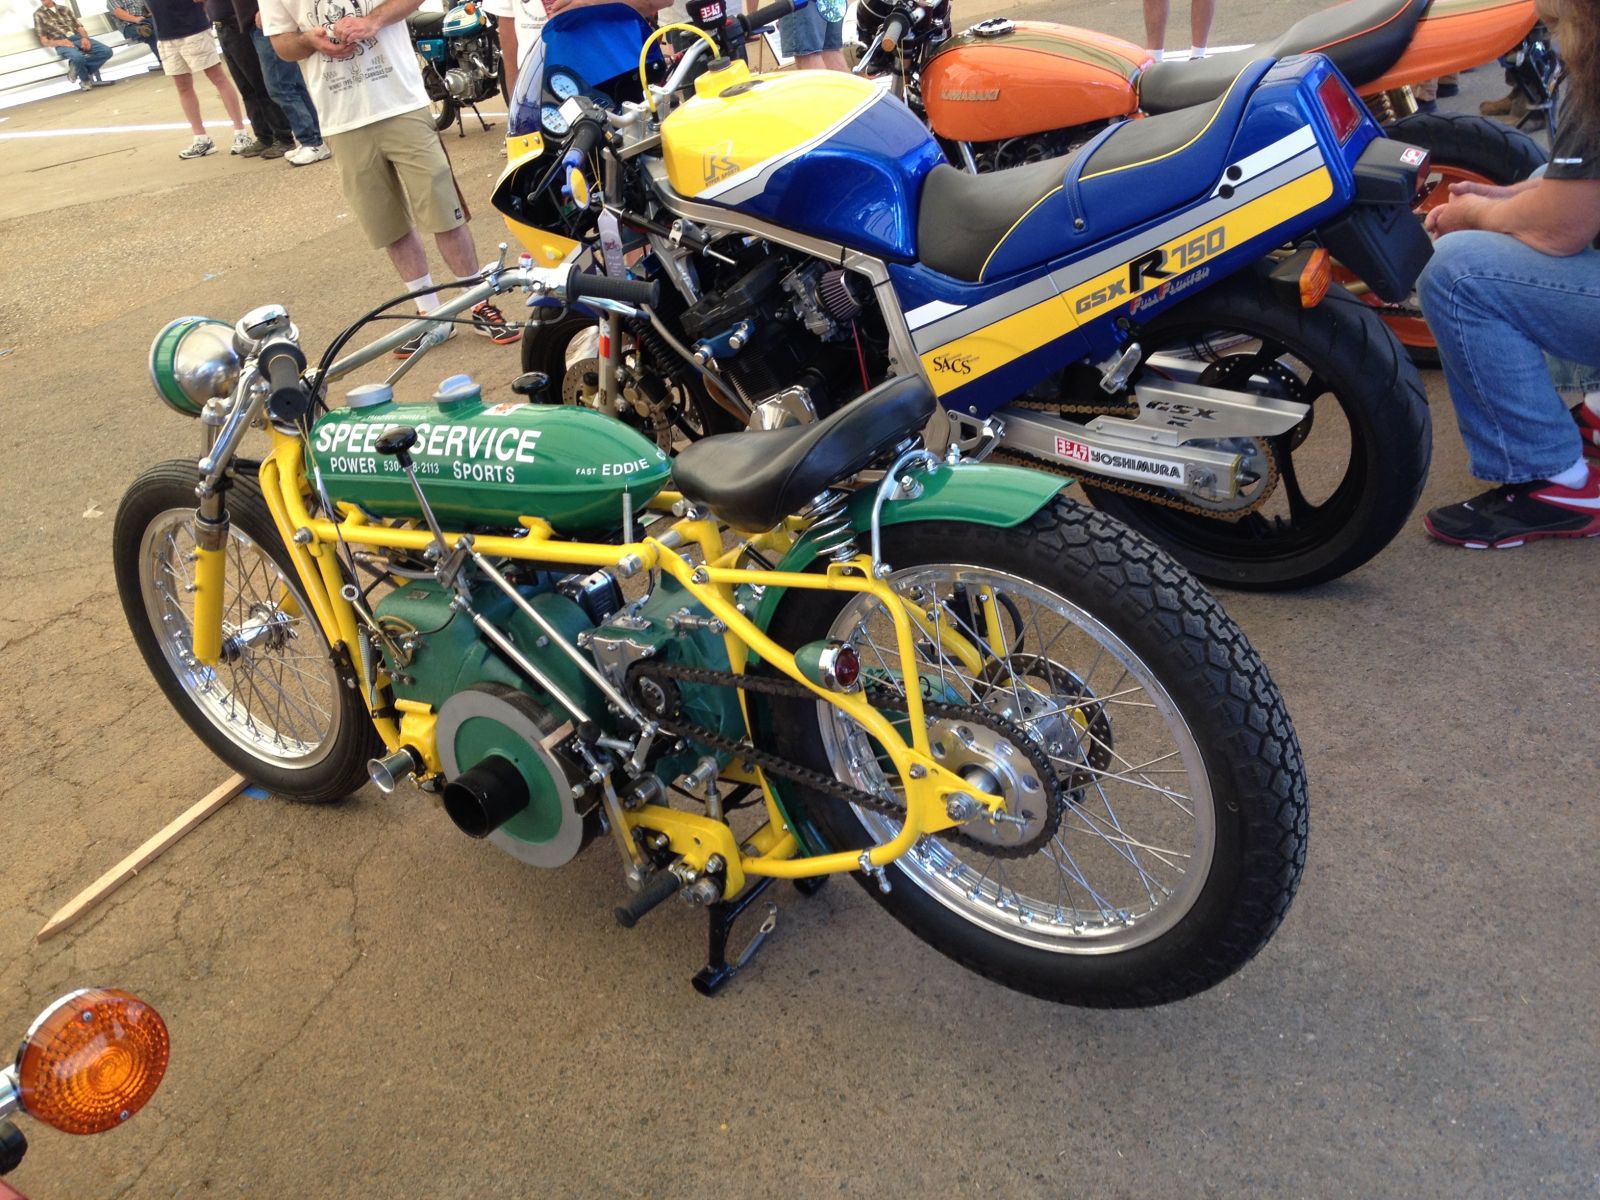
Well that is a loaded question. I would have been dissapointed but the first place guy lept telling me I should have won, and he meant it. The first place bike was some kind of steampunk theme, so the peopl voting especially those who were not into the building thing, such as wives and girlfriends really liked the bike that won.
The builder was a super cool guy that spent a couple hours talking to me and admiring the KZ.
Replied by missionkz on topic Drag racing yours?
30 May 2015 20:29I think you are right... dripping wet at 130lbs, in an absolutely perfect, 70-72 degree, low humidity (an oxymoron in Michigan) beautiful late afternoon with my KZ1000A1 and probably the best launch I ever had... 11.67. Never got it there again either. Very high 11's and 12.0's I could do fairly consistently.racer54 wrote: Years ago, myself and couple brother-in-laws regularly ran our Z's at the dragstrip. Added a header, slick and lowered the rear with struts and removed a few things like blinkers. Still street bikes and usually ran around the 11.9-12.0 range. On a cool night and a good run we saw a 11.8. Most Z's at track ran around 12.0-12.3 range with header change and rejetting. I've read many. many times of guys who say they ran low 11's after installing a header and maybe a longer swingarm but I've never seen any run anywhere near those numbers with just a few mod's.
I think stock gearing, (possibly the 15/35 combo), I might have had the Dunlop tires on then.... open Denco headers, carbs with some fat main jets set to as good as possible, a trick HD long duration ignition point plate (trick for it's day) clubman bars and a qtr fairing.
But like I said, out here in Denver.... it was hard to keep it in the 12's at all....

Anyhow reading some the BS over the years about the Z1, KZ900 and old KZ1000 doing all these low and mid 11 qtr mile times with average riders.... just seemed like a fantasy to me and wondered how many of the riders here have actually put their ride to the test.
Replied by missionkz on topic Drag racing yours?
30 May 2015 20:10Sounds familiar but I moved out full time to Denver in the late Spring early Summer of 1978.Street Fighter LTD wrote: Used to race my bike when new at Milan !rst evolution of my LTD with Yoshi pipe and 29s was low 12s in street trim
...
Do you remember Zack , from Zacks cycle in Milan ?
Brings back memories of a corrupt past LOL
Dave
I belonged to the North Bros Ford Dealership Drag Club and would go out at least 2 or 3 times a month during the season.
I remember a well known rider at Milan who use to run a unstreetable, track prepared Yamaha RD350... set up as a semi-hard core drag bike... who always blew the socks off me on my Triumph 750 maybe even my KZ1000!! LOL.
Why did they always put me up against this guy!!??? Ha ha
Back in the early 70's I tried to hang out a lot with a gang from Ypsilanti.
And maybe you know these guys now nationally known as Kalita Motorsports.
Seems like the Kalita's all got into racing and some did not make it.

K and L Speed Shop (Super Cheetah), Dean McCain, Dudley Proctor, the Gonzales Engine shops from I think, Taylor MI... etc.
I was just finishing up my Automotive Engineering degree in Dearborn back then and a lot of these guys would audit our auto and machine shop evening classes so they could use all our outrageous, expensively supplied shops and wheel dyno (thank you Ford Motor Co, Chrysler and GM!)... LOL.
Tried like Hell to get a small Rayjay and a reliable waste gate into the Z1 in 74-75.... lost some aluminum in that project and some blown head gaskets. Never fully got it worked out... no really good kits back then.
Built my backyard H2 drag bike and I think it was around 770cc with a 1 or 2 mm over bore and Denco chambers... but had no extended swing arm nor wheelie bars so it scared the heck out of me too many times.
Miss the MC5 and those motor head Motor City days!
Replied by SWest on topic 1975 KZ 900 , ZRX Swingarm, 89 GSXR front end
30 May 2015 20:00
Got pics?
Steve
Steve
Replied by 79MKII on topic 1975 KZ 900 , ZRX Swingarm, 89 GSXR front end
30 May 2015 19:38racer54 wrote: With your bike as it is.....what the hell took first? Must have been a full on custom or something. Personally, I think your bike turned out fantastic.
That's what I was thinking exactly.....what the hell took first?
Replied by racer54 on topic 1975 KZ 900 , ZRX Swingarm, 89 GSXR front end
30 May 2015 18:29
With your bike as it is.....what the hell took first? Must have been a full on custom or something. Personally, I think your bike turned out fantastic.
Replied by tk11b40 on topic 1975 KZ 900 , ZRX Swingarm, 89 GSXR front end
30 May 2015 18:25
A good day indeed. Award aside, I met so many good people. Very motivating.
Replied by racer54 on topic Drag racing yours?
30 May 2015 17:52
Years ago, myself and couple brother-in-laws regularly ran our Z's at the dragstrip. Added a header, slick and lowered the rear with struts and removed a few things like blinkers. Still street bikes and usually ran around the 11.9-12.0 range. On a cool night and a good run we saw a 11.8. Most Z's at track ran around 12.0-12.3 range with header change and rejetting. I've read many. many times of guys who say they ran low 11's after installing a header and maybe a longer swingarm but I've never seen any run anywhere near those numbers with just a few mod's.
Replied by SWest on topic 1975 KZ 900 , ZRX Swingarm, 89 GSXR front end
29 May 2015 21:45
Closed mouths don't get fed. That's the kind of upgrade mod I like. There are a few here and this is one of the best. Good work.
Steve
Steve
Replied by kaw-a-holic on topic 1975 KZ 900 , ZRX Swingarm, 89 GSXR front end
29 May 2015 21:19
Sweet let us know how you do.
Displaying 1461 - 1470 out of 7257 results.