Since I've been basically documenting the whole seat/tail project in paint/body, here's the seat cover installation. I'll be posting links of seatpan construction in chassis for ratmiester in a day or two.
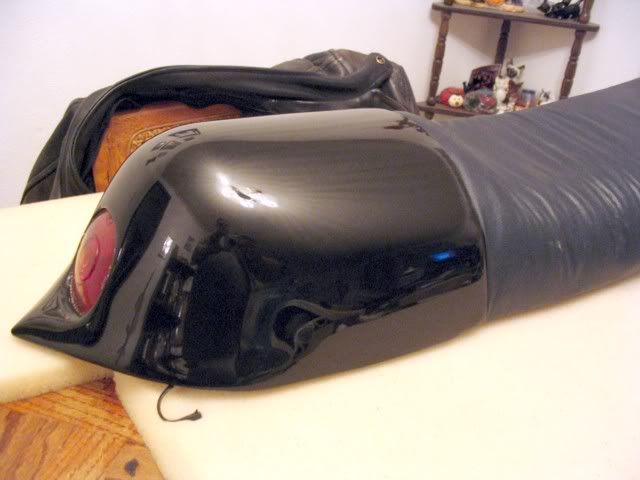
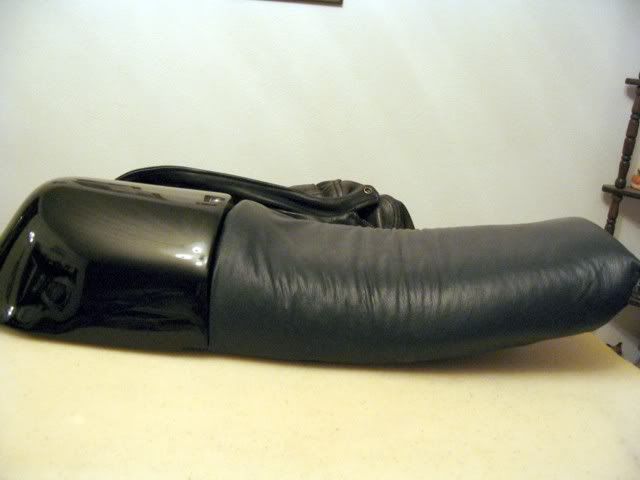
First off, a couple of pics showing the reflectivity of the tailpiece (gloat). You can see the bumps in the cieling and the rays of shadows from the light fixture (gloat again)
Okay, enough of that (paint and body, you know).
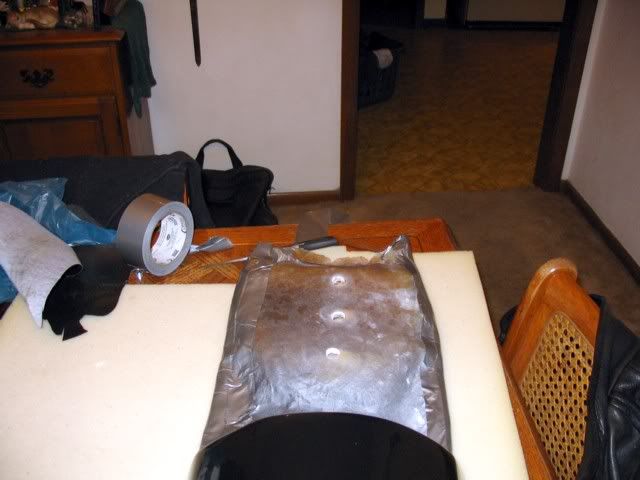
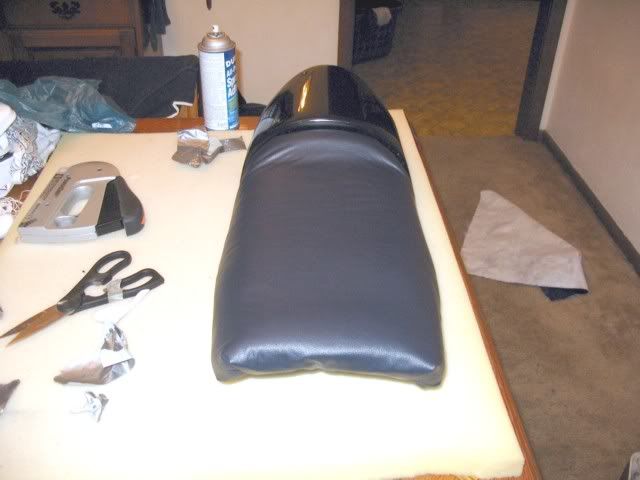
Here you can see where I drilled four 3/4 inch holes to let the foam breath. You can also see a vinyl strip on the left, and one attached to duct tape on the right. These are to relieve any remaining stress from any slight irregularities in the seatpan on the edges. You can see the edges have been sanded smooth, but this still helps smooth the vinyl when you staple it.
Here's what it looks like after both stress strips are installed..
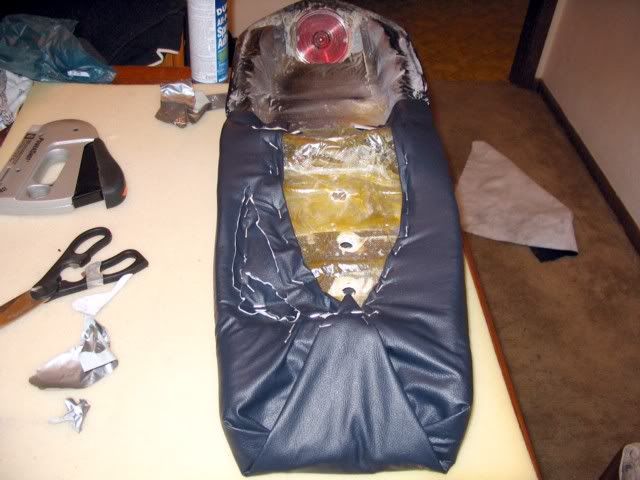
After that, the cushion is usually glued to the pan. I didn't do this, because my cusion is cut to fit the contours in the pan exactly, and doesn't even move when I sit on it without a cover. I've been riding it for hundreds of miles just attached by the cover stapled to the seat. I am also sitting on the vinyl right on the frame rails under the pan. So glue it if you doubt its stability. If you do, use Goop marine contact cement. Great stuff.
After attaching the cushion, I stretched the vinyl tight using duct tape the first time just to get it squared up on the cushion. Spray adhesive helps the top conform to the contours..I have a layer of batting material over the cushion, then the spray, then apply the vinyl. Lift and reposition it as needed as you stretch it. Don't spray the cushion and the cover or you'll never get it apart. After attaching with the duct tape, go around pulling the wrinkles out and stapling ...
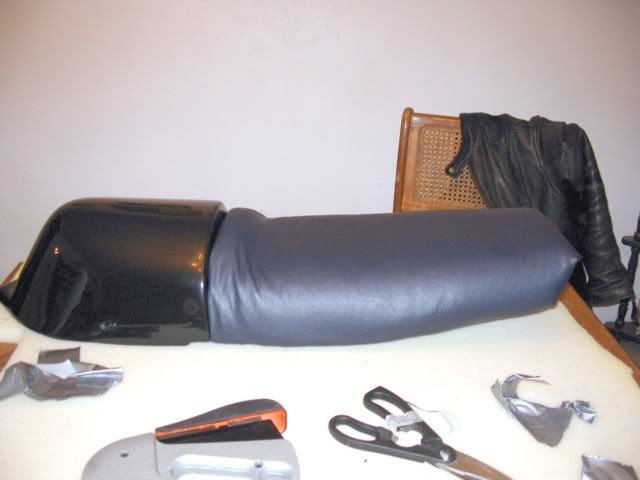
You'll notice I still haven't sewn a cover. You can see, though where cuts will need to be. The folded and taped areas will be sliced and sewn together like pleats that will stay under the nose when it's done. I don't have the energy tonight. I will probably put a couple in the back, too. For now, given the amount of money my truck is taking (over 800 dollars today), I'm going to just enjoy the "homemeade" effect the cover imparts to the bike.
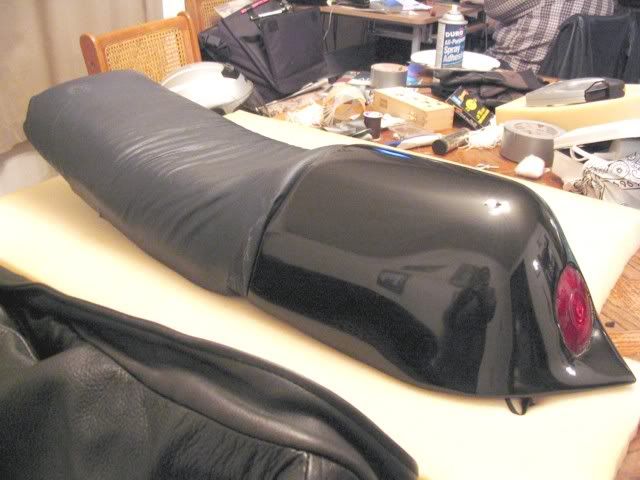
Still, you can see it gets better everytime...
earlier...
latest version...
Tomorrow, I'll probably restretch it to take a few more wrinkles out near the back. Once I get one sewn up, it will just lay flat in those areas.


 But, the dude abides, brother! BTW, NICE lookin' paint-jobB)

