
|
Welcome,
Guest
|
TOPIC:
1979 KZ400 B Restoration/Recommission 08 Oct 2022 04:43 #875246
|
|
Please Log in or Create an account to join the conversation. |

1979 KZ400 B Restoration/Recommission 08 Oct 2022 04:51 #875247
|
|
Please Log in or Create an account to join the conversation. |
1979 KZ400 B Restoration/Recommission 08 Oct 2022 04:54 #875248
|
|
Please Log in or Create an account to join the conversation. |
1979 KZ400 B Restoration/Recommission 08 Oct 2022 05:41 #875249
|
|
Please Log in or Create an account to join the conversation. |
1979 KZ400 B Restoration/Recommission 08 Oct 2022 06:45 #875252
|
|
Please Log in or Create an account to join the conversation. |
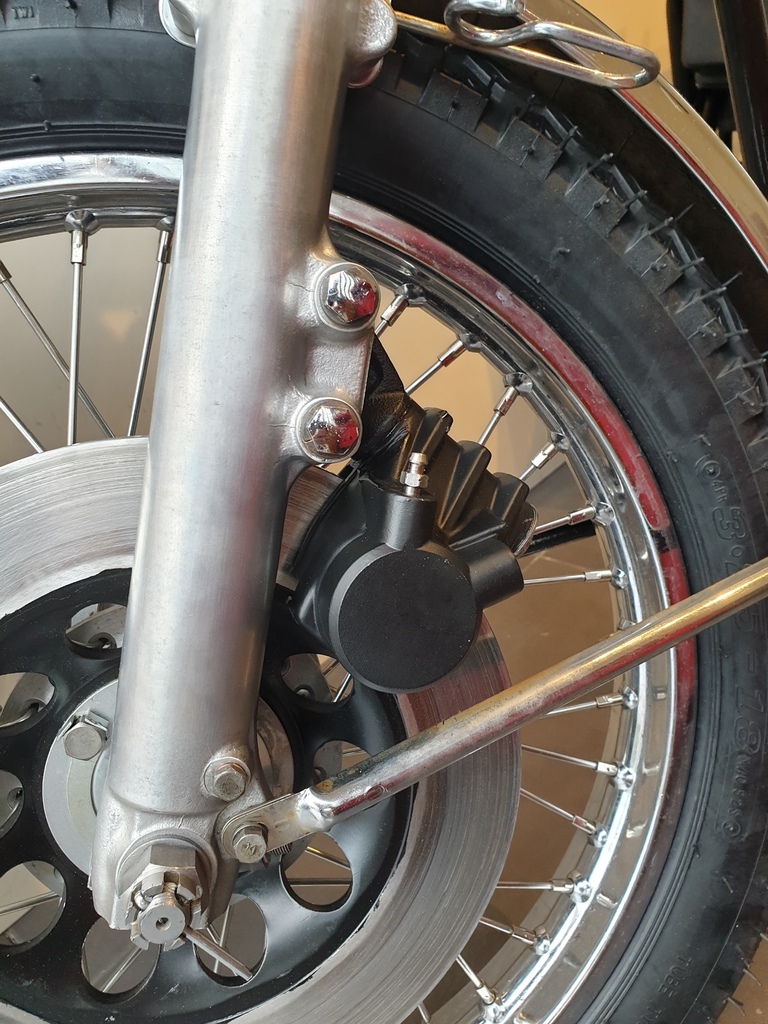
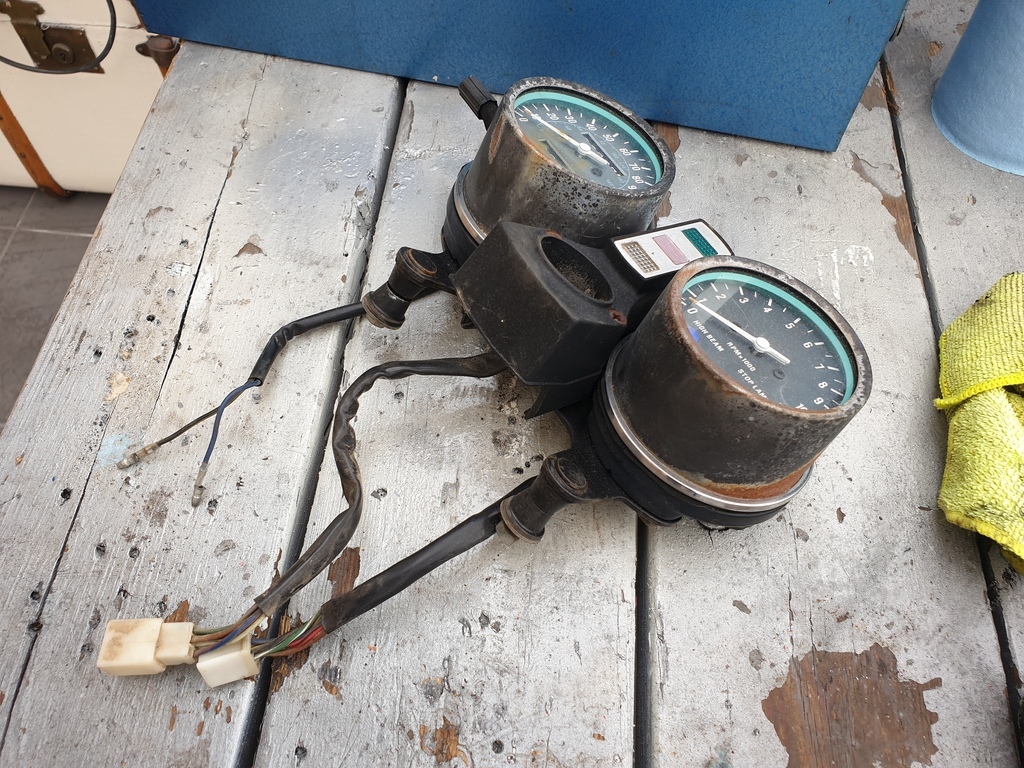
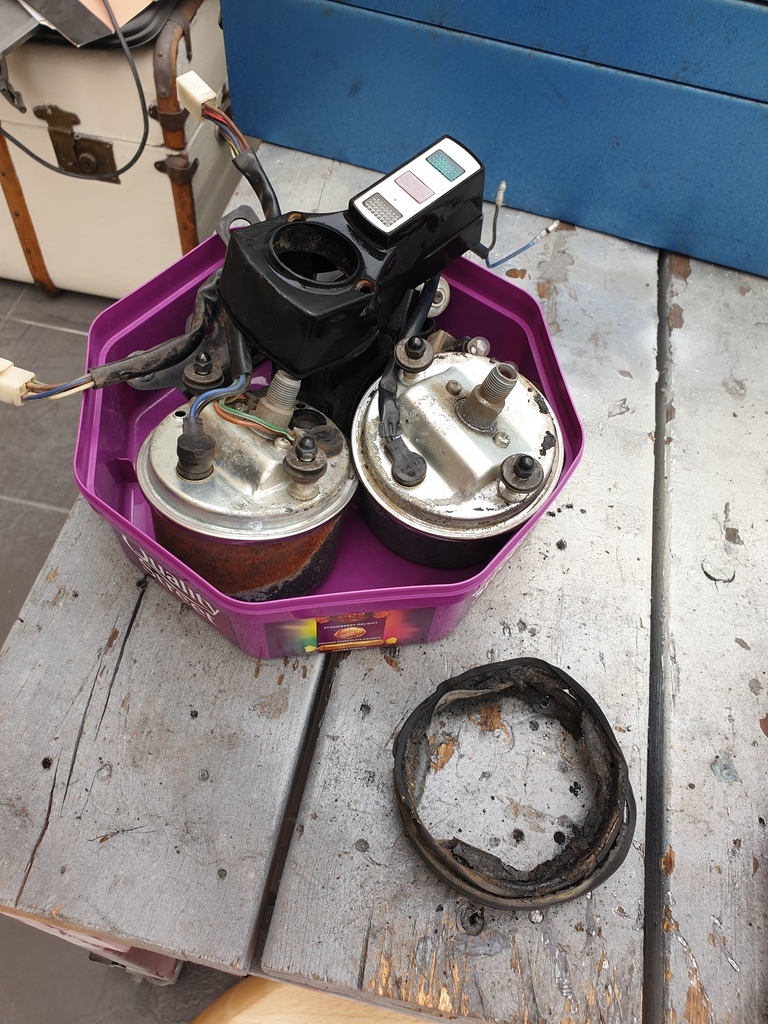
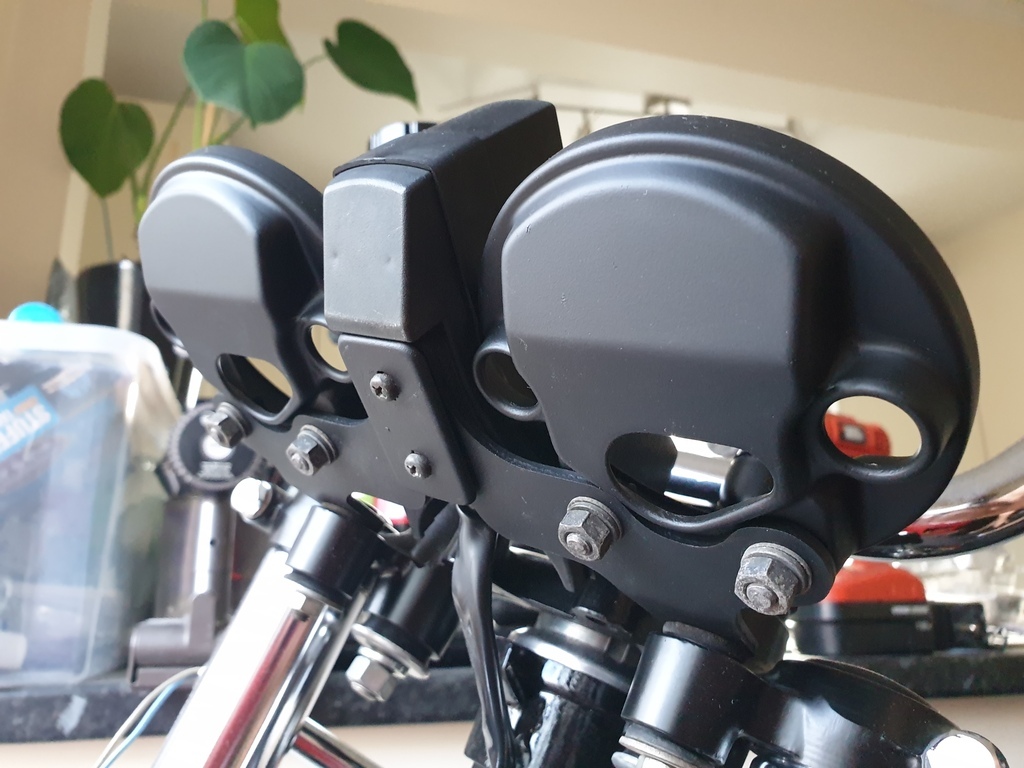
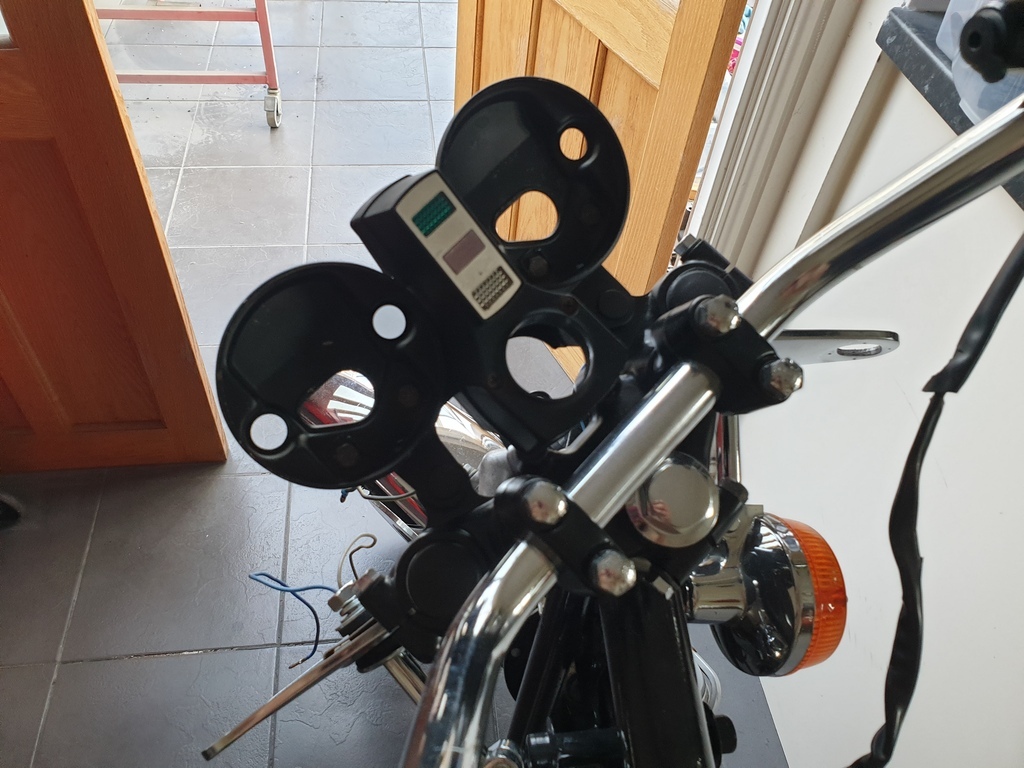
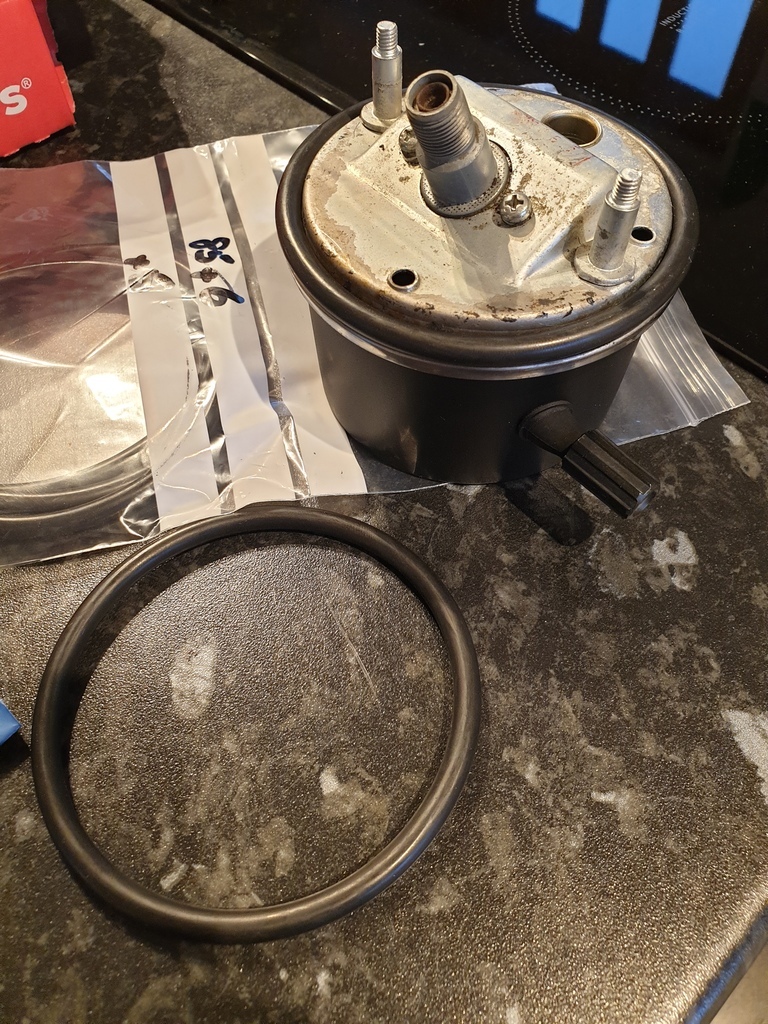
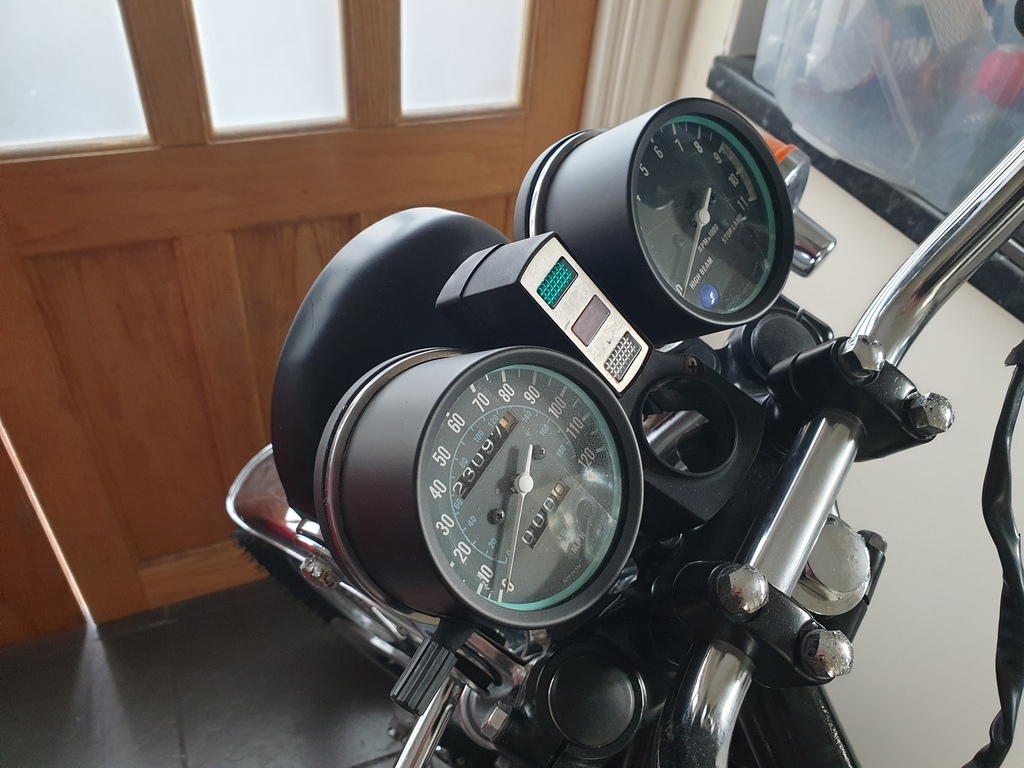
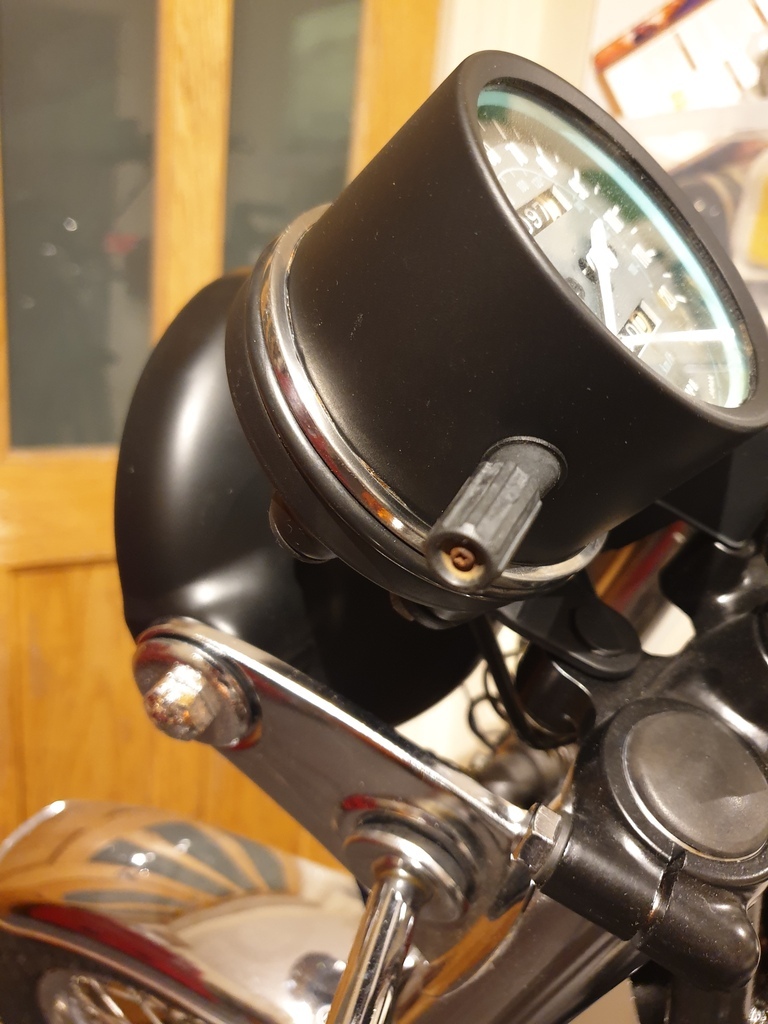
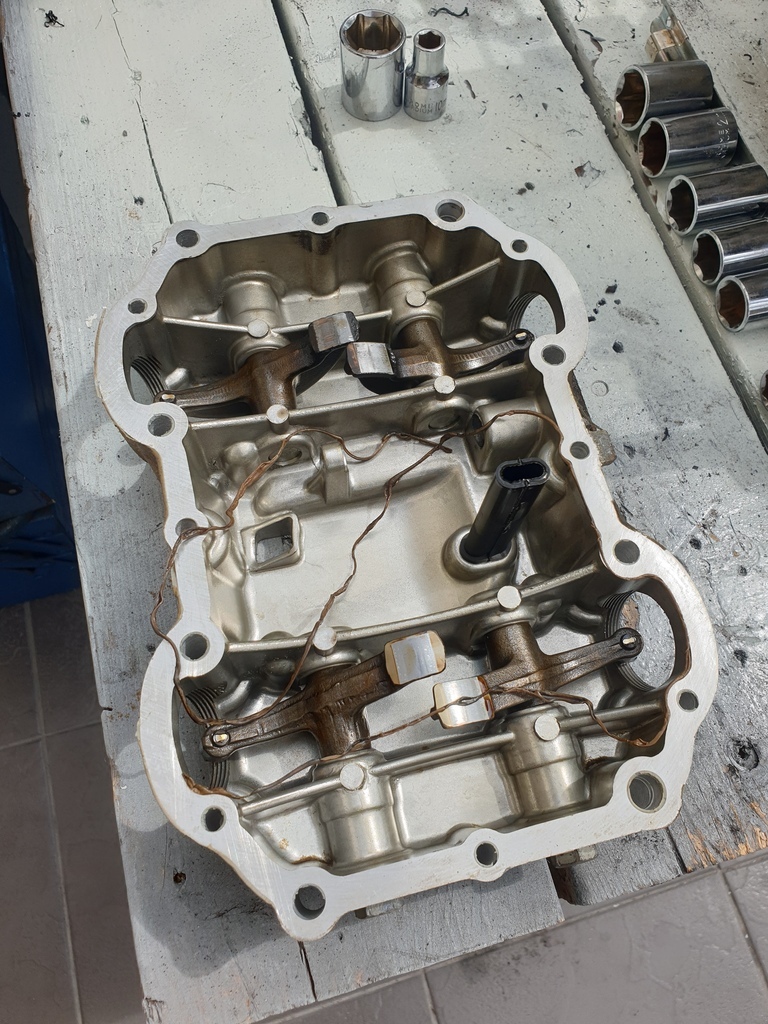
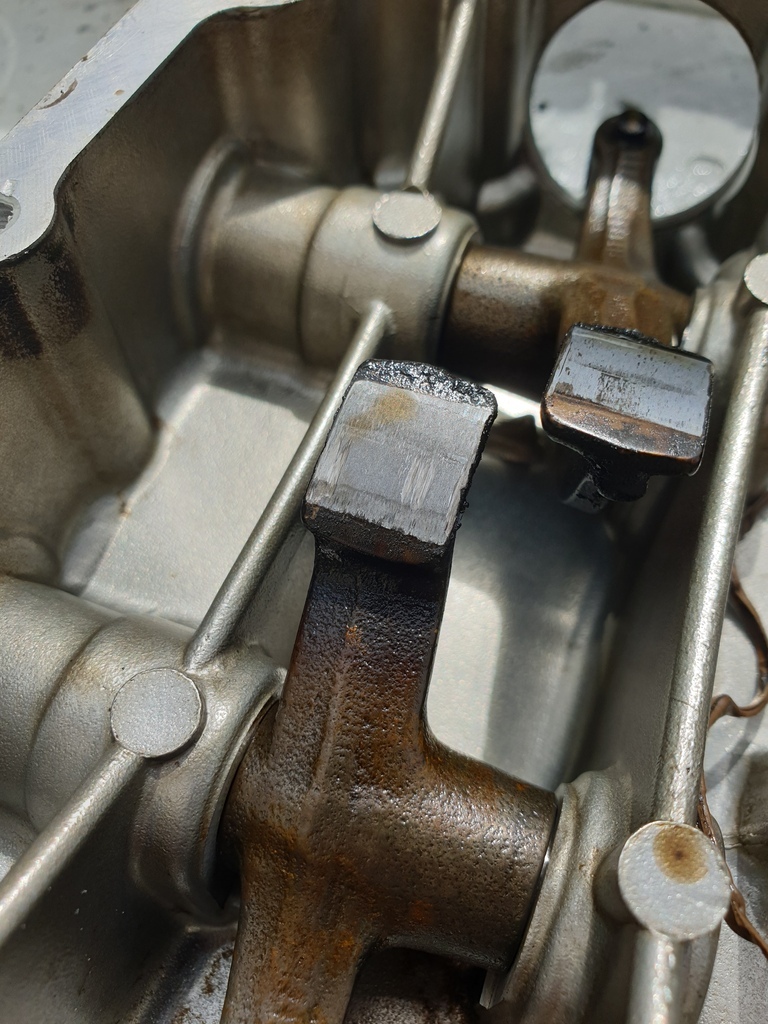
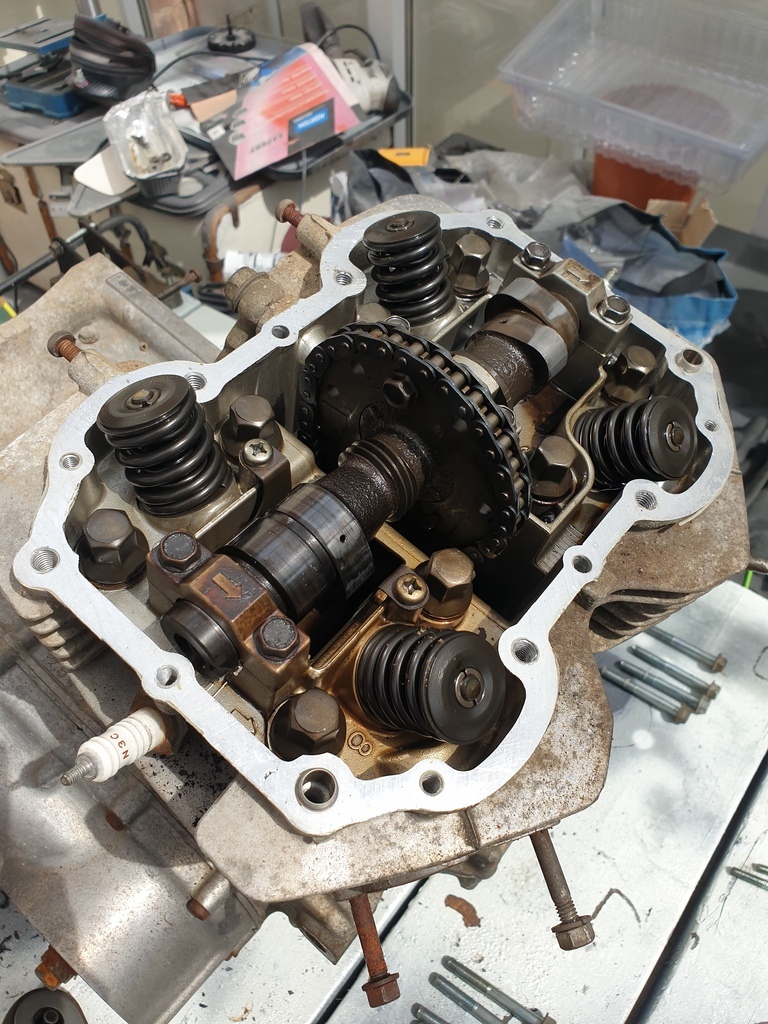
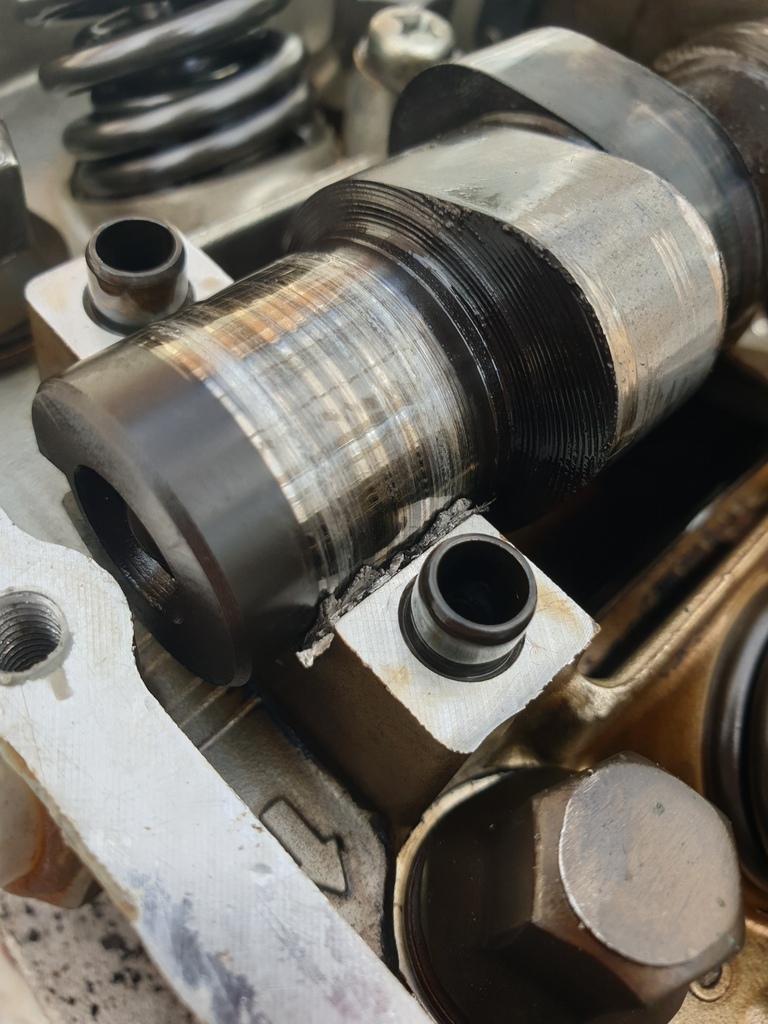
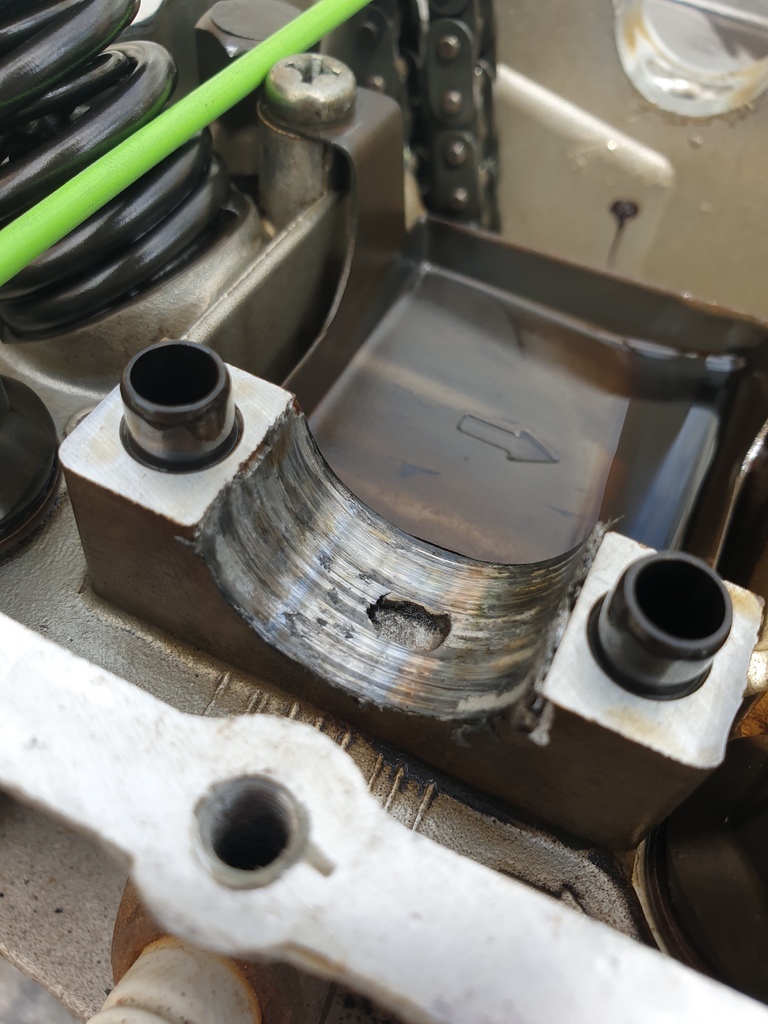
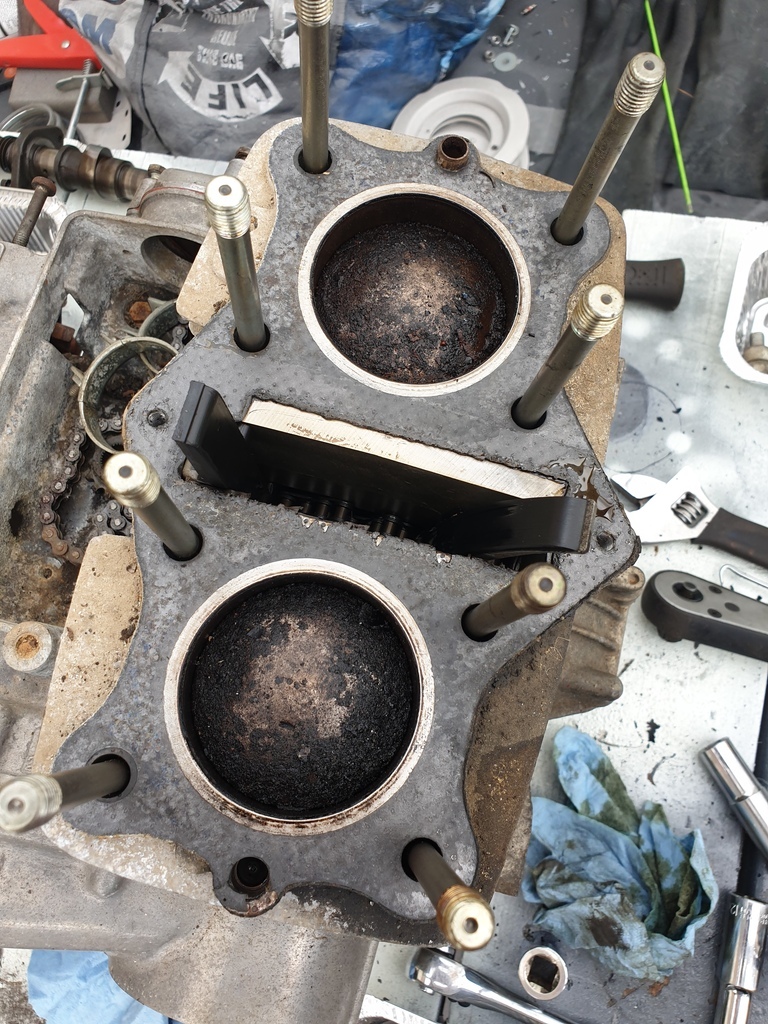
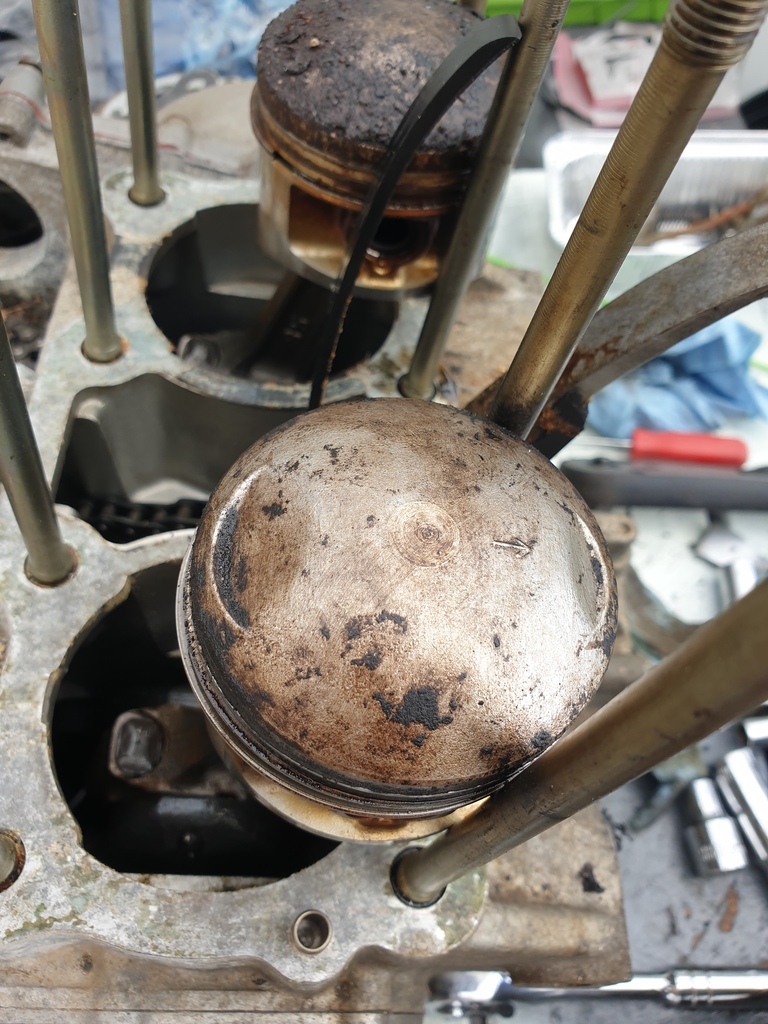
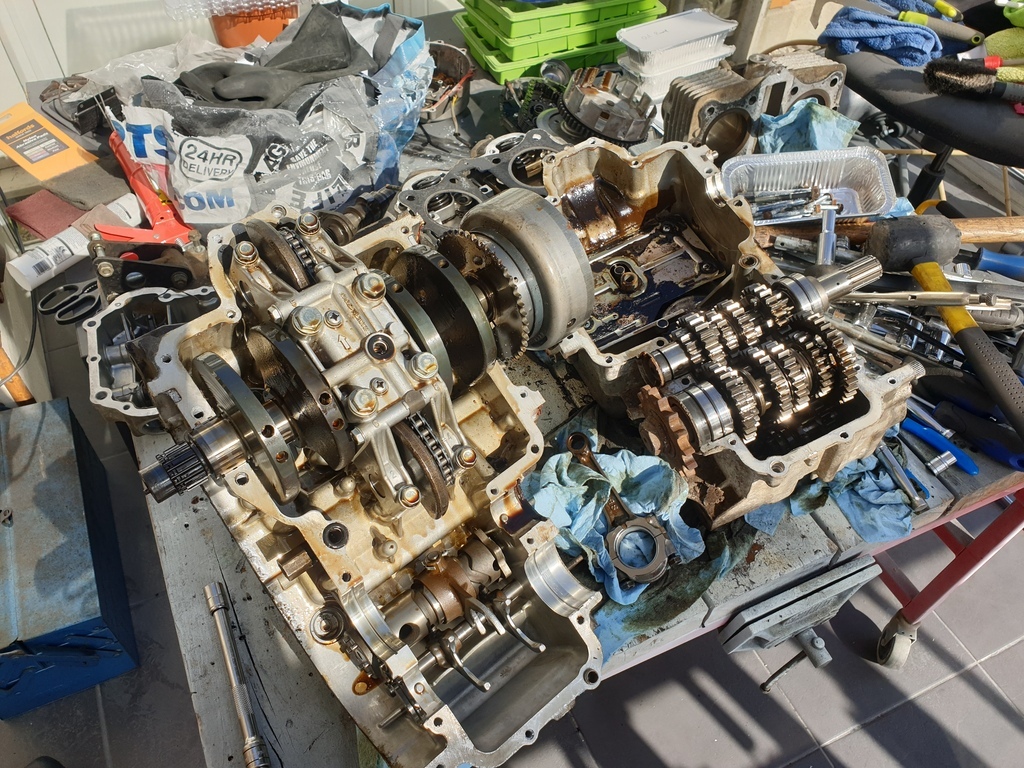
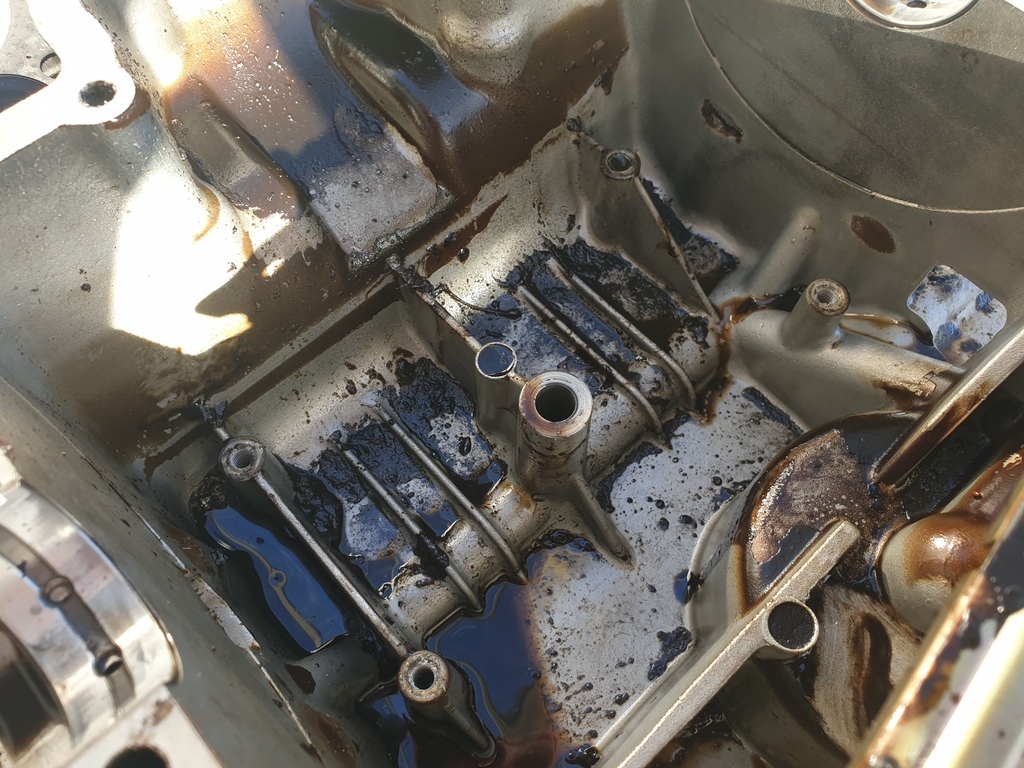
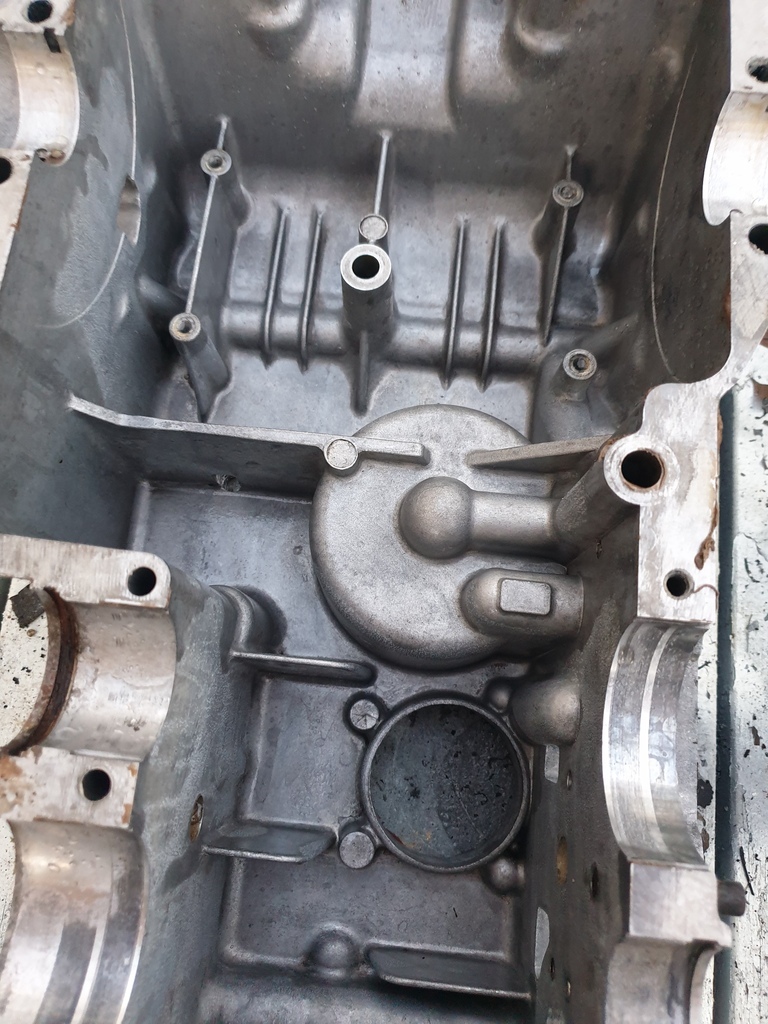
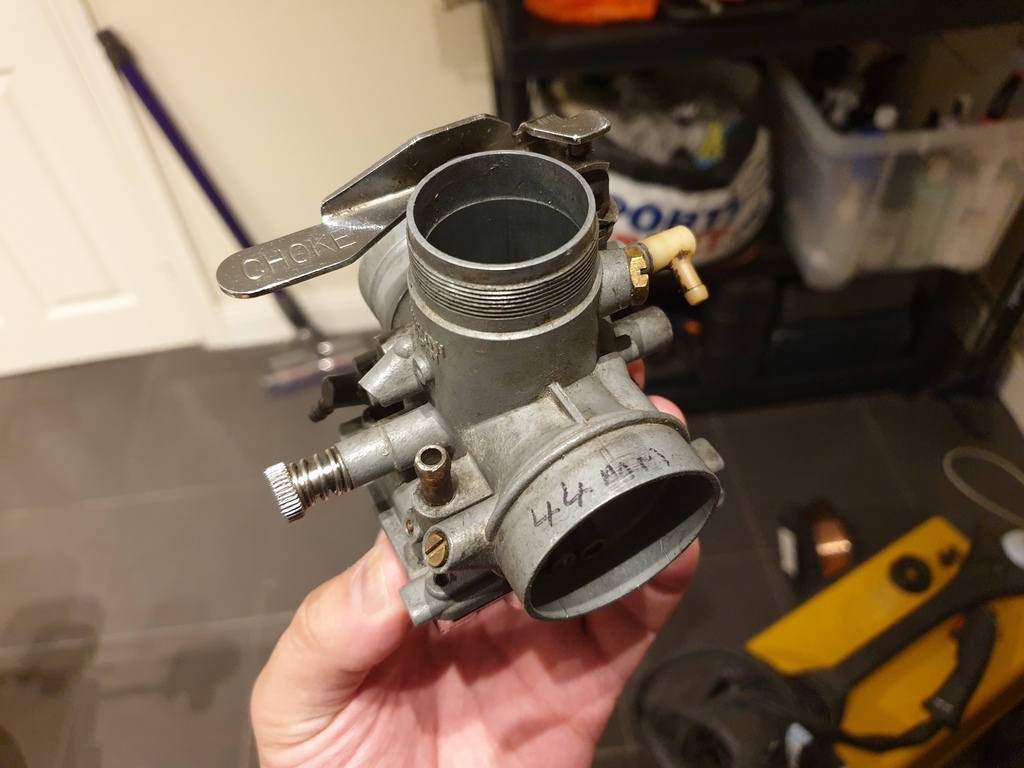
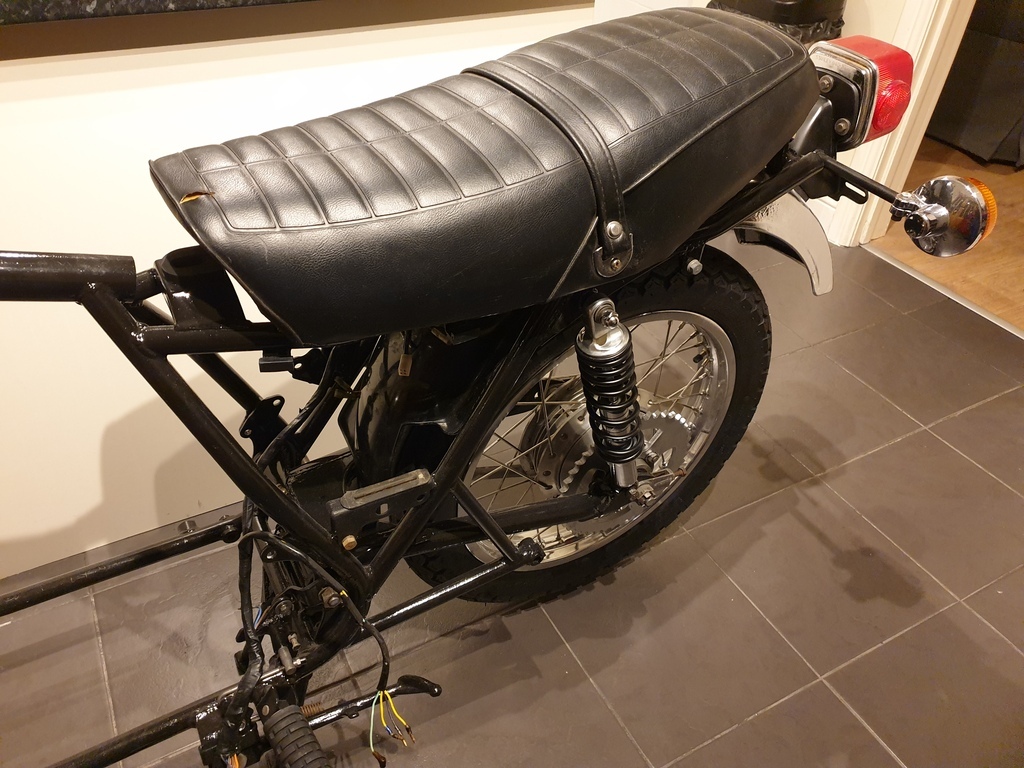
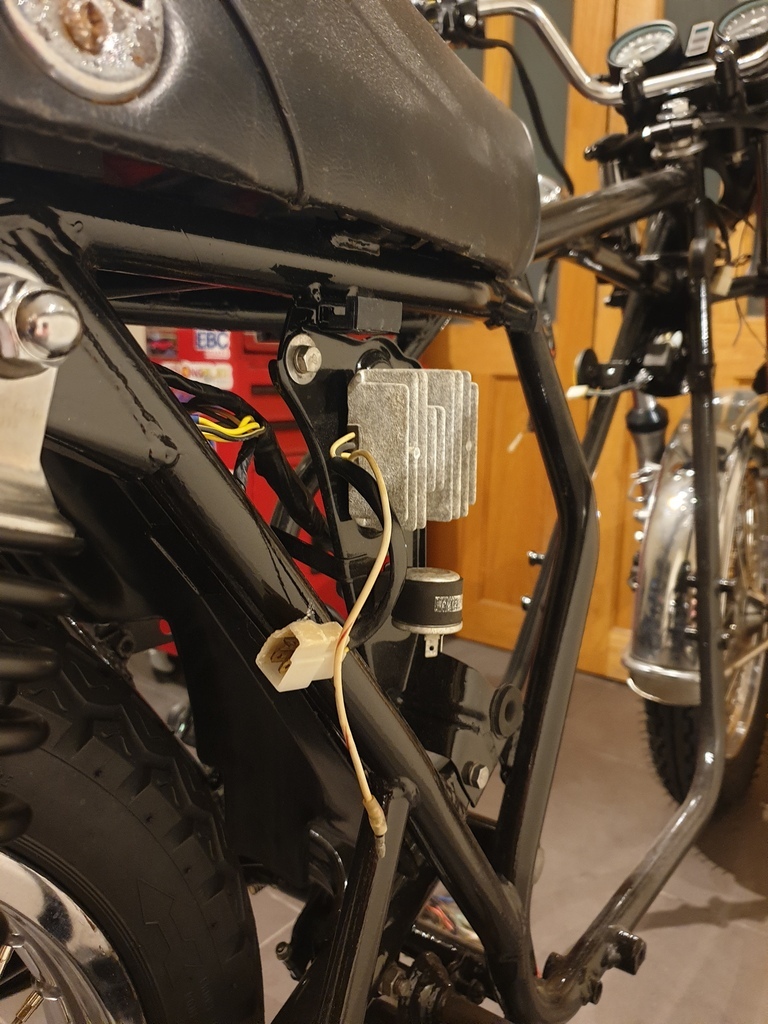
") I've been pretty happy with how it's been going so far, considering how I went into it with not much experience at all on old bikes, I think it certainly could have gone worse than it has so far!
I've been pretty happy with how it's been going so far, considering how I went into it with not much experience at all on old bikes, I think it certainly could have gone worse than it has so far!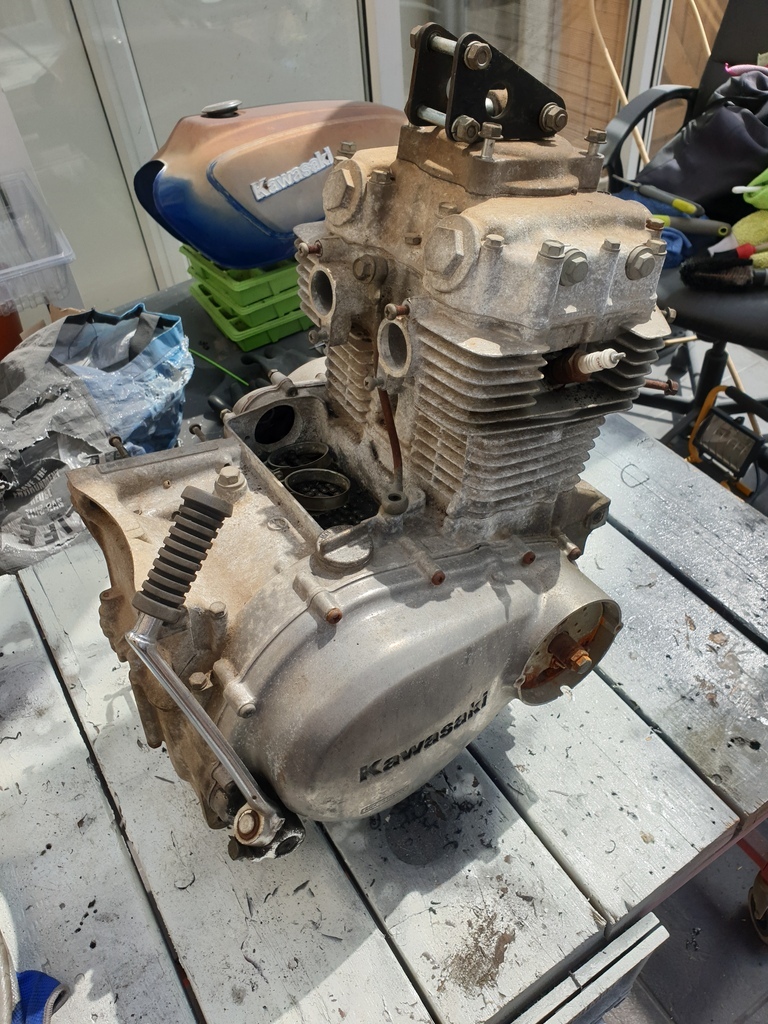
1979 KZ400 B Restoration/Recommission 08 Oct 2022 06:56 #875254
|
|
Please Log in or Create an account to join the conversation. |
1979 KZ400 B Restoration/Recommission 08 Oct 2022 07:12 #875256
|
|
Please Log in or Create an account to join the conversation. |
1979 KZ400 B Restoration/Recommission 08 Oct 2022 07:28 #875257
|
|
Please Log in or Create an account to join the conversation. |

1979 KZ400 B Restoration/Recommission 08 Oct 2022 07:47 #875258
|
|
Please Log in or Create an account to join the conversation. |
1979 KZ400 B Restoration/Recommission 08 Oct 2022 08:17 #875260
|
|
Please Log in or Create an account to join the conversation. |


1979 KZ400 B Restoration/Recommission 08 Oct 2022 09:03 #875263
|
|
Please Log in or Create an account to join the conversation. |
1979 KZ400 B Restoration/Recommission 08 Oct 2022 10:51 #875267
|
|
Please Log in or Create an account to join the conversation. |

