
Side Cover Emblem/Badge Removal
- BuckeyeKZ650
-
 Topic Author
- Offline
- User
-

Registered
- Posts: 1
- Thanks: 3
Side Cover Emblem/Badge Removal
19 Apr 2020 11:07 - 19 Apr 2020 13:14
I am in the process of "re-activating" my dormant 1978 KZ650-B2.
I stored it away in our outdoor garden shed in 2014. Bad idea to store outdoors without climate-control. Rust and corrosion has no respect - even though covered while in the shed.
Pushing it into my garage, I began restoration operations in November 2019. Tire rot, aluminum corrosion, minor chrome deterioration on the wheels. Dust, webs, even some mouse droppings . <sigh>
Anyway, my previously pristine tank now featured several small dot-areas of exterior rust. <sigh again>.
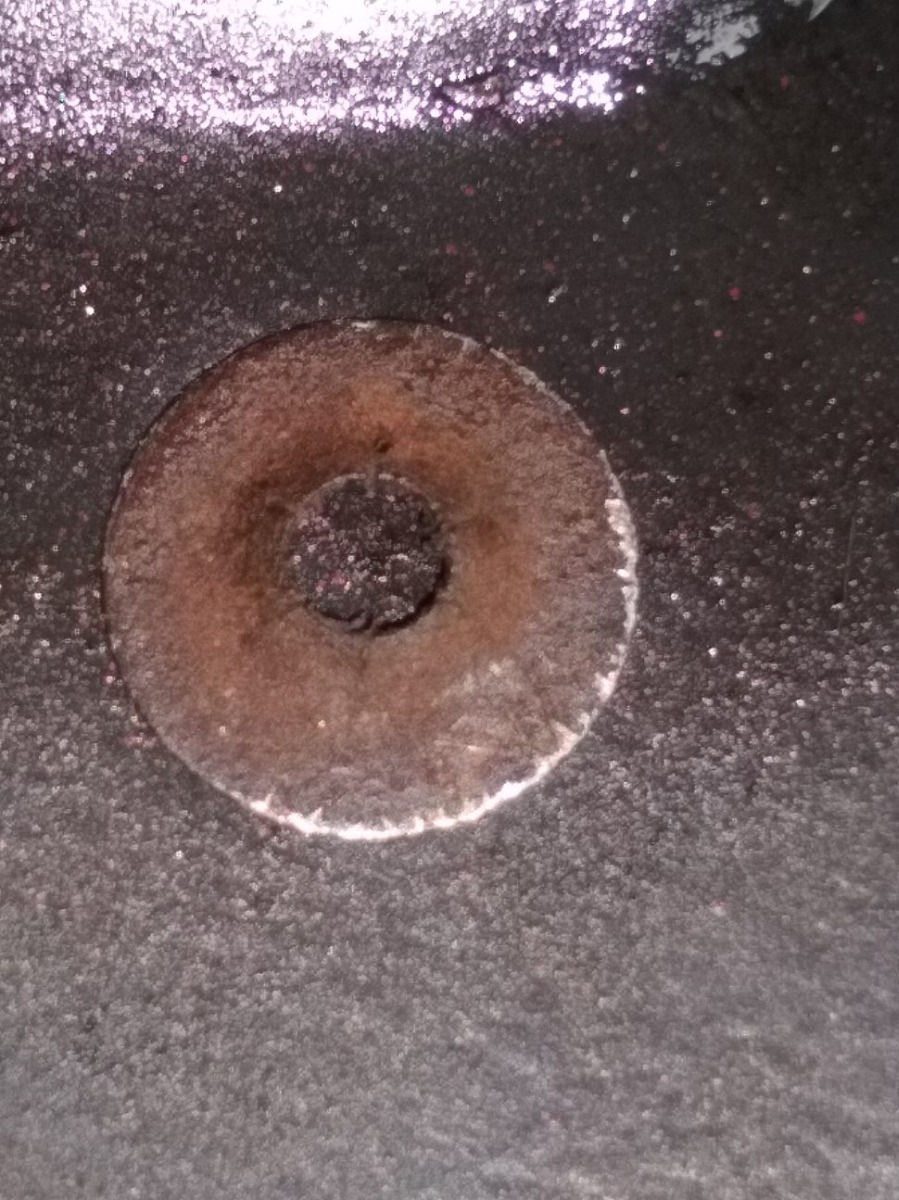
Repainting now required. Tank off. Tail off. Side covers off. Removing the tank badges - no problem. Screws out, emblems off.
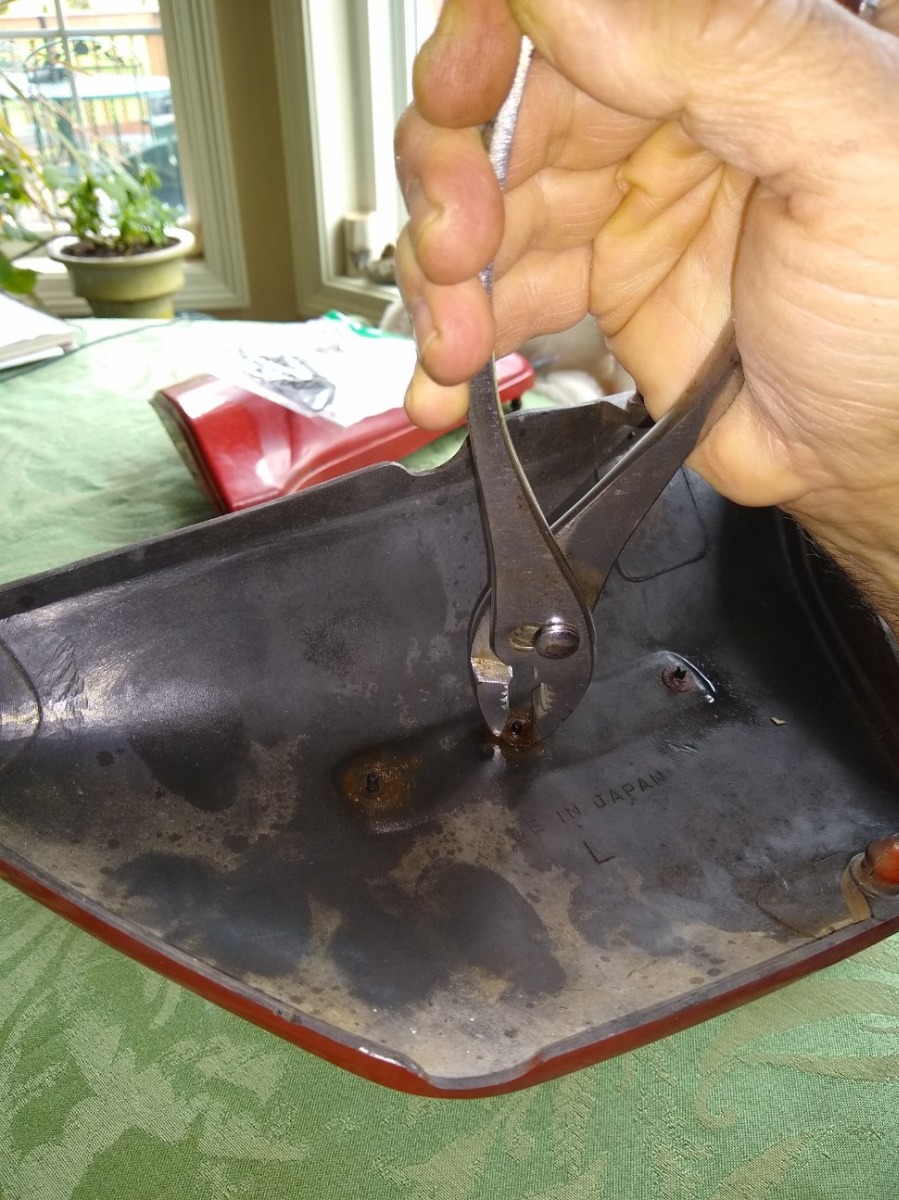
Not so simple with the plastic side covers. Checking online, all I could find was "impossible to remove" "so cut 'em off and epoxy them back on." I don't give up that easily. There HAS to be a way of removing them without damage. There IS. It's understanding HOW they were put on in the first place. They are machine-pressed on, yes. BUT to do that, each retainer ring must have relief cuts - in order to expand over the plastic pin. Each ring is THIN, but it STILL has thickness, even if it's 1/64 of an inch. Furthermore, because it is pressed over PLASTIC, it should be able to cut its own threads if angled just right. They do.
All it takes is patience, a steady hand, a light touch, some WD-40 to loosen the ring, and a GOOD pair of pliers. By GOOD, I mean it should be flat-nosed with jaws that actually meet perfectly. Not junk pliers.
1) Put your side panel, face down, on a piece of soft material (to protect the face).
2) CAREFULLY place the pliers over the ring, as to grab each side of the ring. PRESS DOWN gently and FEEL the bite on the ring edges. It may slip a few times, but you'll get the feel. Be gentle. but surgically firm.
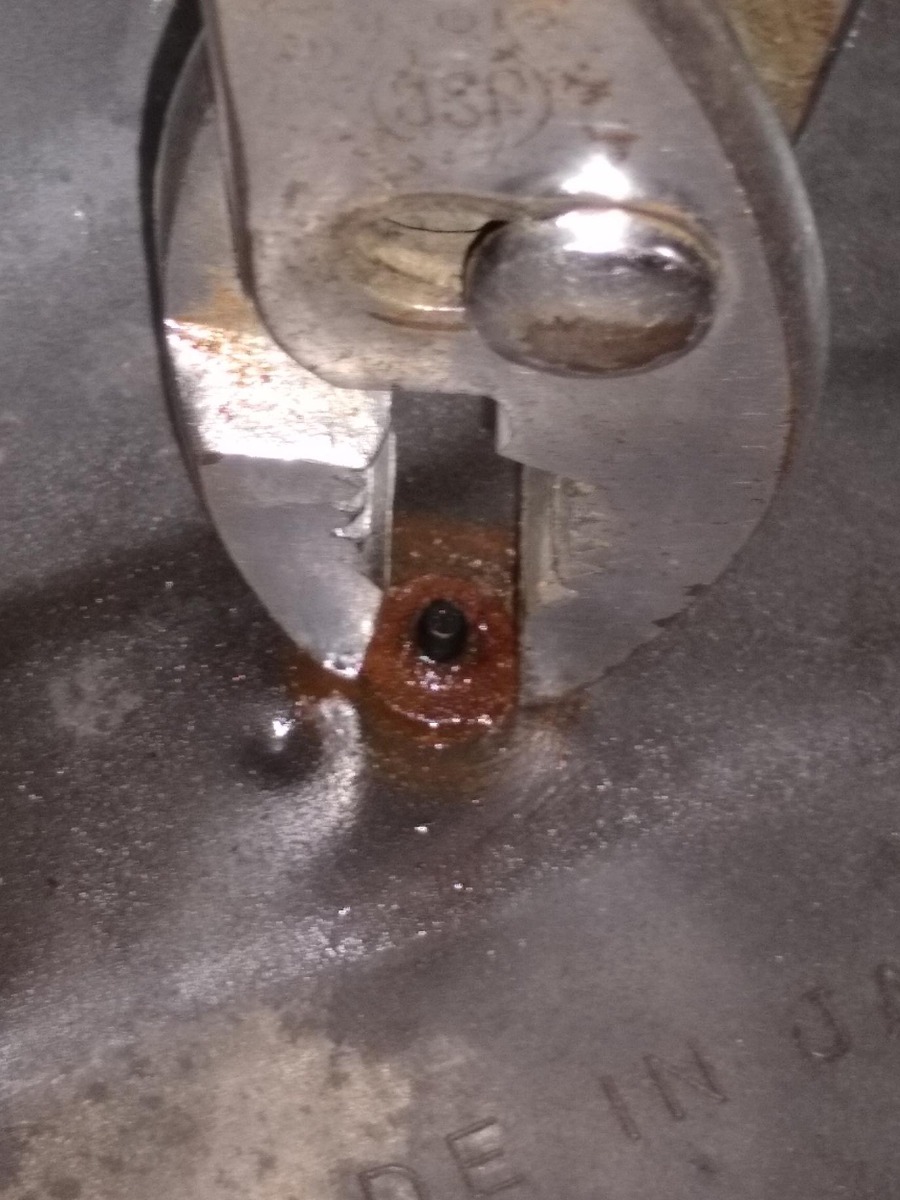
3) When you feel the edges bite, turn counter-clockwise, just like a nut. You may only be able to turn the ring slightly at first. It WILL slip several times. Each "turn" may only be a few degrees. Each attempt at turning should invite you to release the ring, resume the bite stage - press down around the ring, gently "bite" again. Turn. Release. Press down, bite, turn.
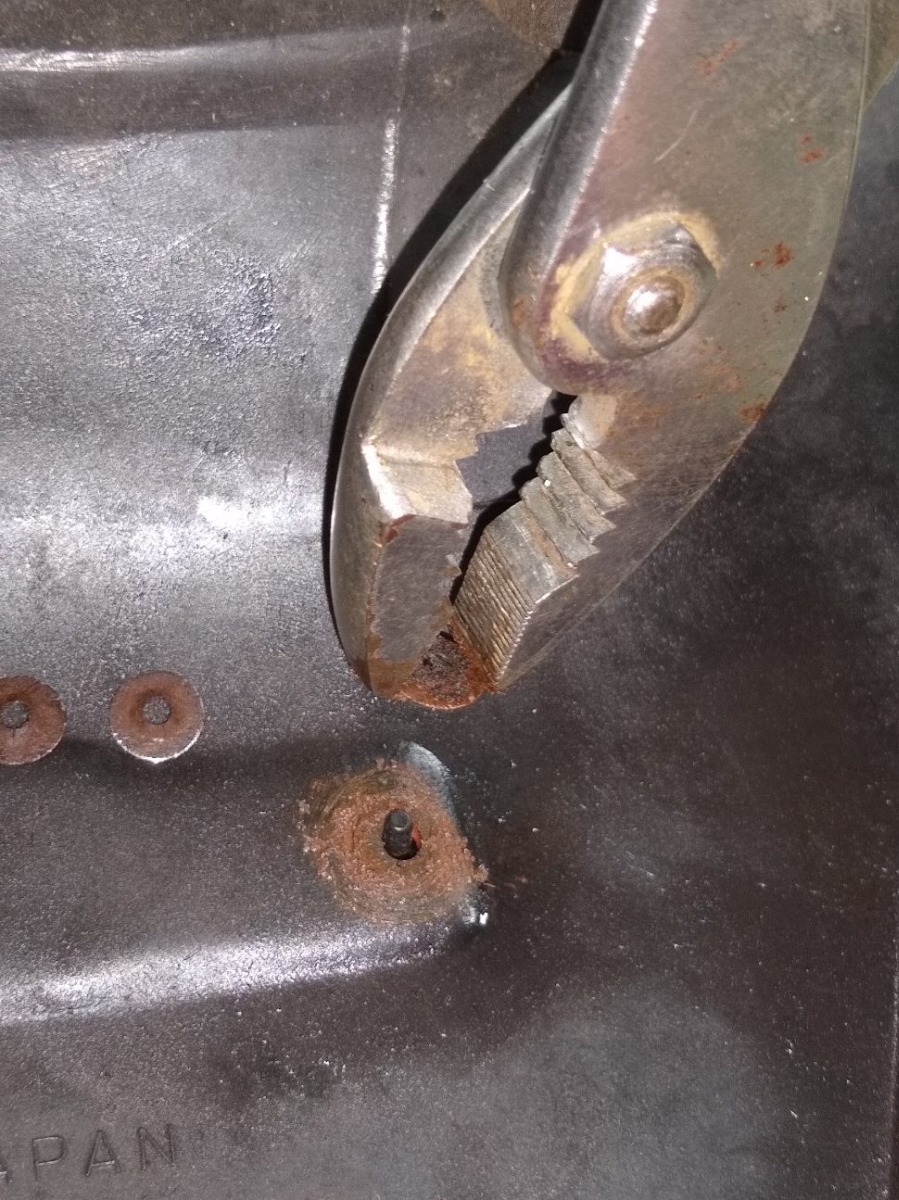
4) After a few small turns, the ring should have screwed upwards far enough to get a better bite. Once you have it, just hold that rig in the pliers and begin to turn the side cover while holding the ring. A slight angle of the cover will allow the ring to cut threads as it backs off.
There you go. You can remove all 3 ring retainers and release your emblem in 20-30 minutes.

I stored it away in our outdoor garden shed in 2014. Bad idea to store outdoors without climate-control. Rust and corrosion has no respect - even though covered while in the shed.
Pushing it into my garage, I began restoration operations in November 2019. Tire rot, aluminum corrosion, minor chrome deterioration on the wheels. Dust, webs, even some mouse droppings . <sigh>
Anyway, my previously pristine tank now featured several small dot-areas of exterior rust. <sigh again>.
Repainting now required. Tank off. Tail off. Side covers off. Removing the tank badges - no problem. Screws out, emblems off.
Not so simple with the plastic side covers. Checking online, all I could find was "impossible to remove" "so cut 'em off and epoxy them back on." I don't give up that easily. There HAS to be a way of removing them without damage. There IS. It's understanding HOW they were put on in the first place. They are machine-pressed on, yes. BUT to do that, each retainer ring must have relief cuts - in order to expand over the plastic pin. Each ring is THIN, but it STILL has thickness, even if it's 1/64 of an inch. Furthermore, because it is pressed over PLASTIC, it should be able to cut its own threads if angled just right. They do.
All it takes is patience, a steady hand, a light touch, some WD-40 to loosen the ring, and a GOOD pair of pliers. By GOOD, I mean it should be flat-nosed with jaws that actually meet perfectly. Not junk pliers.
1) Put your side panel, face down, on a piece of soft material (to protect the face).
2) CAREFULLY place the pliers over the ring, as to grab each side of the ring. PRESS DOWN gently and FEEL the bite on the ring edges. It may slip a few times, but you'll get the feel. Be gentle. but surgically firm.
3) When you feel the edges bite, turn counter-clockwise, just like a nut. You may only be able to turn the ring slightly at first. It WILL slip several times. Each "turn" may only be a few degrees. Each attempt at turning should invite you to release the ring, resume the bite stage - press down around the ring, gently "bite" again. Turn. Release. Press down, bite, turn.
4) After a few small turns, the ring should have screwed upwards far enough to get a better bite. Once you have it, just hold that rig in the pliers and begin to turn the side cover while holding the ring. A slight angle of the cover will allow the ring to cut threads as it backs off.
There you go. You can remove all 3 ring retainers and release your emblem in 20-30 minutes.
Last edit: 19 Apr 2020 13:14 by Street Fighter LTD.
The following user(s) said Thank You: CCrosswait, Rick H., KZNTX
Please Log in or Create an account to join the conversation.
- Street Fighter LTD
-
- Offline
- Moderator
-

Registered
- TURBO, Its Better to be Blown than Injected
- Posts: 5069
- Thanks: 2275
Re: Side Cover Emblem/Badge Removal
19 Apr 2020 13:15
Welcome to KZRider
I fixed your pictures for you , Next time hit the insert or insert all button
Dave
I fixed your pictures for you , Next time hit the insert or insert all button
Dave
Original owner 78 1000 LTD
Mr Turbo Race Kit, MTC 1075 Turbo pistons by PitStop Performance , Falicon Ultra Lite Super Crank, APE everything. Les Holt @ PDM's Billet Goodies . Frame by Chuck Kurzawa @ Logghe Chassis . Deep sump 5qt oil pan. RIP Bill Hahn
Please Log in or Create an account to join the conversation.
- Rick H.
-
- Offline
- User
-
Registered
- Posts: 840
- Thanks: 241
Re: Side Cover Emblem/Badge Removal
20 Apr 2020 12:48
Thanks for the tutorial. I find your choice of words very interesting when you say," surgically firm".
Rick H.
Rick H.
Rick H.
1977 Kawasaki KZ-1000A1
1977 Kawasaki KZ-1000A1
Please Log in or Create an account to join the conversation.
Moderators: Street Fighter LTD