
keeping oil ring from overlapping
- PLUMMEN
-
- Offline
- User
-

Registered
- Posts: 7986
- Thanks: 104
Re: keeping oil ring from overlapping
29 Nov 2009 08:29
Still recovering,some days are better than others.
Attachments:
Please Log in or Create an account to join the conversation.
- larrycavan
-

- User
-
Public
- Thanks: 0
Re: keeping oil ring from overlapping
29 Nov 2009 13:51
9am53 wrote:
Yep. You already put the block on once so you know the ins and outs of the process. Now you know to watch those expander rings. You'll be fine.
Remember to lube up the head nuts and washers when you install the head. Also lube the cam cap bolts when you install them.
After you run the motor the first time, let it get stone cold, then go over the head nuts again with the torque wrench set to max torque for your studs.
If you lube the nuts and washers, you won't need to crack the nuts loose. Just torque them.
hmm, interesting. to be honest, after hearing how to use the clamps properly I think I will try it just with my hands and a chop stick. I have a buddy there to help me out so I will have a nother pair of hands to move the block down for me. I will post results hopefully tonight!
Yep. You already put the block on once so you know the ins and outs of the process. Now you know to watch those expander rings. You'll be fine.
Remember to lube up the head nuts and washers when you install the head. Also lube the cam cap bolts when you install them.
After you run the motor the first time, let it get stone cold, then go over the head nuts again with the torque wrench set to max torque for your studs.
If you lube the nuts and washers, you won't need to crack the nuts loose. Just torque them.
Please Log in or Create an account to join the conversation.
- APE Jay
-
- User
-
Public
- Thanks: 0
Re: keeping oil ring from overlapping
29 Nov 2009 17:19
I will add a couple of things. Popcycle sticks were invented for installing piston rings. ")
When lubing cam cap bolts, as Larry stated, don't go overboard. It is possible to get too much assembly lube in the hole, then trying to torque the bolt down, it won't compress.
We always manage to machine a good chamfer on the sleeve, even in big bores. In our machines, we bore the blocks upside down so we can chamfer them.
Please Log in or Create an account to join the conversation.
- 9am53
-
 Topic Author
- Offline
- User
-
Registered
- homebrew, and some bbq
- Posts: 1787
- Thanks: 3
Re: keeping oil ring from overlapping
29 Nov 2009 17:24 - 29 Nov 2009 17:52
Just got back...I went out at 10 this morning, and just got in. I'll fast forward to the end: I got it done. Now back to the beginning. I went in kind of worried about putting rings in for the first time, and I sure am glad I did it, and I really am glad it's done! I managed to almost get it all back together, and I thought to myself "this aint so bad!" but I noticed that I could not get the block all the way down, something was wrong. I pulled it apart again only to find that one of my oil rings had bent when I got it into the block. The bottom half inch of that cylinder had a scratch in it. I honed that hole again, 3rd time now, and got it basically out, it's still there but only barely. I figure I am going to be going up to 1135cc in a couple years so I can deal with it not being perfect, and how much action does the bottom 1/2 inch actually see anyways?!?
I digress, now this part I may catch some flak for. I didn't have another set of rings, so I went through the old rings and found a good oil ring to use. It was not the expander, but one of the other 2 rings that I re-used. It was in nice shape so I put it in. :S This all took me about a couple hours, and I was by myself the whole time. I thought it would take me no time to get it in again, and my buddies showed up so I would have help too. I was wrong, we worked on it together for hours, and every time I thought we had it something messed up, whether it was the chain guides going outside of the block forcing me to take it all off and start again, or the little square thing with the "R" on it that holds the rear guide on popping out and again forcing me to start over, it was a nightmare.
SO after a few hours of struggling I took a break, had a couple beers and fixed the parking brake on my truck.
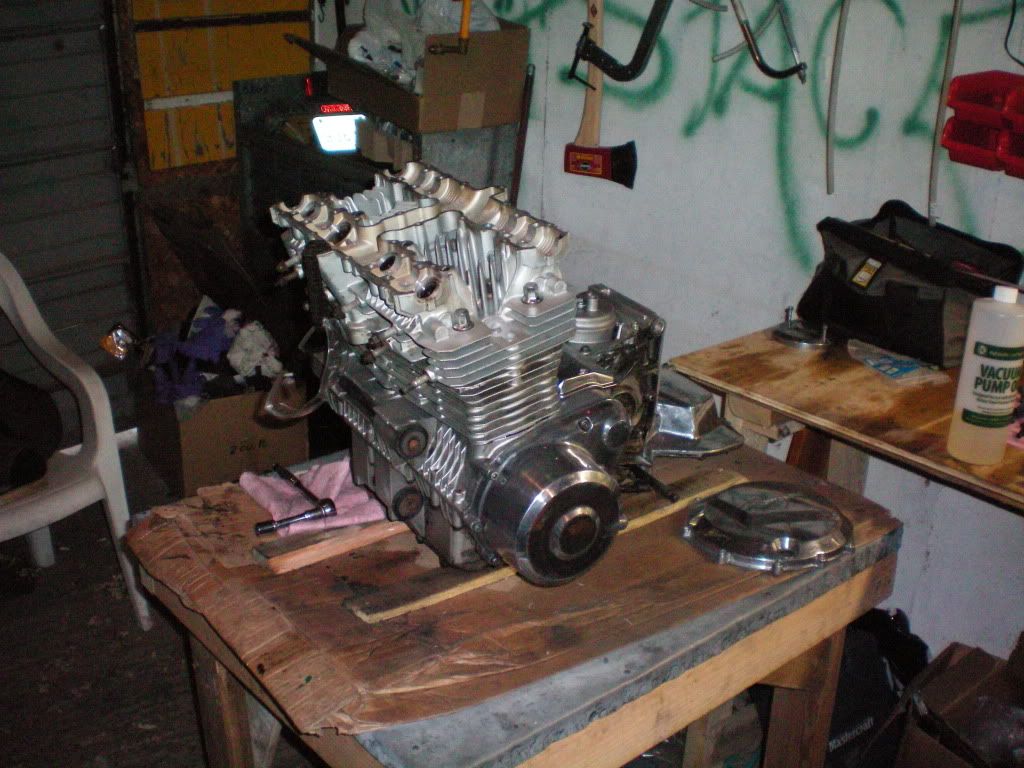
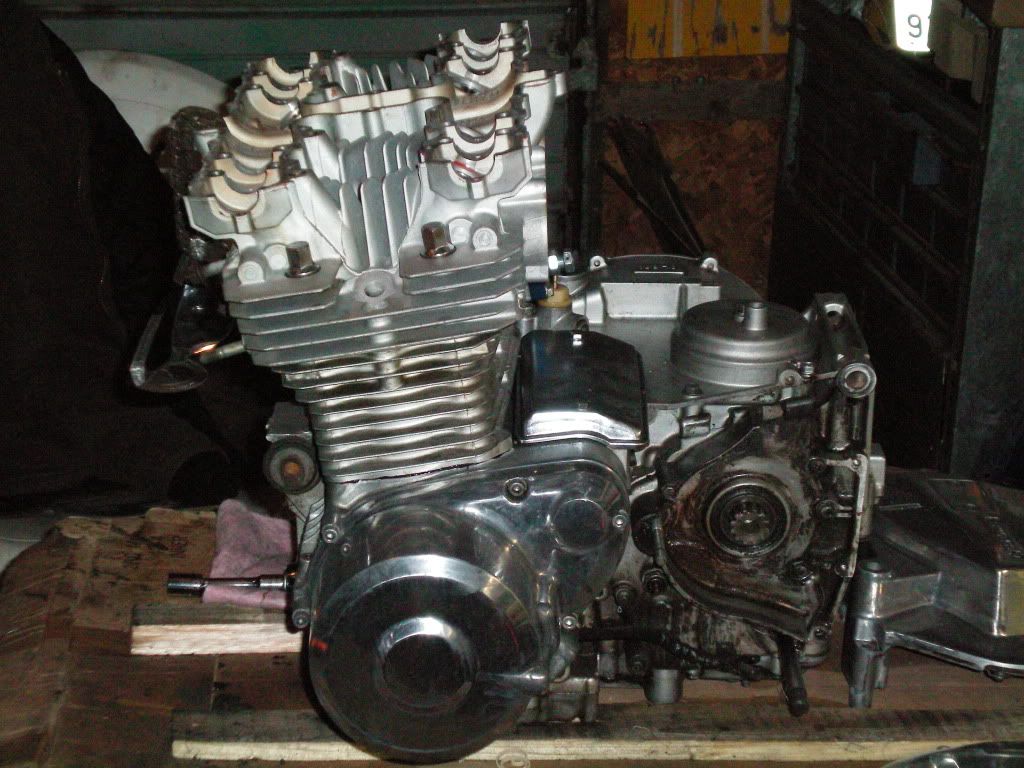
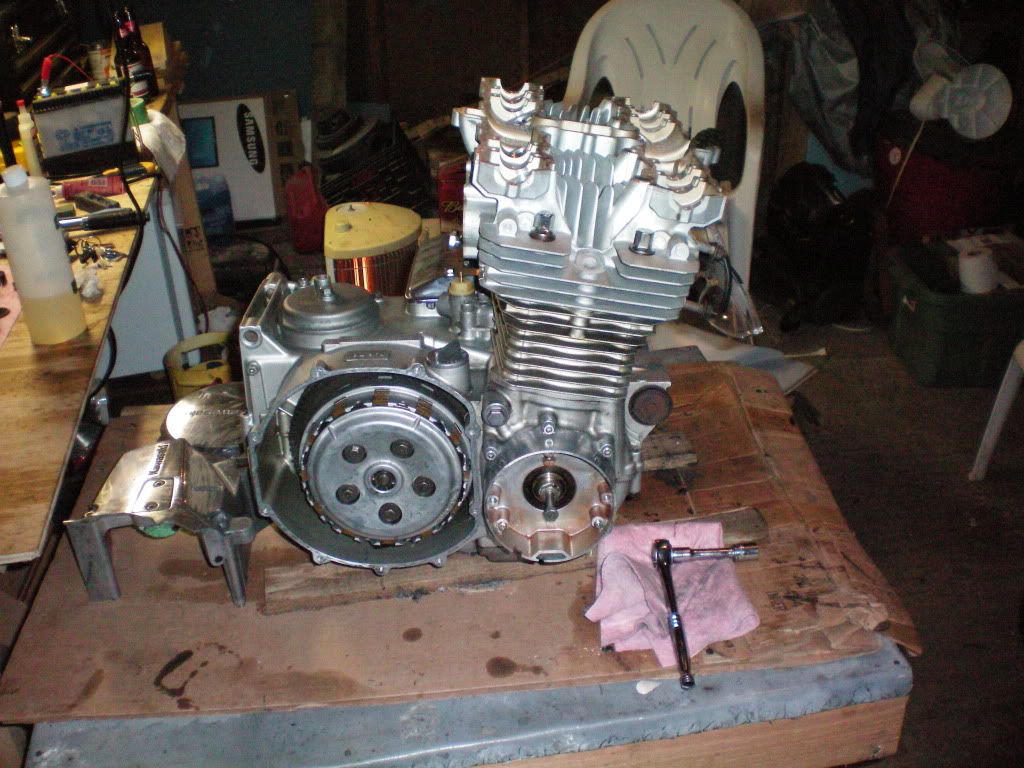
Back at 'er I went, I was not going to let this stop me today! I worked at it for another hour, and I got it on, this time no problems, the crank turns over nice and easy. I bolted the head on and torqued it down to 29 foot pounds and let out a fat sigh of relief. I did some more painting prep work as well afterward, so I can't say that it took me 10 hours to put the rings on...which would be pretty embarrassing :blush:
Here are some pics, now that I figured photobucket out I love posting!
NOOB TIP: Doing this kind of thing may actually be better done by yourself, I think my friends showing up kinda put me under the gun and made me less efficient at doing the job. Overall it wasn't that hard per se, the hardest thing for me was once the middle pistons were in the bores making sure that the outer 2, which are low so you can't really get a good grip, go in straight. They always seemed to want to go in slightly on an angle, so I had to back them out and try again, but I would always back out too much and pull other pistons out too. This is why it took me so long. I am really patient so I managed to stick through it for hours of getting one in, then another popping out, then getting it in, and something else going wrong... Next time I will try Larry's hose clamp directions above, they can't end up making it any worse!!! lol
So yeah, I hope I didn't disappoint anyone with my ring re-use, I was at my wits end, and I didn't want to wait 2 weeks for another set to come, I kinda of feel like a butcher...
I digress, now this part I may catch some flak for. I didn't have another set of rings, so I went through the old rings and found a good oil ring to use. It was not the expander, but one of the other 2 rings that I re-used. It was in nice shape so I put it in. :S This all took me about a couple hours, and I was by myself the whole time. I thought it would take me no time to get it in again, and my buddies showed up so I would have help too. I was wrong, we worked on it together for hours, and every time I thought we had it something messed up, whether it was the chain guides going outside of the block forcing me to take it all off and start again, or the little square thing with the "R" on it that holds the rear guide on popping out and again forcing me to start over, it was a nightmare.
SO after a few hours of struggling I took a break, had a couple beers and fixed the parking brake on my truck.
Back at 'er I went, I was not going to let this stop me today! I worked at it for another hour, and I got it on, this time no problems, the crank turns over nice and easy. I bolted the head on and torqued it down to 29 foot pounds and let out a fat sigh of relief. I did some more painting prep work as well afterward, so I can't say that it took me 10 hours to put the rings on...which would be pretty embarrassing :blush:
Here are some pics, now that I figured photobucket out I love posting!
NOOB TIP: Doing this kind of thing may actually be better done by yourself, I think my friends showing up kinda put me under the gun and made me less efficient at doing the job. Overall it wasn't that hard per se, the hardest thing for me was once the middle pistons were in the bores making sure that the outer 2, which are low so you can't really get a good grip, go in straight. They always seemed to want to go in slightly on an angle, so I had to back them out and try again, but I would always back out too much and pull other pistons out too. This is why it took me so long. I am really patient so I managed to stick through it for hours of getting one in, then another popping out, then getting it in, and something else going wrong... Next time I will try Larry's hose clamp directions above, they can't end up making it any worse!!! lol
So yeah, I hope I didn't disappoint anyone with my ring re-use, I was at my wits end, and I didn't want to wait 2 weeks for another set to come, I kinda of feel like a butcher...
'84 GPz900r
'71 CB350
s289.photobucket.com/albums/ll231/9am53/
'71 CB350
s289.photobucket.com/albums/ll231/9am53/
Last edit: 29 Nov 2009 17:52 by 9am53.
Please Log in or Create an account to join the conversation.
- keith1
-
- Offline
- User
-
Registered
- Posts: 1654
- Thanks: 2
Re: keeping oil ring from overlapping
29 Nov 2009 18:58
well, ya got it done.....its the hardest part for us top end rookies.....like i said previously, i had help that was experienced and we still had to dick around for a few minutes..a lot of shit wants to move around as you are trying to set those jugs down straight......the only thing you have to get right now is the cam timing which isnt rocket science,but somehow i screwed up the first time...on my ride i had them 28 pins apart , but didnt have the mark close enough to the top of the head casing as shown in manual.....out of phase just enough that the bike went down the road well, but did nt idle for shit.......
Please Log in or Create an account to join the conversation.
- 9am53
-
Topic Author
- Offline
- User
-
Registered
- homebrew, and some bbq
- Posts: 1787
- Thanks: 3
Re: keeping oil ring from overlapping
30 Nov 2009 04:56
We will see how well I did when I start it up. I am nervous as all hell. I do take solace in the fact that this is not going to be a stock bike and if I messed up my rings or my cylinders or something I have no problems replacing them. Next time this will be easier since I will know more what I am doing, and I will try out the hose clamp. Live and learn I guess, who knows in the spring I may find it's all good! If it blows up for some reason I will likely shoot myself
'84 GPz900r
'71 CB350
s289.photobucket.com/albums/ll231/9am53/
'71 CB350
s289.photobucket.com/albums/ll231/9am53/
Please Log in or Create an account to join the conversation.
- larrycavan
-
- User
-
Public
- Thanks: 0
Re: keeping oil ring from overlapping
04 Dec 2009 03:12
9am53 wrote:
Next time, get all 4 pistons even and install the block that way instead of in pairs. I find it easier that way.
Just got back...I went out at 10 this morning, and just got in. I'll fast forward to the end: I got it done. Now back to the beginning. I went in kind of worried about putting rings in for the first time, and I sure am glad I did it, and I really am glad it's done! I managed to almost get it all back together, and I thought to myself "this aint so bad!" but I noticed that I could not get the block all the way down, something was wrong. I pulled it apart again only to find that one of my oil rings had bent when I got it into the block. The bottom half inch of that cylinder had a scratch in it. I honed that hole again, 3rd time now, and got it basically out, it's still there but only barely. I figure I am going to be going up to 1135cc in a couple years so I can deal with it not being perfect, and how much action does the bottom 1/2 inch actually see anyways?!?
I digress, now this part I may catch some flak for. I didn't have another set of rings, so I went through the old rings and found a good oil ring to use. It was not the expander, but one of the other 2 rings that I re-used. It was in nice shape so I put it in. :S This all took me about a couple hours, and I was by myself the whole time. I thought it would take me no time to get it in again, and my buddies showed up so I would have help too. I was wrong, we worked on it together for hours, and every time I thought we had it something messed up, whether it was the chain guides going outside of the block forcing me to take it all off and start again, or the little square thing with the "R" on it that holds the rear guide on popping out and again forcing me to start over, it was a nightmare.
SO after a few hours of struggling I took a break, had a couple beers and fixed the parking brake on my truck.
Back at 'er I went, I was not going to let this stop me today! I worked at it for another hour, and I got it on, this time no problems, the crank turns over nice and easy. I bolted the head on and torqued it down to 29 foot pounds and let out a fat sigh of relief. I did some more painting prep work as well afterward, so I can't say that it took me 10 hours to put the rings on...which would be pretty embarrassing :blush:
Here are some pics, now that I figured photobucket out I love posting!
NOOB TIP: Doing this kind of thing may actually be better done by yourself, I think my friends showing up kinda put me under the gun and made me less efficient at doing the job. Overall it wasn't that hard per se, the hardest thing for me was once the middle pistons were in the bores making sure that the outer 2, which are low so you can't really get a good grip, go in straight. They always seemed to want to go in slightly on an angle, so I had to back them out and try again, but I would always back out too much and pull other pistons out too. This is why it took me so long. I am really patient so I managed to stick through it for hours of getting one in, then another popping out, then getting it in, and something else going wrong... Next time I will try Larry's hose clamp directions above, they can't end up making it any worse!!! lol
So yeah, I hope I didn't disappoint anyone with my ring re-use, I was at my wits end, and I didn't want to wait 2 weeks for another set to come, I kinda of feel like a butcher...
Next time, get all 4 pistons even and install the block that way instead of in pairs. I find it easier that way.
Please Log in or Create an account to join the conversation.
- 9am53
-
Topic Author
- Offline
- User
-
Registered
- homebrew, and some bbq
- Posts: 1787
- Thanks: 3
Re: keeping oil ring from overlapping
04 Dec 2009 04:18
cool, thanks. I noticed that not only did I scratch a cylinder, but I put a gouge in the top edge of the cylinder, right where the head gasket will sit on. I will get pics and hopefully post tonight. Did I totally mess up? or will this still be useable
'84 GPz900r
'71 CB350
s289.photobucket.com/albums/ll231/9am53/
'71 CB350
s289.photobucket.com/albums/ll231/9am53/
Please Log in or Create an account to join the conversation.
- larrycavan
-
- User
-
Public
- Thanks: 0
Re: keeping oil ring from overlapping
04 Dec 2009 12:42
APE Jay wrote:
Jay,
I've had 1075 bores with practically nothing for chamfer. The bores are good and straight but the car builders install pistons from the top side. They don't understand what we're up against...... :laugh:
If you were close to me, I'd send all my bore jobs over to you...
I will add a couple of things. Popcycle sticks were invented for installing piston rings.
When lubing cam cap bolts, as Larry stated, don't go overboard. It is possible to get too much assembly lube in the hole, then trying to torque the bolt down, it won't compress.
We always manage to machine a good chamfer on the sleeve, even in big bores. In our machines, we bore the blocks upside down so we can chamfer them.
Jay,
I've had 1075 bores with practically nothing for chamfer. The bores are good and straight but the car builders install pistons from the top side. They don't understand what we're up against...... :laugh:
If you were close to me, I'd send all my bore jobs over to you...
Please Log in or Create an account to join the conversation.
- PLUMMEN
-
- Offline
- User
-
Registered
- Posts: 7986
- Thanks: 104
Re: keeping oil ring from overlapping
04 Dec 2009 13:05
Larry:if you can show me how to install pistons in a bigblock chevy from the bottem ill be extremely impressed! :laugh:
Still recovering,some days are better than others.
Please Log in or Create an account to join the conversation.
- mark1122
-

- Offline
- User
-
Registered
- Keep twisting it
- Posts: 5359
- Thanks: 109
Re: keeping oil ring from overlapping
04 Dec 2009 14:00
I find it easier to do the center 2 first then the outside 2. but I put a pieces of wood under the 2 piston I’m working on. I cut a slot in the wood to fit around the rod. the pistons sit on the wood. this holds the piston level so u don’t have to worry about them rocking. Works for me.
76 KZ, frame gusset work,1200CC.Ported by Larry Cavanaugh, 1.5mm.over intakes, Carron Pipe, ZRX12 rear end, and seat,96zx9 front end.
01 CBR600F4i Track bike.
Cobourg, Ont. Can.
~ ~ ~_@
~ ~ _- \,
~ (k) / (z)
01 CBR600F4i Track bike.
Cobourg, Ont. Can.
~ ~ ~_@
~ ~ _- \,
~ (k) / (z)
Please Log in or Create an account to join the conversation.
- hoghaterkaw
-

- Offline
- User
-
Registered
- Posts: 152
- Thanks: 1
Re: keeping oil ring from overlapping
05 Dec 2009 11:38
9am53 wrote:
here you go, check these out.
pitposse.com/piriin.html
I put new rings on my bike last night, and put the pistons on the rods in preparation for sliding the block on tonight. One thing that kept me from putting the block on last night was the fact that my expander rings seem to have a propensity for overlapping, which my manual explains will cause oil burnage. Are there any tips for keeping the ends from overlapping when I slide them into the cylinders?
here you go, check these out.
pitposse.com/piriin.html
Please Log in or Create an account to join the conversation.
Moderators: Street Fighter LTD