How to rebuild a calliper by Murphyau: From his former site...
Rebuilding Brake Callipers
There are three key points that I believe you need to seriously consider before you attempt this task.
Your life and the lives of others will depend on your brakes.
Your brake system is made up of 3 sections. 1) the calliper, 2) the hoses and 3) the master cylinder. All 3 sections contain rubber pieces that are now over 25 years old. If you are going to service the calliper, then serious consideration should be given to servicing the master cylinder and to replacing the hoses as well.
This is not a difficult job provided you take your time and do the job properly. It does not require any special tools other than access to an air compressor. It does require a clean dust free working area.
Read through the following article. It is based on my experience but if you feel in any way unsure that you can do this task, then stop and get professional help. Remember, its your life at risk.
Preparation
Buy the required repair kits for your callipers. Dennis Kirk, PartsNmore and Kawasaki all have these available. There are different styles depending on the model of calliper, so make sure you get the correct one.
Obtain 1 or 2 empty soft drink bottles depending on how many callipers you have and wash them out and allow them to dry completely.
Find someone with an air compressor who will let you use it for 5 minutes.
Down and Dirty
Once the kits arrive, set up some work bench space in the garage that is clean and dust / dirt free. Read that again "clean and dust / dirt free" means just that. If you wont eat your dinner there, then its not clean enough !!
Remove the bolt holding the brake hose to the calliper and stick each hose into an empty soft drink bottle. This will allow the brake fluid to drip out of the hose without getting all over the place. WARNING -- brake fluid will damage any paint work its get on. Take extra, extra care not to splash it on any paint or to get it on your hands and then you touching any paint work. If you do get any brake fluid on the paint work, WASH it off immediately with soapy water. Don't wipe it off as this just spreads it around so that there is a larger area damaged.
Remove the callipers off the fork legs and move over to the work area.
Remove the two brake pads (a screw holds the fixed pad in).
Remove the 2 nuts from the rear of the calliper. You will need a ring spanner or a socket spanner.
Using a rotating action slide / twist the bolts out of the calliper. They are not screwed in but there are 2 O-rings on each bolt that will give a little resistance.
Rotate the calliper hanger backwards out of the calliper. It only can come out one way and no real force is needed.
There is rubber dust seal around the piston. At the top, the rubber boot just sits into a grove on the piston. On the bottom the boot is held in by a metal ring clip. You should be able to peel the rubber dust boot over the top of the ring clip.
Use care here as you do not want to damage the ring clip. Once you have the rubber boot off, put a small flat screwdriver under the lip of the ring clip and pry it up a little. Work your way around the ring clip, prying it up a little at a time. Eventually it will pop out.
Put all the loose nuts, screws, plates, boots, etc in a plastic bag and seal the bag.
Take the calliper to the air compressor.
Put a fold a piece of cloth so that it is double thickness and place it into the calliper between the piston and the calliper frame.
Fit the compressor hose over the hose bolt hole and feed some compressed air into the calliper. Most places will have an air hose nozzle attachment used for "dusting / blowing air" which looks a bit like a garden hose nozzle. I just wrapped some tape around the nozzle and held it in to the bolt hose hole. You don't need an "air tight" connection, just so long as some compressed air is getting into the calliper.
The compressed air will push the calliper out and hopefully the rag will stop it flying across the room.
WARNING - keep your fingers out of the way of the piston. make sure everyone is out of the "line of fire" of the piston in case it come out with a rush.
NOTE - I usually start with the compressor below 20 psi, push my air hose into the calliper and let the air pressure build up slowly from there. If you start off with 150 psi, it is likely the piston will come out like a bullet.
Remove the compressed air once the piston is clear of the calliper housing and go back to our "dust free" work area
Using a small fine screwdriver blade, carefully pry out the rubber piston seal from the calliper.
Remove the small brake bleed nozzle from the calliper
OK, everything is now apart
Thoroughly clean all the metal pieces in kerosene and dry before re-assembly
Inspect the piston for signs of rust and corrosion. If there is ONLY light corrosion/ rust on the piston then remove it with very fine emery paper or wet/dry sandpaper. WARNING - do not sand a "flat spot" on the calliper. If there is significant rust damage or rust pitting on the side of the piston, then the piston should be replaced.
Inspect and clean the piston cavity in the calliper frame for corrosion, particularly up around the piston seal ring area. I use a small fine wire bush to clean the seal grove.
Inspect and clean the piston boot ring clip
You may wish to clean up and re-spray the outside of the calliper (plasti-kote satin black), if not then the re-assembly is just a reverse of taking it apart BUT remember, cleanliness is important here, so No dust or dirt !!
Re-assembly
Lightly rub some new brake fluid onto the piston O-ring and push it back into the grove in the calliper
Now the hard part of getting the piston back into the calliper. Firstly, place some old rags under the calliper body so that it does not rock around.
Lightly rub some clean brake fluid onto the piston seal, and the piston sides and inside the piston cavity in the calliper.
Carefully push the calliper down into the piston seal making sure that it goes in square and does not rock to one side and jam. Considerable finger / hand pressure is required to get it past the seal. If it jams, you must go back to the compressed air to get it out again.
Once the piston is in, fit the dust boot ring clip. It is just pushed down into the calliper around the piston, then fit the rubber piston dust boot
Apply some high temp grease to the inside of the bolt holes and the fit the 4 rubber caps onto the calliper hanger. Rotate the hanger into the calliper making sure that you have the hanger the right way around
Lightly grease the bolts with high temp grease and fit the new O-rings to the 2 bolts
Slide / rotate the bolts in and fit and tighten the nuts
Fit the brake pads, fit the callipers back onto the forks and bleed the brake system.
Testing
Test the brake operation by slowly wheeling the bike around the garage and applying the brake. The bike should stop smoothly, with firm brake handle pressure / feel and the there must be no fluid leaks.
Once you are satisfied that everything is in order, take the bike for a test ride. Using extreme caution, test the brake a number of times at low speed to ensure proper operation.
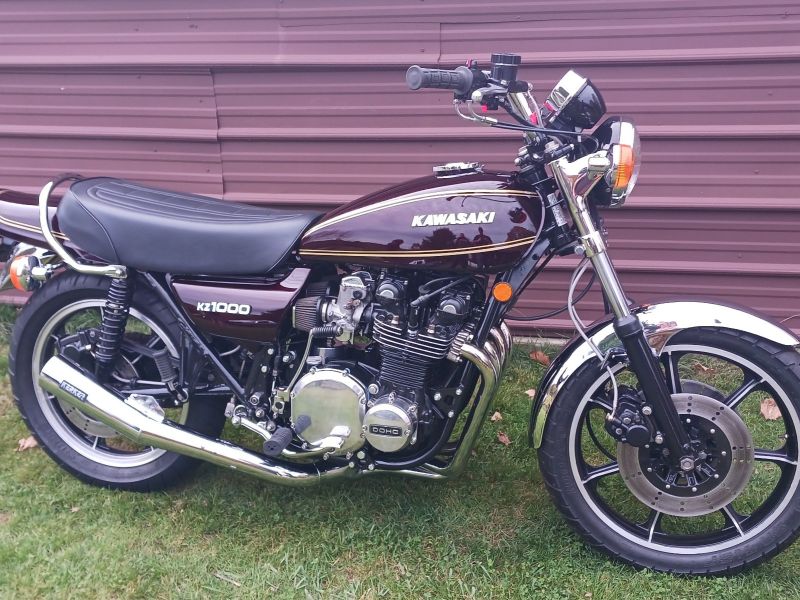 BOTM for January 2024 RonnieV's KZ1000
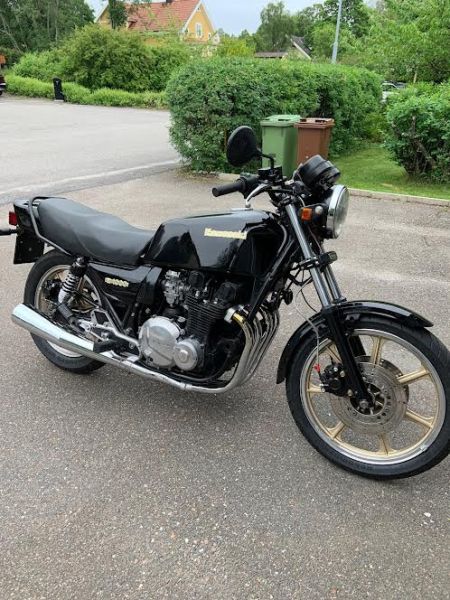 Jonas' Z1000 BOTM July '24
