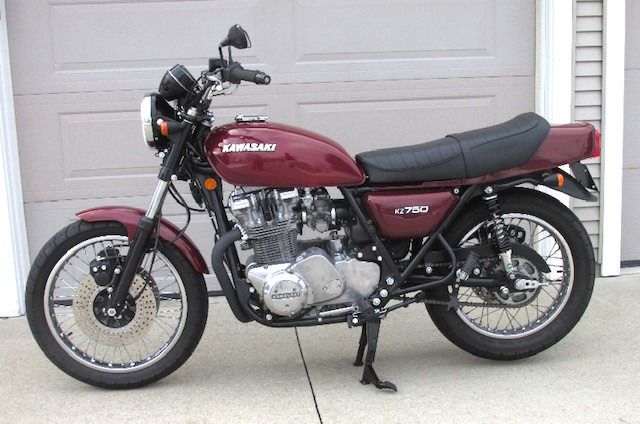
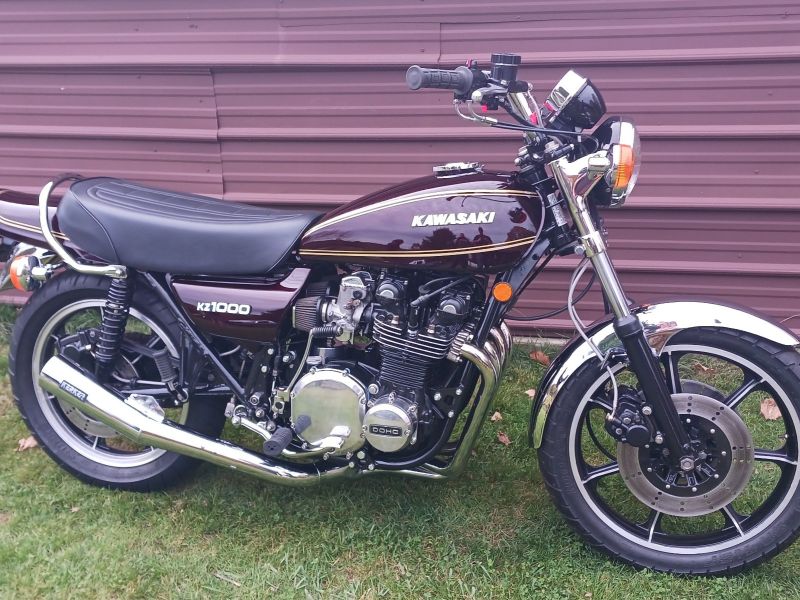
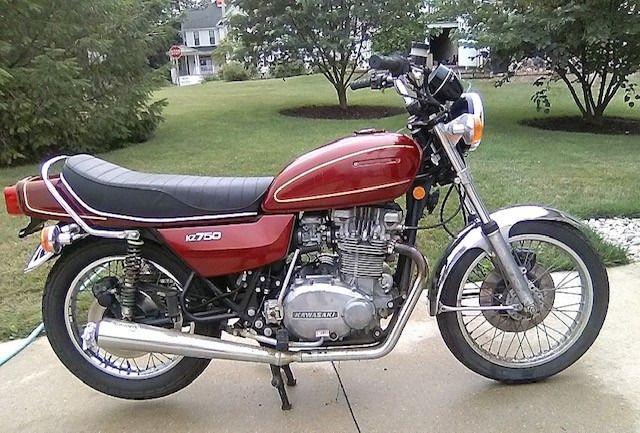
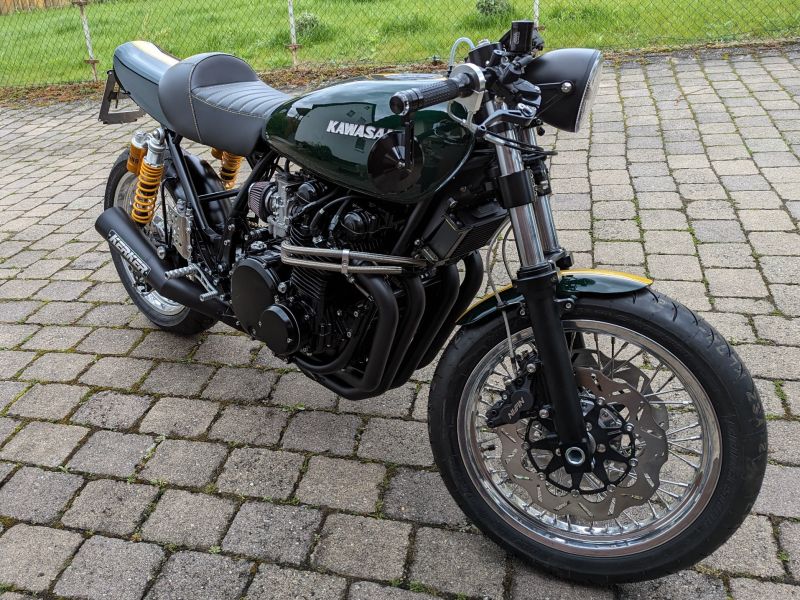
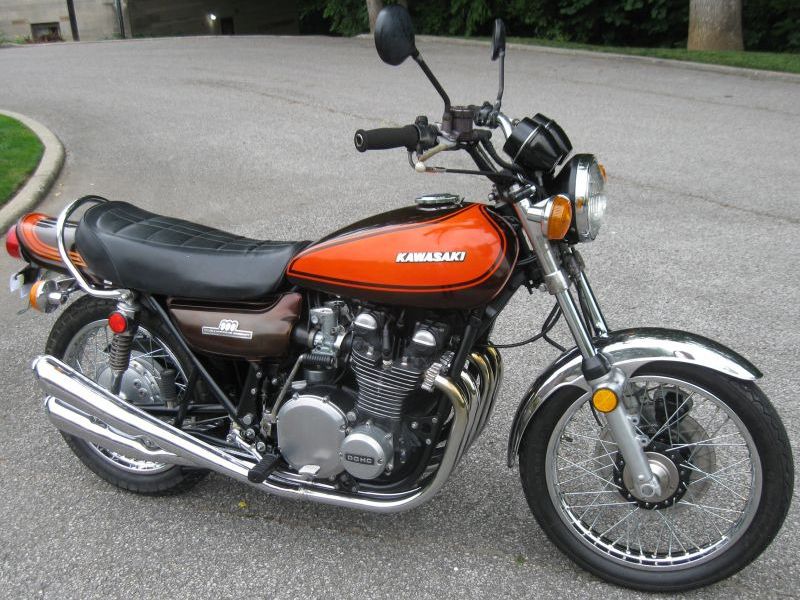
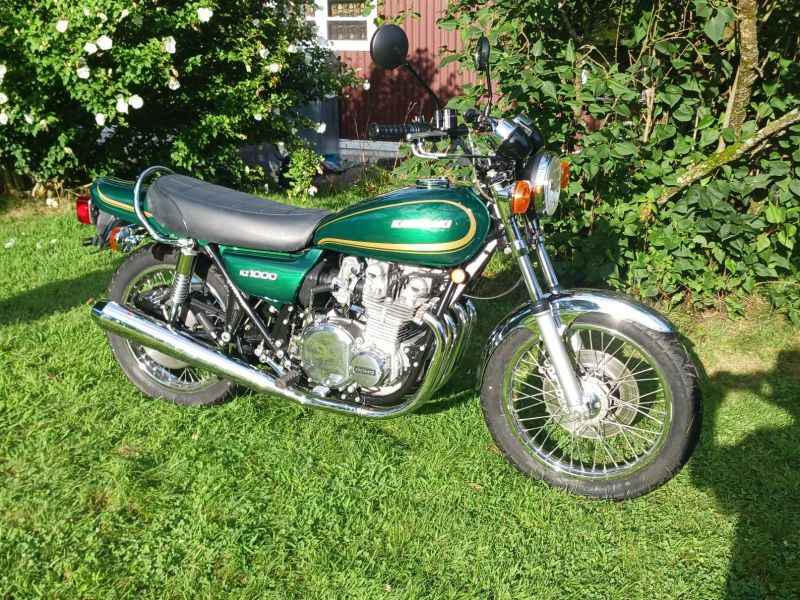
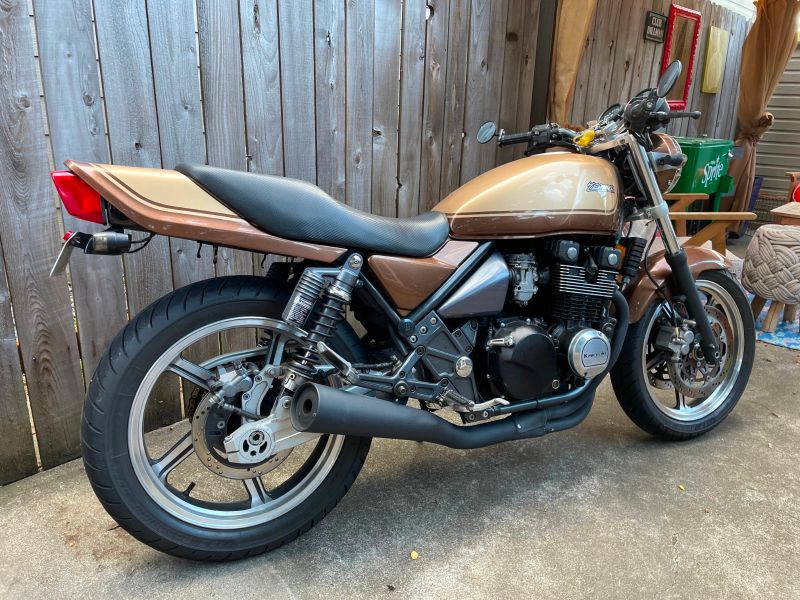
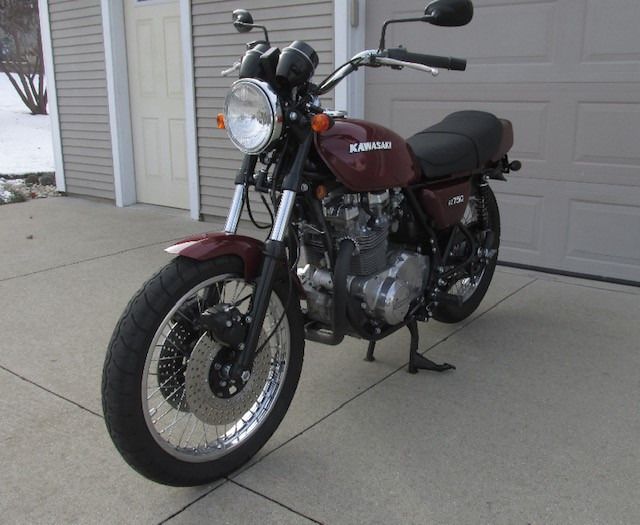
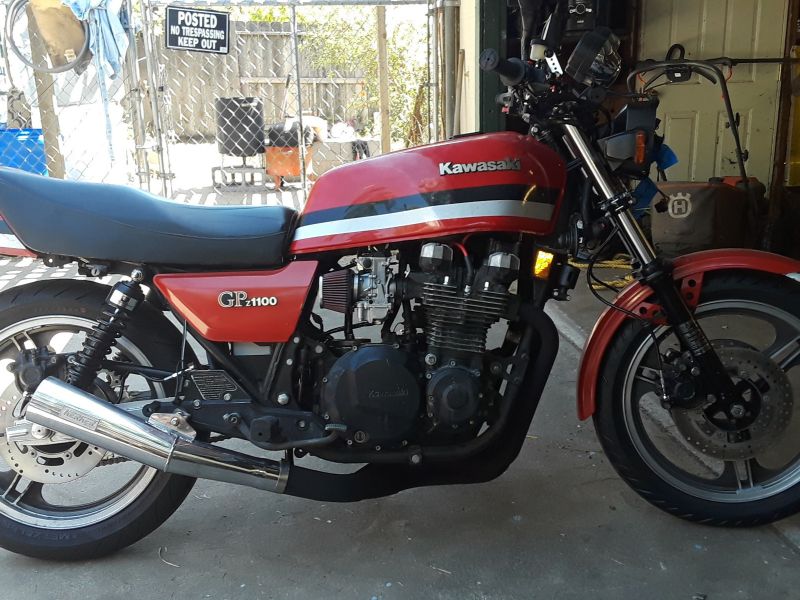
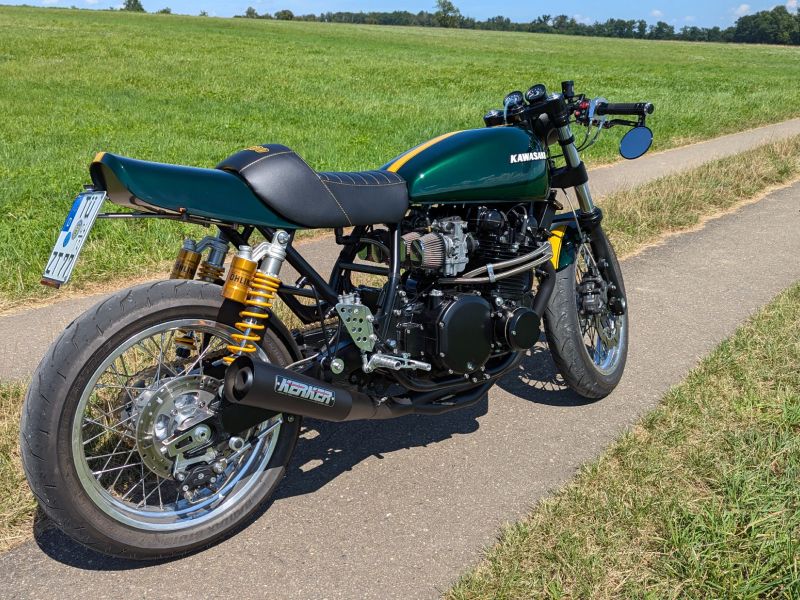
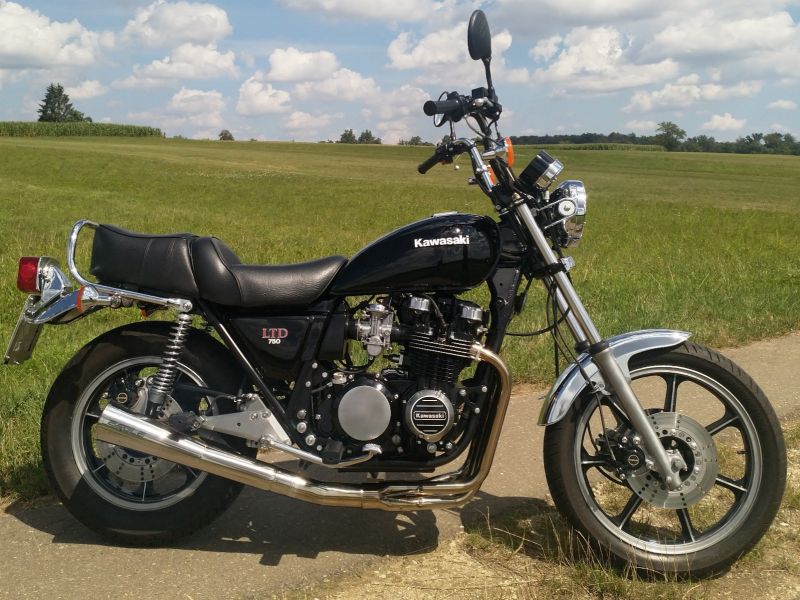
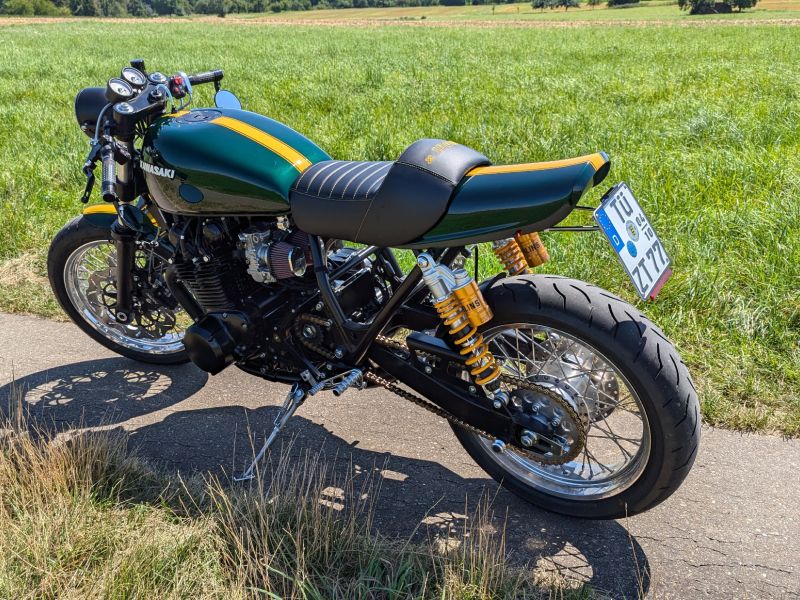
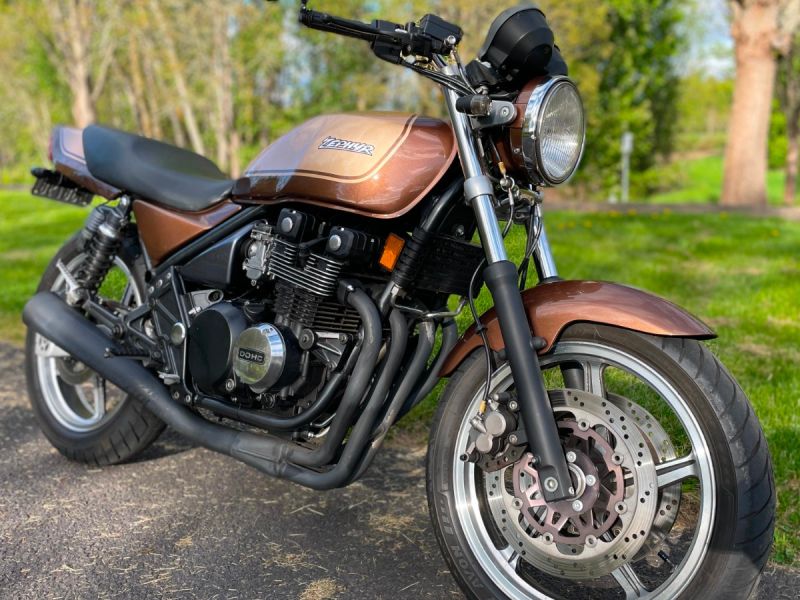
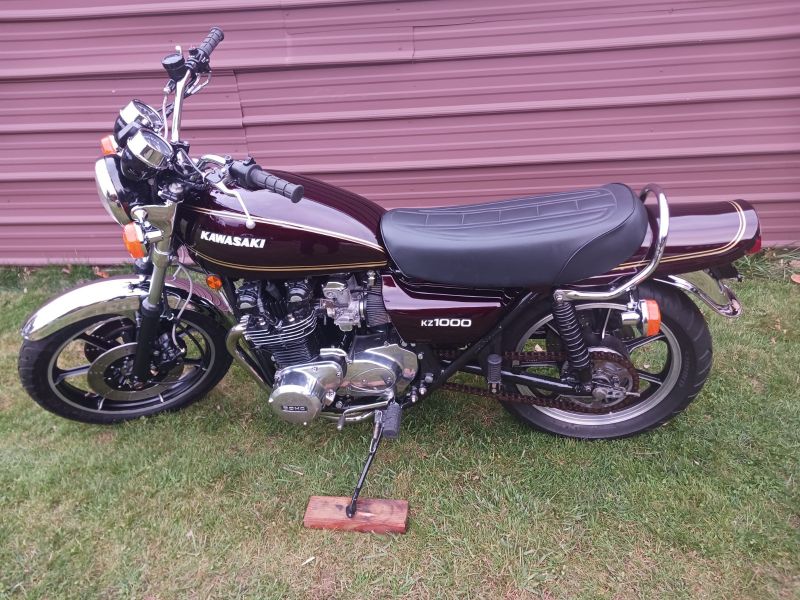
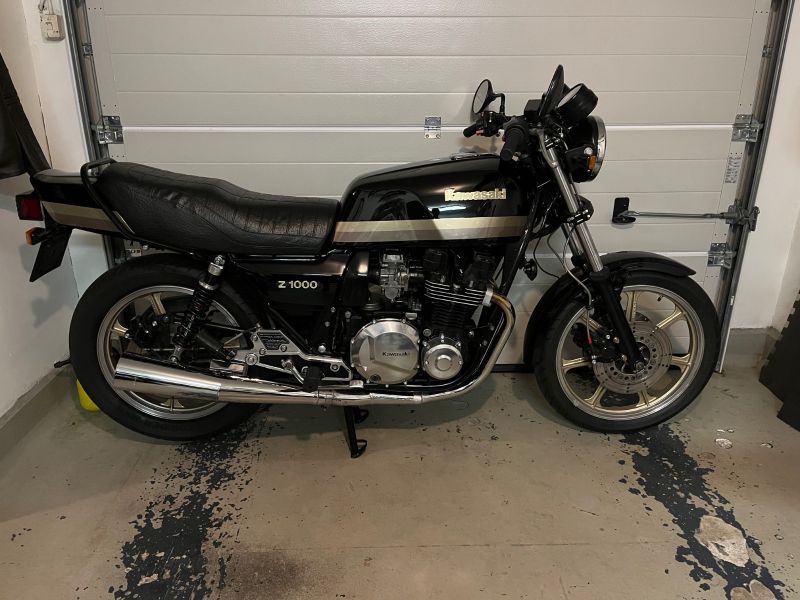
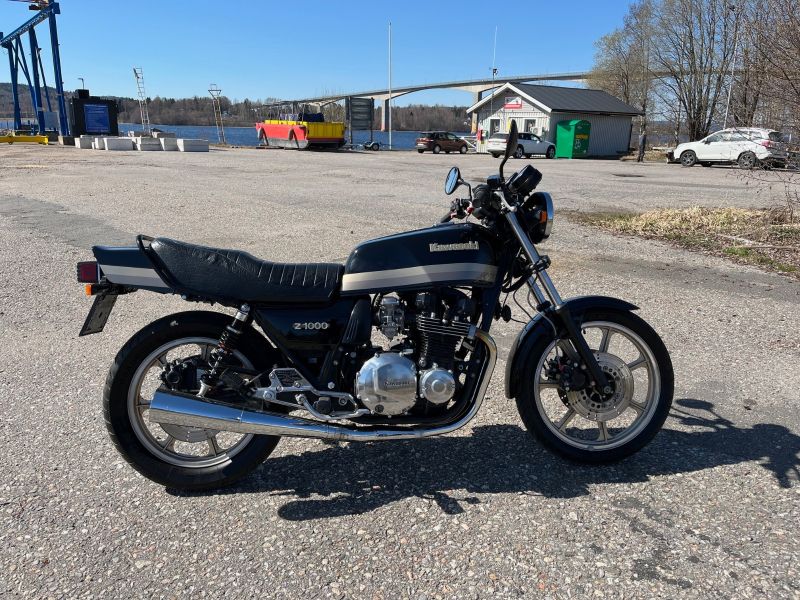
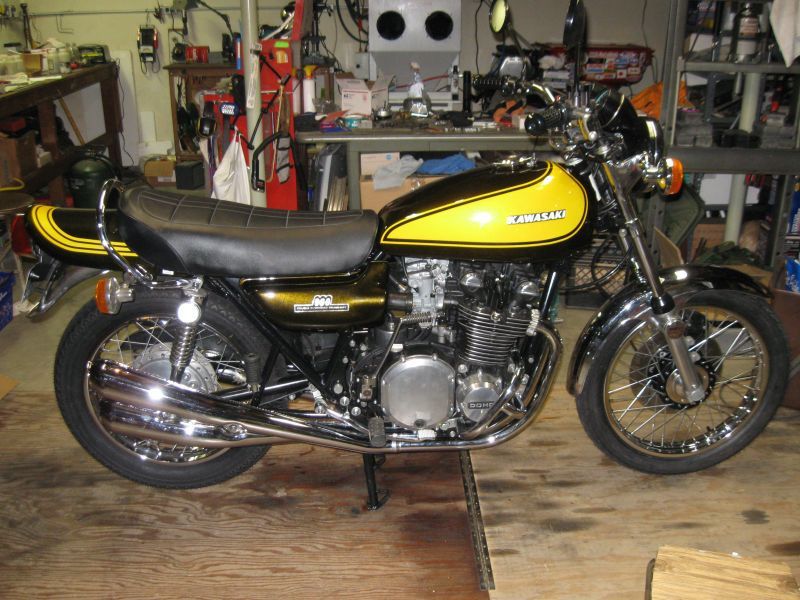
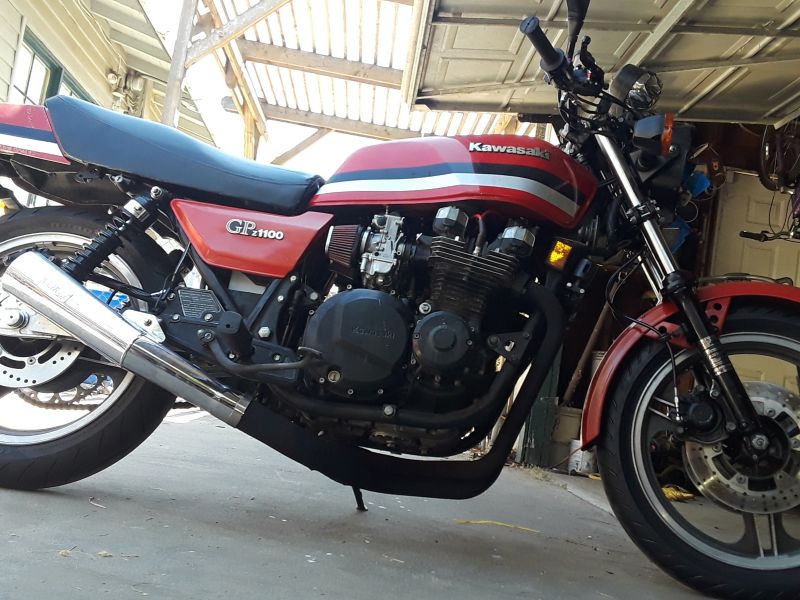
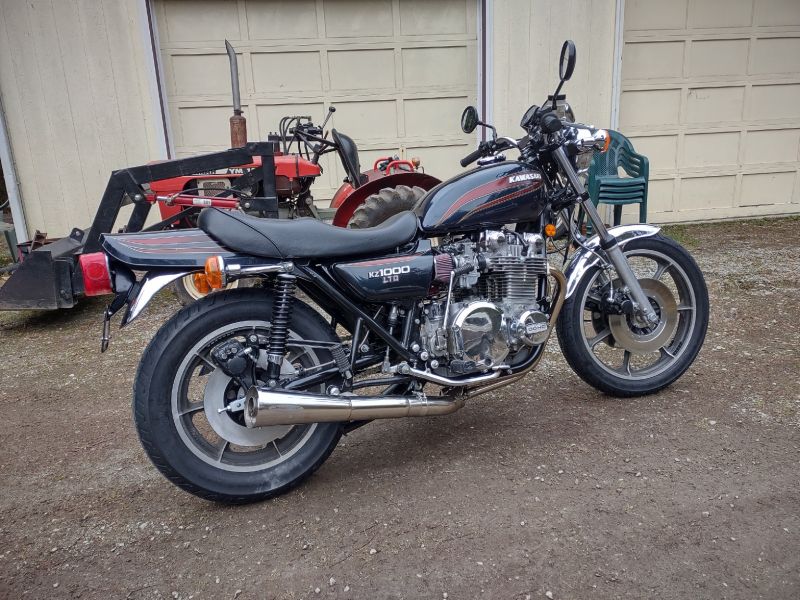
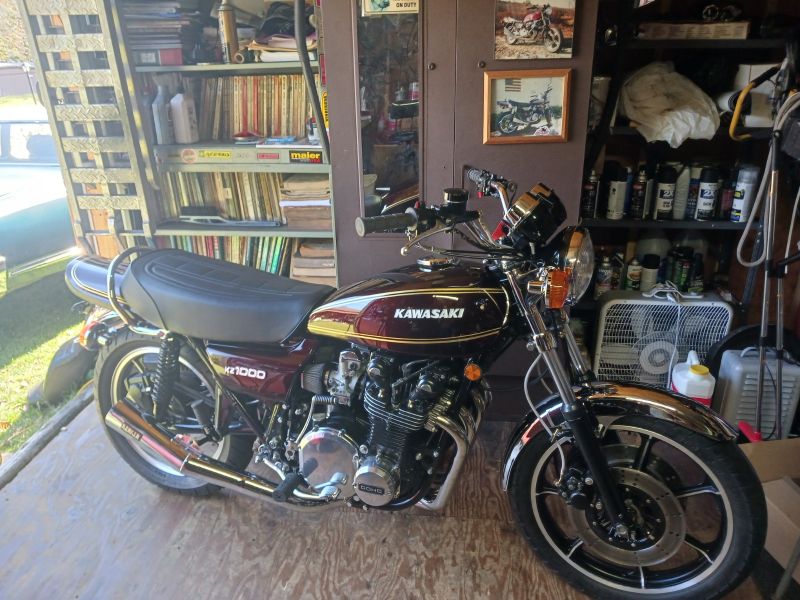
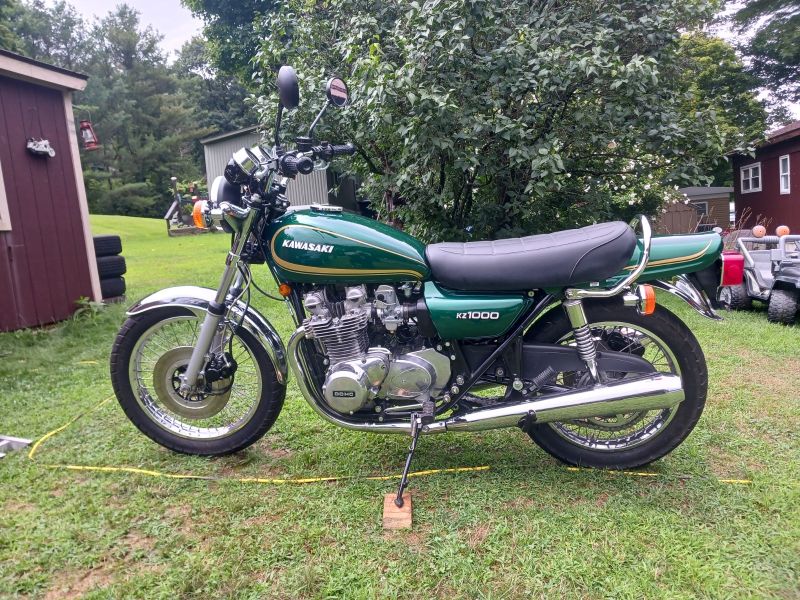
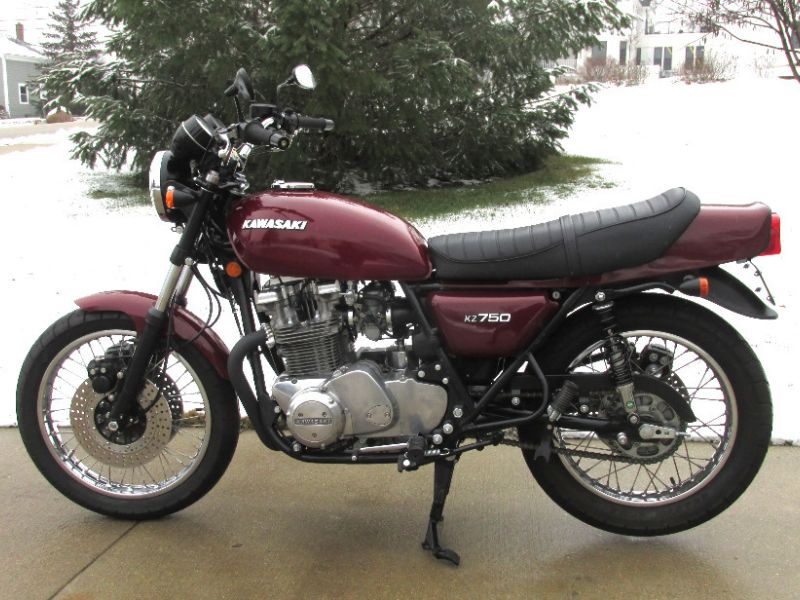
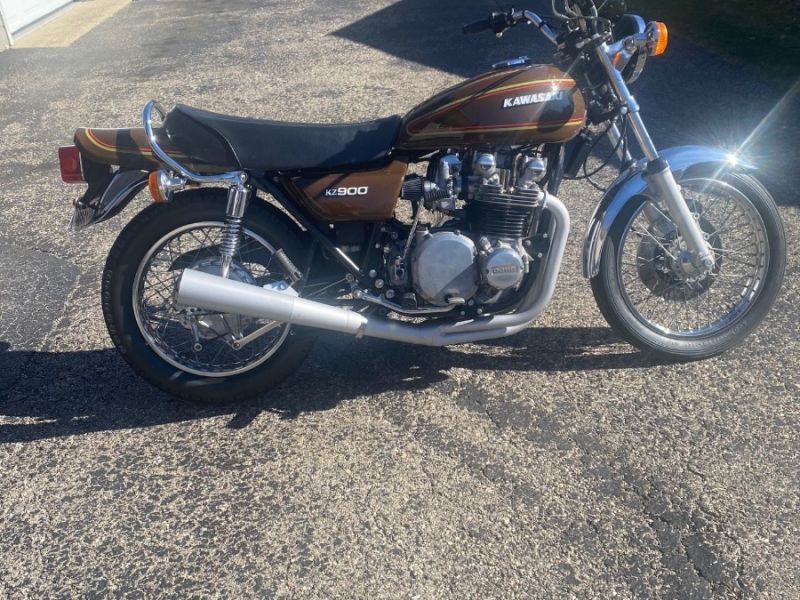
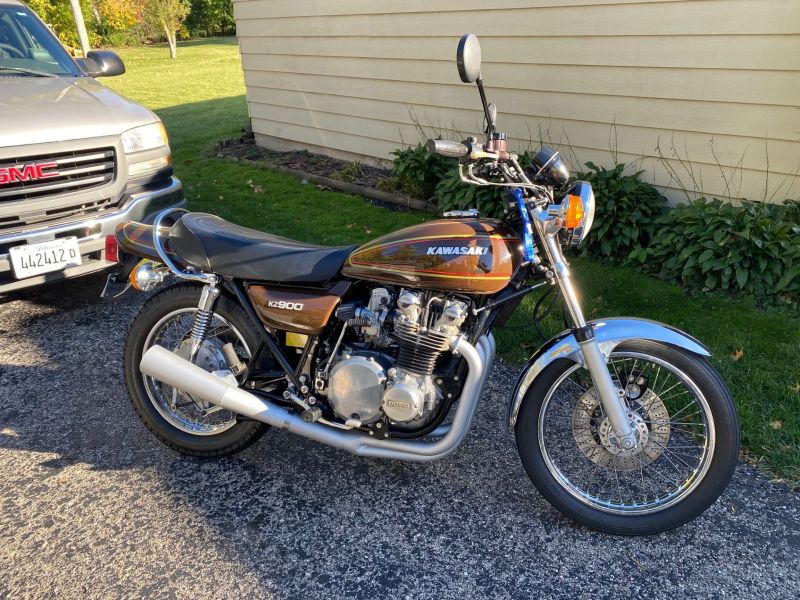
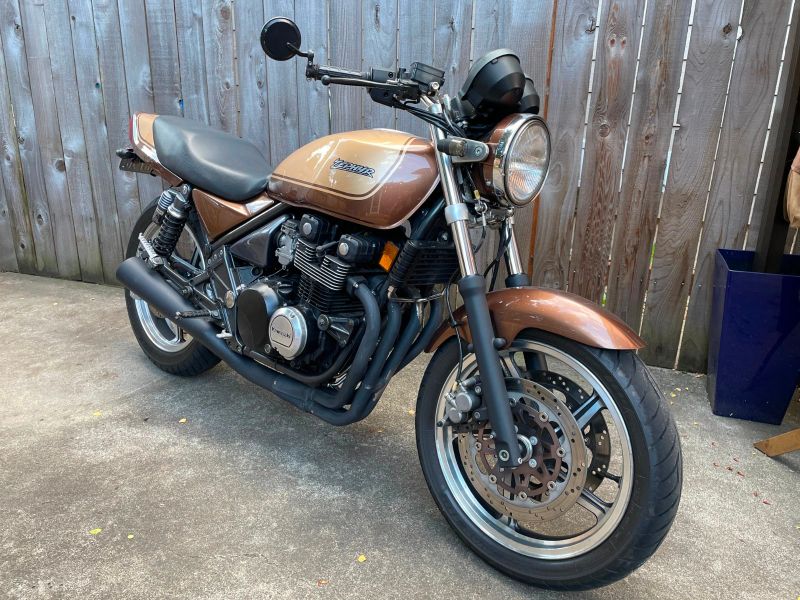
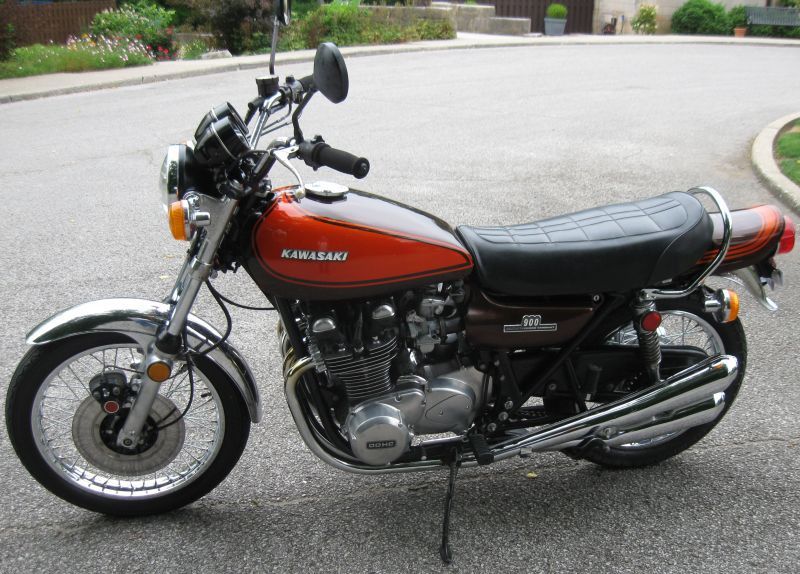
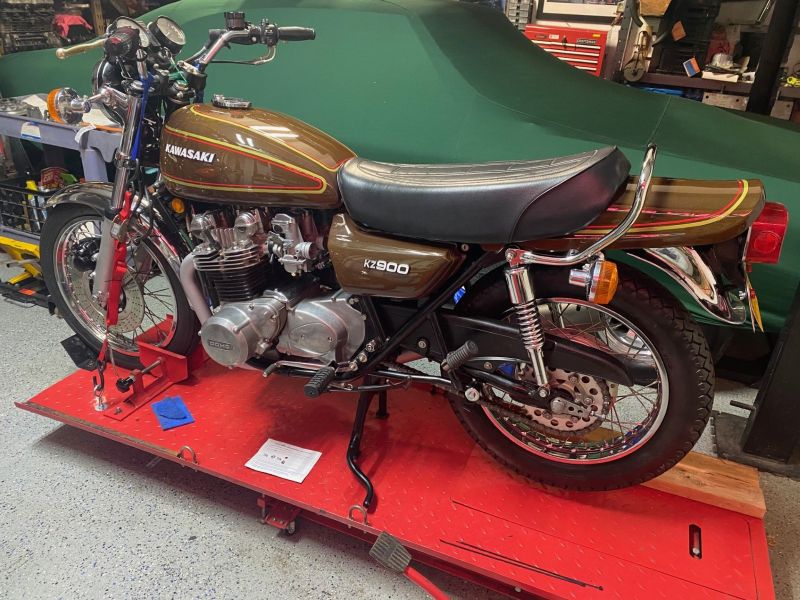
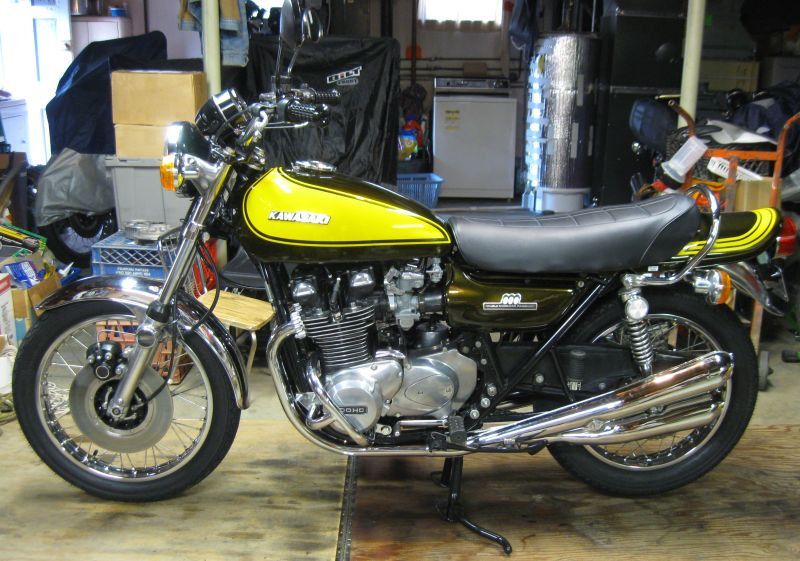
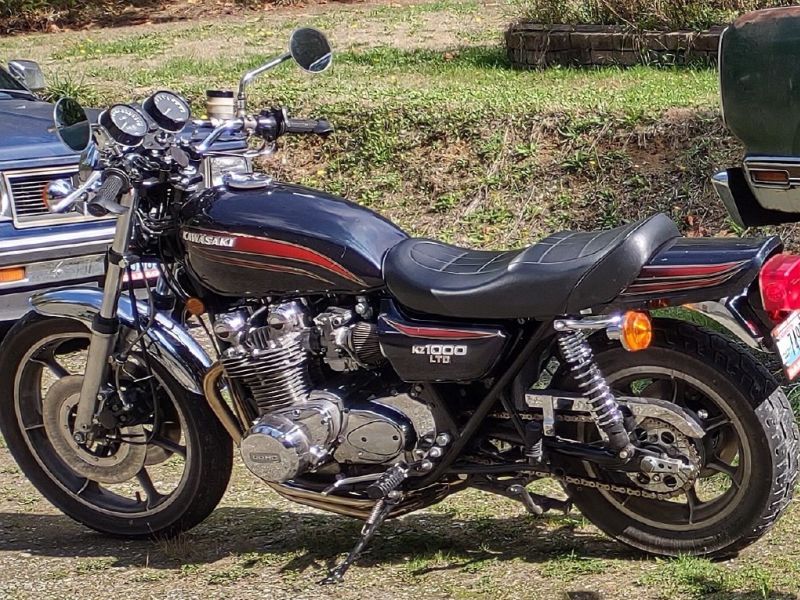
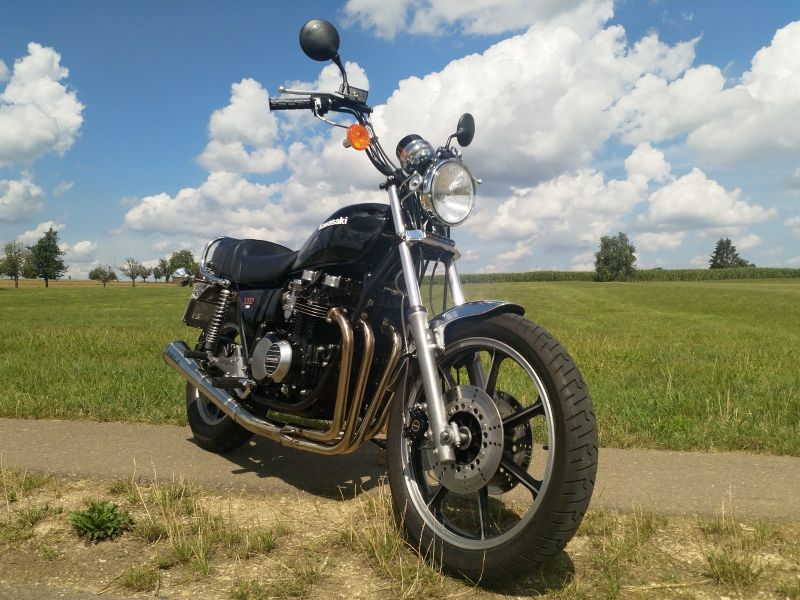
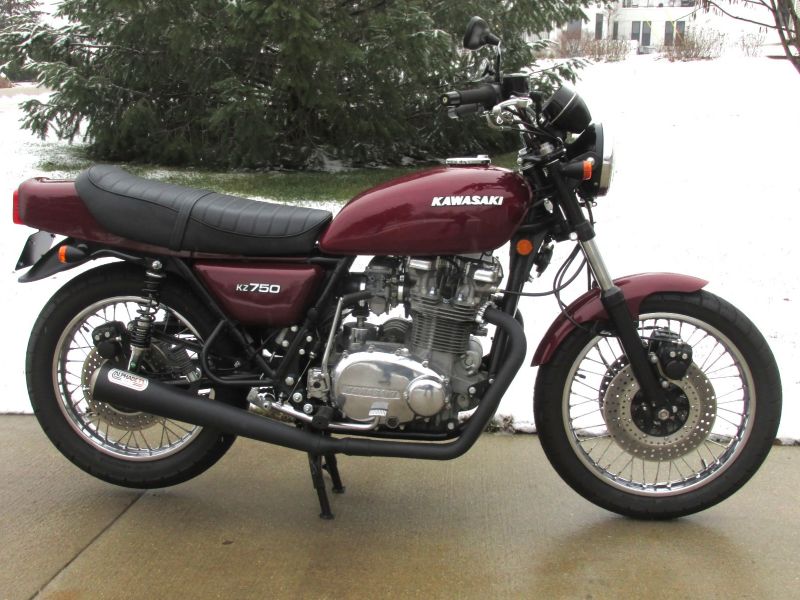
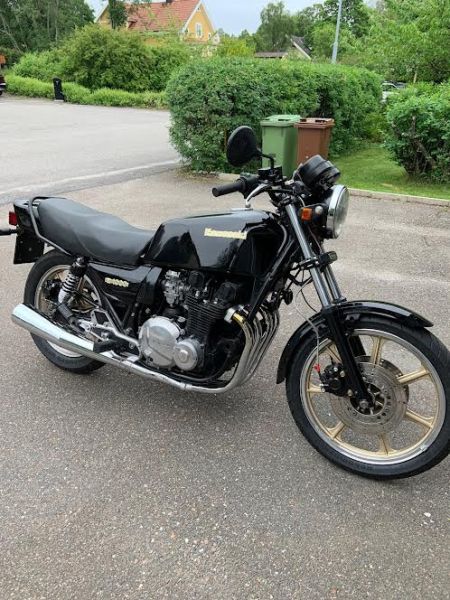
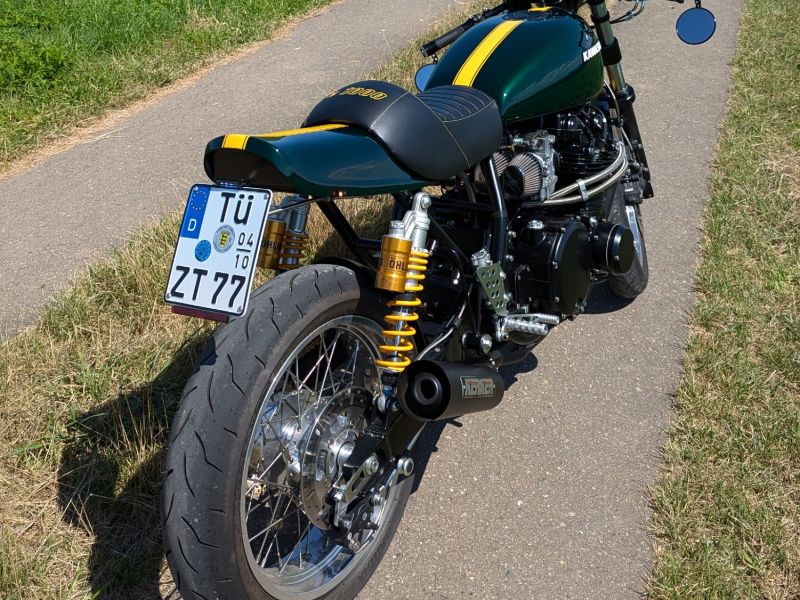
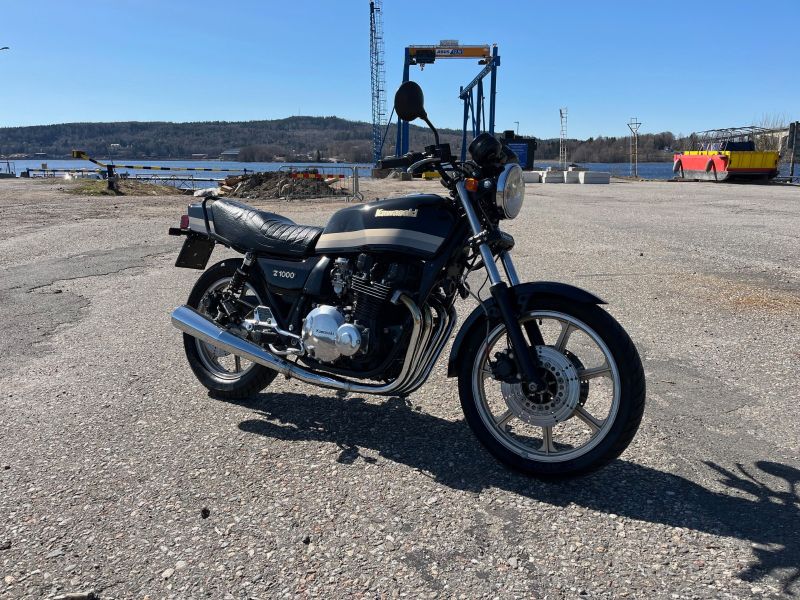
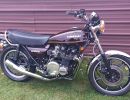
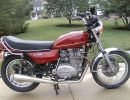
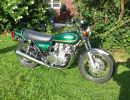
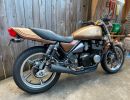
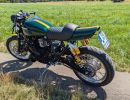
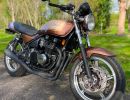
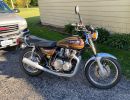
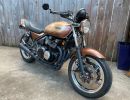
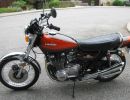
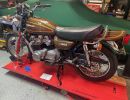
KZR's Bikes of the Month for 2024
KZ650 VM22 carb sync question. Do you use the air mix or the adjusters?

More
23 Feb 2021 05:49 #843911 by Mc Tavish
Hi johnmull, I'm gonna stick my neck out here and probably get grief from some, but you have to get over the silly thought that all the mix screws have to be 1 1/8, 1/14, 1/16 etc..
Nobody rides on the idle circuit, the mix screws are there for you to achieve a nice steady/even idle, nothing else.
Each cylinder will require a different mix so just use your ears, you will hear the rpm increase or decrease and leave it where it likes it best.
I think you are close so open them mix screws up so it idles without choke and adjust from there.
In all my years I have never seen any dual or multiple choke setups that have rigid 1/18 1/12 etc screw settings.

1978 z650C

Please Log in or Create an account to join the conversation.

  • gd4now
  • Offline
  • User
  • Denco where did you go?
More
23 Feb 2021 10:52 #843930 by gd4now
Sorry for coming into this thread somewhat late and for being so wordy. I have found the vm22ss carbs harder to jet for intake changes than the vm24ss tend to be. Before I address it, let me try and clear something up first. I noticed that in your early posts you indicate there is a #10 pilot jet with a #50 jet on top or below the pilot jet depending upon how you are looking at it. Later in you posts you indicate the pilot jet is a #15 so wanted to know which it is, a 10 or a 15? As the 10 IMO would be too small. (as far as I know stock was 15)

Regarding the #50 jet, to the best of my knowledge, that jet was stock only on the vm22ss and the vm24ss carbs that have only a pilot screw (not an air screw or those that had both). I have removed these 50 jets from several different sets of carbs, both 22s and 24s, without any running issues. Not sure just why they were used stock. Can see how it would sort of act as a pre-limiter of the volume of fuel pulled up by the pilot jet and would also increase the velocity of the fuel as it is pulled up. But as I said I have removed them with out any running issues noted on both stock air box and pod setups.

I think the issue with the 22s is they have the largest slide cutaway of any of the VM carbs that came stock on the 650s. Further, though not the leanest combo of needle jet/jet needle that came stock on the 650s (those would be the carbs with an accelerator pump) but one of the leaner combos and the smallest main jet of any of the stock carbs. I think all of this was done in attempt to meet the emission standards in the US. This made for a rather lean air to fuel ratio especially at idle and just off idle. Then When air box/filter is replaced with pods it just increases this overall lean mix but again especially at idle and just off idle.

Have to say even stock air box setup with the 22s has this same lean spot, which in my opinion is true to some extent of all the iukuni round slide carbs with or without stock airbox. There is a lean spot off idle, due to increase in air flow through the carb, it is just sort of the nature of this style of carb. But this lean spot is much less noticeable in stock air box setting than with pods.

The old school way to attempt to overcame this lean issue with pods, would be to increase main jet 1 or more sizes, increase the pilot jet one size, and maybe depending upon the jet needle taper(s) and height alter it up or down. Lots of plug chops, and listening to rpm changes as you turn screws. These changes would hep sort of overcome this lean condition, but not solve it fully, it is still there to some extent just like it is with a stock air box.

I have read posts here and on other sites, by and related to the air corrector jets that zed1015 is selling. I have not tried them as of yet, so have no practical experience with them, but they make sense to me. Others have indicated they solved issues for them. I can see how they help solve the just off idle flat spot than tends to be larger with pods. Many larger carbs vm29, vm33 as well and many others have removable air jets and larger or smaller sizes to try. This is not the case with vm22 or vm24 carbs. Their air jets are a pressed fitting , so not easy to exchange. I am currently not sure just what size of air jets (pilot air jet, main/bleend/needle jet/jet needle air jet, enricher/choke air jet) are used in the 22s and 24s. There may well be differences depending on the carb set, between them but I have not pulled one out or found info on their sizes as of yet. But they all play a part. Lots of time, energy and money were spent by the R&D teams with both Mikuni and Kawasaki staff to find the best , in
their opinion, jet (both air and fuel) sizes and settings. But it appears his air corrector jets help limit air to mix with fuel pulled up into the the main/needle jet /jet needle
location and decrease the over all air allowed into the mix. That makes sense to me and can see how it will change the overall air to fuel ratio.

1977 KZ650 B1
Pods and Denco header


OLD KAW OWNERS SMILE ALOT

The following user(s) said Thank You: zed1015, johnmull

Please Log in or Create an account to join the conversation.

More
23 Feb 2021 12:21 - 24 Feb 2021 03:36 #843935 by zed1015

gd4now wrote: I have read posts here and on other sites, by and related to the air corrector jets that zed1015 is selling. I have not tried them as of yet, so have no practical experience with them, but they make sense to me. Others have indicated they solved issues for them. I can see how they help solve the just off idle flat spot than tends to be larger with pods. Many larger carbs vm29, vm33 as well and many others have removable air jets and larger or smaller sizes to try. This is not the case with vm22 or vm24 carbs. Their air jets are a pressed fitting , so not easy to exchange. .


Correct but neither do the VM26 and VM 28's which also have a fixed drilling or pressed in jet depending on model.
In all these cases there is no reason to exchange or remove the original air jets but simply fit the Air corrector ( which is always a smaller orifice ) upstream of them and they are left in situ.
This enables the the carb to be reverted to stock in the case of the airbox being refitted.

AIR CORRECTOR JETS FOR VM CARBS AND ETHANOL RESISTANT VITON CHOKE PLUNGER SEAL REPLACMENT FOR ALL CLASSIC AND MODERN MOTORCYCLE CARBURETTORS
www.kzrider.com/23-for-sale/611992-air-c...lide-mikunis?start=0


Last edit: 24 Feb 2021 03:36 by zed1015.

Please Log in or Create an account to join the conversation.

More
23 Feb 2021 15:03 - 23 Feb 2021 15:27 #843946 by johnmull
Thank you gd4now for your insight. I recognize this VM22 is a special Jan 1978 emission carb so I accept the limitations with carb kits not providing completeness. Regarding the top (pilot jet) and bottom (secondary pilot) idle jets looking at the carb positioned upright. The secondary jet on the bottom is a is about the size of the main jet and a #50. The longer jet isa short tube with holes on the side. and end. My original has no marking but the spec says it is a #15. My new kit came with this secondary jet with a #10. I didn't use the new one, thinking one with out the other didn't give me confidence. I only changed the needle and the main jet to a #97.5 as an attempt to fix the bogging down of throttle.

On the good news, I got the idle to work without the choke on. Video attached maybe if it allows me.
Attachments:

    8idlegoodtrimxx.mov

    8idlegoodtrimxx.mov

Last edit: 23 Feb 2021 15:27 by johnmull.

Please Log in or Create an account to join the conversation.

More
23 Feb 2021 15:17 #843949 by johnmull
Maybe the movie is too large.

My solution was to bump up the fuel screws 1/8 on all 4 carbs. I did get it to idle ok without any. The plugs after a 10 min run look better. I have no carbon, although I expected some. The ground electrode is white 3/4 across the top which I think says is good. The porcelain center is grayish on all 4. It did take a lot of messing with to trim back the choke and up the thumb screws. It idles better at 1500 than 900. 1200 is the goal but.

Throttle off idle has some bogging, but not too bad. Also a couple times when I throttled up to 5k RPM I got bogging. So something to continue working on. Not sure if I want to change the 97.5 main jet jet back to #90 or the needle back to #3 spot. Should go for a ride but we are snow bound here.

My fuel screws are cyl1- 1 1/8, Cyl2 - 1 1/8, cyl3 -1 3/8, cyl4 - 1 3/8. I probably should take the carb off and recount, but I am not a fan of turning in those pointy screws, they don't bottom out soundly.

Please Log in or Create an account to join the conversation.

More
23 Feb 2021 15:28 #843951 by johnmull
See if I can get a movie to stick

Please Log in or Create an account to join the conversation.

More
26 Feb 2021 16:56 #844156 by johnmull
I made changes. I removed the 97.5 main jet and returned to the original #90 main jet. I left the new needle at #4 position. If this didn't work out, I would go back using the original needle and position #3. So far, this one is working out. Clean idle. Throttle response improved. Doesn't bog down when quick twist.

I changed spark plugs to new NGK BR7ES away from champion N4C. Resistor plugs are said to produce less spark, so another non-resistor plug is coming in the mail. See if it matters. The N4C plugs were getting a lot of cleaning the past month. Time to start fresh.

Current fuel mix screws are at these numbers:
Cyl1 1 1/4
Cyl2 1 1/4
Cyl3 1 3/8
Cyl4 1 3/8

I moved on to checking the sync of these carbs. Picture from the video I took. At idle, I was 8, 8, 5, 2 vacuum psi. I would like for them to all be the same. The current sync adjustments have a factory seal on them. I hate to crack them open, but this isn't correct. I guess the question is how can I have 2 lbs on cyl4? Vacuum leak? The height of the needles are manually bench sync'd ok. Maybe my testing tube had a leak? Not sure.

Unlocking the set screws, I will find out which direction the vacuum increases. Maybe I should reset the fuel mix to exactly the same. I don't see how that changes vacuum though, but cyl3 & 4 are off.

Advise welcome.
Attachments:

Please Log in or Create an account to join the conversation.

More
26 Feb 2021 18:09 #844161 by Mikaw
Syncing the carbs is more than just recording the values. It is a process of adjusting the carb slide so each carb is pulling the same vacuum. Did you test your gauges. You need to connect each gauge to the same source and check the reading. If the gauges are not adjustable then record the value of each gauge and make carb adjustments as necessary. The goal is all carbs present to same value. Don’t get to hung up on the number of turns out your pilot screws are. If they were all the way in or say 4 turns out then you have additional problems. Adjust the pilot screws to get the best idle. Then adjust the idle thumb screw and set the idle to 1500 to 1800 rpm. Then sync the carbs. Blip the throttle after every sync adjustment and wait a second for the carbs to settle into the new setting. You may have to readjust the pilot screws after the sync. After said is complete, readjust the idle thumb screw to 800 to no more than 1200. Then take it on a test ride. Keep in mind that no Kz responds well to a quick snap twist of the throttle at idle. But you want nice quick response on a snap twist in the 1/8 to1/4 up throttle range... you need to tune the main jet first. Then work down to 1/2 to 3/4 throttle for your jet needle circuit. Lastly your low rpm 1/8 to 1/2 throttle. The pilot screws only effect idle to approximately 1/8 throttle...

Your getting to hung up on the pilot screw settings... I can’t even tell you what mine are set to. All I know is they are set to best idle.

The insulated wire you are using is useless. Find a micro drill bit that is close to the factory recommend bench sync setting, for example my 900s are bench set to .7mm... The goal of a bench sync is to get them all at the same height so you have a benchmark setting to vacuum sync them.

I don’t completely understand resistance but some can actually increase spark value. You need to make you only have one resistance product in the system. Example resistance core plug wires, or resistance plug caps, or resistance plugs. But only one. The BR7ES plugs are resistance type. Try to find the older B7ES. Or a Nipon Denso equivalent.

The key to tuning is only one change at a time, otherwise you don’t know what change made it better or worse.... I’d seriously recommend you put everything back to stock numbers and start there with your vacuum sync. Have you set and adjusted the timing, set valve lash. Fresh gas, fully charged battery. All will effect what your trying to do. It’s frustrating but not difficult... you have lots of support.

1976 KZ 900 A4 kzrider.com/forum/11-projects/613548-1976-kz-900-a4
1976 KZ 900 B1 LTD
1978 KZ 1000 B2 LTD
1980 KZ 750 E1
Kowledge Speaks, But Wisdom Listens.
Jimi Hendrix.

Please Log in or Create an account to join the conversation.

More
26 Feb 2021 20:04 #844170 by johnmull
Thank you for the good advice Mikaw. Agree, the vacuum pressure gauge number value isn't important, but sure is nice to have the same across all 4 cyls. Sorry, my electric wire gave the wrong impression. I usually use a 1/8 inch drill bit as a feeler gauge guide but with these slides factory glued, I didn't change them. Visually they look the same. I am hoping not to change them.

My preference is the older NGK B7ES (non resistor) but Ebay is my main source for parts. Everyone is trying to replace part 1111 with the resistor ones. I did find some eventually. Surprisingly, the BR7ES make the engine run much better than the Champion N4C. I will try the old school B7ES in a couple days.

When the bike came here, the fuel mix was all over the place. I had black carbon'd cyl1 and 2, cyl3 and 4 ok. So I reset them to 1 1/4. From there, I adjusted 1/8 leaner to get rid of the carbon and 1/8 there other direction because cyl4 looked too lean. With this setting, I recently changed it again because the choke lever had to stay open 1/8 to let me idle. So back to 1 1/4 on cyl1-2 and 1 3/8 for cyl3-4. With the current settings on the fuel mix the choke can now be off and I get idle at 1100 there about.

I still had bogging on the throttle. The carb part changes, I put back to near original. Only the needle height position is different. It is one spot up. I un-did the main jet from 97.5 back to original #90.

With the NGK plugs things got much better. But I had a minor bogging if I hold the throttle at 4k RPM. It builds up the bogging and dies. It didn't bog down on the initial twist which is good.

I am going to back track a little. Check the timing, make sure the fuel mix is where I think it should be. Make sure I have a good solid idle, then hook up the vacuum gauges again. Cyl4 shouldn't have been that far off. Something is wrong. If the slide height is the same as cyl1, then it must be something else. Maybe the intake boot was not tight enough. Re-do the sync pressure test.

For valve gaps.
Cyl 1 In .10 Out .10
Cyl2 In .06 Out .10
Cyl3 In .10 Out .13
Cyl4. In .09. Out .13

Specs says .08 to .015 for this KZ650B2A. My worst is cyl2, but with the sync vacuum gauge reading, cyl2 is fine.

Please Log in or Create an account to join the conversation.

More
27 Feb 2021 06:10 - 27 Feb 2021 06:27 #844186 by TexasKZ
The slides will not be exactly the same height. They are adjustable exactly for that reason. Small differences in manufacturing tolerances along with uneven wear require each carb to be adjusted to the needs of its cylinder. Eyeballing them is ok to get it started, but they need to be properly adjusted after that. Do not be afraid to use the adjusters. They are there to be used.

Be very careful when buying NGK plugs (or anything else) on the internet. There are Chinese made fakes all over the place, and they can cause you great grief when trying to tune the bike. The NGK website has pictures and explanation to spot the fakes.

www.ngk-sparkplugs.jp/english/techinfo/fake/index.html

The valve clearances need to be brought into spec. As parts wear, the clearance gets less and less until a valve burns. This can lead to a very expensive repair. Yes, the carb can be adjusted to mask the problem, but the problem is still there.

P.S. Are you sure about the clearance spec? I thought it was .08 to .18.

1982 KZ1000 LTD parts donor
1981 KZ1000 LTD awaiting resurrection
2000 ZRX1100 not ridden enough

www.kzrider.com/11-projects/620336-anoth...uild-thread?start=24
Last edit: 27 Feb 2021 06:27 by TexasKZ.

Please Log in or Create an account to join the conversation.

More
02 Mar 2021 20:06 - 02 Mar 2021 20:08 #844353 by johnmull
Making progress. The valve clearances is .08 to .18 as I look under my seat. I can't rely on my Clymer manual, too generic. I think I got the .15 from another fellow. Anyway, my version is KZ650B2A with a VM22 carb. US model.

I unlocked my factory sync adjustments and balanced all the carbs. Took several times to set, shutoff, flip the throttle, retry. Eventually, I got them settled down. The next day, I got a Gunson 14mm color tuner. Started at 1 1/4, then 1 1/2 and now at 1 3/4. The carbs tend to be on the lean side with these pods.

Spent the afternoon polishing it up. Son-in-law hasn't cleaned this bike in a while. I got her pretty good. Need to refit the carbs, get the tank back on and time for a first ride in 6 months. See I fixed the bogging down as reported.
Last edit: 02 Mar 2021 20:08 by johnmull.

Please Log in or Create an account to join the conversation.

More
03 Mar 2021 06:09 #844361 by Mikaw
Sounds like you making progress.. nice looking bike.

1976 KZ 900 A4 kzrider.com/forum/11-projects/613548-1976-kz-900-a4
1976 KZ 900 B1 LTD
1978 KZ 1000 B2 LTD
1980 KZ 750 E1
Kowledge Speaks, But Wisdom Listens.
Jimi Hendrix.

Please Log in or Create an account to join the conversation.

Powered by Kunena Forum

If you like KZR Please consider making a donation. Thank you.

KZRider is free, but not without cost.

Please consider chipping in a few bucks to help cover the cost of running the KZR servers.