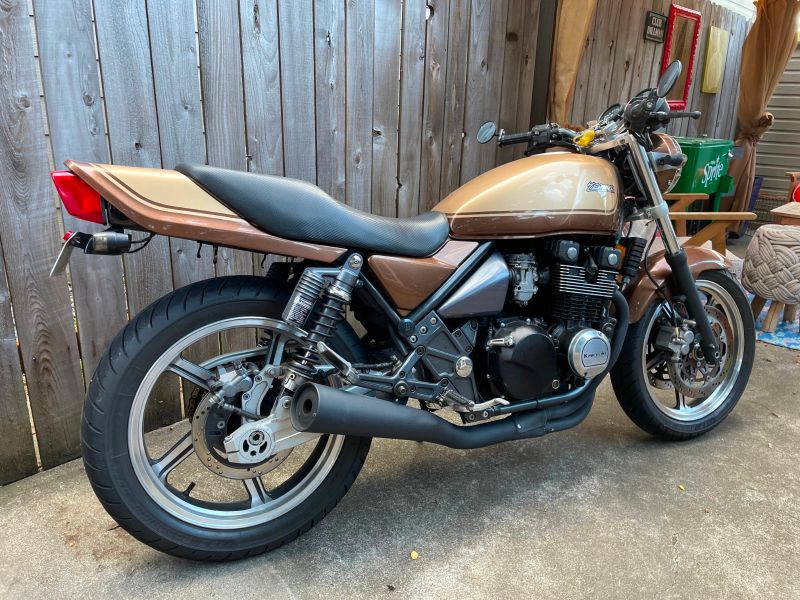
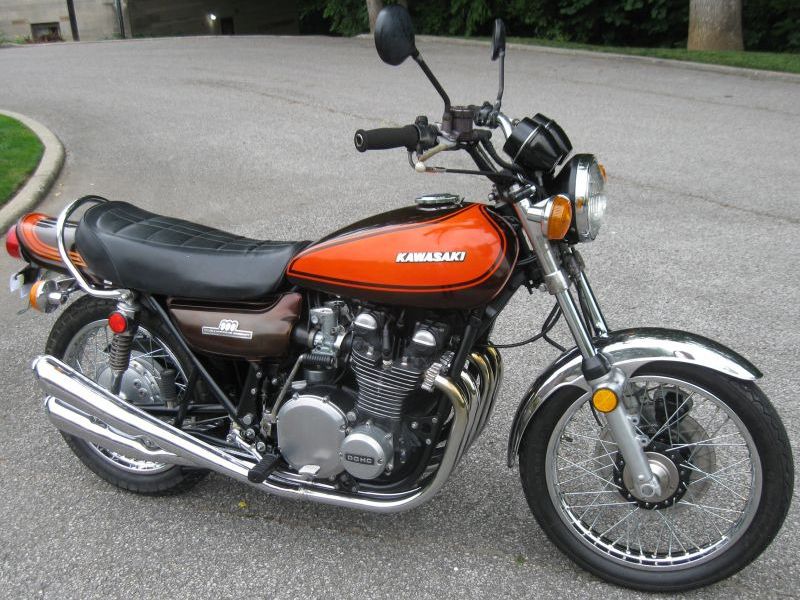
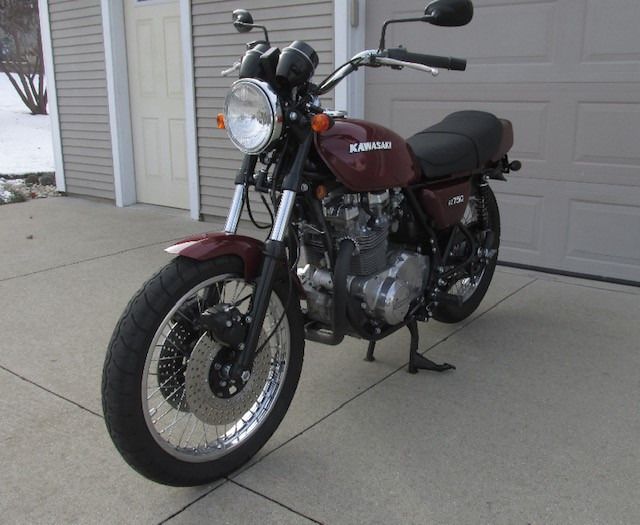
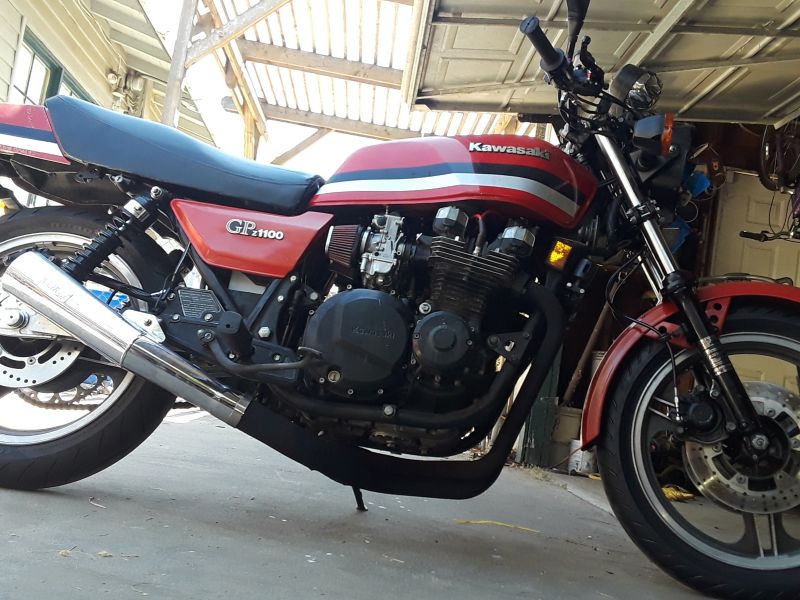
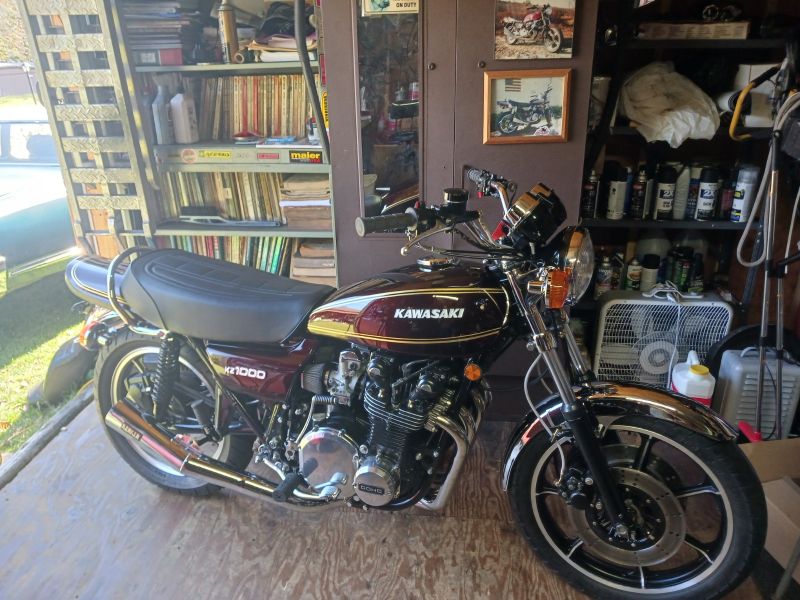
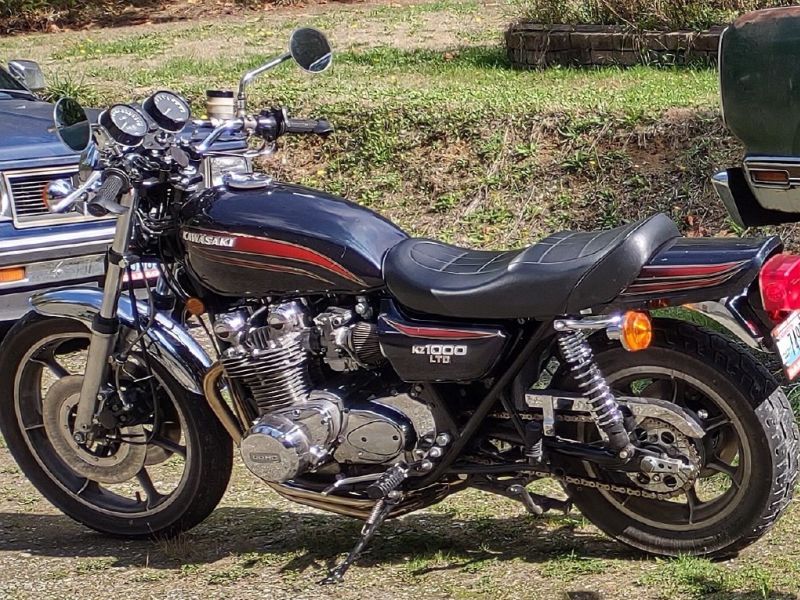
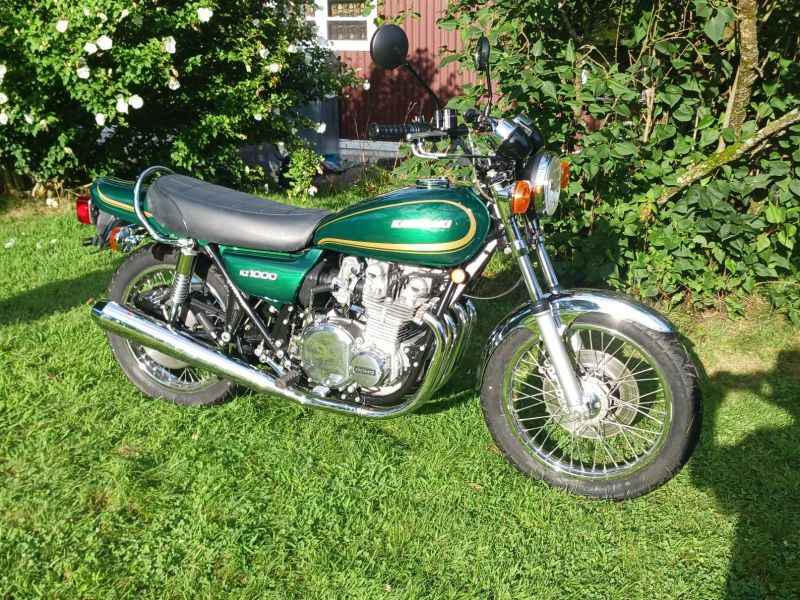
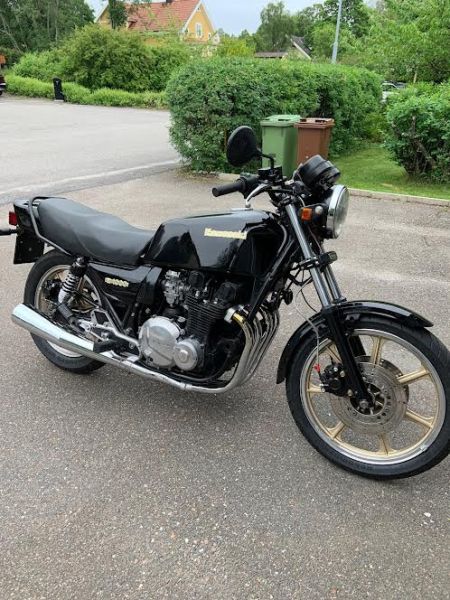
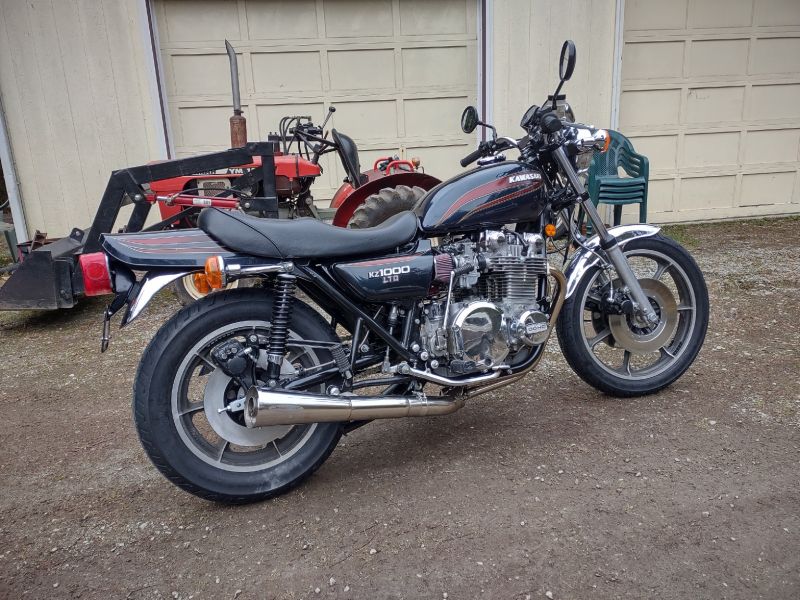
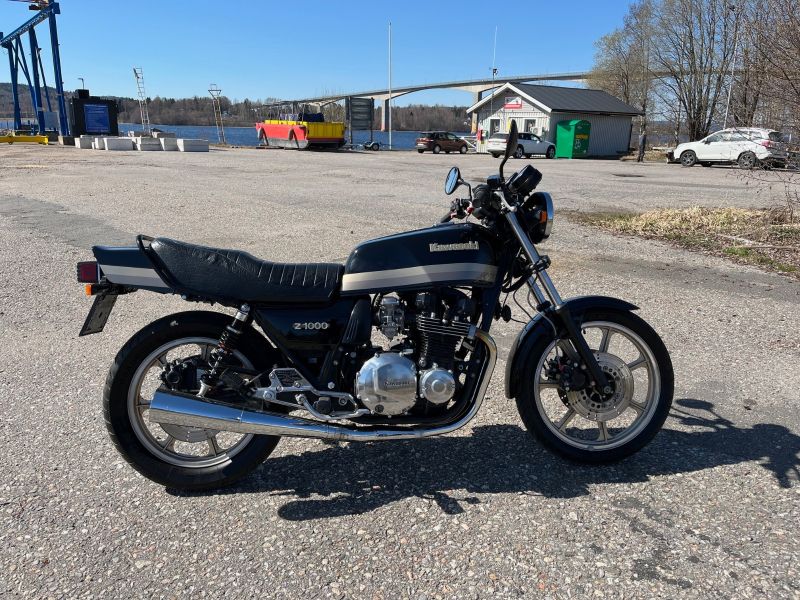
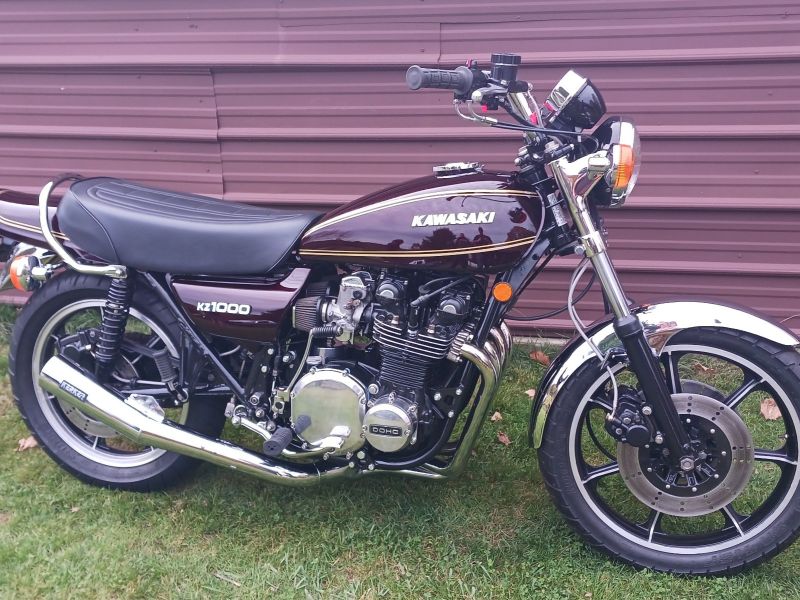
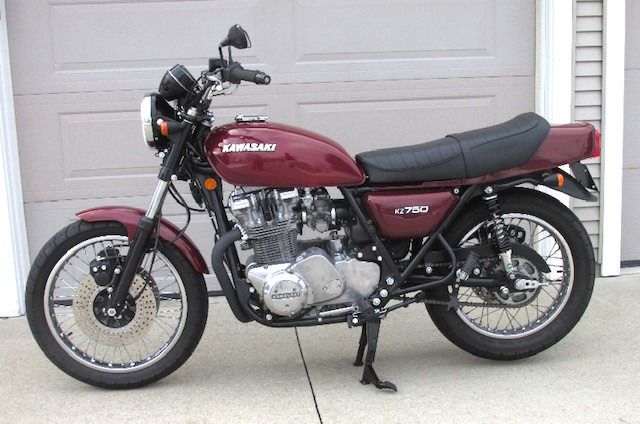
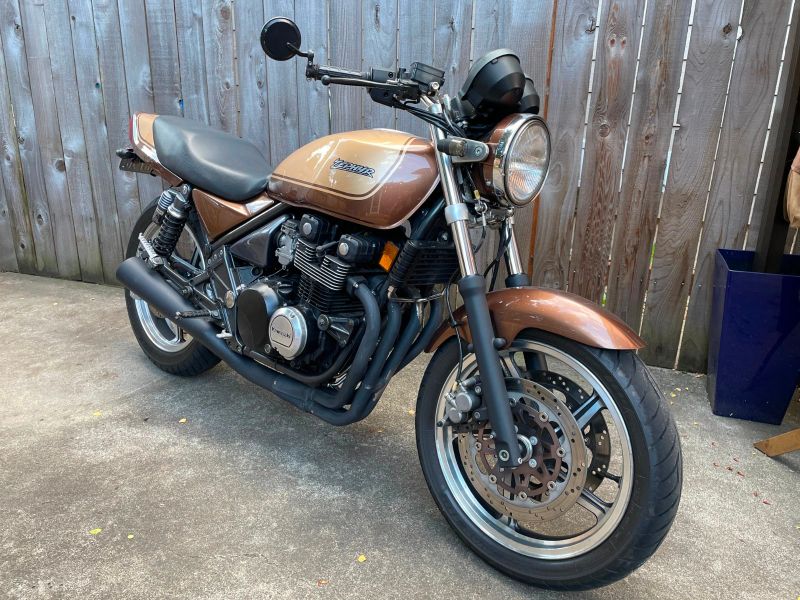
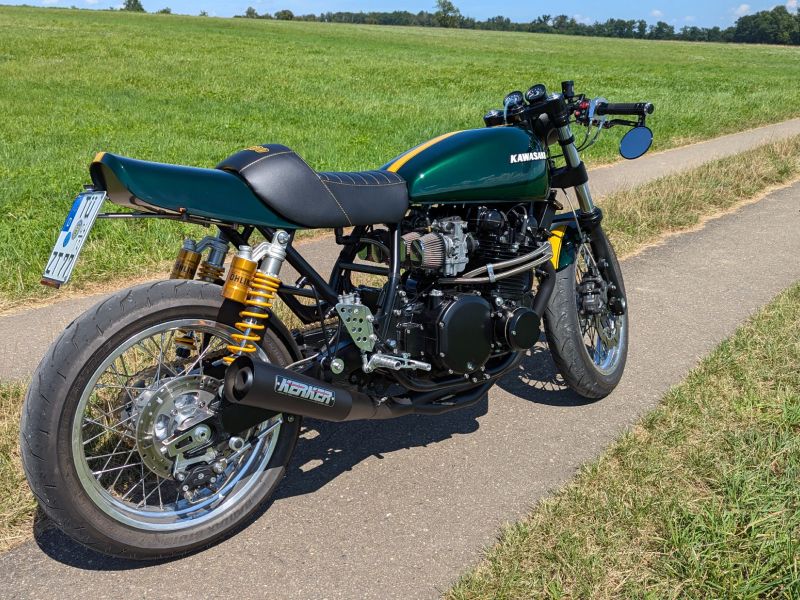
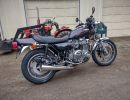
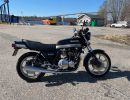
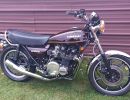
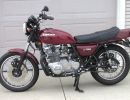
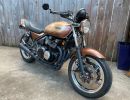
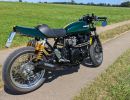
KZR's Bikes of the Month for 2024
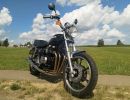
Trying to Rescue a Late 1970s (1977??) Kawasaki KZ1000

More
10 Feb 2023 15:42 #879996 by Mikaw
Cleaned up nice. 

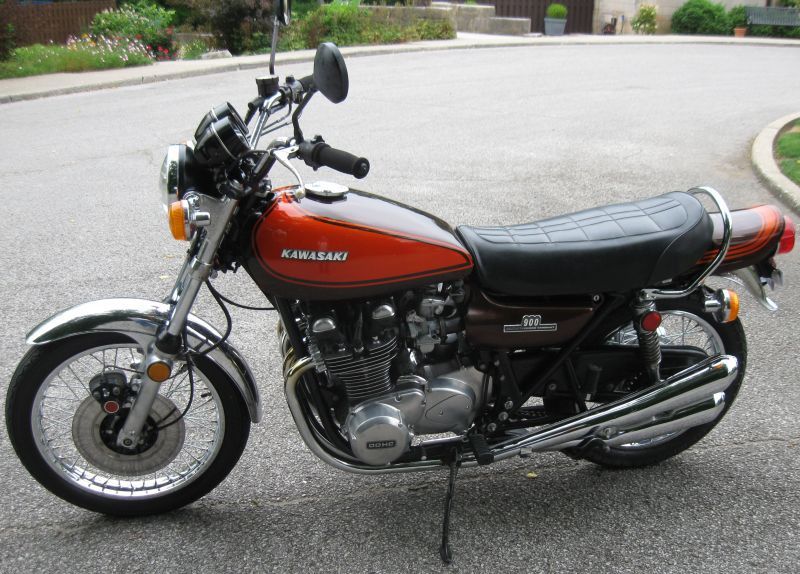
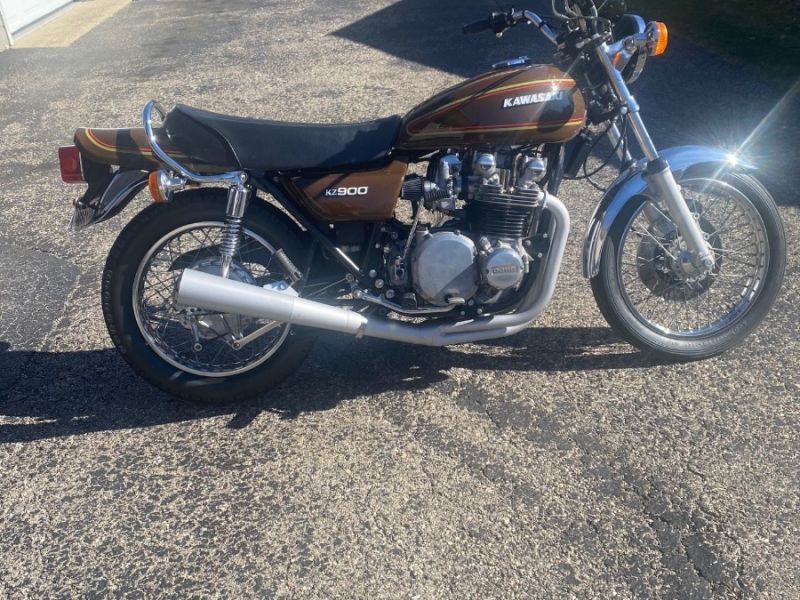
1976 KZ 900 A4 kzrider.com/forum/11-projects/613548-1976-kz-900-a4
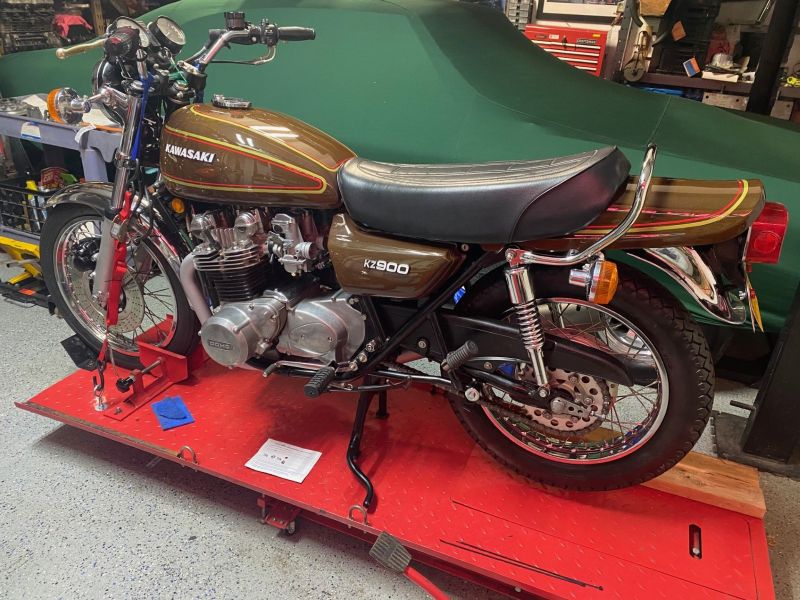
1976 KZ 900 B1 LTD
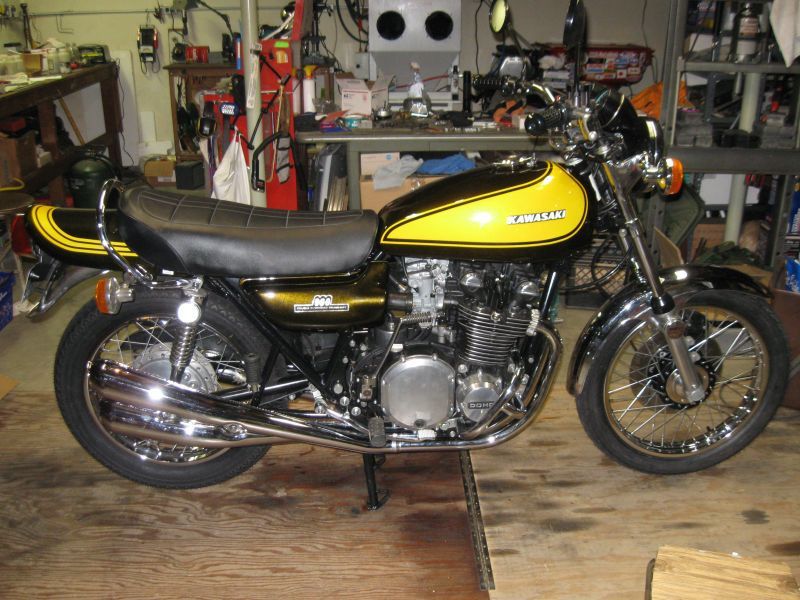
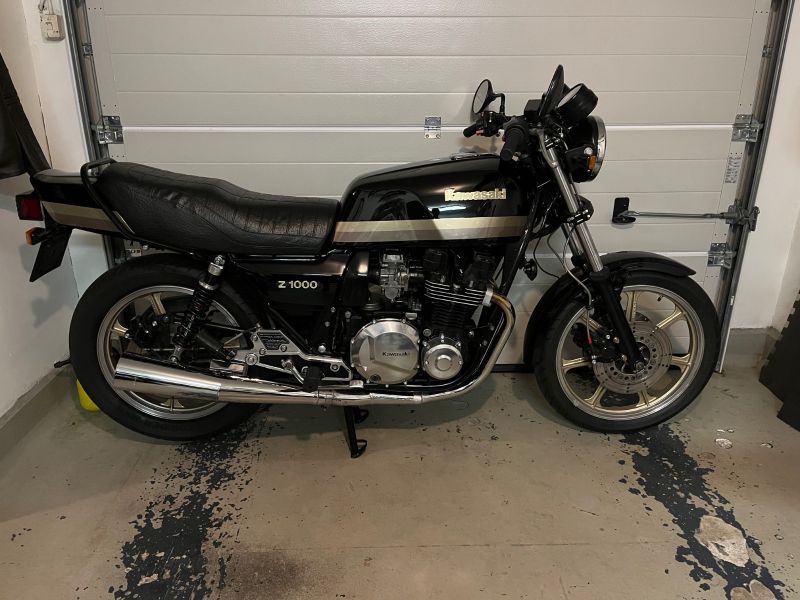
1978 KZ 1000 B2 LTD
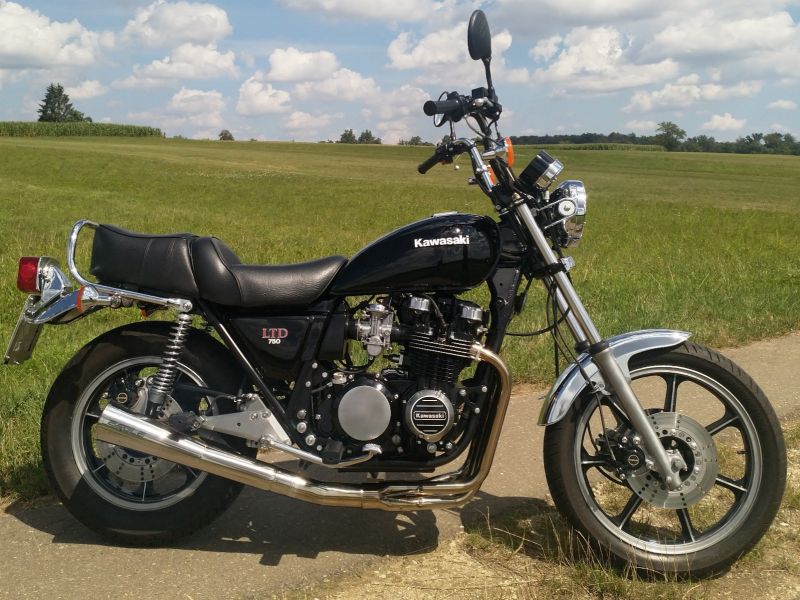
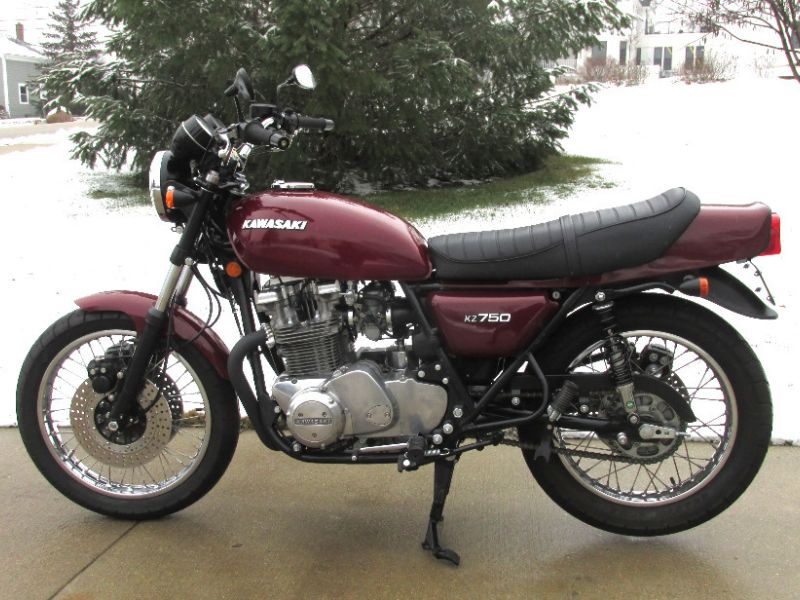
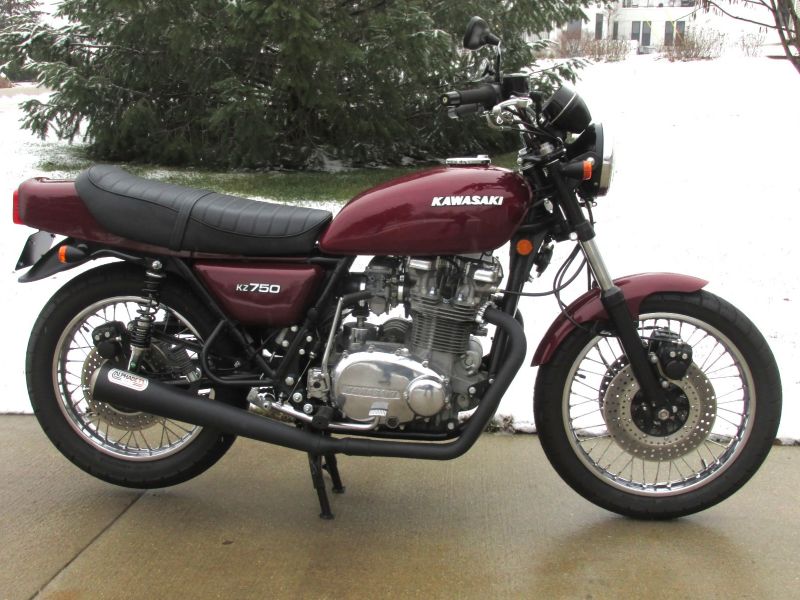
1980 KZ 750 E1
Kowledge Speaks, But Wisdom Listens.
Jimi Hendrix.
The following user(s) said Thank You: wdhewson

Please Log in or Create an account to join the conversation.

More
13 Feb 2023 08:50 #880125 by wdhewson
The quite bare engine sits in a quite bare frame on a motorcycle jack, which is not the most stable arrangement, but at least it hasn't got far to fall should I make a mistake.  There's no "catching" that amount of weight.

My present plan is to recruit my younger stronger neighbour, give him the heavy engine end, and move it out to the soft grassy lawn.  Loosen the last two engine mounts, lay the engine/frame on its right hand side, and lift the frame off the engine.  Then somehow get the engine rightside up and onto my engine pallet, for some subsequent  work.

But we'll need a little more seasonal heat around here to get that plan underway.

Meanwhile, I've removed the front and bottom engine mounting hardware, along with the engine guards.  And doing some cleaning and inspecting.

She's had a bit of a skid on the left engine guard, see red arrow. Looks like more than a parking lot tip over, but not a highway slide, but that's a guess of course.

Her frame looks straight by my eyeball, sighting along the headstock tube etc.  But this bring up the question, are there some easy to do frame measurements that would reveal if she's true or tweaked.  Thanks..........

The green arrow in the photo is just to help me reassemble with these interesting non-rotation nuts.


Nothing quite like the rip of a Big KZ

Please Log in or Create an account to join the conversation.

More
20 Feb 2023 08:04 #880508 by wdhewson
Back to some electrical work with the ignition coils, wires, and spark plug caps.

I think these are the original coils etc, so at 46 y old, they might be past their prime.

The white numbers on the coils were put there by me during disassembly.

Both coils reliably show a primary resistance of 4.3 ohms, which is nicely in the spec range of 3.2 - 4.8 ohms.

The secondary wiring has a spec of 10.4 to 15.6 kohms.  My measurements of 24.6 and 25.0 kohms included the HT wires and the plug caps.  I've read the plug caps are often about 5 kohms, which means I could subtract 5 kohms from 25 kohms to get about 20 kohms, which is still over the 15.6 kohm spec.

I don't know if the HT wires are copper core, or perhaps resistance wires?

I'll probably install these coils and see if they spark, but be prepared for replacement.


Nothing quite like the rip of a Big KZ

Please Log in or Create an account to join the conversation.

  • hardrockminer
  • Offline
  • Sustaining Member
More
20 Feb 2023 16:20 #880532 by hardrockminer
Replied by hardrockminer on topic Trying to Rescue a Late 1970s (1977??) Kawasaki KZ1000
Yep....the coils look original.  The way to tell them apart is by the wiring.  One has a green wire (2&3) and the other has a black wire.  That one is 1&4.  Those wire colours should match up with the wires coming from your points or your electronic ignition.  

I have several restored bikes along with a 2006 Goldwing with a sidecar. My wife has a 2019 Suzuki DR 650 for on and off road.
The following user(s) said Thank You: wdhewson, sf4t7

Please Log in or Create an account to join the conversation.

More
22 Feb 2023 13:01 #880643 by wdhewson

Yep....the coils look original.  The way to tell them apart is by the wiring.  One has a green wire (2&3) and the other has a black wire.  That one is 1&4.  Those wire colours should match up with the wires coming from your points or your electronic ignition.  


Thanks HardRockMiner.

Do you know if those plug caps should be at 5 kohms?

Some of the plug caps can be rebuilt and the resistors cleaned up or replaced.  Maybe I'd toss the resistor and stick a piece of 0 ohm copper in there.
 

Nothing quite like the rip of a Big KZ

Please Log in or Create an account to join the conversation.

  • hardrockminer
  • Offline
  • Sustaining Member
More
22 Feb 2023 18:00 #880651 by hardrockminer
Replied by hardrockminer on topic Trying to Rescue a Late 1970s (1977??) Kawasaki KZ1000
Your old coils are wired internally.  You cannot replace the plug wires without replacing the coils.  If you go with the Dyna coils you'll need new plug wires and caps.  You could stay with copper core or you could switch to something different.  They are easy to put together.

www.dynaonline.com/accessories/spark-plug-wires/

I have several restored bikes along with a 2006 Goldwing with a sidecar. My wife has a 2019 Suzuki DR 650 for on and off road.
The following user(s) said Thank You: wdhewson, sf4t7

Please Log in or Create an account to join the conversation.

More
22 Feb 2023 19:28 - 22 Feb 2023 19:48 #880656 by Mikaw
I checked both the Z1/Kz900 manual and the Kz1000 and neither mention the HT plug cap resistance. They just note the secondary Ohms of the coil, wires and caps should be 24-36K. Z1 E sells replacement HT plug caps that are rated at 5 Ohms. I’ll look further. 

Edit- I checked the FSM for the MKII and the Z1R and they say to unscrew the plug cap from the HT wire before testing secondary ohms. They don’t mention anything about testing the resistance of the cap. John Brookes book give a cap part number but no information on Ohms values. 

1976 KZ 900 A4 kzrider.com/forum/11-projects/613548-1976-kz-900-a4
1976 KZ 900 B1 LTD
1978 KZ 1000 B2 LTD
1980 KZ 750 E1
Kowledge Speaks, But Wisdom Listens.
Jimi Hendrix.
Last edit: 22 Feb 2023 19:48 by Mikaw.
The following user(s) said Thank You: wdhewson

Please Log in or Create an account to join the conversation.

More
24 Feb 2023 09:03 - 24 Feb 2023 09:05 #880712 by Nessism
TEC coils were used by a lot of the Japanese OEMs back in the day.  The HT wires go straight into the coils, but they can be removed and replaced.

Stick a fat straight pin alongside the wire where it enters the coil.  The wire goes down about 15mm or so, and pushes down over a spike in the coil.  Once you get the pin in, squirt some WD-40 alongside the pin, and then pull it out and do it again, on a different part of the wire.  The idea is to work some WD-40 down into the cavity.  After you do this a few times, try to pull the wire out.  Again, there is a spike down in the cavity, so don't damage that.  Once you get the wires out, new ones can be installed, down into the spike.  The outer wire protective sleeves can be recycled and installed on your new HT leads.  

The plug caps typically have 5k resistors in them.  NGK makes nice replacements, or at least they used to.  
Last edit: 24 Feb 2023 09:05 by Nessism.
The following user(s) said Thank You: wdhewson

Please Log in or Create an account to join the conversation.

More
24 Feb 2023 14:14 #880718 by wdhewson
Thanks guys, for the help with understanding the old ignition coils.

The HT wires are more than a bit stiff with age, but that'll help me place them in their original route.   But much might get replaced for reliability.

With the points plate in my assortment of cleaned up parts to go back on the bike during build up, it occurred to me that I might fire up the coils on the bench to see if there's any spark left in them.

The picture shows this ad hoc circuitry on the workbench. The green arrow shows the plugs grounded together then grounded to the points plate with the red wire.  Over by the battery is a 55 Watt headlamp in series to limit current for those too frequent occasions when I make connection mistakes.  Nothing fries, the lamp just lights.

The video catches some pretty white hot sparks which you can hear.  Perhaps audible on headphones, not to be confused with the old pendulum clock ticking and tocking in the background.

The sparks fly when I manually open the energized set of points.

The video doesn't show all the sparks because some happen between "frames", but the audio track still capture's the spark's sound.

Arctic winds and ice storms have slowed separation of the engine and frame, an outdoor exercise.

Thanks again guys..............


Nothing quite like the rip of a Big KZ
Attachments:

    77KZ1000Sp... - 2.mov

Please Log in or Create an account to join the conversation.

More
03 Mar 2023 05:17 - 03 Mar 2023 05:31 #881008 by wdhewson
Bought a 530 35-tooth rear sprocket yesterday to replace the 41-tooth that came with the bike.

The front sprocket is 17-tooth.

If I've done my math correctly, this will take my overall 5th gear overall ratio from 5.08 to 4.34.

With a 25 inch diameter rear tire, it'll rev 807 times per mile, or 807 rpm at 60 mph. 

So, at 60 mph, 5.08 x 807 = 4100 rpm at the crank.  Or with the 35-tooth rear, 4.34 x 807 = 3500 at the crank.

I live in the flatlands and the land of straighaways ,so tall gearing is favored.  Generally I like gearing that has the engine just coming up on the cam at the usual cruise of 60 to 65 mph.

But, I'll see where the 35-tooth puts me.  Can always downshift, but with short gearing, there's no more upshifts.

Torqued the sprocket nuts to 35 ft-lbs or three more than spec, and added some blue Loctite.

More later................ 

Nothing quite like the rip of a Big KZ
Last edit: 03 Mar 2023 05:31 by wdhewson.

Please Log in or Create an account to join the conversation.

  • hardrockminer
  • Offline
  • Sustaining Member
More
03 Mar 2023 15:14 - 03 Mar 2023 15:16 #881059 by hardrockminer
Replied by hardrockminer on topic Trying to Rescue a Late 1970s (1977??) Kawasaki KZ1000
For KZ1000 I think the stock final drive ratio is 2.2.  (33/15 sprockets).  Your final ratio will be 2.06.  As far as I know the stock primary ratio is 1.73 in 5th gear.  The overall stock ratio (in my book) is 4.64, and yours would be 3.56.

Full timing advance occurs at about 2,500 rpm, and remains constant after that point.  This means there is no difference in firing between 3,500 and 4,100 rpm.

I would be cautious about over-torquing any bolts.  The correct torque on a bolt is based on stretching the bolt slightly elastically so that bolt tension keeps the bolt from backing out.  Over-torquing can plastically deform a bolt, which permanently elongates it, making it useless as a fastener.  The manual shows recommended torques for various bolt diameters, and in most cases specifies the recommended torque range in the related section.  I usually try to hit the middle of the range.

There are special washers with tabs that usually go on the sprocket bolts.  The tabs are bent up as a safety feature to keep the bolt from backing out.  You can find the washers in the Partzilla parts fiche.


I have several restored bikes along with a 2006 Goldwing with a sidecar. My wife has a 2019 Suzuki DR 650 for on and off road.
Last edit: 03 Mar 2023 15:16 by hardrockminer.
The following user(s) said Thank You: wdhewson, sf4t7

Please Log in or Create an account to join the conversation.

More
03 Mar 2023 17:01 #881064 by wdhewson
Thanks HardRockMiner.

I've been down a few goldmines in the Timmins, Ontario region.  Some rugged men a mile or more down there.

I think the numbers below came from the KZ1000 factory manual, but who knows what's really inside the unit.

Primary gears 97/56

5th gear 28/23

And my 35/17 sprockets

So, (97*28*35)/(56*23*17) = 4.34 crank to rear wheel ratio.

That's a good caution about over-torquing.  The bolts are squared headed and captive against rotation, but the nuts could certainly rotate, hence the Loctite.  I think these flange nuts are stock, so the folded up tab locks are ineffective.  If I ever get this old Zed going, I'll have to keep an eye on things.  I try to keep a clean bike, and it is during the cleaning that I notice problems.  "Cleaning is inspecting."

I learned a few inspection lessons from by brother's antique airplane hobby.

Snow storm here tonight, so more delays getting the frame and engine separated.  


Nothing quite like the rip of a Big KZ

Please Log in or Create an account to join the conversation.

Powered by Kunena Forum

If you like KZR Please consider making a donation. Thank you.

KZRider is free, but not without cost.

Please consider chipping in a few bucks to help cover the cost of running the KZR servers.