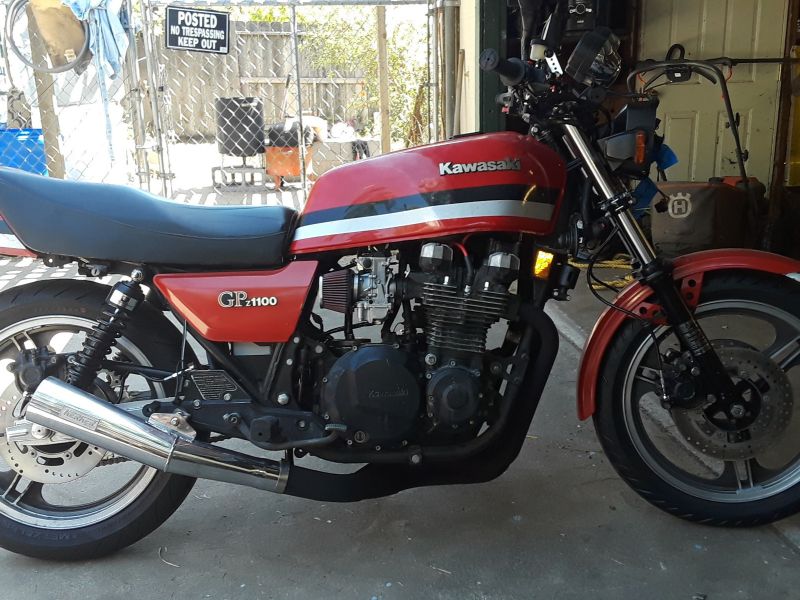
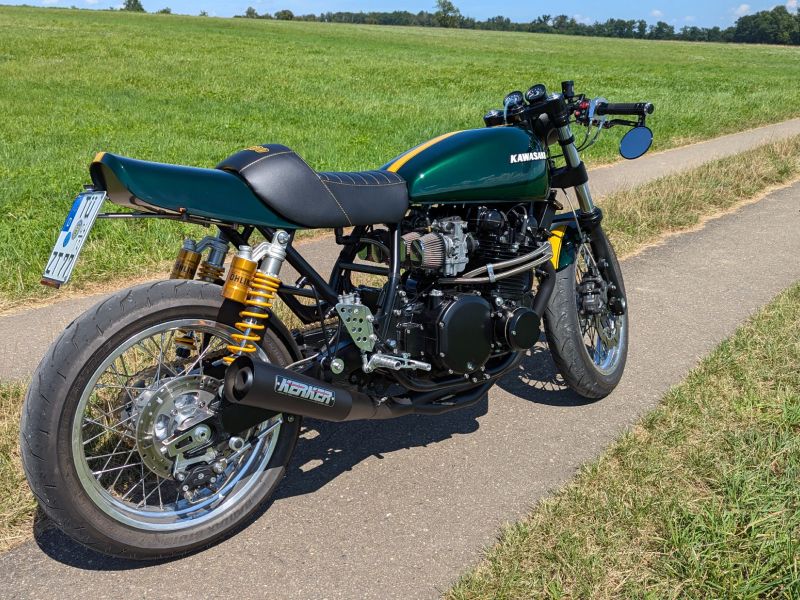
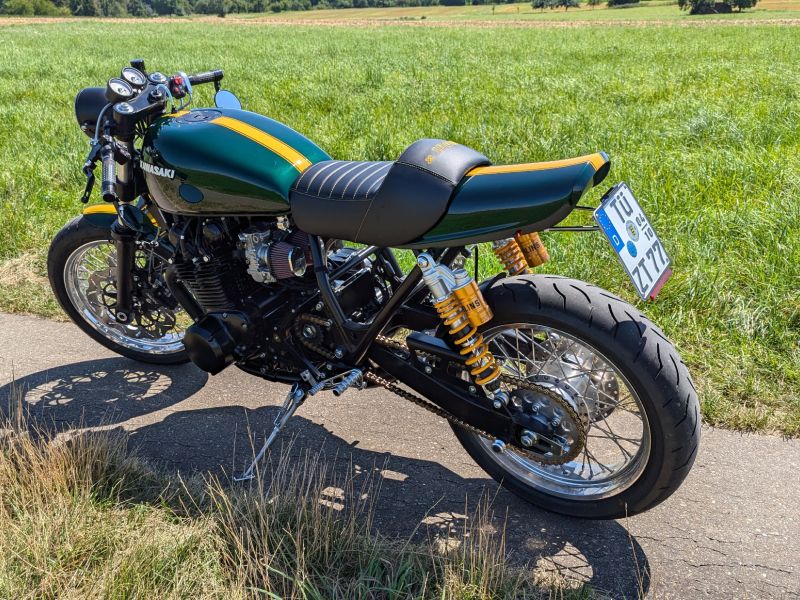
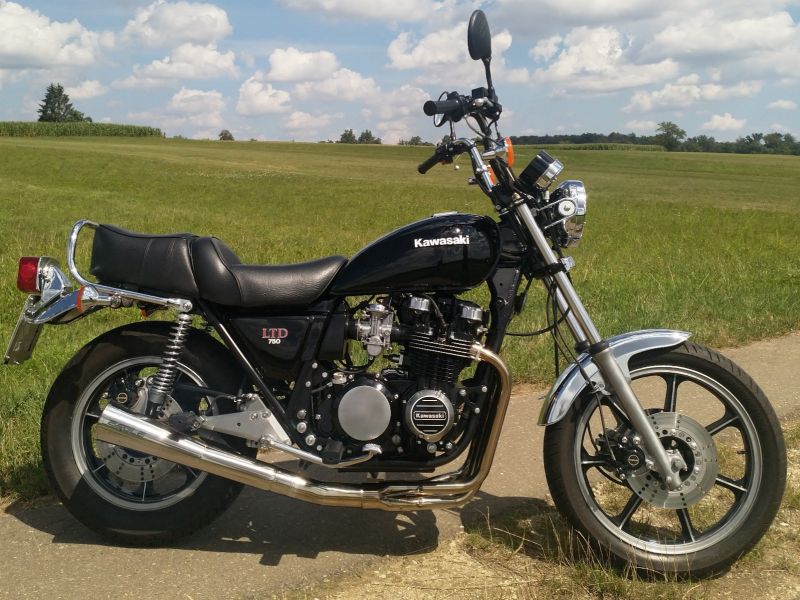
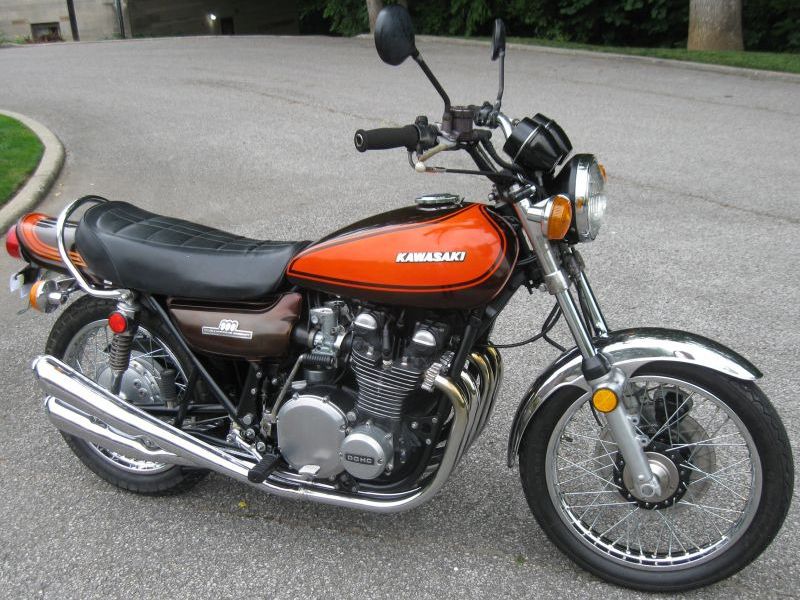
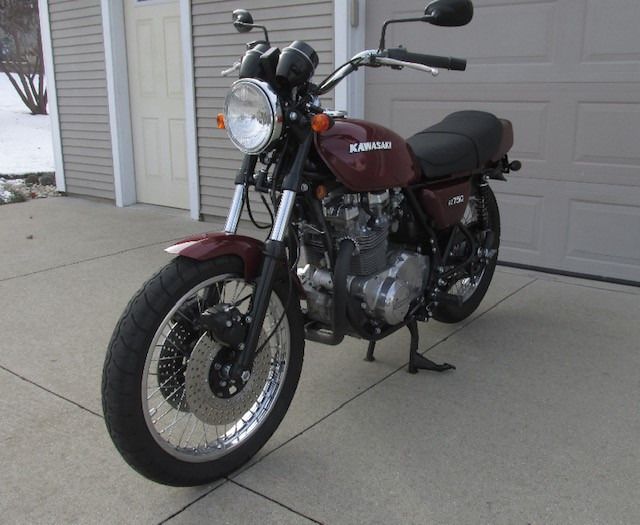
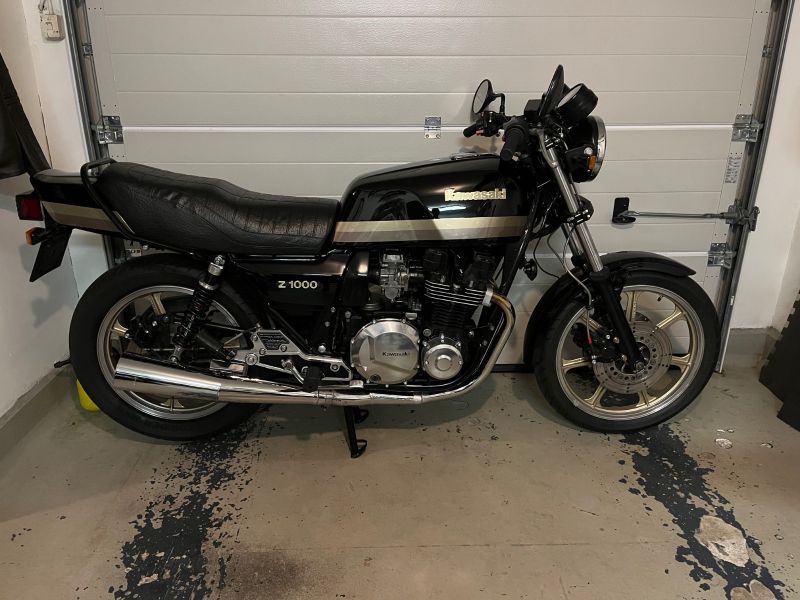
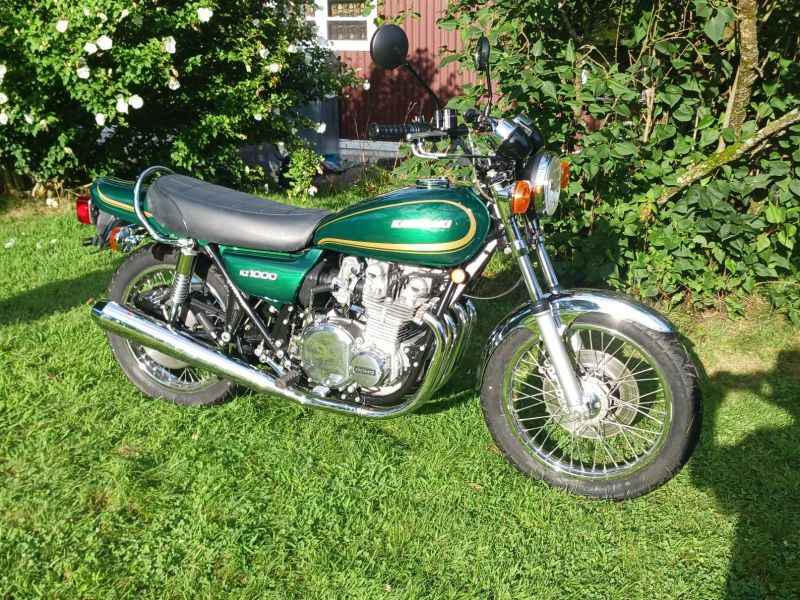
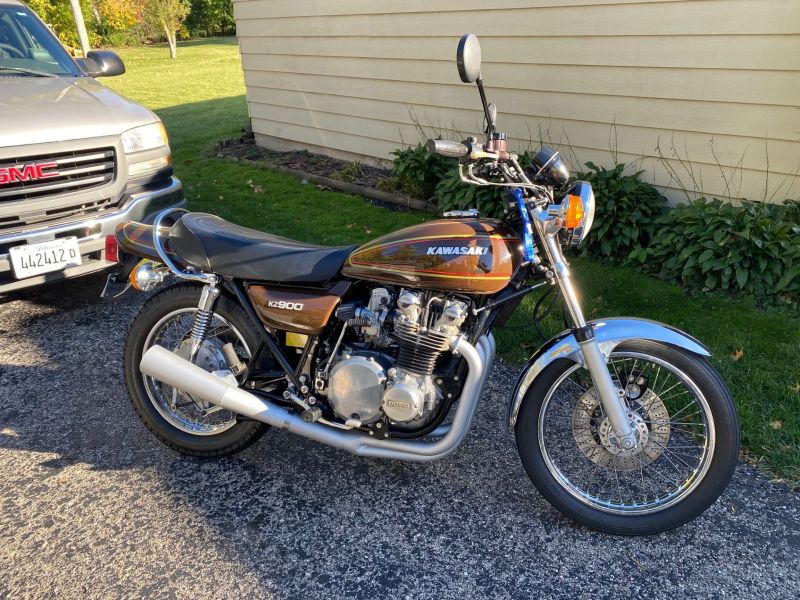
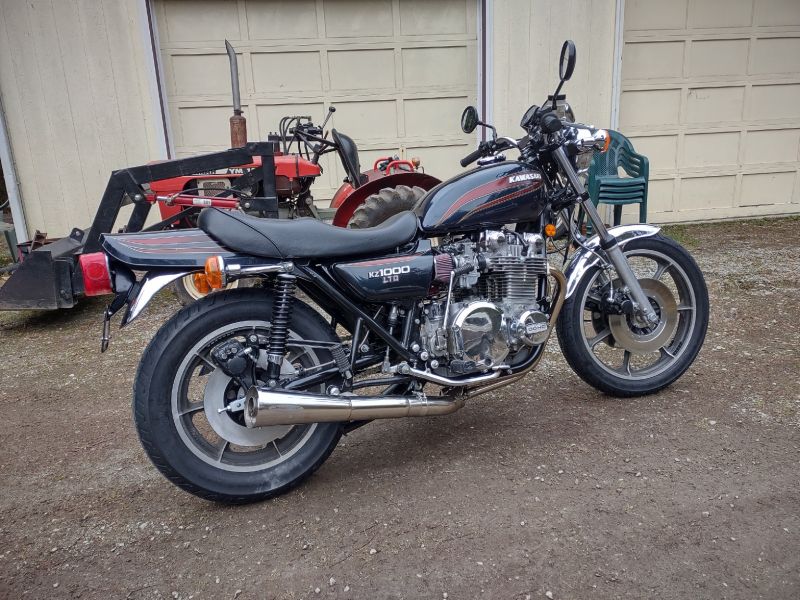
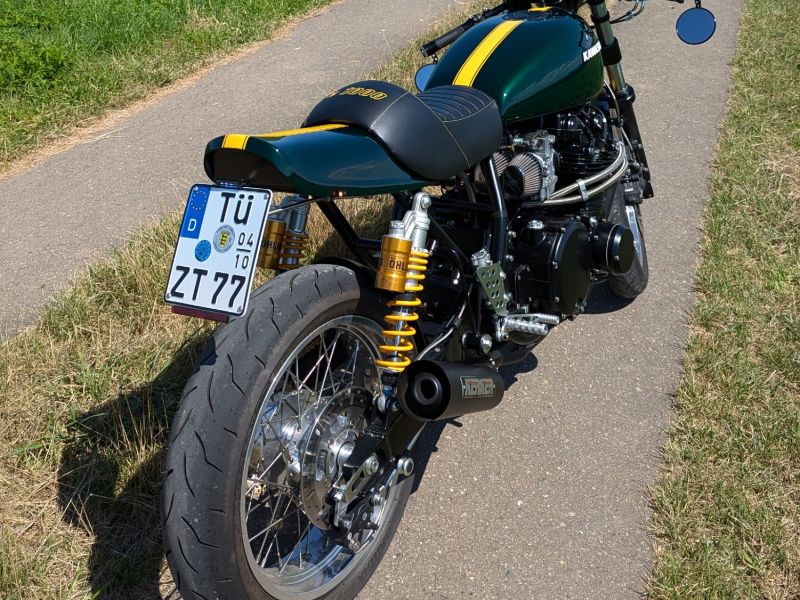
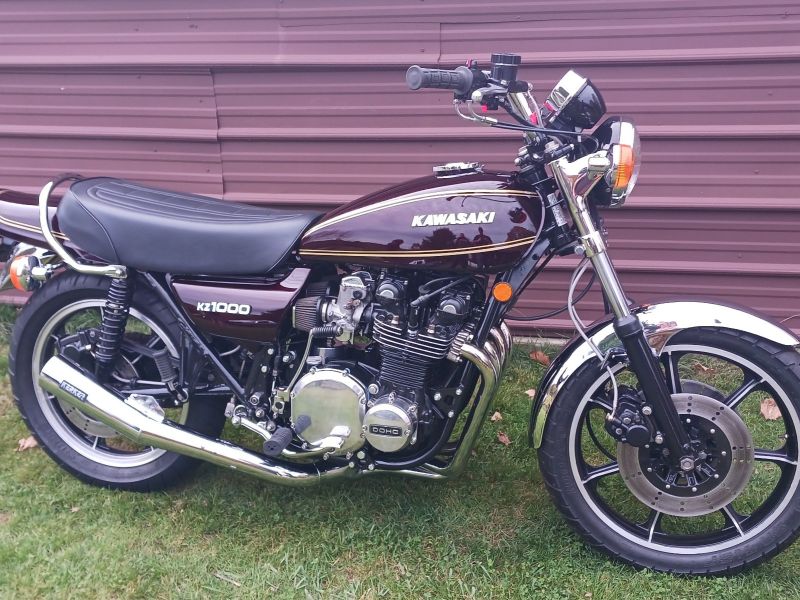
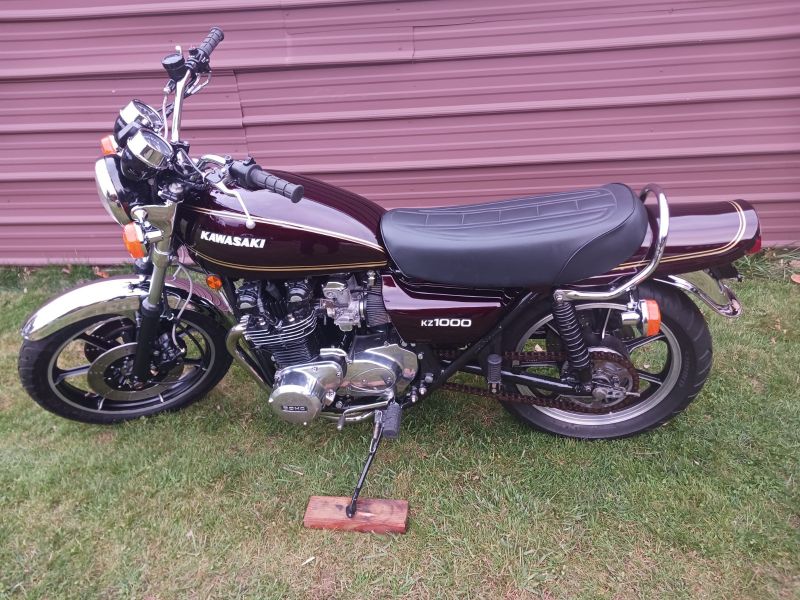
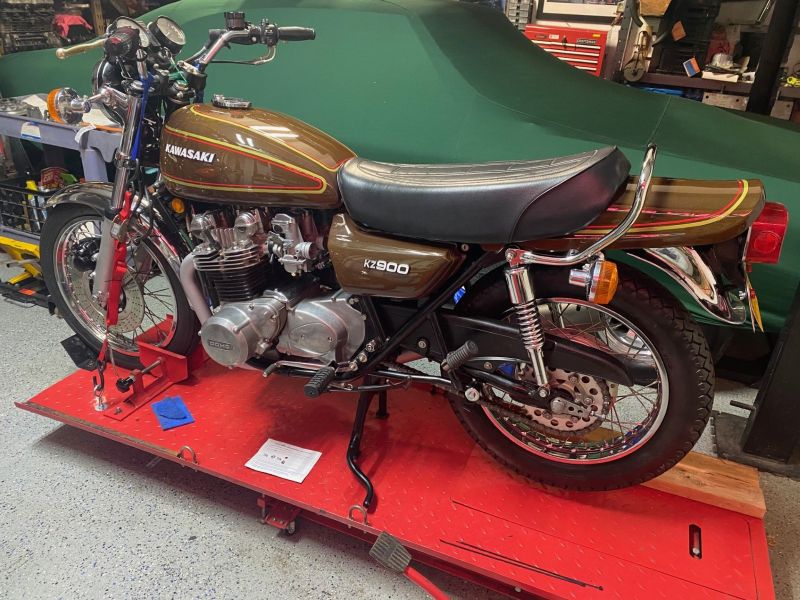
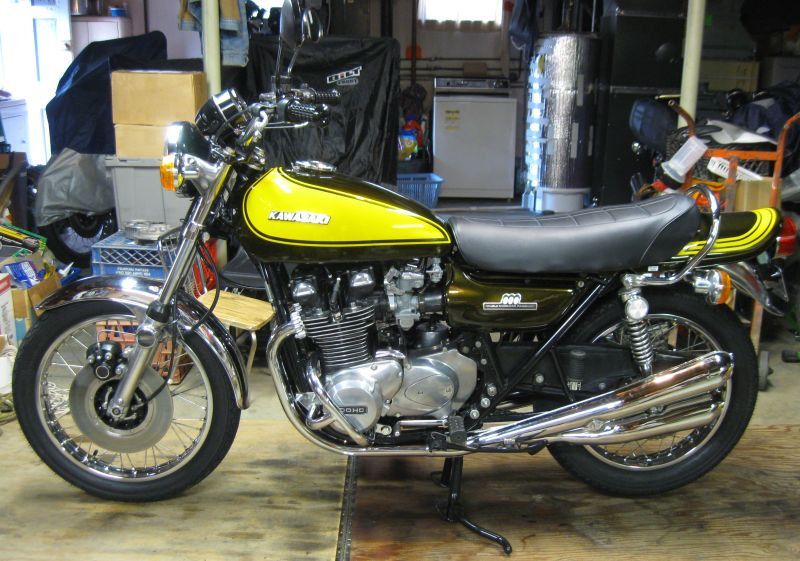
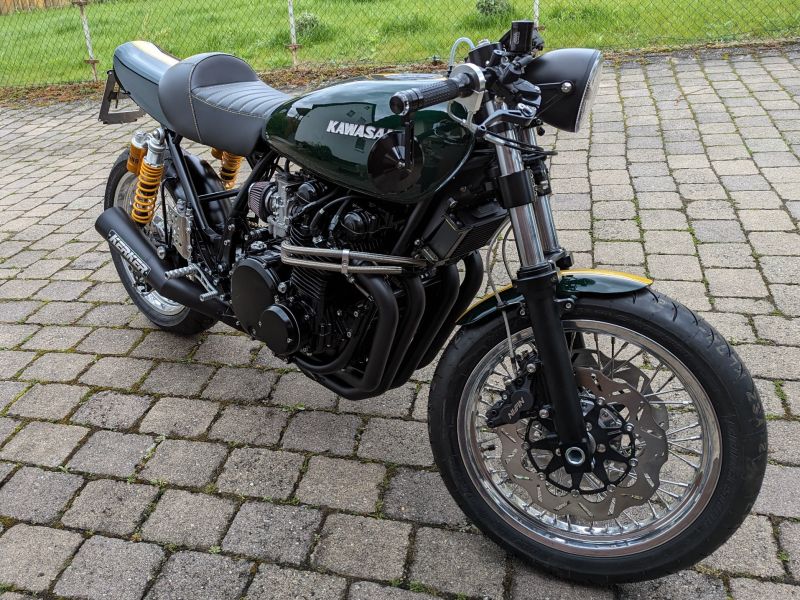
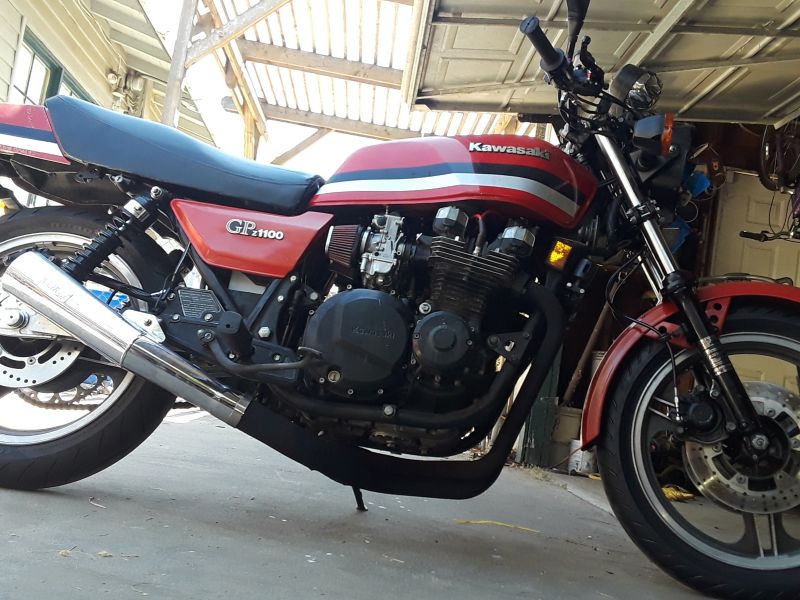
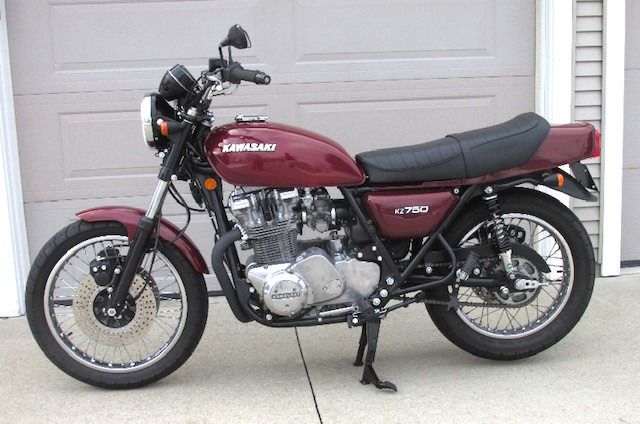
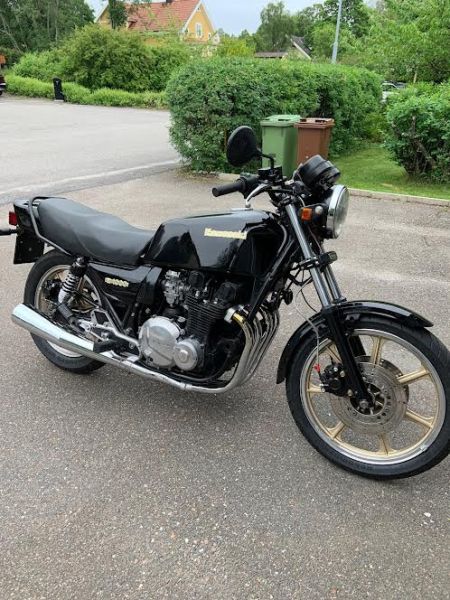
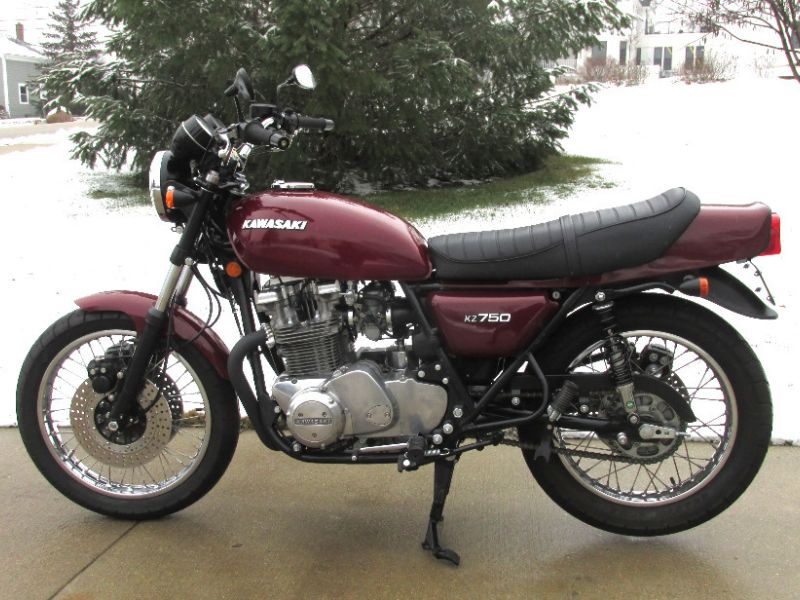
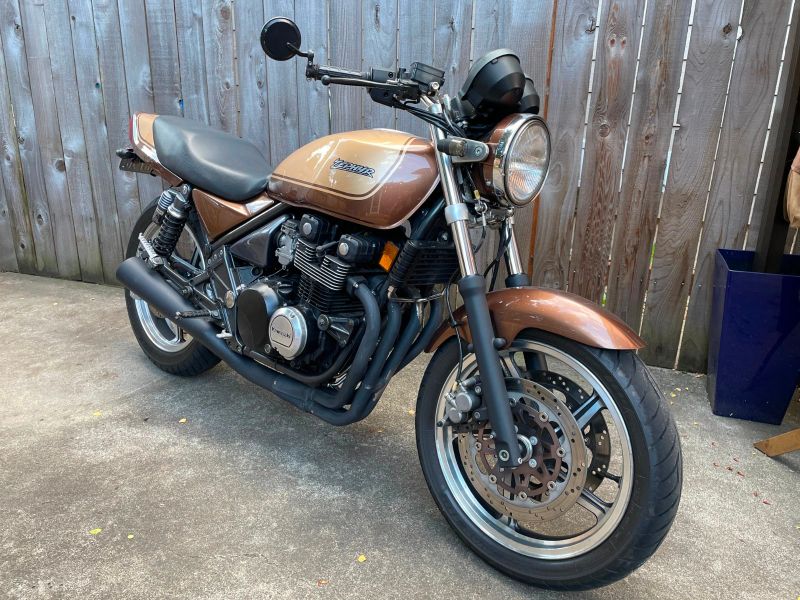
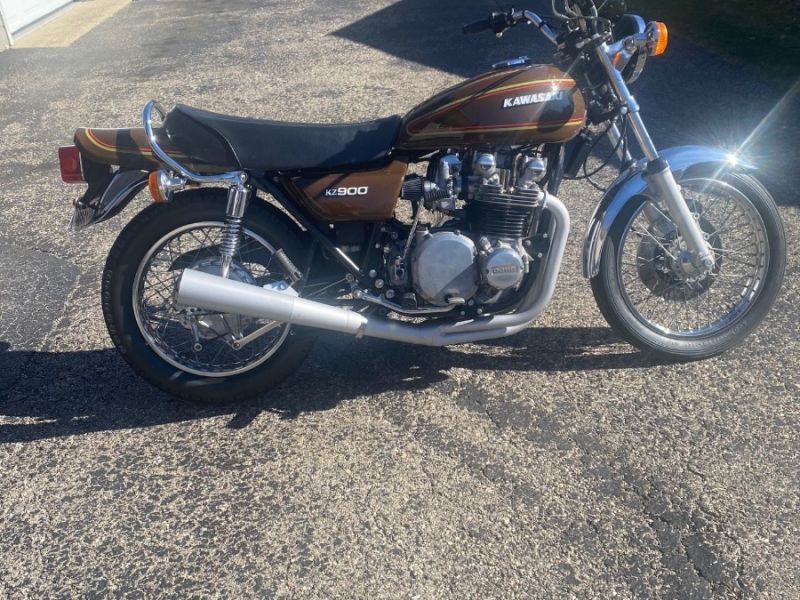
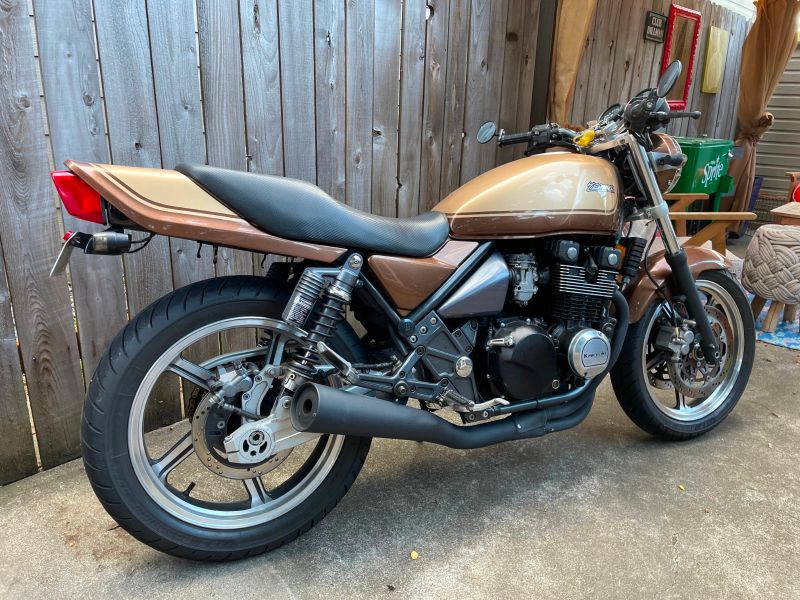
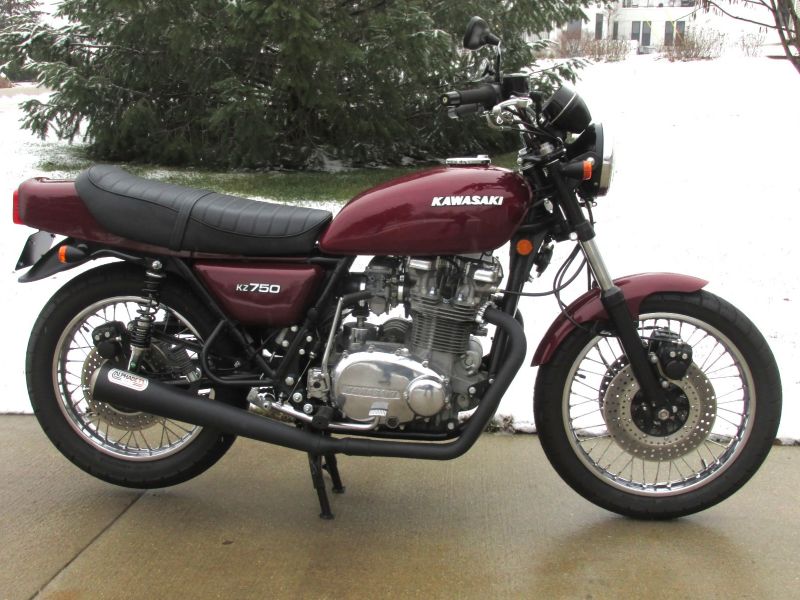
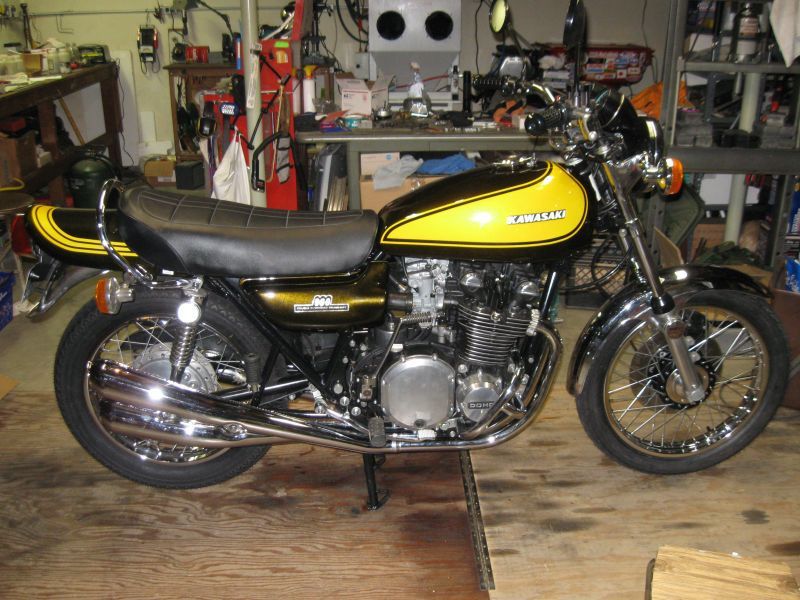
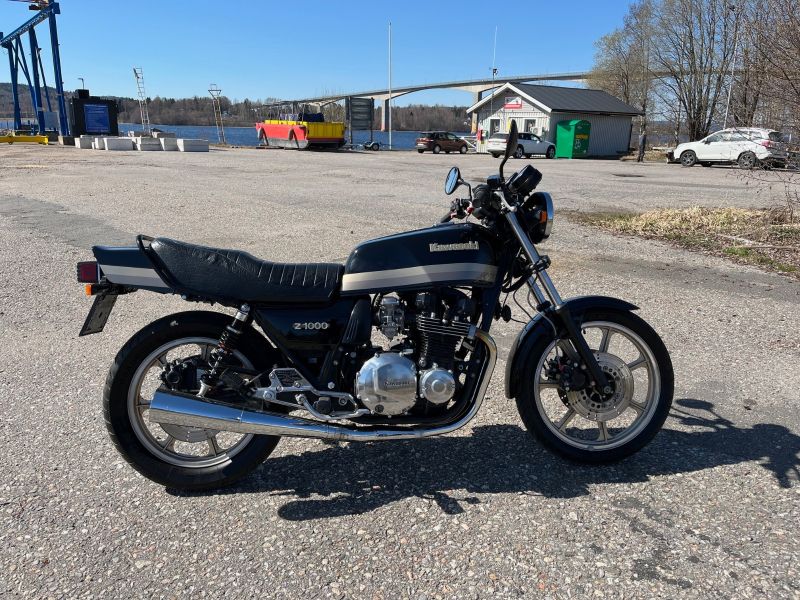
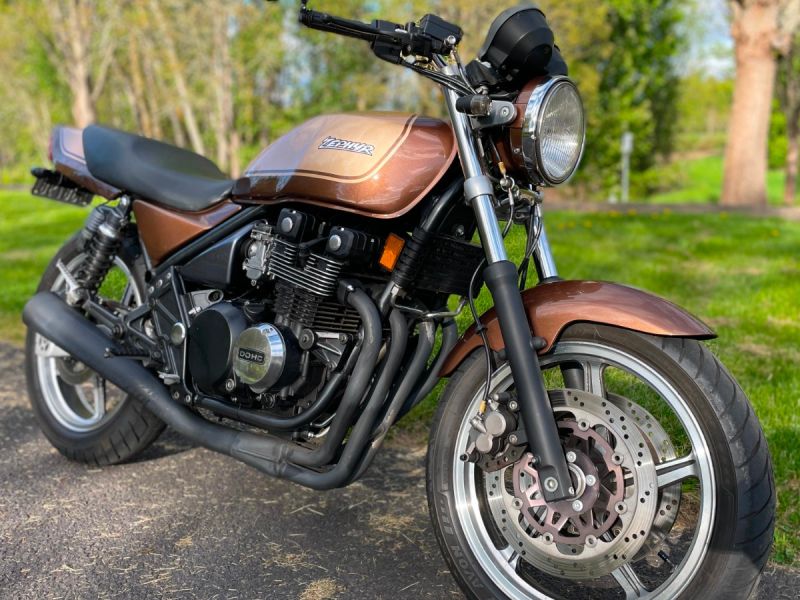
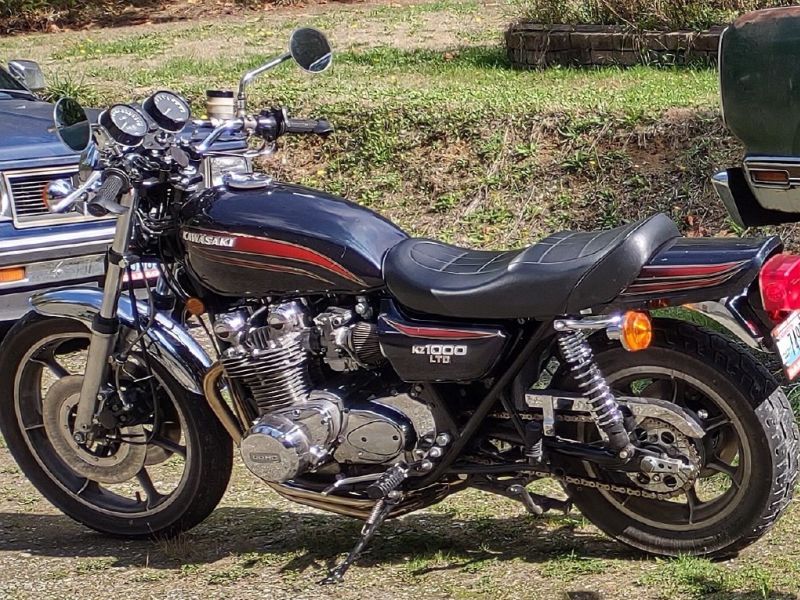
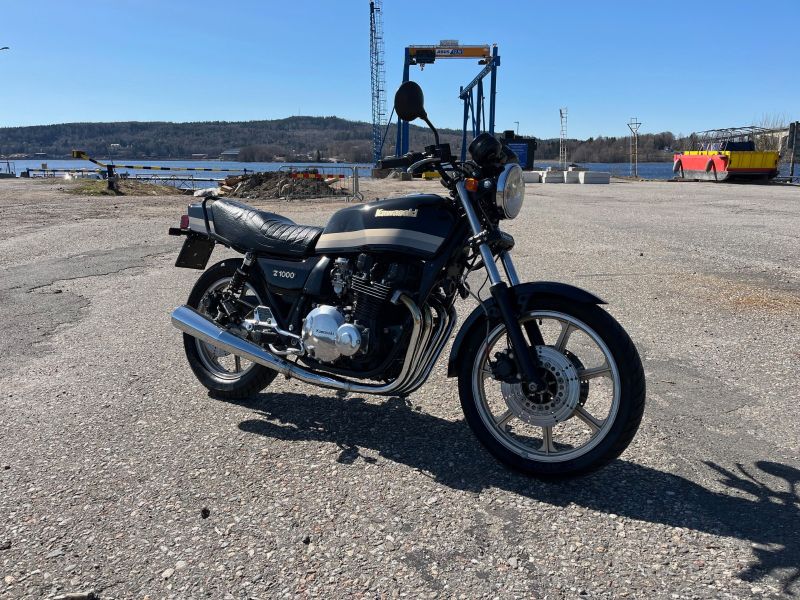
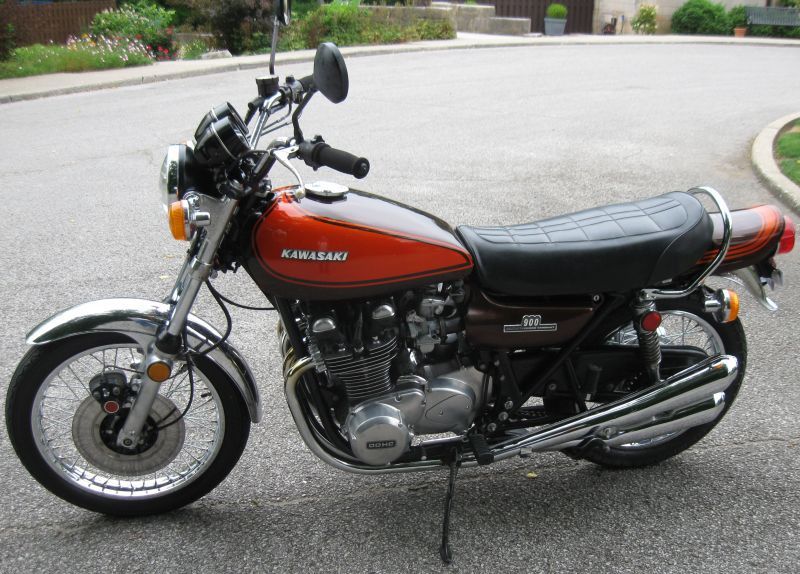
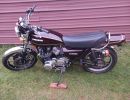
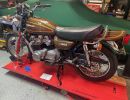
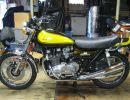
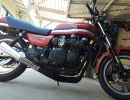
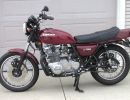
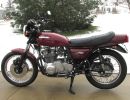
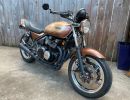
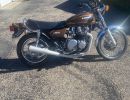
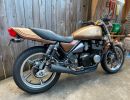
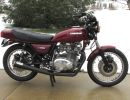
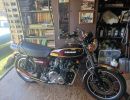
KZR's Bikes of the Month for 2024
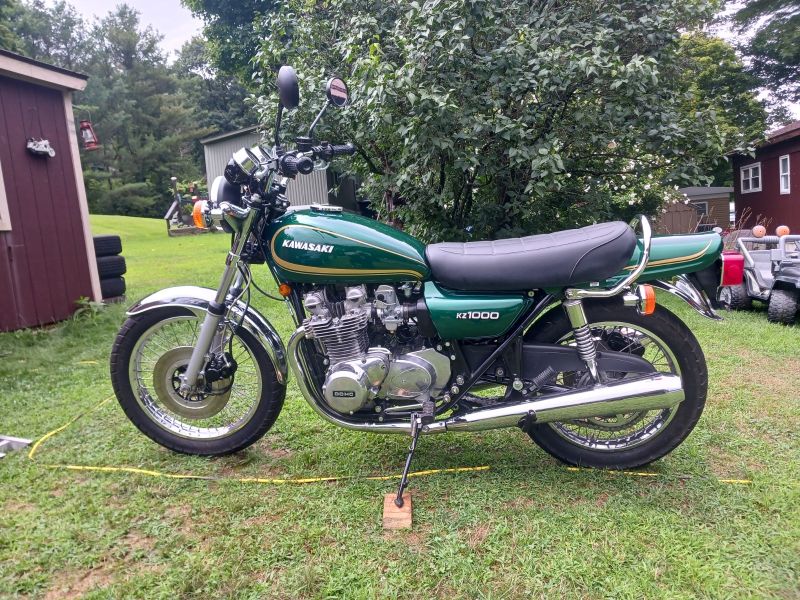
KZ650 cafe-racer

More
04 Aug 2021 03:31 #853130 by Cyrus
Replied by Cyrus on topic KZ650 cafe-racer
Just for the record: this is one of the most impressive threads i've ever seen!

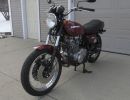
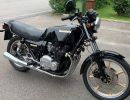
1980 KZ550 LTD
The following user(s) said Thank You: gazzz

Please Log in or Create an account to join the conversation.

  • gazzz
  • Topic Author
  • Offline
  • Sustaining Member
More
18 Aug 2021 11:43 #854024 by gazzz
Replied by gazzz on topic KZ650 cafe-racer
Thank you!So, everything was ready for Kawasaki KZ650 engine assembling . There are two workbenches in my garage, and one of them I designed according to my idea of comfort engine assembling.  Here is how my engine assembling space looks like: 


The main feature of this table is shelving I made and installed at back side of table. Since most engines I am working on are inline fours, I made sections of shelving large enough to accommodate average cylinder head, cylinder block or crankshaft.


Kawasaki KZ650 cafe-racer: in progress

Kawasaki Zephyr 750 (810ccm, 4in4, spoked wheels)
Honda CB815 "Eight Fifteen" cafe-racer
Yamaha XJ "Eight Ball" cafe-racer

www.gazzz-garage.com

Please Log in or Create an account to join the conversation.

  • gazzz
  • Topic Author
  • Offline
  • Sustaining Member
More
18 Aug 2021 11:44 #854025 by gazzz
Replied by gazzz on topic KZ650 cafe-racer
Before starting the next stage of assembling I load all necessary parts  on the shelving, thus I always have at hand whatever I need.


Kawasaki KZ650 cafe-racer: in progress

Kawasaki Zephyr 750 (810ccm, 4in4, spoked wheels)
Honda CB815 "Eight Fifteen" cafe-racer
Yamaha XJ "Eight Ball" cafe-racer

www.gazzz-garage.com

Please Log in or Create an account to join the conversation.

  • gazzz
  • Topic Author
  • Offline
  • Sustaining Member
More
18 Aug 2021 11:46 #854026 by gazzz
Replied by gazzz on topic KZ650 cafe-racer
I started engine assembling traditionally for me: from installing valves. This action tunes me up for more complicated assembling  works.  For cylinder head assembling I use a valve spring compressor tool of my own design. There is a layer of rubber under the tape wrapping (bicycle tube actually). It’s a highly recommended mode for those who don’t like banging freshly painted cylinder heads with bare metal rod.


New genuine valve seals finish setup of NOS cylinder head and new (and again genuine) valves.


I use a mix of engine oil and LM48 molybdenum grease for initial valve stems lubrication.


Kawasaki KZ650 cafe-racer: in progress

Kawasaki Zephyr 750 (810ccm, 4in4, spoked wheels)
Honda CB815 "Eight Fifteen" cafe-racer
Yamaha XJ "Eight Ball" cafe-racer

www.gazzz-garage.com

Please Log in or Create an account to join the conversation.

  • gazzz
  • Topic Author
  • Offline
  • Sustaining Member
More
18 Aug 2021 11:47 #854027 by gazzz
Replied by gazzz on topic KZ650 cafe-racer
Cylinder head assembling  is a simple process and with only eight valves per head it was finished in no time.  It seemed that you only started: installed all lower washers and seals, took the first valve…


Kawasaki KZ650 cafe-racer: in progress

Kawasaki Zephyr 750 (810ccm, 4in4, spoked wheels)
Honda CB815 "Eight Fifteen" cafe-racer
Yamaha XJ "Eight Ball" cafe-racer

www.gazzz-garage.com

Please Log in or Create an account to join the conversation.

  • gazzz
  • Topic Author
  • Offline
  • Sustaining Member
More
18 Aug 2021 11:48 #854028 by gazzz
Replied by gazzz on topic KZ650 cafe-racer
Then whoosh! And you are already halfway:


And then again: wait a minute,  it’s the last valve! Time passed so fast.


Special thanks to Oksana for photo-shooting me in the process!

Kawasaki KZ650 cafe-racer: in progress

Kawasaki Zephyr 750 (810ccm, 4in4, spoked wheels)
Honda CB815 "Eight Fifteen" cafe-racer
Yamaha XJ "Eight Ball" cafe-racer

www.gazzz-garage.com
The following user(s) said Thank You: loudhvx, Scirocco

Please Log in or Create an account to join the conversation.

  • Scirocco
  • Offline
  • Premium Member
  • Never change a running system
More
18 Aug 2021 13:16 #854031 by Scirocco
Replied by Scirocco on topic KZ650 cafe-racer
A really nice work shop you have Nazar and you do brilliant labor as allways, but...

Installing the valve seals without to protect the seal lip can cause a minor damage on the sealing lip.
I for me put in the valve first and than use the "condom" tube to cover the sharp edge of key groove to protect the seal lip during the install.


The following user(s) said Thank You: gazzz

Please Log in or Create an account to join the conversation.

  • gazzz
  • Topic Author
  • Offline
  • Sustaining Member
More
19 Aug 2021 04:31 #854047 by gazzz
Replied by gazzz on topic KZ650 cafe-racer

A really nice work shop you have Nazar and you do brilliant labor as allways, but...

Installing the valve seals without to protect the seal lip can cause a minor damage on the sealing lip.
I for me put in the valve first and than use the "condom" tube to cover the sharp edge of key groove to protect the seal lip during the install.


Well, so far I managed to damage no valve seals. My own Zephyr 750 has 75K km with seals replaced in the same way. No issues with oil consumption so far.

It's my conscious decision to install valves and seals in this way. And here are some arguments and tips:

For one thing, none of the books (factory or Hynes or Clymer ) I've read recommended special tools for valve installation. For another thing, I always check the surface of valve stems not only by sight but also by touch. If I find a flaw on the stem of the valve I remove it or (more likely) I lay that valve aside. I check all twice if the valve went through a specialized workshop for resurfacing and afterward trimming (to keep valve clearance in specs without using too thin shims).  And  I found no flaws that could damage seals on new genuine  valves. I oil seal and stem generously and push the stem slowly.  Adding screwing-in movement  to linear movement on the initial stage of valve-into-seal installation also helps.

Kawasaki KZ650 cafe-racer: in progress

Kawasaki Zephyr 750 (810ccm, 4in4, spoked wheels)
Honda CB815 "Eight Fifteen" cafe-racer
Yamaha XJ "Eight Ball" cafe-racer

www.gazzz-garage.com
The following user(s) said Thank You: ghostdive

Please Log in or Create an account to join the conversation.

  • gazzz
  • Topic Author
  • Offline
  • Sustaining Member
More
24 Aug 2021 10:54 #854272 by gazzz
Replied by gazzz on topic KZ650 cafe-racer
Next step in Kawasaki KZ650 engine assembling was connecting rod installation. As usual, I applied  mix of engine oil and Liqui Moly LM48 molybdenum grease to connecting rod bearing inserts.


I tightened connecting rods’ nuts with the crankshaft installed in the upper half of cases. Then I returned the assembled crankshaft with conrods on the shelf for a short time.


So I could Install all necessary parts into the upper half of the crankcase. Like new knock (dowel) pins:


Kawasaki KZ650 cafe-racer: in progress

Kawasaki Zephyr 750 (810ccm, 4in4, spoked wheels)
Honda CB815 "Eight Fifteen" cafe-racer
Yamaha XJ "Eight Ball" cafe-racer

www.gazzz-garage.com

Please Log in or Create an account to join the conversation.

  • gazzz
  • Topic Author
  • Offline
  • Sustaining Member
More
24 Aug 2021 10:55 - 24 Aug 2021 10:56 #854273 by gazzz
Replied by gazzz on topic KZ650 cafe-racer
Or new rubber plug for oil channel:


Or starter motor idle gear:


After this I prepared new crankshaft oil seals.


Kawasaki KZ650 cafe-racer: in progress

Kawasaki Zephyr 750 (810ccm, 4in4, spoked wheels)
Honda CB815 "Eight Fifteen" cafe-racer
Yamaha XJ "Eight Ball" cafe-racer

www.gazzz-garage.com
Last edit: 24 Aug 2021 10:56 by gazzz.

Please Log in or Create an account to join the conversation.

  • gazzz
  • Topic Author
  • Offline
  • Sustaining Member
More
24 Aug 2021 10:58 #854274 by gazzz
Replied by gazzz on topic KZ650 cafe-racer
And put  primary and timing chains on the crankshaft.


After this  I greased crankshaft  bearing inserts with a mix of molybdenum grease and engine oil and installed the crankshaft into its place. In this way the upper half of the crankcase was mostly ready for assembling.


Meanwhile I proceeded to lower half of the engine case. First I had to install a kickstarter mechanism. There are three retaining rings (circlips) to be installed on the kickstarter shaft. They all may look identical,  but in fact only two of them are identical. Third  retaining ring size is slightly different, so mind not to mix those rings up.


Kawasaki KZ650 cafe-racer: in progress

Kawasaki Zephyr 750 (810ccm, 4in4, spoked wheels)
Honda CB815 "Eight Fifteen" cafe-racer
Yamaha XJ "Eight Ball" cafe-racer

www.gazzz-garage.com

Please Log in or Create an account to join the conversation.

  • gazzz
  • Topic Author
  • Offline
  • Sustaining Member
More
24 Aug 2021 10:59 #854275 by gazzz
Replied by gazzz on topic KZ650 cafe-racer
With the kickstarter mechanism correctly assembled and in its place my next step was assembling the gear shift mechanism. I did it by the book using a new lock washer  for shift drum guide bolt and cotter  pin for 3rd gear shift fork.


I used the return spring bolt of the new design. It came with factory applied thread locking agent and some kind of coating on the part which is in contact with spring.


Kawasaki KZ650 cafe-racer: in progress

Kawasaki Zephyr 750 (810ccm, 4in4, spoked wheels)
Honda CB815 "Eight Fifteen" cafe-racer
Yamaha XJ "Eight Ball" cafe-racer

www.gazzz-garage.com

Please Log in or Create an account to join the conversation.

Powered by Kunena Forum

If you like KZR Please consider making a donation. Thank you.

KZRider is free, but not without cost.

Please consider chipping in a few bucks to help cover the cost of running the KZR servers.