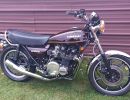
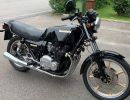
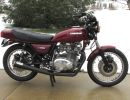
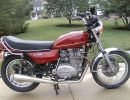
Sept. 25, 2018 update.
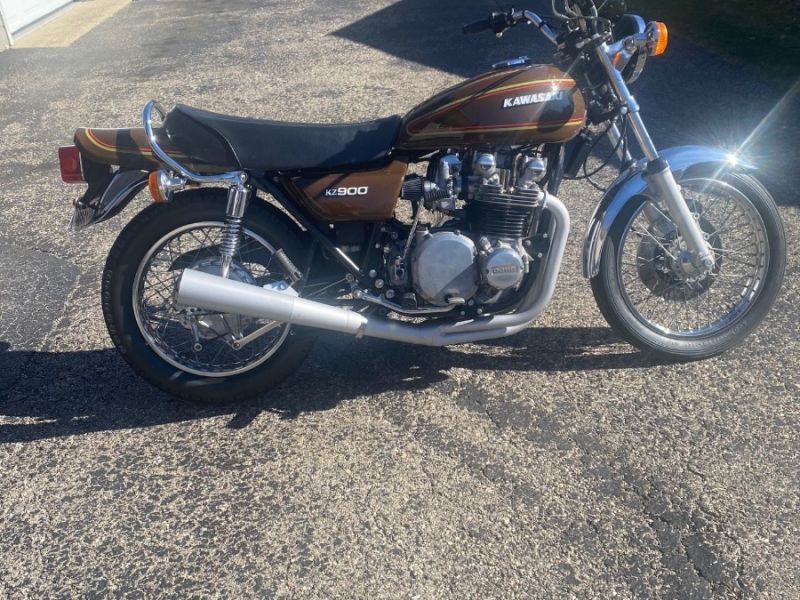
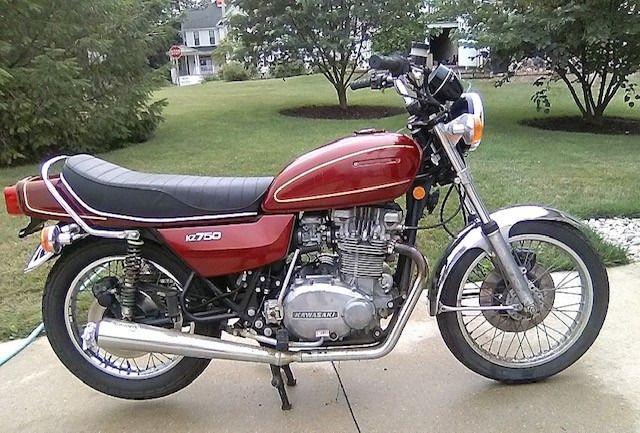
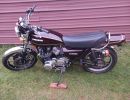
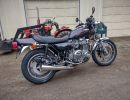
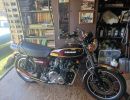
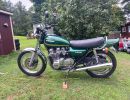
We moved The Wounded Z outside a few days ago to spray it off & give it a cursory washing with brushes and Simple Green. Necessary to get it clean enough to work on. Let it dry in the sun for a few hours, then into the service bay. We'd been squirting Magical Mystery Fluid (MMF) on every threaded fastener a couple of times a week for the past month. Time to turn some wrenches.
The three spark plugs came out two weeks before surprisingly easily; they were barely tighter than snug. Peering through the plug holes into the cylinders with a bore light had revealed nothing other than a few valves open and mysterious, inky darkness.
The exhaust system is destined for scrap. Not surprisingly, the carb boots are seriously deteriorated:
Something I hadn't noticed before now; the camchain tensioner is the later style:
First light under the cam cover reveals no deterioration of the cams. Nice & clean, no rust:
Underside of the cam cover is clean. The batch codes are even still there! Looks promising...:
A borelight sez hollow cams! Gonna have to research when Mama Kaw went to solid cams. Thought it was much earlier than this:
According to Kaw Service Bulletin 4/900-3 dated 3/5/1976, motors commencing with ser. #Z1E-089122 had pry points cast into the cases at each end where the cylinders mate to the case surface. The same bulletin describes fabricating a suggested tool along with dimensions, whereas a 19" long piece of 1/2" bar stock is drilled and countersunk to make a cylinder lifter for motors that pre-date the casting change, as this motor does.
Chain, two bolts and a breaker bar can accomplish the same thing.
A bolt long enough to engage all the threads on the outside cylinder head bolt hole(s) of the cylinder casting is inserted through a chain link in the middle of the chain's length, with washers under the bolt head to keep it from pulling through the link. The bolt is then hand-tightened into an outer head bolt hole in the cylinder casting. A much larger long bolt is inserted through links at the free ends of the chain to create a closed loop. A head nut is then hand-tightened onto a corner stud. A breaker bar with a socket is run through the chain loop, with the socket placed on the head nut. Lifting the breaker bar utilizes the cylinder stud as a fulcrum, with the chain close to the bar's pivot. The resulting increase in leverage makes it quite easy to lift each end of the cylinder, breaking it free of the base gasket.
Works great on a motor that turns free. Not so much on one that's stuck.
We knew going into this bike that the motor was stuck. Just didn't know why. The #3 spark plug hole has the remains of a spark plug sans porcelain broken flush to the outer surface. We just figured that #3 had some rust and maybe some water in it.
When we pull the head, #1 & 2 look OK:
3 & 4 are another matter:
The milk in# 3 is no surprise; likely a mix of water that was already there, and the combination of MMF and other penetrants we've been squirting into the broken plug for the past few weeks. #4 was somewhat of a surprise though. Under that water and oil is about a 5mm layer of some sort of rusty, fluffy "stuff". Seemed like oil-saturated, fine sawdust permeated with rusty red color. About a shot glass full of fluffy stuff was spooned out after the liquid was removed.
Now, we realize there's not one, but two stuck pistons.
We won't bore y'all with a blow-by-blow description of the ensuing
seven hour struggle to free the jugs from the grasp of two pistons in rusted sleeves. #3 wasn't that bad. We were able to get #3 to BDC by lifting the cylinder enough that the stuck #4 piston arrived at TDC of the crank stroke, but not moving within it's bore. In other words, the crank throw for #4 was at TDC, #3 was at BDC, but the stuck #4 piston remained ~25mm below the deck of the jugs. That exposed the rings of #3 under it's sleeve enough to break the rings off, enabling #3 piston to travel freely in it's bore. #'s 1 and 2 moved fine. #4 was a major PITA; stuck tight. There wasn't enough upward travel available of the cylinder block before it hit the bottom of the head nut used for the cylinder block lifter fulcrum. No way at all to lift it off it by hand. Trying to do so just tilted the bike off the centerstand. We ended up using a machinist's hammer, wood block and "friendly persuasion" to drive #4 down enough to expose the piston pin under the lower edge of the sleeve. We were then able to pull the piston pin out from under the bottom edge of it's sleeve, finally freeing the jugs while the #4 piston remained firmly stuck in it's bore. A hydraulic press was then used to push the piston the rest of the way out of the cylinder.
A comparison of a clean piston and the freshly-removed #4 piston, presented courtesy of The Lovely Z1BEBE. How she does this stuff without chipping her war paint, er... nail polish is something I have yet to figure out. If you look closely the gap of the top compression ring can just be made out. The rust/varnish/creeping crud between & under the rings had practically made the piston one with it's sleeve:
The following day we're at it again. Now that the the jugs are off the motor spins free. No odd noises or grindy feels. Tranny shifts fine by hand. So we start removing covers. Of note is that so far, not one screw or bolt has broken anywhere on the bike. Patience, copious amounts of MMF applied over the course of weeks and a hand impact driver have made fastener removal pretty painless so far.
So we're to the point that we must remove the countershaft sprocket to get to the cover screws behind it.
The very rusty chain has been shedding flakes, red powder and protesting with squeaky noises when we were spinning the motor in gear. We start looking for a master link, but on first examination we don't see one. Bike is only showing 14,996 miles. Could it be the factory chain? I'm getting the cutoff wheel off the shelf when Z1BEBE says in her "WTF ???" voice "Look at this!":
WTF??? is right! I've been doing Z1's since they were new, but I've never seen anything like that. That a master link is "retained" by cotter pins is bad enough, but only one??? That's the tip of a probe, showing the other hole is really there. Sure enough, once the pin was pulled, the sideplate was easily removed with needle nose pliers.
A pic of the master link once freed:
It looks like the brand name is Link Belt. #80 chain?:
Best guess is this is some sort of farm implement chain that was an expeditious replacement for cost reduction. The fact that one of two cotter pins was MIA makes one wonder how conscientious the person was who installed the chain.
One last thing before we must close this update: while loosening the kickstart shaft cover screws I noticed a stamping in the motor case. It appears to be factory, but I've never seen anything stamped here:
Anyone have any idea what it means?
More updates to follow.
Good Ridin'
slmjim & Z1BEBE
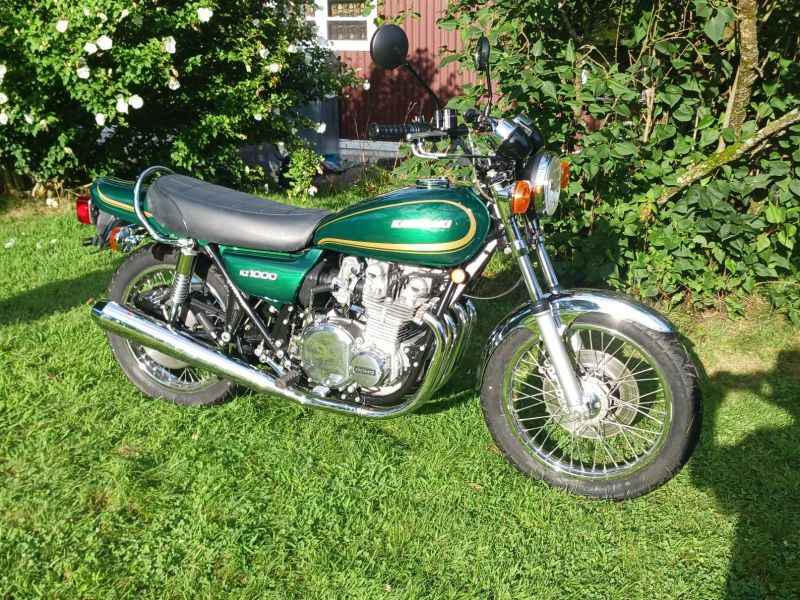 Ronnie V's BOTM for December 2024
 Slmjim and BEBE's Z1 BOTM October '24
