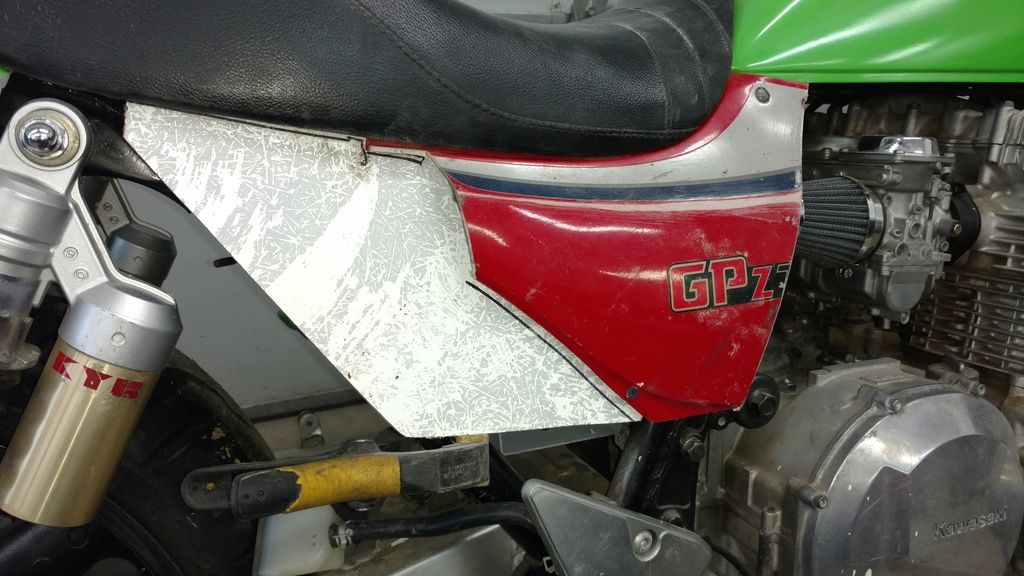
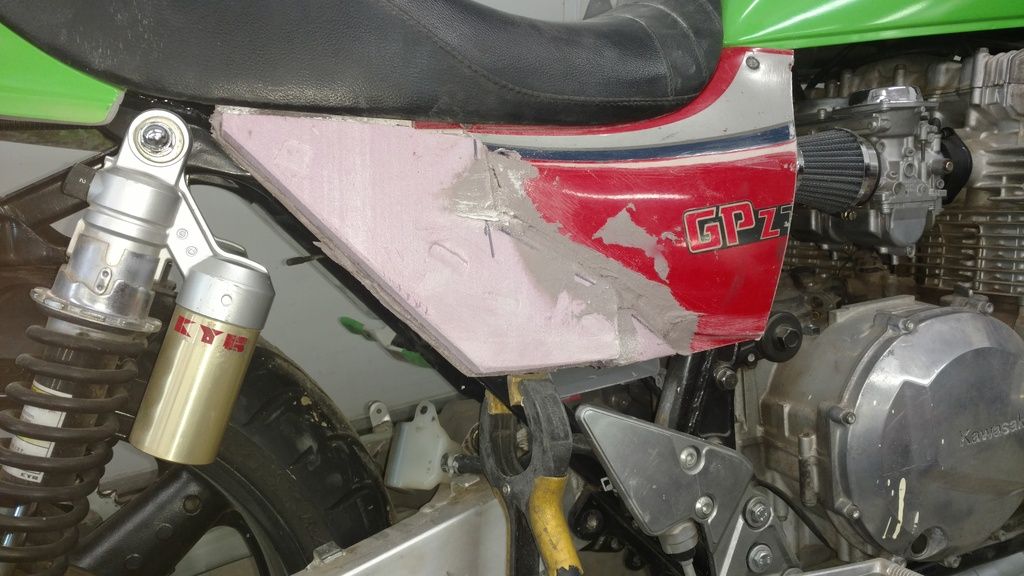
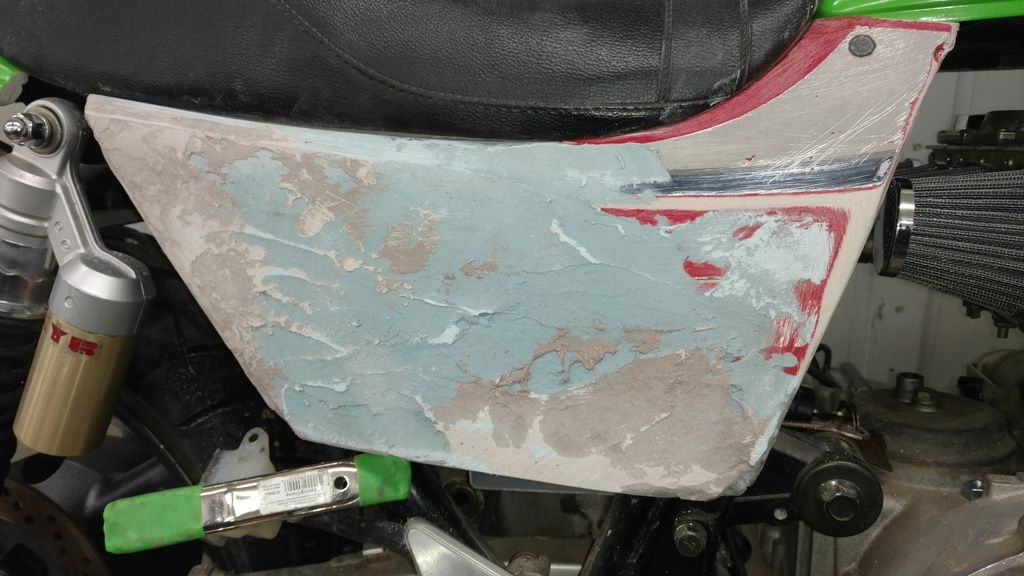
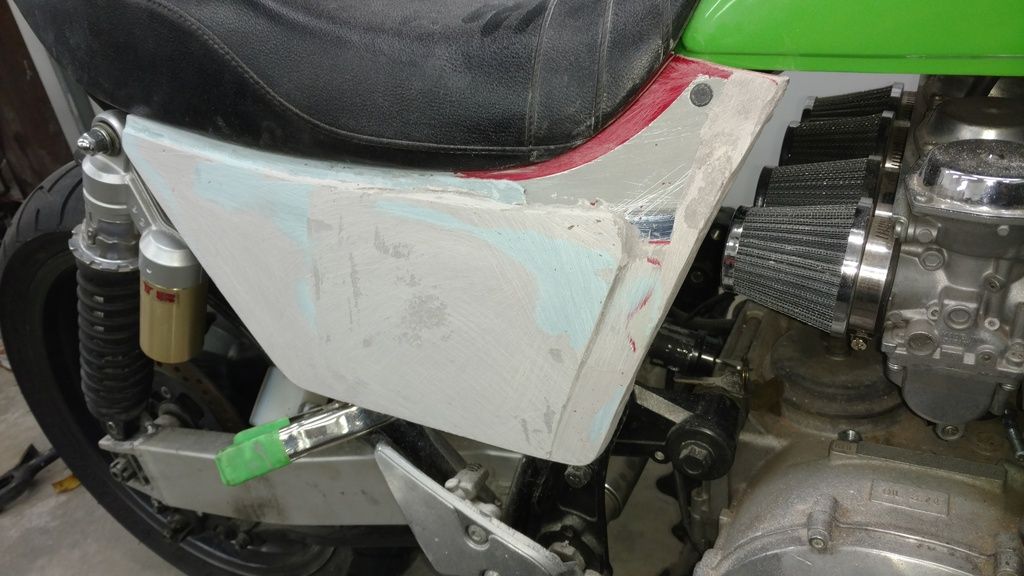
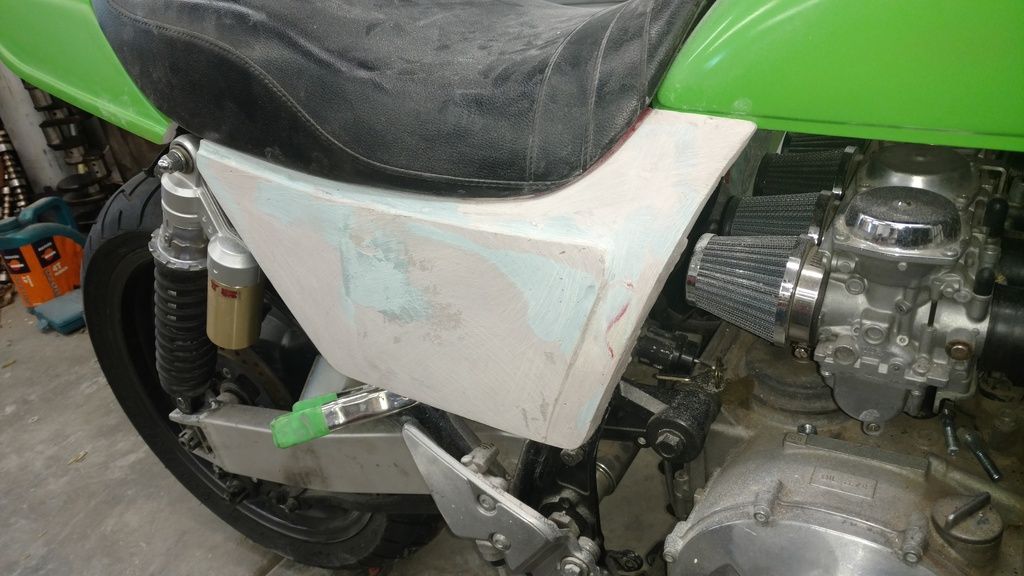
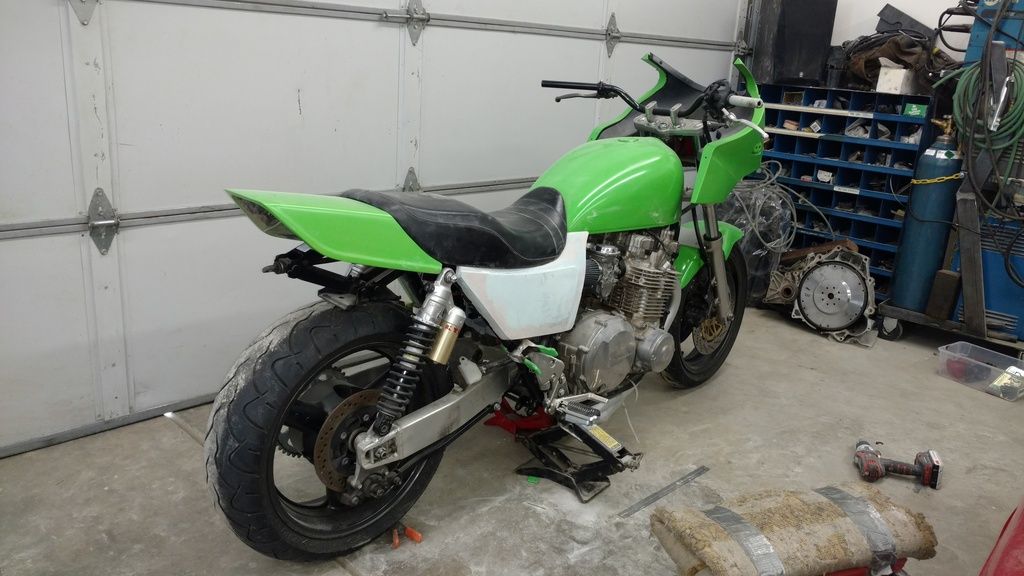
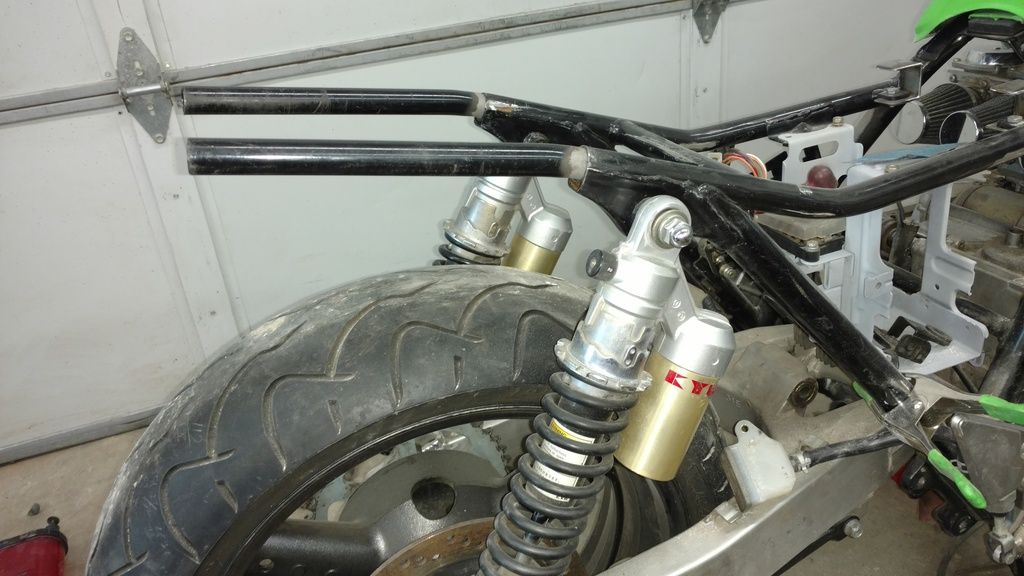
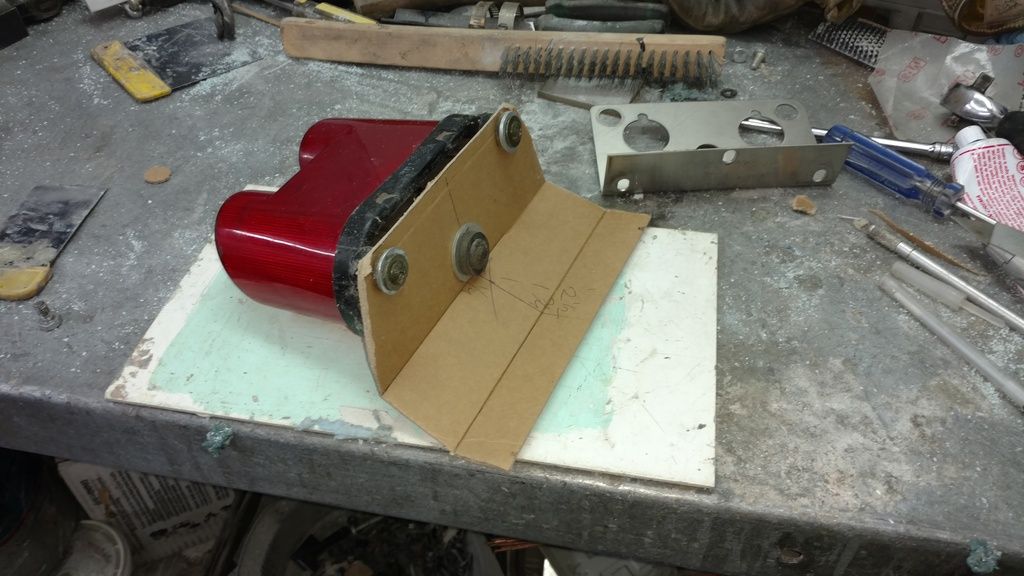
Indeed, this is masterclass stuff right here. What I like most of all is how you've just jumped in and got these things DONE.
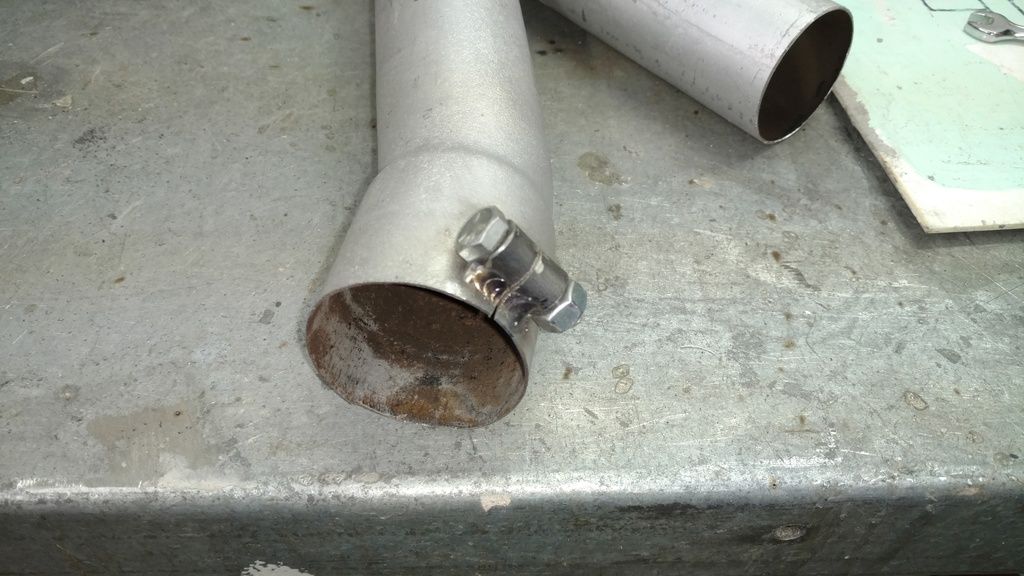
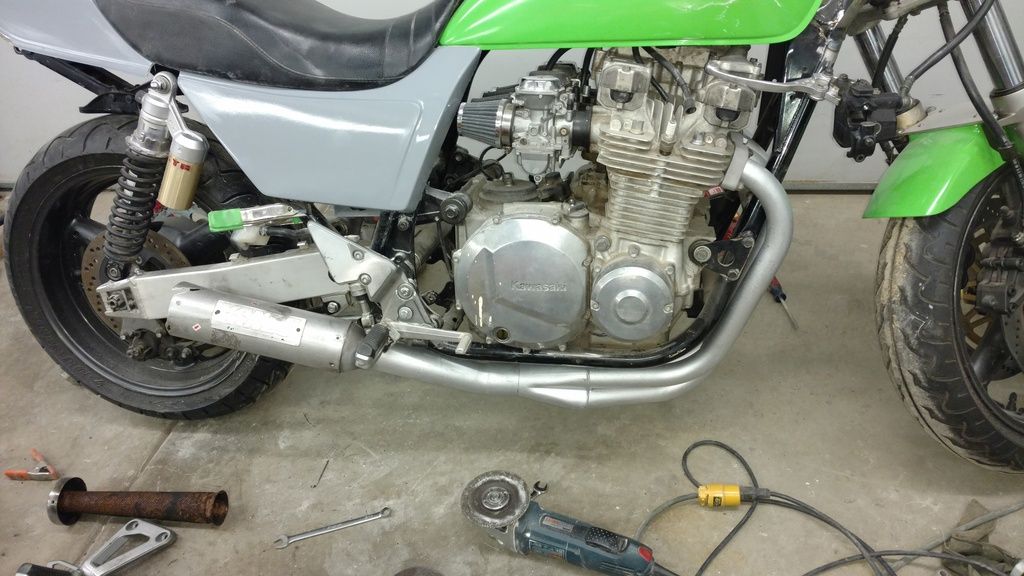
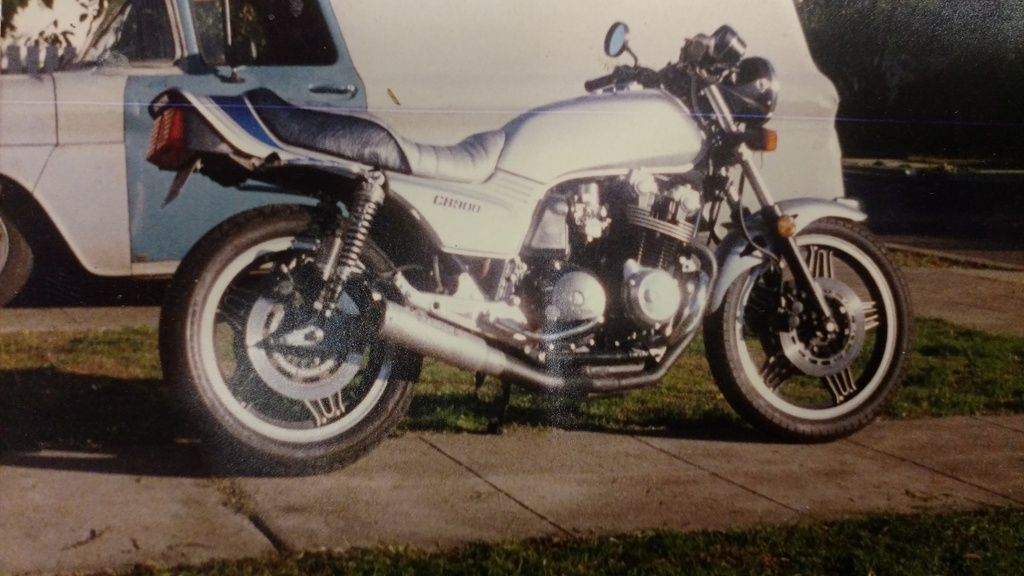
And this is just the type of stuff I've been KVETCHING over how & when & HOW, to DO - albeit with my Honda project not my concurrent KZ project, but yeah - I need to get my side-cover issues settled once & for all time. That AND I've got this all-original WOLF exhaust, in good condition no less, but it bothers the heck out of me that it uses the boring flat plate collars when what I like are the OEM finned covers - well, furthermore I'd like to use the alloy version of which from my old '82 CB750F and it's an '82 CB900F which used the chromed cast steel version of which, bigger stud holes etc - I don't even have a set of the steel ones so it's just as well. What really bites about this exhaust is how it's so tight fitting & well designed for RACING, that it blocks off the oil filter so I've remove the entire pipe just to do routine oil changes with the filter change of course - And I can't do my sandwich-style DIY deep-sump mods even 'cause the clearance is so crappy. Which is what has me ... "FROZEN", frigid etc - Because what I'd REALLY like to do with the header is cut it and make it work with SPRING HOOKS, so the whole thing could come off & go back on somewhat quicker than it does right now. Until I can reconcile THAT type of thing, it's going to piss me off just looking at the damn pipe - And it's a shame 'cause it's such a sexy pipe! Worse still, it's "unobtainium cache'" as original '80s race-spec aftermarket kit, gives me a guilt complex over even WANTING to modify the damn thing.
Guess I should just do the side-covers and put that one off for the time being.
And my side-covers, too - with an alloy CB1100R tank on the bike, I've lost the third attachment point, such that the OEM cover would peel away like a banana skin while the bike's up to any respectable speed. Gotta figure out a better way to make 'em stick. Tempting to weld something in there -
Ah, but I don't currently even HAVE any welding gear. All of my decent tools were lost in my 2013 house-fire, along with these two projects. I've spent everything I could muster just getting back on track with the bikes & the parts, but the more high-end TOOLS have been off the table for the time-being, even something as simple as an electric-arc stick welder! Sheesh. Gonna have to get at least THAT, for a few of the mods I'm trying to pull off here.
Well - what I CAN do right now is fiberglass. I've done another DIY seat-pan in Bondo, not quite as good as my first version. The first one could only be removed from the front, by grabbing at the upper lip in the middle and yanking it up & backwards, the fulcrum being the rear frame "bridge" that these bikes have, which it more or less "sucked" onto. The net effect was that you could remove & replace the seat without any tools - just a thump over the bridge and it was back on the bike. All of this was achieved by moulding it directly over the frame itself, with cardboard & tape etc, with the lip raised by tape over thick soda straws, to give enough of a curl that the vinyl cover & foam could wrap underneath but that it would still "seat" directly onto the frame rails.
What I find compelling however is the idea of ANOTHER fiberglass seat-pan. And the inspiration for which comes from the CB1100R itself where the gas tank came from in the first place, 'cause it's got the side-covers fully integral with the cowl and the seat-pan.
(((Well, there's a 2nd pan which the vinyl wraps over, so in a sense the CB1100R has TWO seat pans, all layered up. And certain versions have a separate piece for the cowl, which wraps over the passenger seat. The '82 version doesn't have this, was made to be a single-seater, and was disqualified for some races because of which - though looking at later-era crotch-rocket bodywork, they should've stuck a maxi-pad with Velcro over the cowl & call THAT the passenger seat!)))
I've got several different versions of that basic concept swimming around in my head: the seat-pan with integral side-covers. Especially if the whole thing would pop on & off of the frame without any tools whatsoever. One such version, could wrap very tightly around the whole sub-frame, rendering the appearance of a pressed sheet-metal chassis, monocoque style, just like some of the '60s Honda twins had, the CA72/CA77 Dream/SuperDream, or the little singles & trail-bikes, the Honda C105 "CUB" & subsequent C70 'Passport' etc.
(((C'est Francaisee - PAS-, meaning "NO", or "without" plus -"Sport" Ha-ha. Though at the TIME, I found mine rather sporty - Not in the usual sense, but when you ride it on only one wheel at any given time, the rear while accelerating, the front while slowing down or stopping, well THEN it can be rather an exciting ride - GAWD forbid I should ever ride in the same manner on anything BIGGER....)))
Such a tight-fitting subframe-skin wrapping seat-pan job could have separate side-covers as well, little bulbous covers of the type seen on those '60s twins. It could ALSO incorporate a down-turned fender, maybe even a lil' bit of a skirted edge to it? I like the idea of this 'cause then my "CB900K0 Bol Bomber", the Bol D'Or based "homage" to the '65 CB450K0 Black Bomber, would become something more of a "CB902", homage to the '57 CB92 Benly Super-Sport. Especially if it incorporated the leading-link fork which Tony Foale made for this very same model. And a fake 4LS drum, not made from a CBX550F "inboard disc" front hub but rather the GL1500 Goldwingor PC800 Pacific Coast shrouded front discs! ('Cause they consist of an adequately sized brake, 296mm-316mm, or 276mm-296mm respectively) Of course, that would look weird without the distinctive "Walrus-Head" engine of those '60s twins. Which is why I've since then realized that this whole project needs to be carried out with the LAVERDA twin. Being that it's even more of a patent Honda rip-off than the Benelli Sei was - A damn good thing they DID it, in both cases - well somebody had to do it. But all the same, I've no compunction about a Laverda twin re-badged as a Honda "Dream" or "Hawk" for that matter......
Well ANYWAY - I'm keen to try the integrated seat-pan & side-covers, IS WHAT ALL I"M GETTING AT HERE. And the COWL too, if one were inclined to include it. I suppose it's a bitch to contemplate casting 'em all up in one contiguous part, which is why I'm picturing the side covers having a bunch of fiberglass cloth hanging out along the top edge, to ease "feathering" the two separate castings into one. No cowl on mine, but it could be either cast as part of the seat pan OR "feathered in" with some over-lapping cloth.
And I've gotta say, also - when you're talking here about "SPRAYING" the fiberglass items with a chopped mat etc - easily done with the proper equipment.
However for those of us who are fudging this stuff with our bare HANDS - I realize that a pre-wetted chopped strand is the proper way to create a light as a feather RACE-weight piece of bodywork. But the stuff is impossible to lay down & dab with a paint-brush etc, as instructed. I suppose I've managed better in the warmer weather than the cool non-RIDING season when I made my 2nd copy of the DIY bondo seat-pan project, and the hardener might also have made the resin harder to work with.
That being said, I'd really rather work with the fiberglass CLOTH - even if it means cutting it into tiny little pieces to patch together willy-nilly, at least they'd be that much less likely to stick to my hands, rubber gloves, let alone the paint-brush!
Everything henceforth will consist of the CLOTH, and if I need any MAT to work with I"m sure chopping up the cloth will leave enough stray bits to work with!
What REALLY excites me about fiberglass bodywork though - I was at a local public art gallery slash community-arts-center recently, and caught this fella working on some very interesting fiberglass stuff. He was making enormous samurai armour & vidiot-game characters etc, over-sized suits etc. But it was his METHOD which I found interesting.
He had programmed his 3D models in the usual fashion which the vidiot-games use, which are small polygonal shapes making up the basic structure of the figure, that are then overlaid with the "skin" which creates the illusion of smoother rendering through it's own pixel-ated colour & pattern etc.
Well - the best explanation for this type of thing might be found on the PBS documentary "the origami revolution" which I just watched a couple of weeks ago - people are modelling some very complex folded shapes which can imitate practically anything. Though I suppose, one needn't have all of the ridiculous computer 3D-modelling programs to make this type of thing work, per se, it's what he did WITH 'em which was interesting. As a kid I took a course in 3D geometry (in a real-life parallel of Bart Simpson's trip to the School for the Gifted) wherein we made complex shapes from basic paper & tape - perhaps that's all the real MATH understanding one need have for this method!
He printed or plotted out these patterns of basic geometric shapes, triangles & squares, rectangles, pentagons & hexagons perhaps - onto a heavy card-stock type of white paper, which when cut out could be folded & joined together into a geodesic "house-of-cards", which he would then spray with some type of thick hard semi-flexible glue, to make them more or less solid. Solid enough to hang from the ceiling like marionettes & for people to move 'em around the studio whenever they got in the way - Kids were dressing up in 'em and mucking about, hitting each other with the fake weapons etc. Just sayin', at this stage they could kick around the garage for all sorts of test-fitting onto a MOTORCYCLE let's just say. As a FAIRING, perhaps? He told me the plan from that point forward was to smooth 'em out with some spray-foam insulation, plastered on like icing on a cake one might suppose, and then smoothed down with a "surformer", rasp slash garlic-slicer/cheese-grater type of deal. THEN they'd get a final skin of fiberglass.
So yeah - IMHO this is the perfect method for some type of DIY fairing, for a bubble or a full fairing or a DUST-BIN for that matter. Because you don't have to create this huge solid object in the same size & shape as your bike, make IT into the approximate shape you'd like, and then proceed to the mould-making phase - all without any mock-up with the fairing shape ON the bike. THIS way, you could muck around with the whole thing - adjust the ergonomics of the bike, adjust the mirrors & clocks etc - and place the fairing where it needs to be to suit these changes, even change the overall shape of the thing based on that internal fitment.
When it comes to our current standard, we've got a certain limited number of off-the-shelf fairings which work for a given model, and then we've got other more universal fairings, plus the stuff for other models. Sometimes you'd like to take a shape from a smaller bike and put it on a larger machine, Well, this type of thing not only allows you to scale the existing stuff up a ways - assuming you've got a good photo-analysis program with which to upload the original fairing's measurements - But you could more or less figure out your critical dimensions and use 'em to create a "reasonable facsimile" using the original photos as a guide, with not much more than general shape & proportion etc.
What I like most of all in this idea, is that you could use one of the really basic fairing brackets from a VETTER (spit.) log-jammer excuse me I mean to say the WIND-jammer - ya'll know the P.O.S. I'm talking about, the fairings which Craig fucking Vetter (spit.) made, which he used to ruin the original super-bike character of the GOLD WING.... *cough* YES - a fairing bracket from a WIND-JAMMER for instance, really tight to the frame & very simple, very light-weight etc - THEN you'd build a second fairing, a concave shape or double-curved bubble in a sense, to use as a STAND-OFF between the frame & the outer shell. This inner shell would serve as both an extension to the fairing bracket - AND to create a double layered fairing - intrinsically stronger, but also useful to create STORAGE space if you're into it. Personally, I'm enjoying the thought of the oil-cooler up front having proper ducting to draw air directly through it, channeled through to some outlets which might be constructed so as to create additional suction, to pull more air through the cooler. Okay, that AND a little side-pocket for a pair of riding gloves, would be very very nice. IF this whole thing could get off the ground.
I've already got a fairing & bracket for my current project, and the KZ seems to make the most sense as a NEKKID thing. But the THIRD project here, a planned projected concept which already consists of all the upgrade components one could ever conceivably want for that particular model, well THAT thing would be the perfect application for the DUST-BIN fairing. But I guess in the mean-time, I might just have to tinker around with a shape for my next seat-pan side-cover combo.
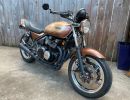
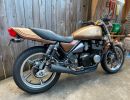
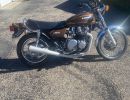
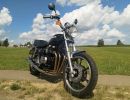
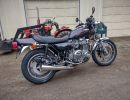
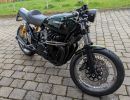
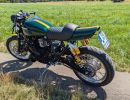
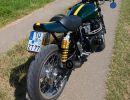
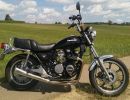
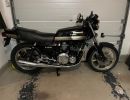
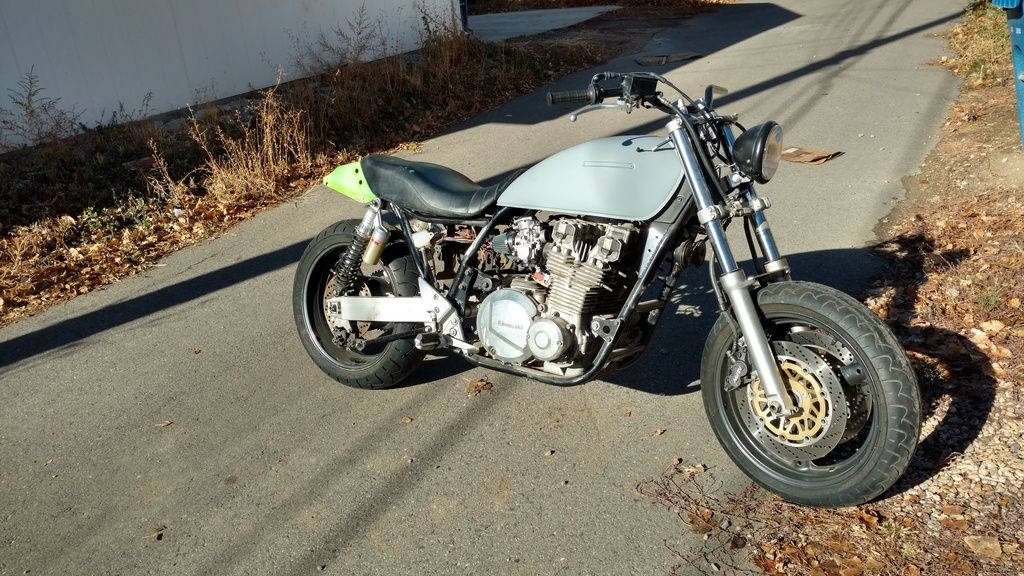
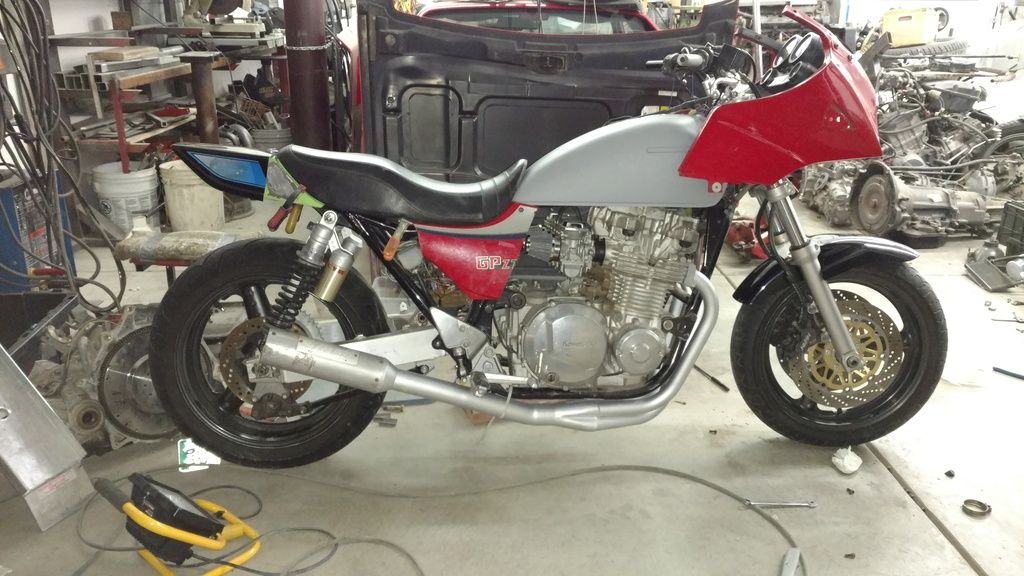
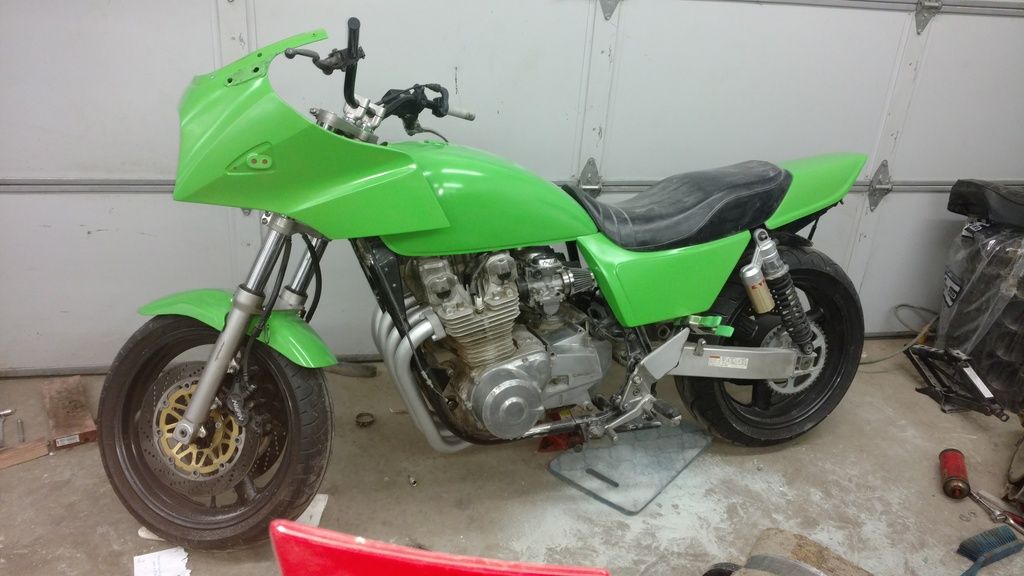
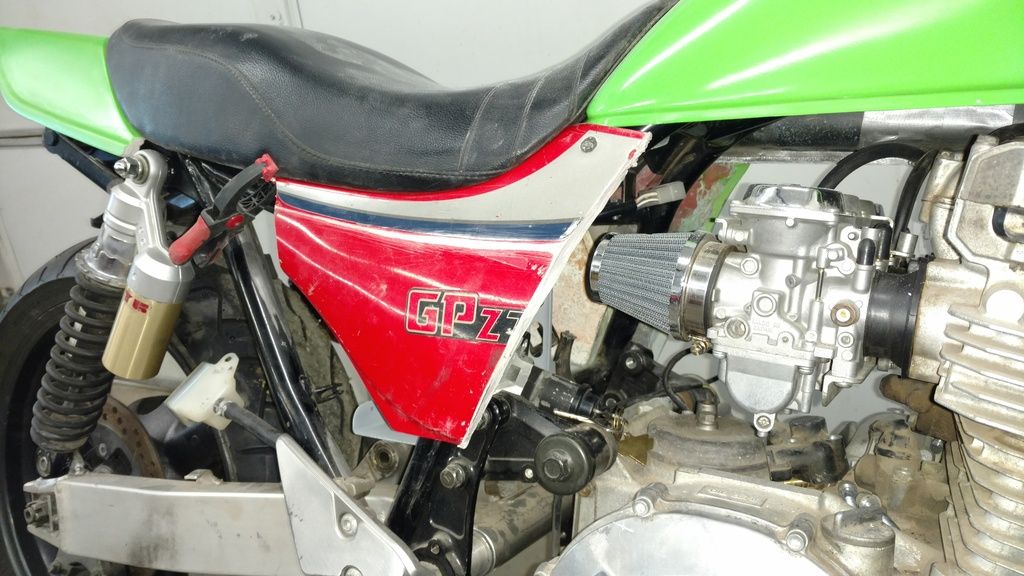
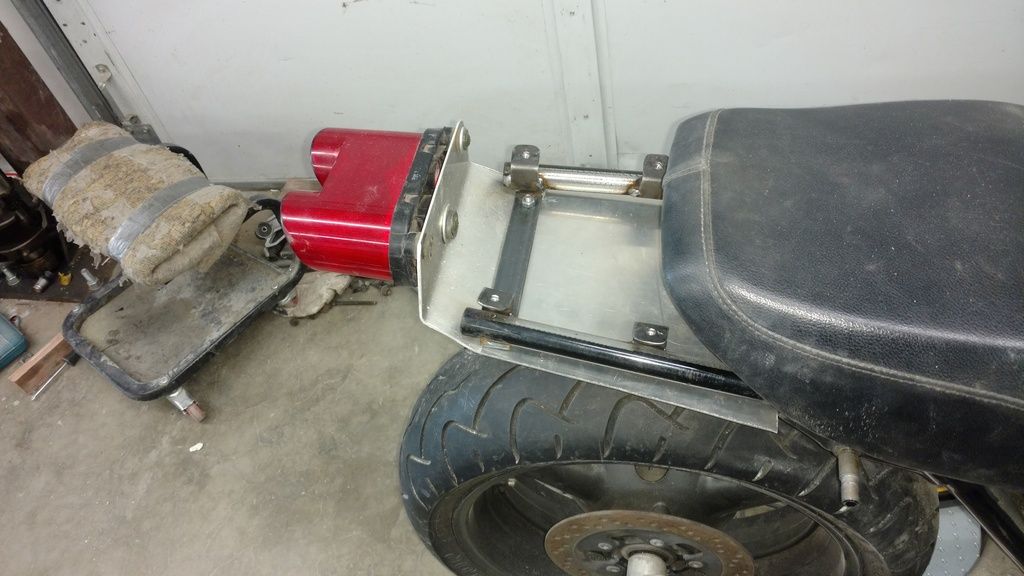
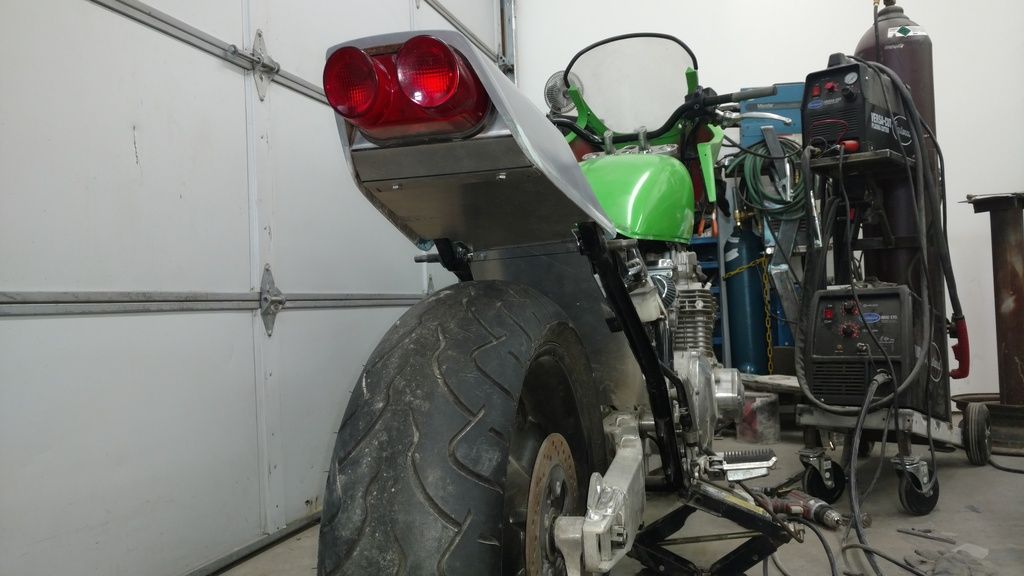
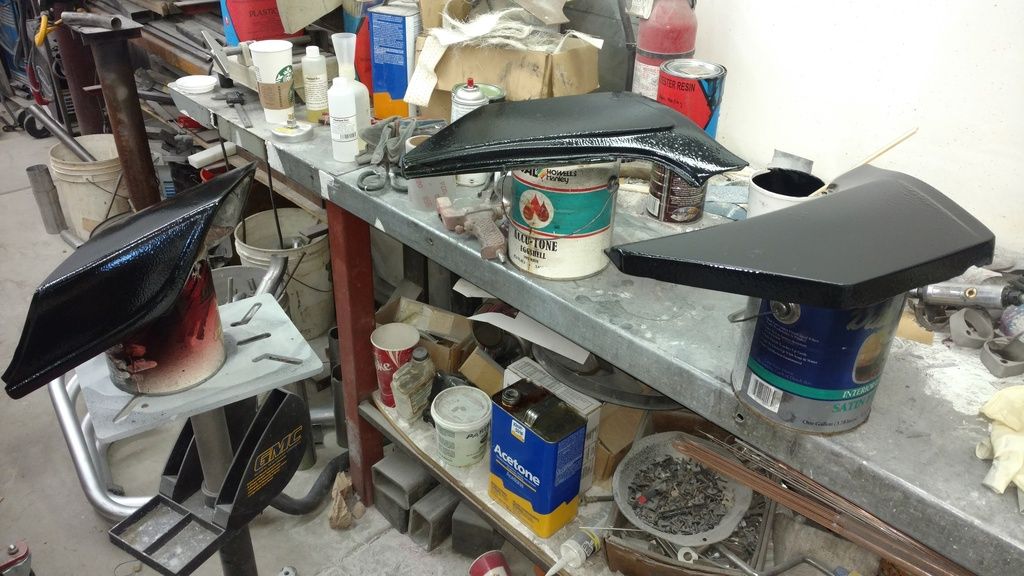
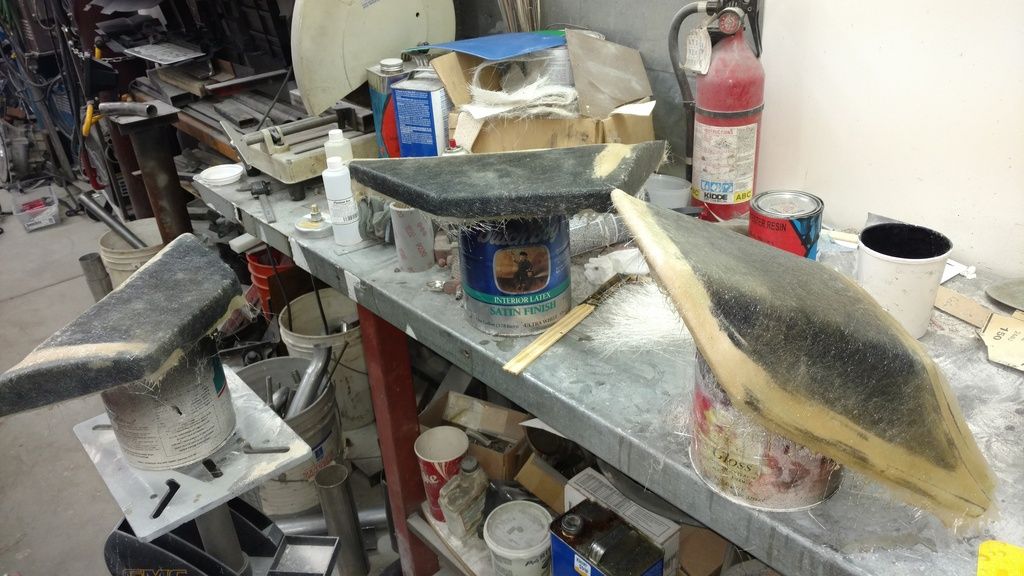
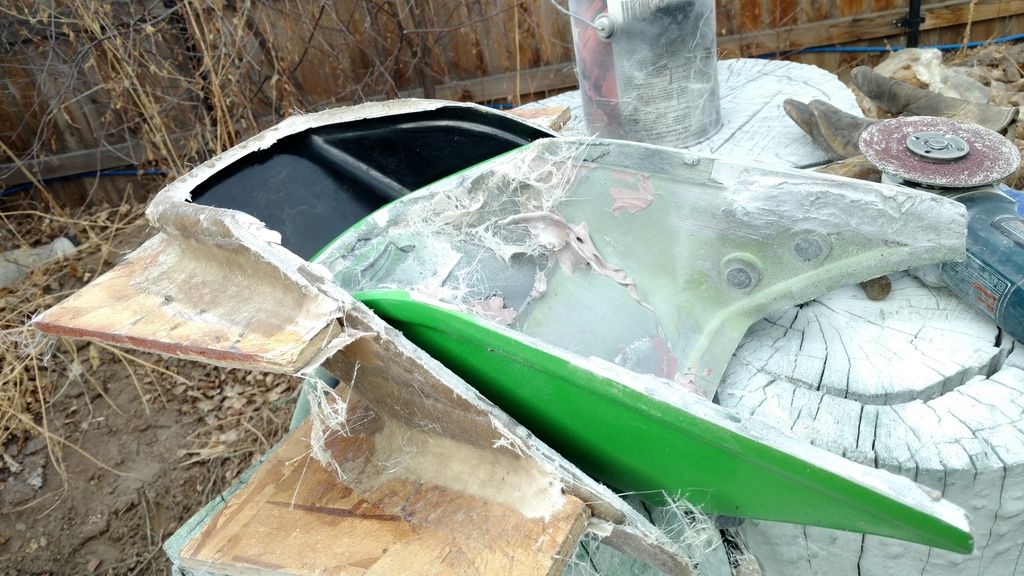
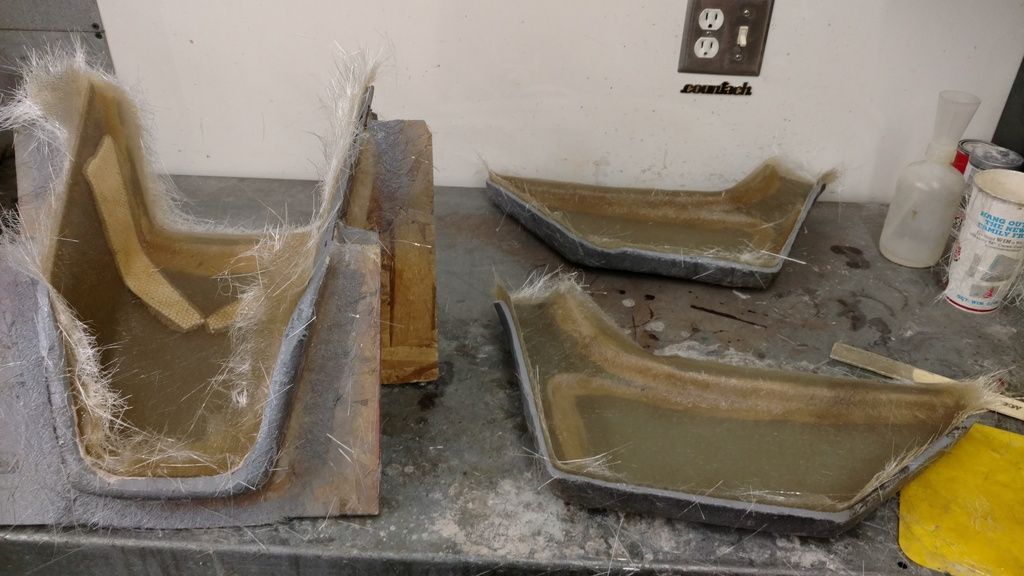
Well ANYWAY - I'm INSPIRED by the quick, direct, successful bodywork done on this thread. This bike seems like an OEM original build, an ELR themed later-era Sport-Touring rig, With a whole lot of proper Superbike vibes at the same time. It's all down to the bodywork, IMHO. I mean, if you did something different with the stance & ergonomics, which here seem rather conservative an OEM "standard", upright Superbike style riding etc - but a little more of a forward crouch and you could have more of a proper Endurance vibe. But all very OEM at the same time, 'cause of that bodywork.
-Sigh.
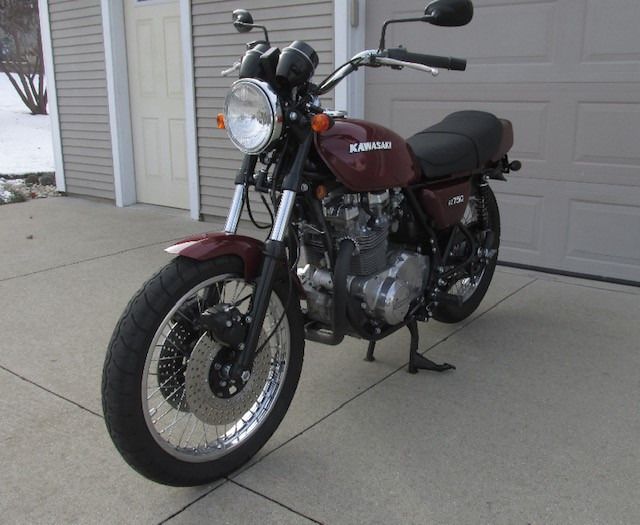
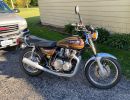
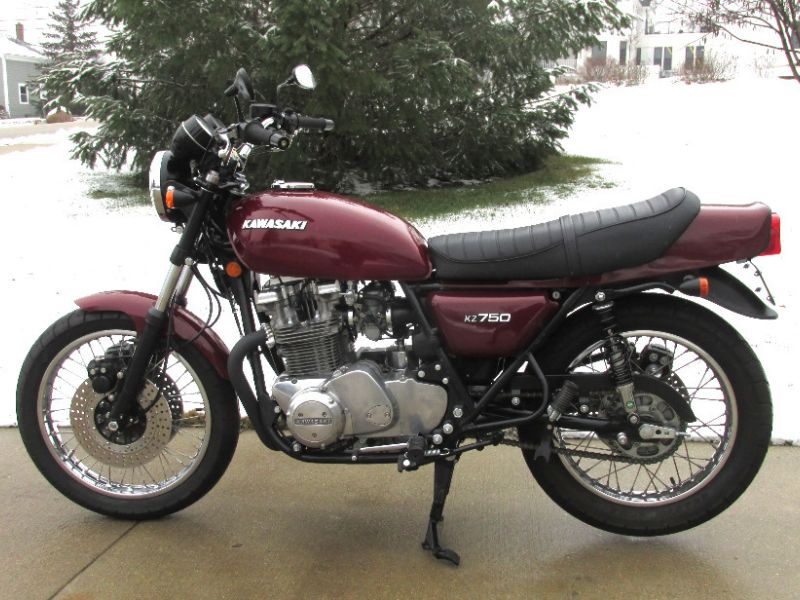 Feb '24 BOTM KZ750 by RustyB1
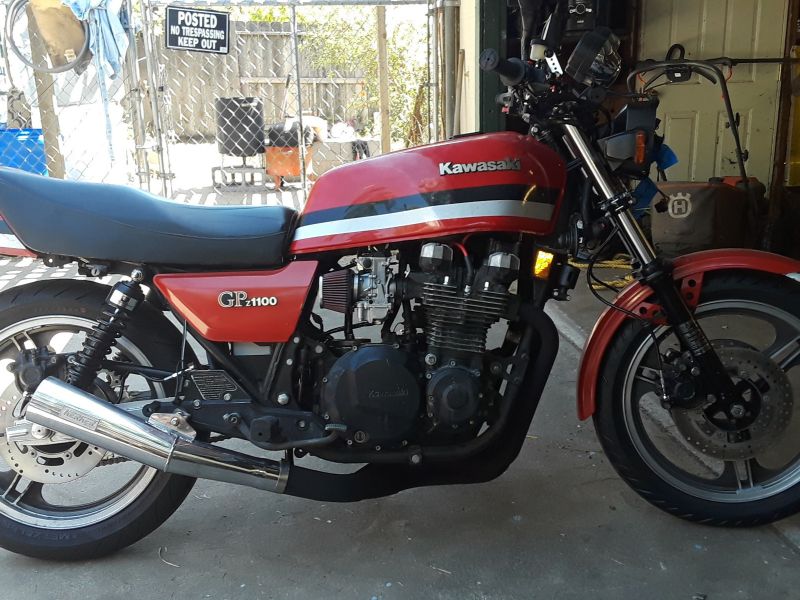
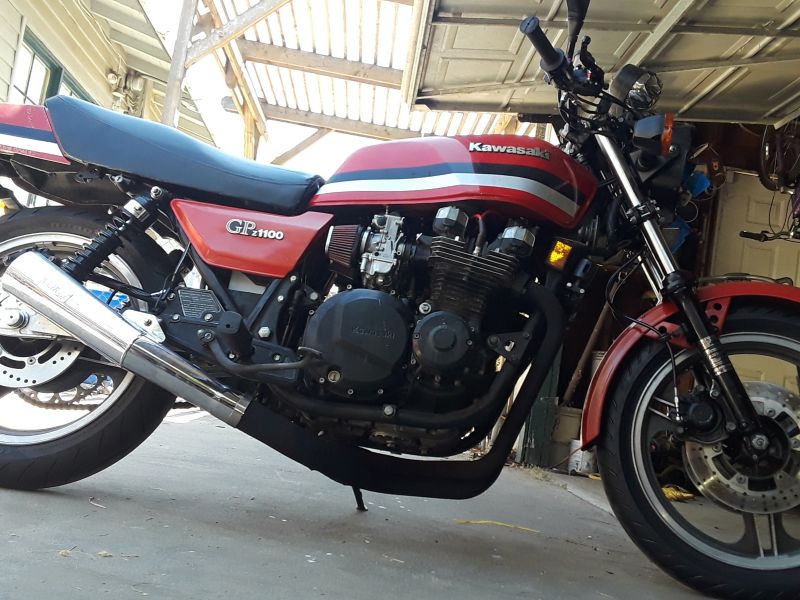
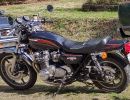
 Slayer61's GPZ1100 BOTM August '24
