Welcome, Guest
Username: Password: Remember me

TOPIC:

KZ550 Cafe Retromod 31 Jul 2016 19:44 #736871

  • acetone
  • acetone's Avatar Topic Author
  • Offline
  • User
  • Posts: 24
  • Thank you received: 0
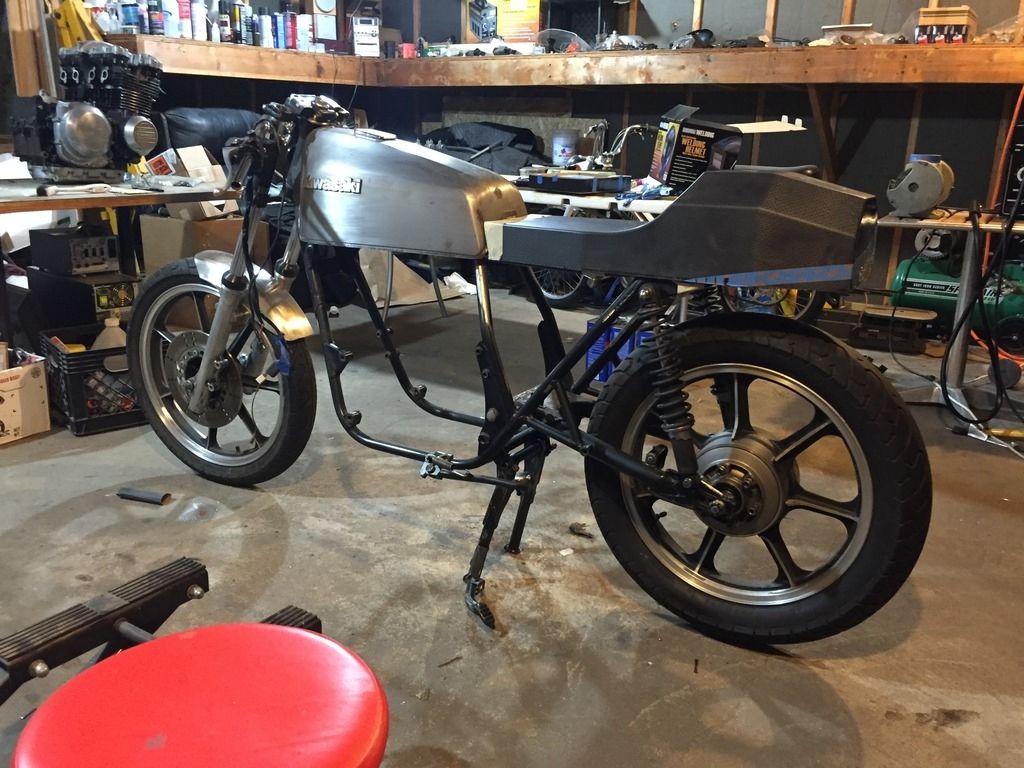
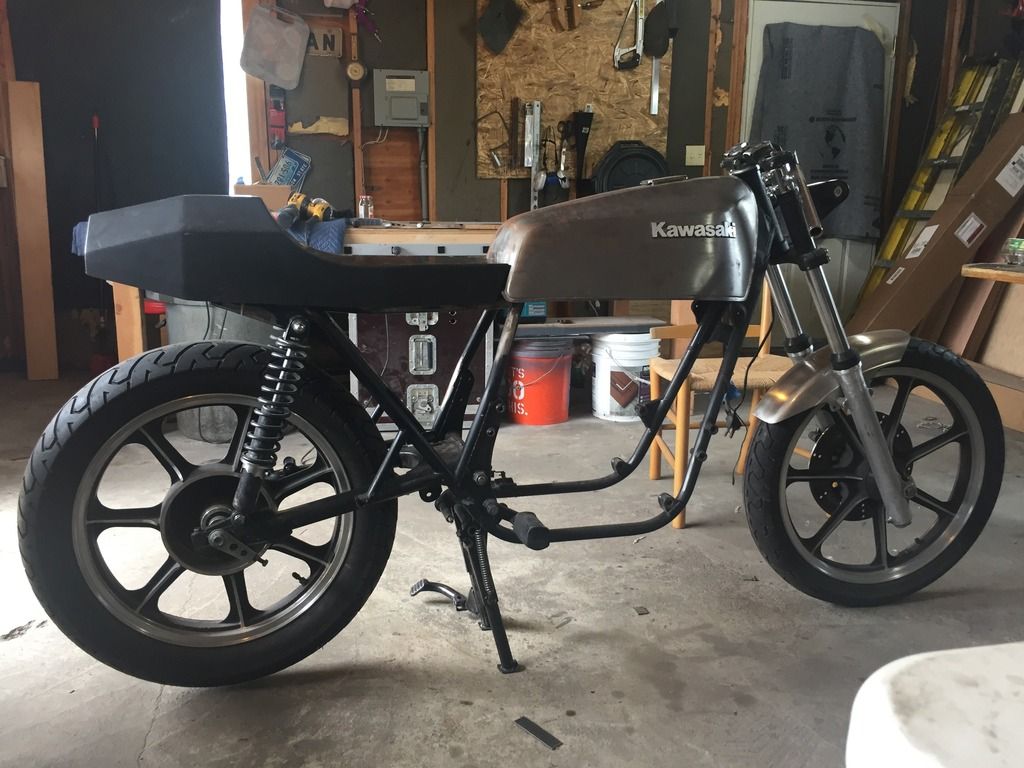
Well I finished mounting and trimming the seat. Aside from my welding skills it turned out great IMO. Here's some pics.

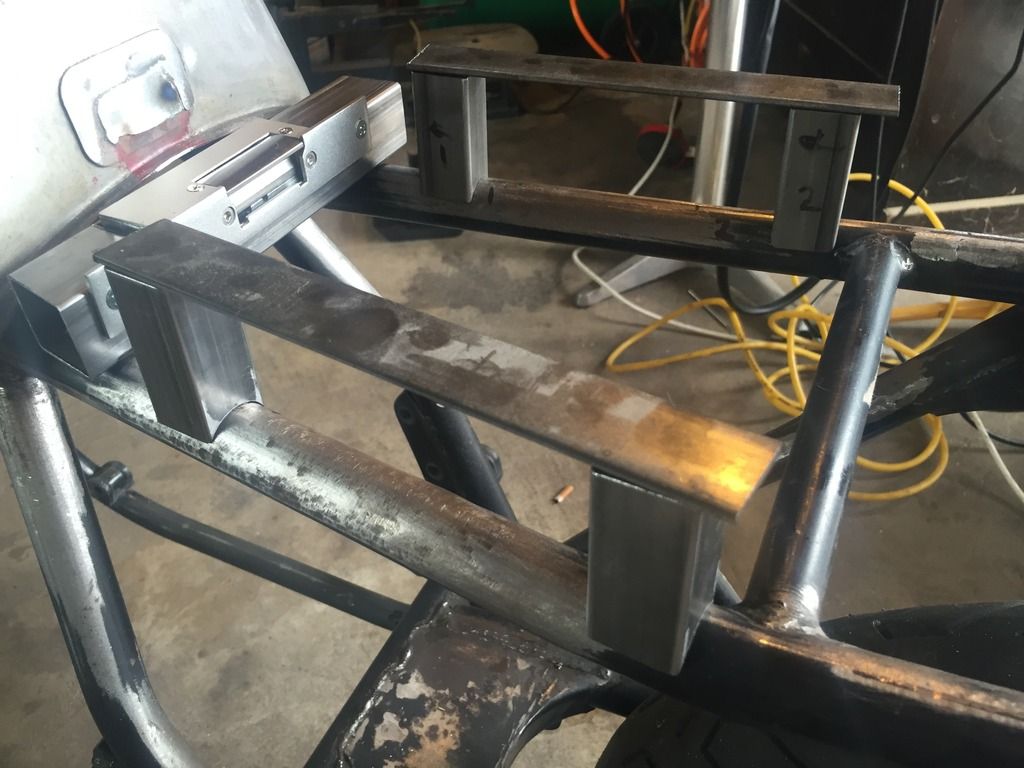
All of this was made with a 1 1/8th hole saw, a hack saw, and a grinder with a cut off wheel.


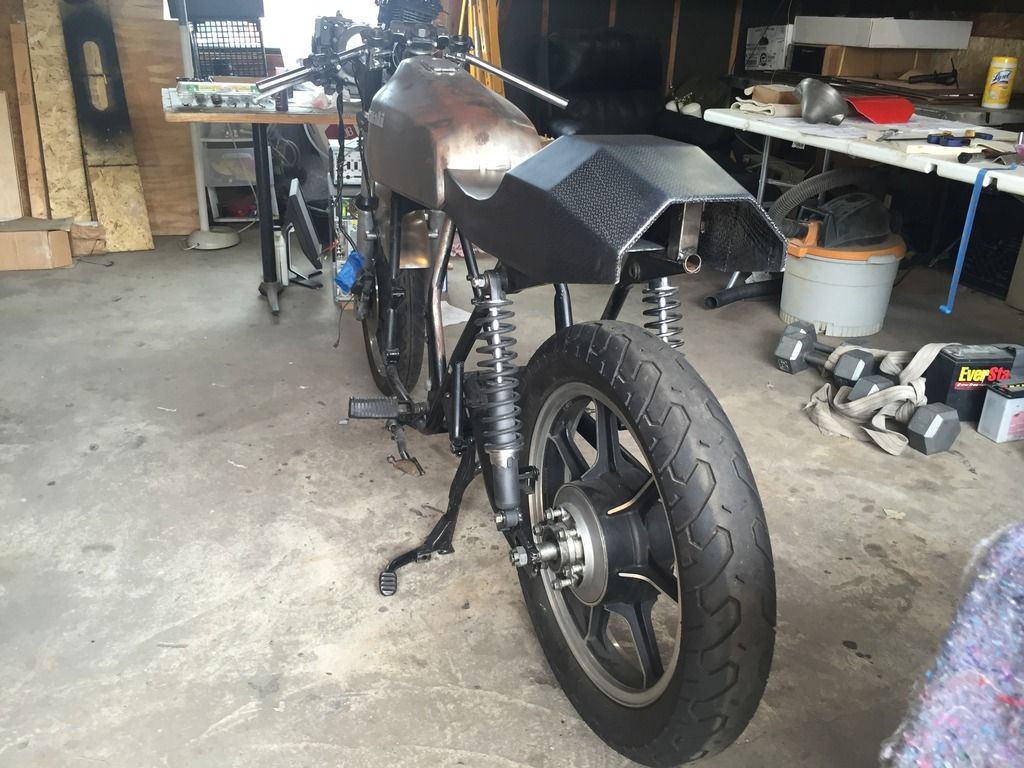
I bit the bullet and sprung for some 3M panel bonding adhesive and mixing gun, I really don't want these metal parts with registration pins falling off while I'm riding.


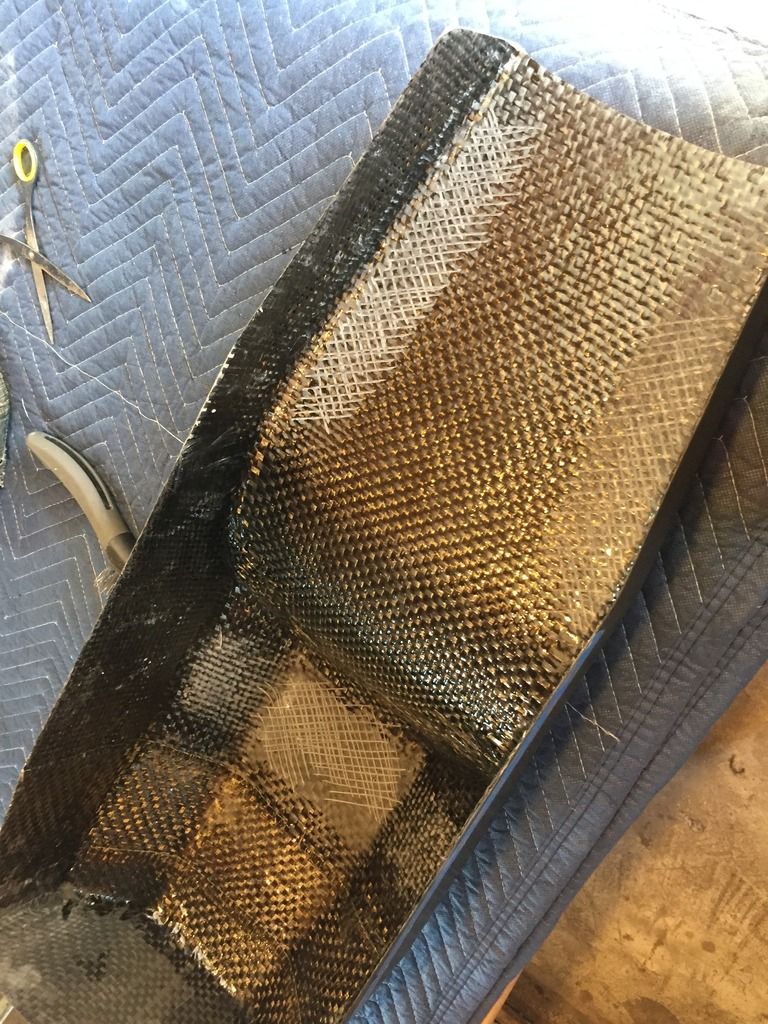
I scored up the underside of the seat where the epoxy will go. I'm really confident that the connection is going to be really strong.

Please Log in or Create an account to join the conversation.

KZ550 Cafe Retromod 31 Jul 2016 20:02 #736872

  • acetone
  • acetone's Avatar Topic Author
  • Offline
  • User
  • Posts: 24
  • Thank you received: 0
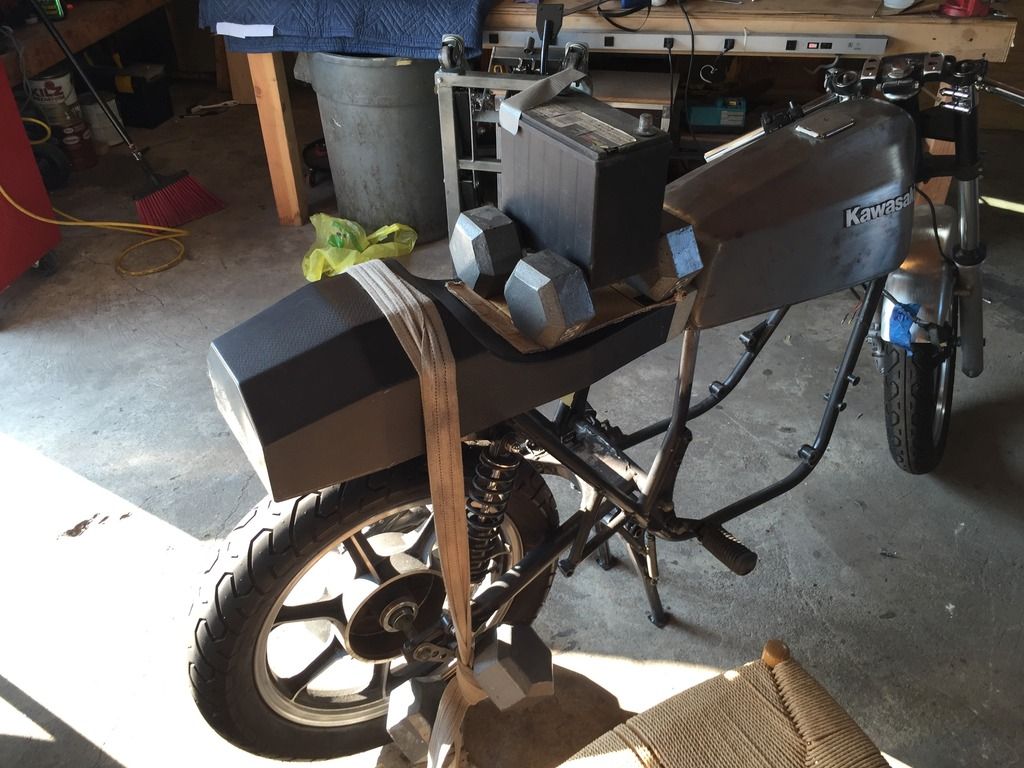
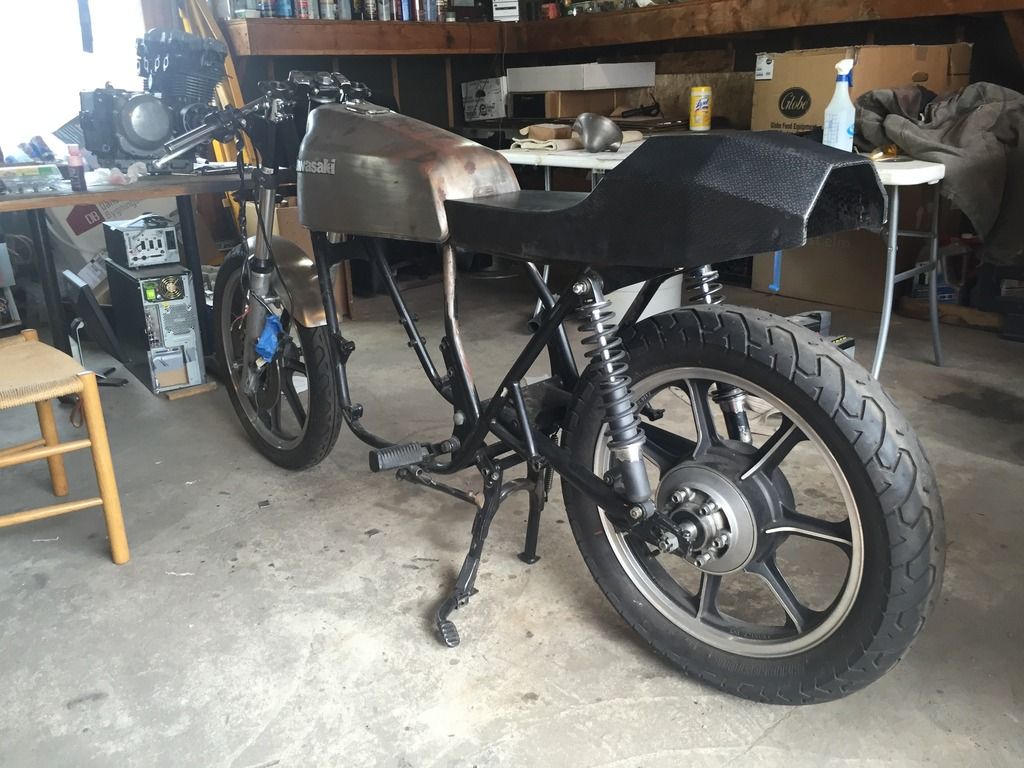
I lined it all up and weighed it down with dumb bells and a car battery.


The whole electrical system of the bike is going to be controlled by an Arduino microcontroller so I decided the I'd keep the seat shell locked down with an electric door striker like you'd find at the entrance of an apartment building. You can see it there mounted just behind the gas tank. It didn't work well the first time so I made a new bracket and made the whole thing a little more compact (don't have apic of that)


Used a normal spring loaded door latch thingy attached to a piece of angle aluminium on the underside of the seat to complete the project. This is a pic of the first try with a steel bracket. Everything is always better the second time around, now the mount plate of the plunger is behind the bracket making it look a little cleaner.

Please Log in or Create an account to join the conversation.

KZ550 Cafe Retromod 31 Jul 2016 20:14 #736876

  • acetone
  • acetone's Avatar Topic Author
  • Offline
  • User
  • Posts: 24
  • Thank you received: 0
Now the part that got me really anxious. If I screwed up trimming this carbon fiber part that I have hundreds of hours into, I think I might have actually cried. Turned out kickass, just what I was looking for. The furthest back upward angled cut was made to follow the angle of the shock mount bracket.
Before:

After:


I'm very happy with it. All of the angles and facets give it sort of a stealth fighter look. I'm going to make some molds and cast some lenses that will wrap around the inside edge of the back and add an inner fender made from carbon to neatly finish off the tail.

Please Log in or Create an account to join the conversation.

Last edit: by acetone.

KZ550 Cafe Retromod 31 Jul 2016 20:28 #736879

  • acetone
  • acetone's Avatar Topic Author
  • Offline
  • User
  • Posts: 24
  • Thank you received: 0
Here is a the test set up for the bike controller to help me debug the program that will run the bike. I saw something called an M-Unit online for $300 that you need to spend another $100 or so to add RFID keyless start so I decided to make my own for less than $100. In the end I'll have much more versatility with my system. I've been putting off fabricating a circuit board for it, I just don't feel like doing it, its a little bit of a pain in the ass. Anyway check it out, the program has been debugged further since I shot this.

Please Log in or Create an account to join the conversation.

Last edit: by acetone.

KZ550 Cafe Retromod 14 Aug 2016 12:25 #738630

  • acetone
  • acetone's Avatar Topic Author
  • Offline
  • User
  • Posts: 24
  • Thank you received: 0
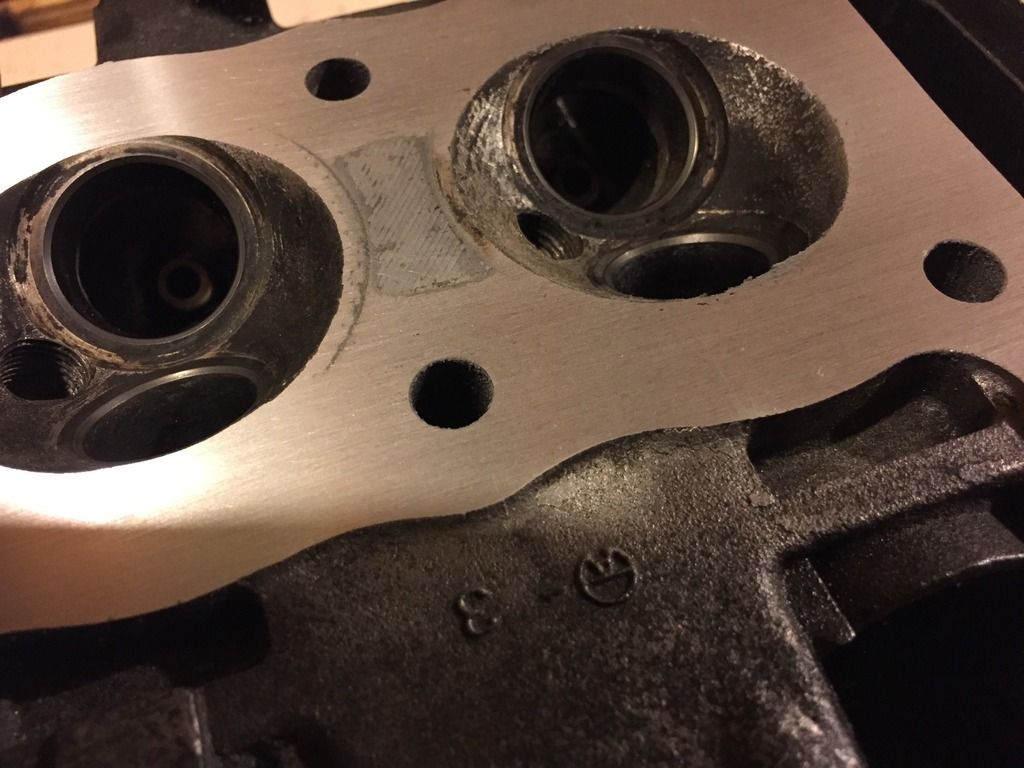
I rebuilt the top end of the motor, had to buy new seals for the oil passages and I lapped the valves, new valve seals, valve adjustments and a light honing on some lower mileage jugs I picked up on ebay. I resurfaced the head with a piece of plate glass and 220 sand paper. It all seems to have worked out as I am getting 135psi out of each cylinder. I'm guessing that is a good reading since they are all the same.

work in progress


still a big low spot between combustion chambers


all done. I followed some likely hack internet advice and filled the small pitted areas with JB Weld before doing a final 220 pass. It ended up measuring as flat as can be and I saved myself a bunch of machine shop costs.


One thing I am worried about is that I reused the circlips that hold the piston pin on the rod. Not only that but I squished them really slightly with pliers because I couldn't get them to seat, they kept managing to fall into the oil pan. I later read in the manual that I am supposed to use new clips when reinstalling the pistons. I checked them to be sure they were seated a bunch of times before installing the jugs, I hope it doesn't come back to bite me after all the work I put in on this engine. I don't want to have to pull this all apart again and buy another head gasket. Anyone want to weigh in on that?

Please Log in or Create an account to join the conversation.

Last edit: by acetone.

KZ550 Cafe Retromod 14 Aug 2016 13:50 #738639

  • DoctoRot
  • DoctoRot's Avatar
  • Offline
  • Sustaining Member
  • Oh, the usual... I bowl, I drive around...
  • Posts: 2545
  • Thank you received: 664
I would absolutely put in new circlips, if one of those comes loose thats a big ouch. its cheap insurance imo. When you install the circlip install it with the gap facing down.

Please Log in or Create an account to join the conversation.

KZ550 Cafe Retromod 14 Aug 2016 14:12 #738640

  • acetone
  • acetone's Avatar Topic Author
  • Offline
  • User
  • Posts: 24
  • Thank you received: 0
Bummer, I should have known better. What are your thoughts on the head gasket? Do I have to get a new one now that the one I have has already been torqued? Any idea if that 135psi cold compression is a good number? Thanks.

Please Log in or Create an account to join the conversation.

Last edit: by acetone.

KZ550 Cafe Retromod 14 Aug 2016 16:53 #738671

  • DoctoRot
  • DoctoRot's Avatar
  • Offline
  • Sustaining Member
  • Oh, the usual... I bowl, I drive around...
  • Posts: 2545
  • Thank you received: 664
if it hasn't been through a heat cycle i don't see what the problem would be. Best practice would be to replace it though.
The following user(s) said Thank You: acetone

Please Log in or Create an account to join the conversation.

Last edit: by DoctoRot.

KZ550 Cafe Retromod 17 Aug 2016 16:35 #739041

  • acetone
  • acetone's Avatar Topic Author
  • Offline
  • User
  • Posts: 24
  • Thank you received: 0
I ordered piston circlips and a new head gasket to be on the safe side. The silver lining is that the new head gasket will be a Kawasaki part, not a Vishay.

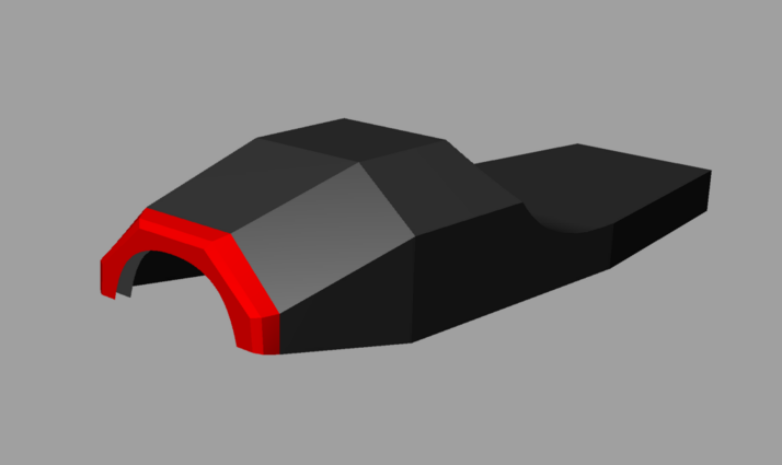
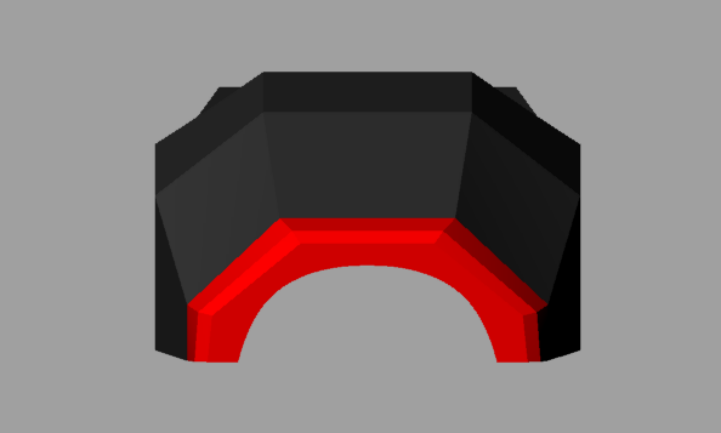
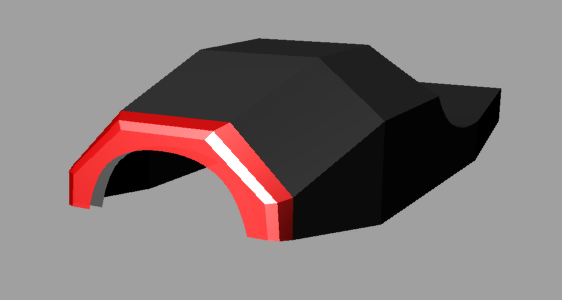
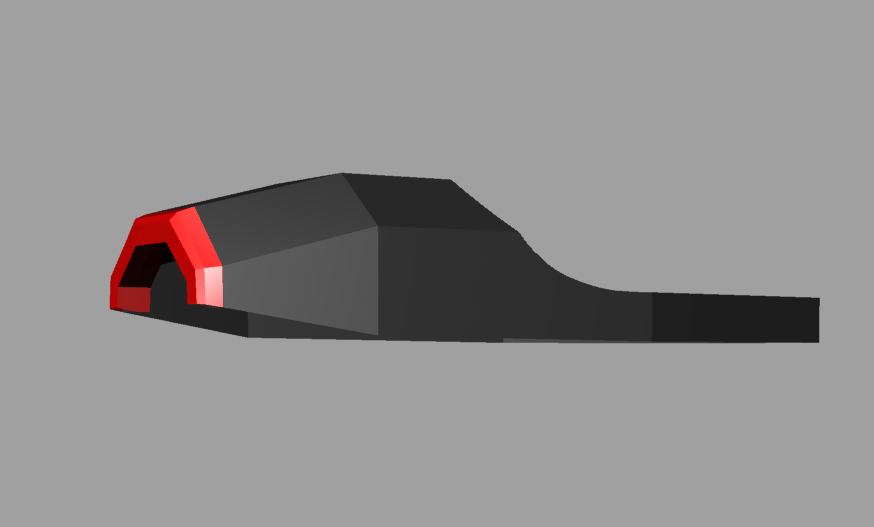
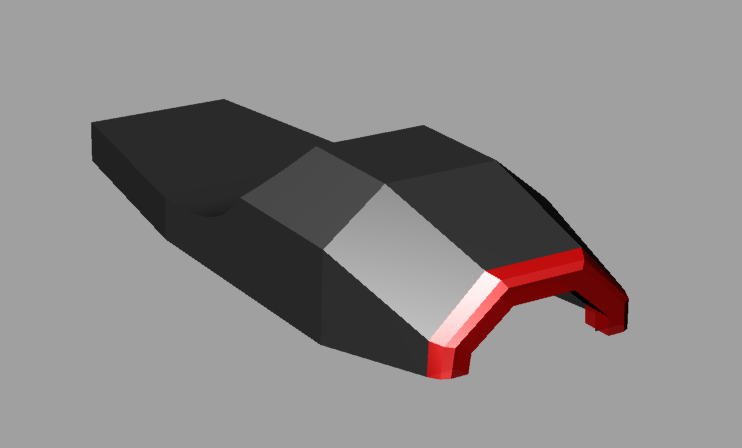
Started working on the design for the tail light. The plan is to cut it out on my cnc router, make an inside and outside mold and cast the lens out of resin. This is what I've come up with so far.


Please Log in or Create an account to join the conversation.

KZ550 Cafe Retromod 17 Aug 2016 17:29 #739050

  • DannyKZ
  • DannyKZ's Avatar
  • Offline
  • User
  • 2 KZ400's
  • Posts: 41
  • Thank you received: 1
That's going to look awesome! Especially with the exhaust coming through the center!
Life's a tour, not a race. Just stay out of my way when I'm touring.

Please Log in or Create an account to join the conversation.

KZ550 Cafe Retromod 17 Aug 2016 18:26 #739061

  • acetone
  • acetone's Avatar Topic Author
  • Offline
  • User
  • Posts: 24
  • Thank you received: 0
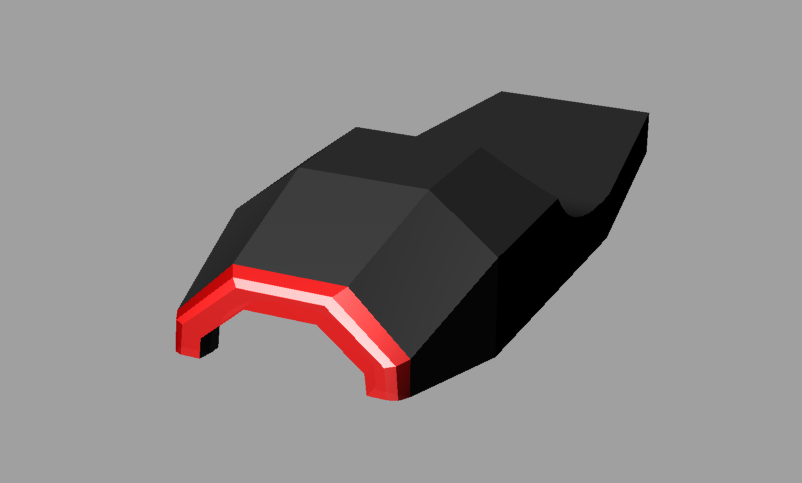
I think I'm going to go with this.


Please Log in or Create an account to join the conversation.

Re:KZ550 Cafe Retromod 18 Aug 2016 02:33 #739083

  • Rustyhama
  • Rustyhama's Avatar
  • Offline
  • User
  • Posts: 190
  • Thank you received: 19
What will go in the U shaped hole under your light?

Cheers
Hama
82 KZ 305 - Hamasaki cafe racer
80 KZ 750 - banished
06 KDX 200
Hama

'82 KZ305-B1 Cafe Racer
'80 Z750E project
www.dotheton.com/forum/index.php?topic=59260.0

Please Log in or Create an account to join the conversation.

Powered by Kunena Forum