
Search Results (Searched for: gs swing arm)
Replied by G-tron on topic Hello from SA. Any other GT750's around?
06 Sep 2016 02:13 - 06 Sep 2016 02:13
No eBay APP ID and/or Cert ID defined in Kunena configurationThanks for the comments guys. Definitely some food for thought. Based on some of the comments I may scale back on the build and get the bike running first the way it is now. Just don’t want to spend money on things like suspension, tyres etc only to have to change it later.
I’ll try to elaborate a bit on my thinking for some of the changes I want to make.
The wheels on these are 19F and 18R. 18x2.15 to be exact. What would be the fattest tyre I can fit on that rim? Seems to be a 120/130. If that looks decent I may keep it. Would certainly be the easiest solution for sure and I do quite like the spoke design of the enkei wheels. Widening the rim is an option too. I suppose the cost can be justified by comparing that to the cost of a different swingarm, chain conversion etc etc. The stock swingarm will need to be grinded a bit (it has some bracing) and then welded again to strengthen the bracing that will be ground away to clear a fatter rear tyre.
The rear wheel does look a little “tucked” in at the moment though. I’m guessing the only way to fix that is to change the swingarm. Is the KZ1000 ’79 shaft swingarm any longer? If the shaft is compatible with my motor then that would be an easy swap that fixes my length and wider wheel issues in one go.
As for the EFI. If the carbs can work reliably it would be cost effective to keep them. I’d have to learn about carbs from scratch though. For EFI I was planning to source an EFI bike’s ITB system and mate it up to a local engine management system, using a 60-2 trigger wheel. After adding a fuel pump etc I suppose it is a more expensive route, but can be very reliable with virtually no maintenance once done.
Looking at the motor last night (it’s opened right now), I saw one of the pistons has a damaged ring land. What do you guys think of this 69mm kit? The price seems really inviting compared to Wiseco. Can the stock cylinder sleeves (I think you call them barrels on a bike?) be bored out that much? Should I just go with stock replacement pistons rather?
Replied by Fiddles on topic KZ440 LTD Mags on a KZ400: The Ride
05 Sep 2016 18:22
Aren't the shock mounts on the 440 swing arm farther apart than the 400? Meaning they wouldn't line up with the ones on the frame? Was thinking I'd add spacers or something.
Gonna drop the rear soon and play around with the wheels and parts, see what's what. Thanks for the replies.
Gonna drop the rear soon and play around with the wheels and parts, see what's what. Thanks for the replies.
Replied by Nebr_Rex on topic KZ440 LTD Mags on a KZ400: The Ride
05 Sep 2016 18:04
That's Rex.
On Dr. Jekyll I swapped out the stock 400 swing arm for a 440 LTD unit.
It added about 2 inches to the wheel base. Both sides of the 440 arm are symmetrical,
unlike the 400. The added length is unnoticeable with the stock rear fender unless you
know how short the KZ400 wheel base actually is. On Mr. Hyde I used a modified
KZ550 swing arm. A benefit of using the later swing arms is needle bearings are used
instead of bushings. No need to move the shock mounts. Everything bolted up except
for the axle spacers since I kept the KZ400 spoke wheels.
.
Replied by Fiddles on topic KZ440 LTD Mags on a KZ400: The Ride
05 Sep 2016 16:27
Nebr_Rex
You are correct, there always has to be a wrench in my spokes from somewhere.
It looks like the rear sprockets are in the same position and the mounting width of the swing arm seems to be the same. The 440 swing arm seems to be a bit longer as well as wider.
So I'm either gonna try to cram the 16 inch wheel in the 400 swing arm which could prove to be difficult due to the huge rear tire or just use the kz440 swing arm which I have. My only work would be then moving over the rear shock mounts on the frame to match the new swing arm. I'm running only headers so I don't have to worry about any exhaust interference.
Any experience with this swap rex?
Replied by G-tron on topic Hello from SA. Any other GT750's around?
05 Sep 2016 10:54
Thanks for the welcome guys.
The basic idea is a cafe/brat style. Keep the frame, tank and engine and ditch the rest. Ditch the entire front end for a modern bike's gear. (ZX6/10 GSXR etc), Spoked wheels. Keep the old motor but with an EFI conversion (I have never worked or owned a carb vehicle in my life so I'm out of my depth there)
Based on my limited research thus far it seems the biggest question for me to deal with right now is the direction I need to go with the shaft. Personally, I kinda like the idea of keeping the shaft drive from a maintenance and cleanliness perspective. But I also want a wide spoked wheel for the back of the bike. Can't seem to find any other kawasaki bikes with both a shaft and spoked hub that I can work from.
The alternative seems to be a chain conversion, which seems do-able by sourcing an output shaft and a few other bits from a chain drive kz750 or GPZ750 perhaps? And then source a wider swing arm from a Z1000 perhaps. This option will allow a myriad of spoked wheel hubs to accomodate any rim.
The third option is a KZ1300 shaft drive swingarm and keep a kawasaki rear wheel. Will also have to see if the 1300 shaft can be made to work with the 750.
Is the 3.0" wheel from the Z1000's the widest kawasaki rear wheel in this same style? Will that accomodate a 180/190 rear tyre?
For deep pocket types, check out [strike]CMA[/strike] - now Metmachex - swing arms in the U.K.
For bottomless pockets - A.C. Sanctuary / Nitro Racing in Japan...custom order only these days...
for all practical reasons - buy a used GSXR part from e-bay....
For bottomless pockets - A.C. Sanctuary / Nitro Racing in Japan...custom order only these days...
for all practical reasons - buy a used GSXR part from e-bay....
Replied by Nebr_Rex on topic KZ440 LTD Mags on a KZ400: The Ride
04 Sep 2016 20:42
Watch your swing arm width. :whistle:
.
.
Replied by 750 R1 on topic GPZ750R1 -82 Will it be yet an other green Kwack
03 Sep 2016 15:43scubaanders wrote: So stop it boys! no reason to argue, :laugh: There is plenty of room in my thread as long as nobody is posting a hack job pics of bobbing attempts. :whistle:
With regards to Z1000/Gpz1100 implants in Gpz750R1’s, look at the pics of Tommy’s bike
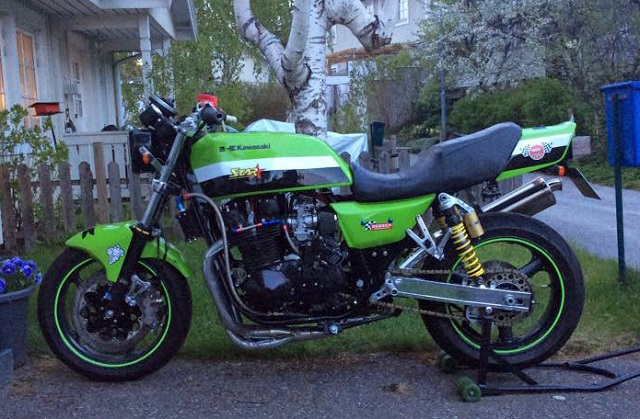
Tommy didn’t drop the frame though when he implanted the 1100 engine, so he has to take the engine out in order to set the valves.
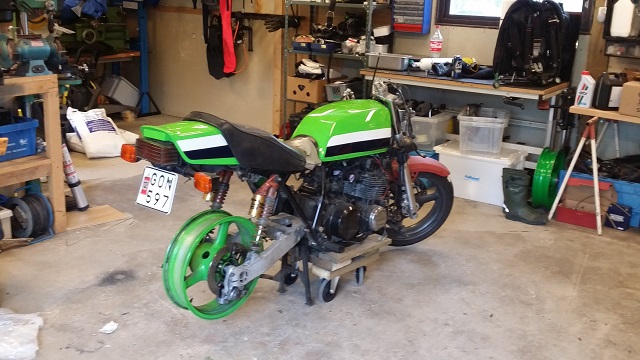
I on the other hand, is ashamed of my slow progress but was mocking up the bike today when I paid Erik a visit.
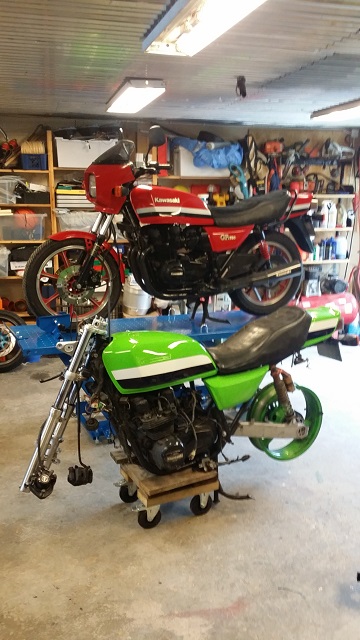
As you can see, the only thing better than a Gpz750R1, is two
(note that Erik’s R1 gets to ride the new Chinese lift table, whereas mine is still on the Ugandan model)
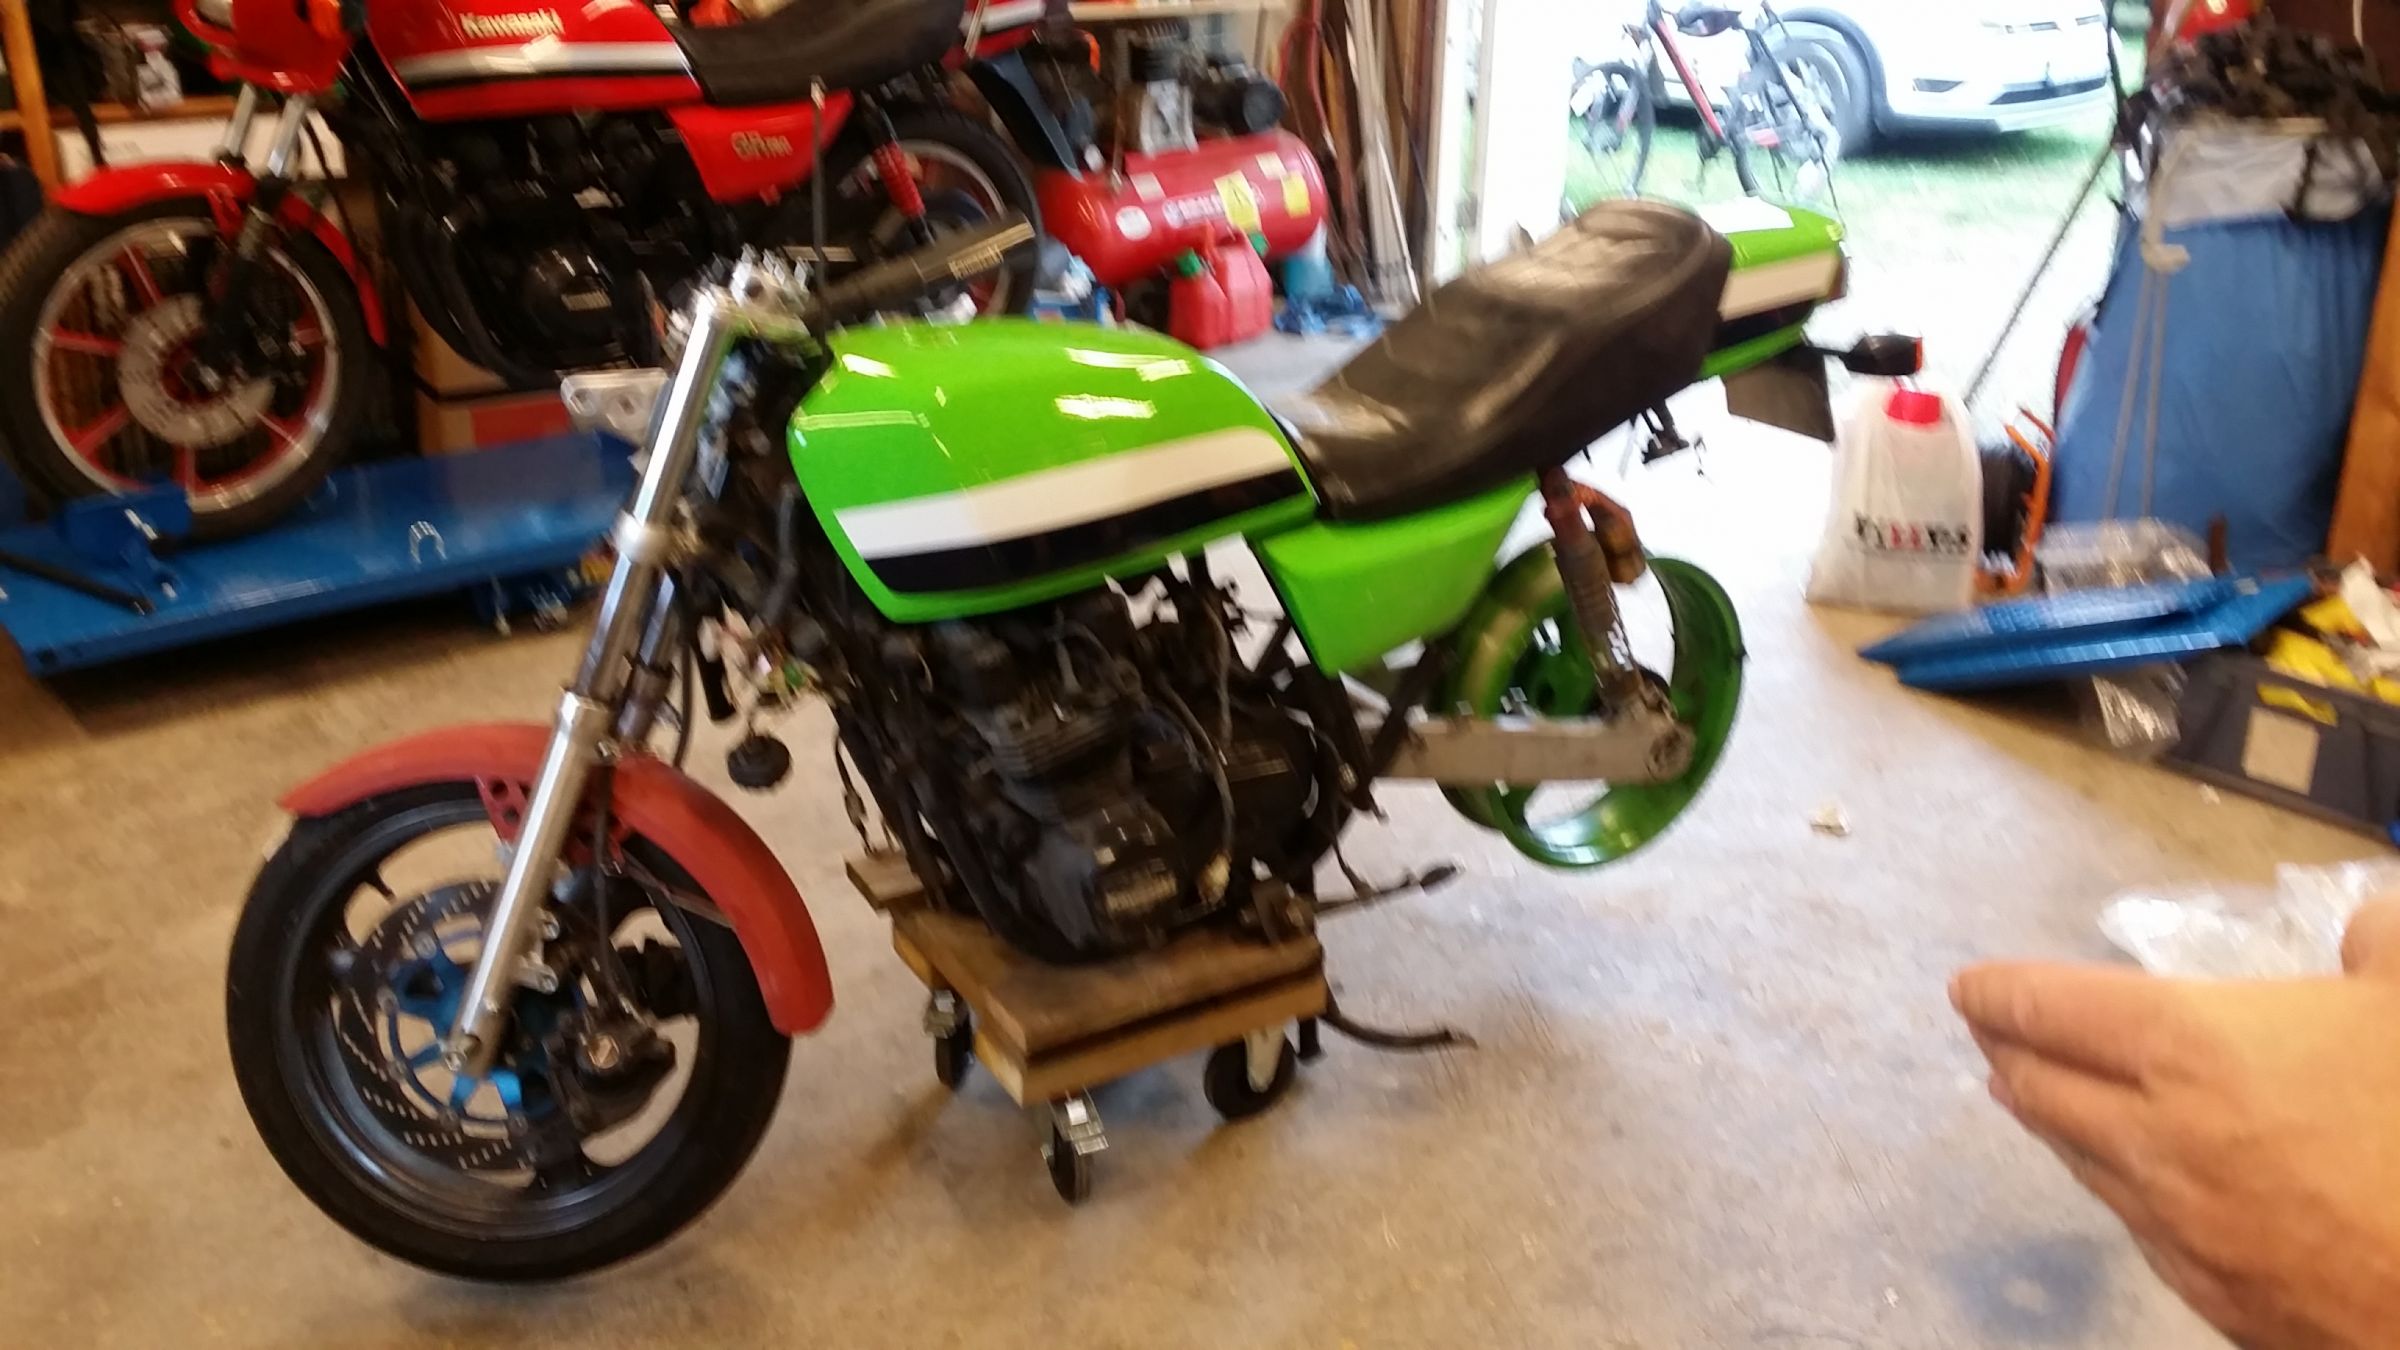
X-cuse the shitty pic, but I had to mock up the front wheel with the original front fender that we have split and widened by 1’. It will take some more fabing before we get a perfect fit on the Zephyr fork and it might look a little bit awkward with the 17' rim, but then we just have to come up with something else.
No real job got done, but we measured up a whole lot of stuff that we are going to get started with now that days are getting shorter.
/A
Nice "derailment" of ones own thread Anders
 Thats a nice Bike Tommy has, looks like the tank needs raising without frame mods for top end maintenance , Also looks like an early Slabby GSXR750 swingarm...? Your bike is coming along nicely, I really wanted to paint mine with a different color combination to the typical Red or the ELR green but, damn that green looks good....
 ")
I'm in the same place - can't hurt to learn. My impressions from that one ride were that:750 R1 wrote:KZQ wrote:750 R1 wrote:KZQ wrote:Hi Steve,swest wrote: I was thinking it would slow the steering down a little like extending the forks.
Steve
Trail affects a motorcycle front a lot like a tiller on a boat moves the aft end of a boat, port and starboard. Trail is measured by projecting a line through the center of the stem bearing to the ground and dropping a plumb line from the center of the front axle and measuring the distance between the two. The larger the trail number the higher the required steering force is, at least at low speeds.
When I rode over some bumps in the asphalt yesterday, with only one rear tire, the bars were forcefully pushed left and right. I'm thinking, and of this I'm not a 100% certain, that less trail would mean less turning moment on the bars when traversing uneven pavement.
Bill
The first part here is correct, the second part where you say the bars wanted to pull out of your hands is caused by the trail being small for your intended purpose, if the bars want to slap from side to side, you want more trail, it will make steering slightly heavier, but it will take the "nervous" feel out of the steering. Lots of trikes have leading link front ends for this very reason. I'll just say, I'm no expert on trikes but what i'm saying is definitely relevant to bikes, I also see lots of trikes with raked fronts and large trail... Hope you get it sorted...
Thanks 750 R1.
My problem does not result from instability but rather from the changing geometry that happens when one rear tire rises more then the other. I've been reading over at Trike Talk and those folks say a trike should run 1.5" to 2" of trail. I just measured my set up and I've got 3.5". I agree more trail generally yields a steadier ride and requires more turning effort. But what goes down must also come up. If the turning effort is higher because of the trail setting then the torque required to resist the feedback from the terrain must also be higher. I'm not saying that any of you are wrong. Gawd knows I'm known for working by trial and error. My plan is to fit the fork tubes and front wheel from my KZ 550, which has an offset front axle, to my KZ 750 steering head and see how 2" of trail feels.
I'll let you know.
Thanks
Bill
Hi Bill, my experience is with bikes, ... I'm interested in this one, can't hurt to learn something new...

As one wheel rises the rear end wants to push the front sideways and the bars swing as a result. Trail or, as I first said, "tiller" has a lot to do with this.
The second impression I got was that the front forks were flexing. I'm thinking that they were the springs that supported the harmonic I felt. All of this happened at 20 MPH or less.
The way I see it, I could go for a leading link front end, something I have no experience with, or $ for. Or I could fit the spare front end I have from an 81 KZ1300.
The stock 750 tubes are 36mm the 1300 uses 41mm tubes. Gotta be a bunch stiffer. There'll be a lot of lessons learned matching the triple trees from the 1300 to the 750 head tube. Before I go there I've got a good front end from a KZ 550. It uses the same fork diameter albeit slightly different fork spacing and it has an offset axle. Mating the stock 750 trees with the offset axle from the 550 will give me less trail. If less trail gives me less reaction when one rear wheel rises I'll put the work into changing over to the 1300 trees and forks.
One note on an earlier comment someone made about raked out front ends on some trikes. Over at Trike Talk, those guys regularily fit TWO steering dampers to their chopperized trikes and a number of them complained about their dampers breaking because of the forces they are having to overcome.
Oh Well, I'm just working through the issues as they come up. The exhaust system in another project to be tackled. Ive decided that before I build a two into one using the stock head pipes I should look around for a MAC system like I have on my other 750. I would still have to modify it to lower the megaphone but I wouldn't have to fabricate a "Y" fitting that flows well.
Thanks for your interest!
Bill
Replied by loudhvx on topic Thinking about building a trike
29 Aug 2016 08:31
If you hold a bicycle by the seat, and push it along, you can steer it by leaning it one way or the other. It even makes the handle bars move accordingly. Your rear end is essentially doing the same thing if only one rear wheel goes over a bump... it leans the bike toward the lower side. This puts the contact patch of the front wheel off center so the drag of the contact patch tries to turn the bars.
This is only the initial, momentary headshake. The tank slapper effect is likely the result of the rear end oscillating during it's recovery to it's normal position.
The same thing (headshake) happens on a motorcycle. If you accelerate hard over some uneven bumps, and one of the bumps is off center from the tire, it will pull the wheel in the direction of the bump.
So there are actually two things going on. Headshake, which is momentary, and tankslapper which is due to an oscillation. They both have different causes and will require different cures.
The headshake can often be mitigated through things that slow down the steering like more trail (more rake on the forks), longer wheel base, and even steering dampers. More trail lessens the effect of the off-center drag pulling the wheel off center. Basically, think of a chopper front end. Steering dampers are for headshake, even though they can lessen the effect of a tankslapper, they are not the cure for a tankslapper.
Tankslapper is often from an oscillation in the rear end. On a motorcycle it can be from worn parts (swingarm bearings etc) and often from a worn rear tire. The wider the tire, the worse the effect. The wider the rear tire. the more leverage it has to yaw the bike left and right. If the parts are worn, there is even more slop which lets the rear wheel generate more momentum in it's oscillation.
The fix for tankslapper to use much more bracing to solidify the rear end, including the swingarm connection to the frame. The more flex and slop there is, the more intense any oscillation will be.
The above is what I've learned after having a 100mph tank slapper getoff. These two books are some of the references I used.
I hear Tony Foale's book, mentioned in BlueJ's link, is really good, but I haven't had a chance to look at it.
www.amazon.com/Motorcyle-Tuning-Chassis-...binson/dp/075061840X
www.amazon.com/Racing-Motorcycle-Technic...n+bradley+motorcycle
Displaying 921 - 930 out of 7257 results.