quadsheavn wrote:
Good Evening, Bens wife here.
My deepest sympathy...
I am mixing the bondo a little at a time, and using a little hardner, about pea size.
here's what to do, when you are ready to put more on there. I prefer to use a mixing board, because they have tear-off sheets, so I don't have to spend a lot of time fooling around. You probably are mixing on a piece of cardboard, or something like that. If not, then go dumpster diving and get some cardboard boxes, chop them up, they make great mixing boards. The objective here is to spend as little effort as possible, and do it as quickly as possible. Playing with bodyfiller is a miserable job, no sense in making it any worse.
Hopefully you bought the 1 gallon can, not the quart can. I think a quart of bondo is $8 and a full gallon is $15... major major rip-off... Once you open the can of filler, use a paint stir stick and stir in a vertical circular motion, opposite of stirring a can of paint, bringing the filler from the bottom of the can to the top. This mixes more of the polyester resin into the filler, making it easier to spread. The polyester resin is the black junk laying in the bottom of the can, it's supposed to be all through the filler, not on the bottom. It's a nasty side effect of a long life on a store shelf.
Now that you have your filler stirred good, kneed the tube of hardener, between your fingers, or get someone else to, while they are watching TV. you don't need to kneed it too much, but you want the color to be uniform. I am sure, at this point, you know what I mean. You get that darkly pigmented runny liquid that squirts out, then pale colored thick stuff. It should all be uniform. Once that is all kneeded and stirred and tuned up, cut a piece of cardboard, about 12" X 12" and put a 4" round puddle of filler in the center. now, draw a stright line across the puddle with the hardener. just a thin line, but a straight line, nonetheless. This should give a 50:1 approx. mix ratio. Even if it doesn't give 50:1, it's the best way, speaking from experience. mix it around and apply it liberally. overfill everything, so that you can visually see the dent is full, and not just the center, but out to the edges as well. Get it all in one swipe, or as few as possible. There are some bodymen who think they are gonna get the "perfect swipe" with the spreader, and so they keep sweeping back and forth, back and forth... not good, you are still going to have to sand it, no need to overwork it. Leave the extra on the board in a tight pile.
I am waiting about an hr or 2 before sanding (thats what the can says  )
)
Nope, way too long. give it 5, maybe 8 minutes, then check it's consistency. While the junk is setting up, it will turn to that "jello" or rubbery consistency, this is when you clean it off of places you don't need it. continue to let it set up, until it doesn't clog up the sandpaper. how will you know? That pile you left on the mixing board, silly. Give it a fingernail every couple of minutes. This is where timing comes into play. By the way, you should already have your sandpaper setup on your sanding block, so you don't have to fumble with it, or miss your "easy sanding" window of opportunity. When the stuff on the mixing board feels like it isn't incredibly tacky, or you can touch it, and you don't get pink stuff or pink color stuck to your finger, then begin sanding.
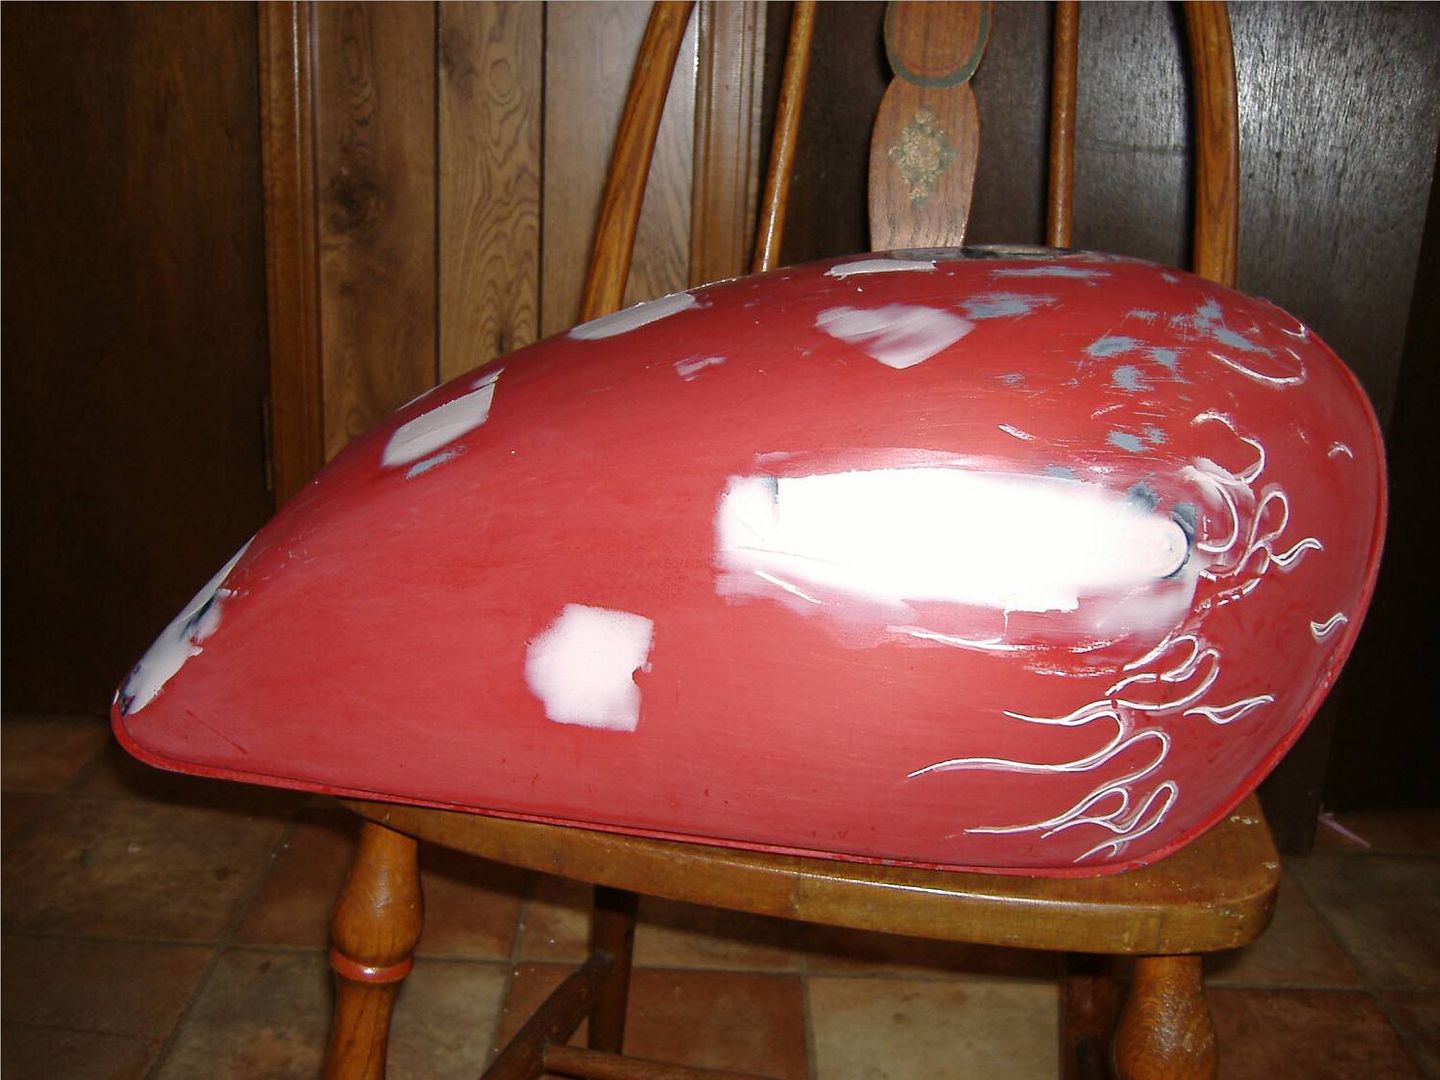
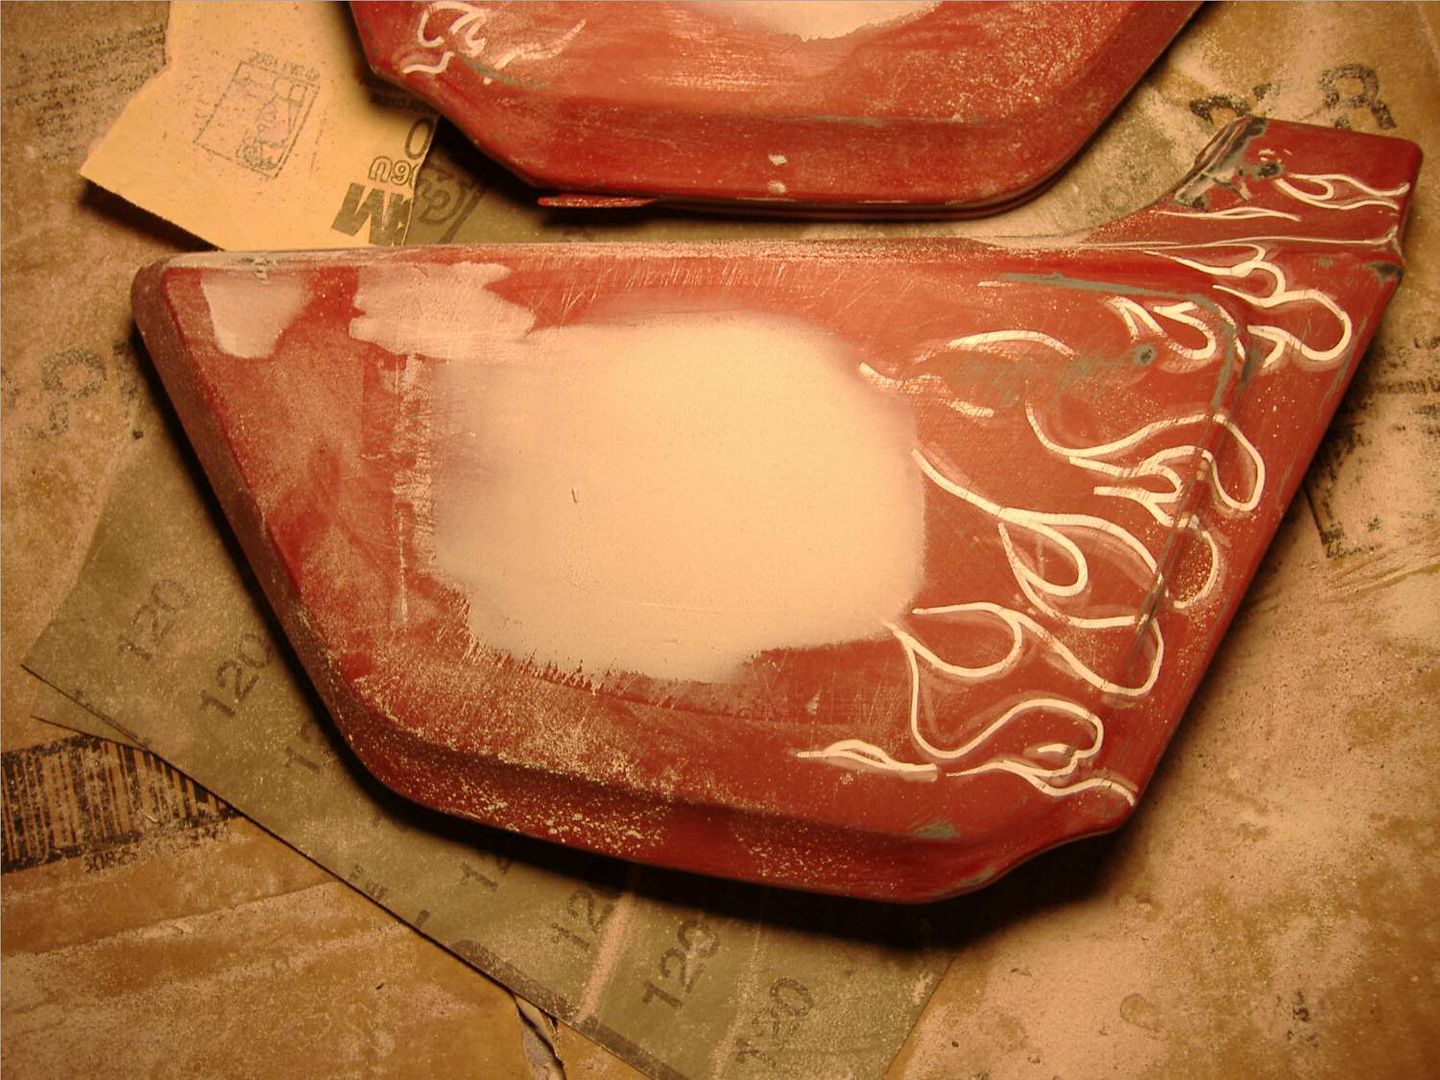
As for the sand paper, right now i am using 40 to get the thick stuff off, and hitting it lightly with 60, 80.
Good, eliminate the 60, and you are good. I prefer 35 grit, Norton Blue Magnum, to be specific. It's some brutal stuff. Deffinitely makes you think twice about licking it. When sanding, use light pressure, stay in the work zone, but try to keep only half the sanding block on the filler spot. Doing this will level it to the rest of the panel. just straight strokes and hog it all down until it's level and feathered in. The only way to tell if it's level is by running you hand over it. You can't see dents with your eyes (if you can, then you really didn't put enough filler in it, or you sanded way too much out of the center). Eventually, you will begin to see the hard line or edge of the filler begin to feather into the rest. It will have big deep scratches, but it will be flat. (I might be repeatin a lot of things you have already done, I am just going to do this for the benefit of everyone who reads this.) don't rock the sanding block, either. keep it flat, do not try to justify one corner over the other 3, just keep the block flat, not too tight, and eventually you'll learn more muscle memory that will make it easier. [Miyagi] Just stay focus! [/Miyagi]
One of the biggest problems a first timer has is switching down grits too soon, then oversanding with a high grit paper. there is no reason why you should need anything other than 35(40) and 80 for now. Stick with the lowest grit possible for the longest amount of time. Feel the piece often, and sand accordingly. If you run your hand over something, and you have to think, "what was that?" then guess what, something will show up in the final product. If you can feel it with yoru hand now, a critic(Ben) will deffinitely see it when it's done.
So far you are probably doing things correctly, except you should have been more liberal (even if you are a Republican) putting the filler on the first time. Really, 2 applications of filler should take you from start to primer.
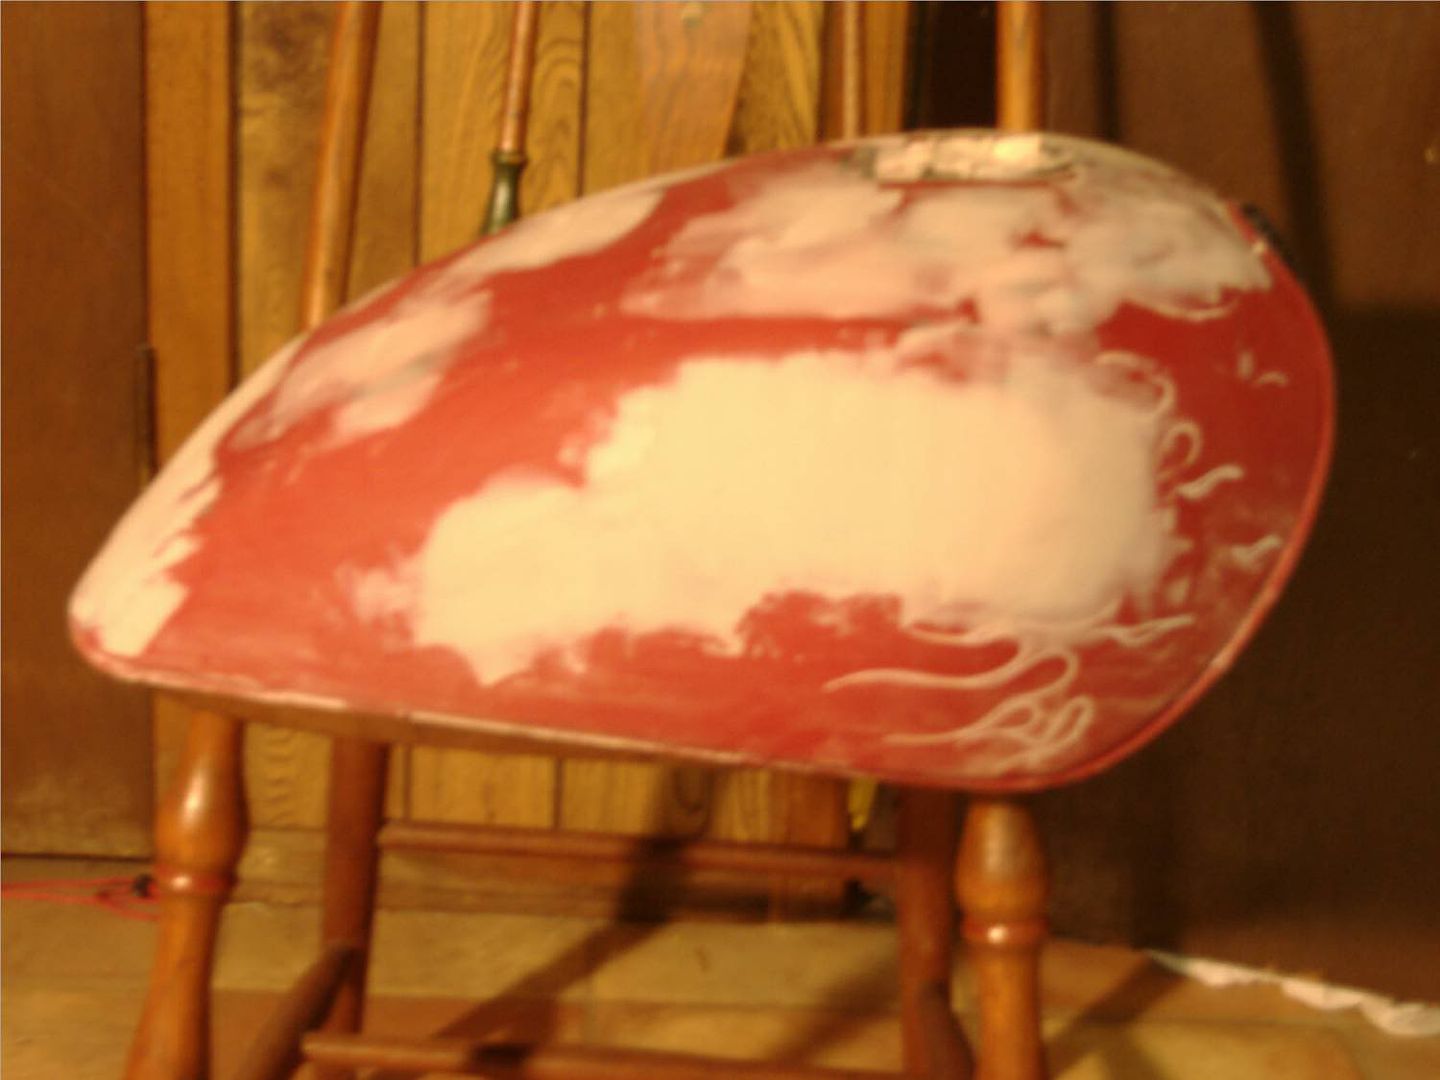
Now, the next thing you will want to do, is get a can of cheap-o rattle can spraypaint. flat black is pretty. lightly, lightly, lightly, lightly spray on a coat onto the roughed up filler. no, I take that back. just DUST it. make it have a nice black mist, and don't go overboard. you'd be surprised how little will work for this. We call this a "guidecoat" Once the paint is dried up a bit(couple minutes), begin sanding lightly with 80 on the block. sanding now will reveal all the deep scratches, and the low spots. This will be your guide for more filler. If you have low spots, then give them some filler and repeat the 40 grit. Tip: When adding filler to a spot like this, it is best to let the filler harden completely, before attempting to sand it, as it will make it hard to feather it into the surounding filler. If you don't have any low spots, then just sand out the bulk of the 40 grit scratches. if you have super-deep scratches, let them be. Just knock down the bulk of them. remember keep the block half on, half off the filler spot. You will dig the center out if you don't. Next, blow out all the dust, and check for pinholes. Pinholes are there because satan likes to mess with bodymen. Evil ids have forever plotted to plague man with pinholes in his bodyfiller. They were just waiting for thousands of years for man to invent filler, so they could mess it up for him. Anyhow... if you see pinholes, or any kind of airbubbles, break them open with your fingernail, or a good steak knife out of the neighbor's kitchen (because that's always the best thing to do, you wouldn't want to get bodyfiller on your good steak knives)
Now it's time for the second application of filler. Mix up the filler in the same manner, but much less this time. make a 2" puddle instead of the 4". get it stirred up and then spread the puddle out to an even sheet on the mixing board, with the spreader. now you can cut off an even "roll" onto the spreader. just get a small roll on the tip of the spreader blade, and skim coat the filler spots. Your objective is not to add a lot of thickness to your filler spot, but to fill in those scratches and beelzebub's evil pinholes. don't lay it on so thin that it becomes transparent, but try to match contour with the shape of the exsisting filler. if you hold the spreader real tight to your work, it will usually do alright.
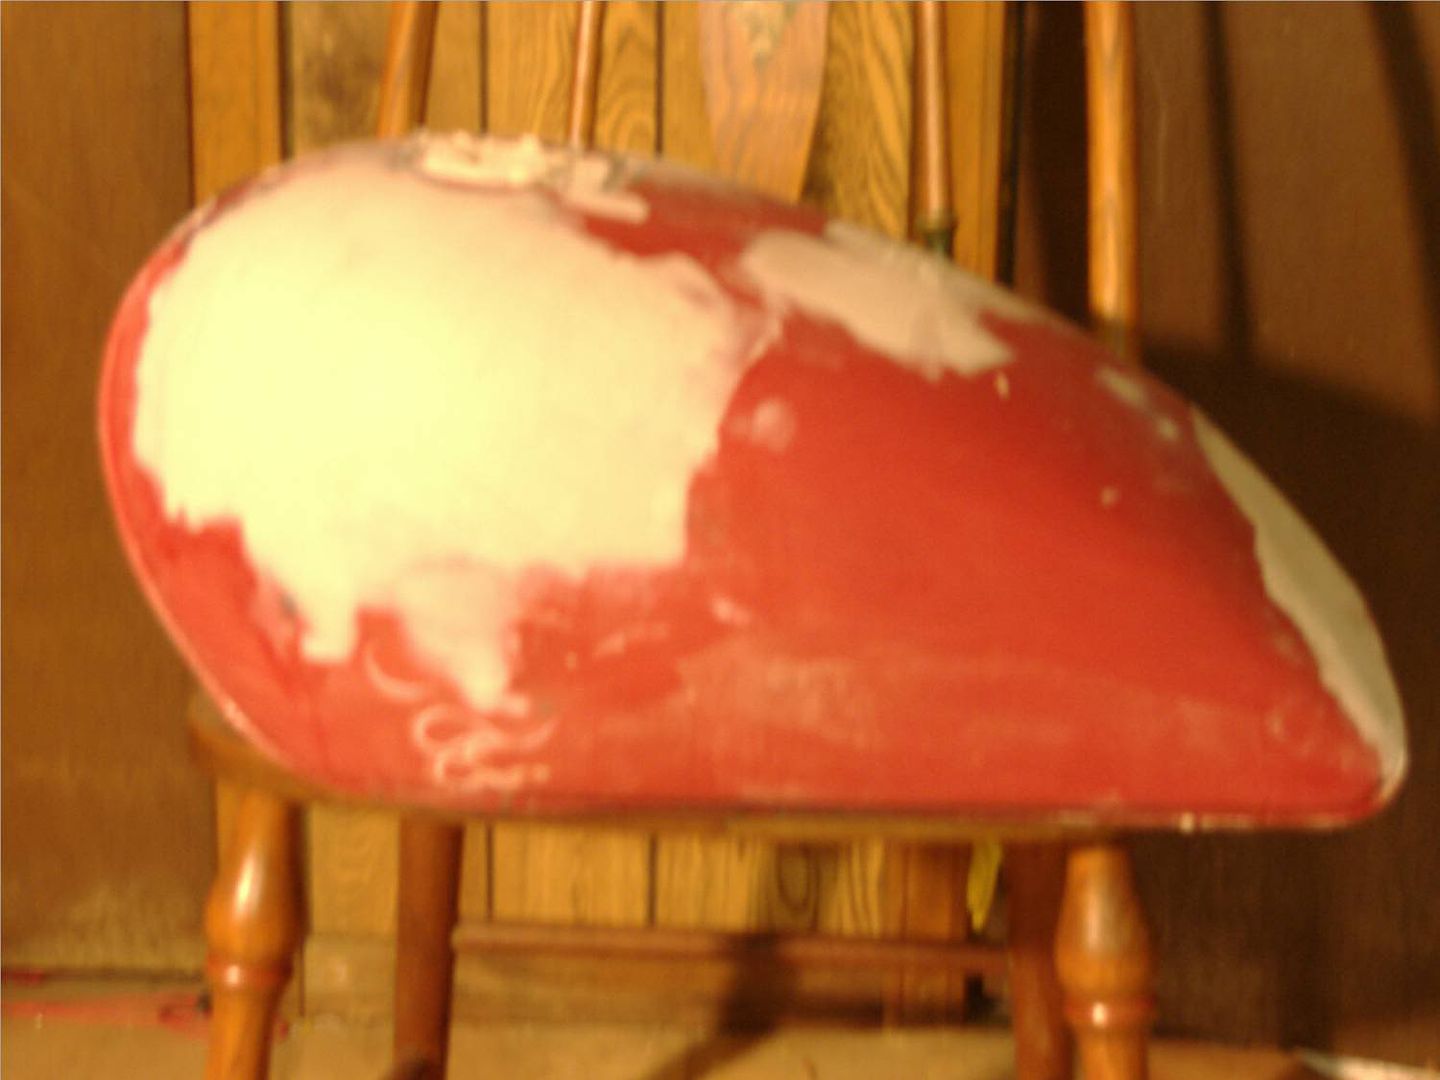
Let that set up solid, and then sand it down with 80 grit. circle it out, stay off the center of the fill spot, don't block with your weight, block with the strokes. It's the strokes that always get it done. Key lesson for life...
guidecoat the filler again, and sand with 80 more, to see where you are at. Feel it with your hands, watch for good feathered edges. You'll be able to feel when it's done. once you get it right where you want it, guidecoat it again, and this time, switch to 150 grit paper. use the 150 grit to knock the bulk of the 80 grit scratches out. If you circled the strokes well enough with the 80, you shouldn't have too many to deal with now. concentrate on only sanding the scratches out, and not reshaping the filler. sand the 40 adn 80 grit scratches out of the paint too. get everything down to 150 grit. reguidcoat and switch down to 220. sand it out carefully in the same manner, and then you shoudl be ready for primer. If you have a random orbital sander, you should be using that for the final 220 grit sanding, and also, while you are there, sand off those 1970's flames, and knock the shine off the rest of the pieces.
I am not sure what you were planning on using for primer, so I'll leave it at this. I think this is a reasonable explaination of what a bodyman would do to your bike.
It took me about an hour longer to type this, than it would have taken me to actually do the work myself. You should be ok, just don't go by the directions on teh can of bondo. Bondo isn't right in the head. If there is anyone reading this who works for Bondo, I'm sure you'd agree that your directions were written by a NASA chimpanzee, and no one is actually expected to folow them verbatim.
Any tips, tricks, or easier way to do things I would love to hear. This is my frist 'real' attempt at doing something like this.
Missy
Well, you picked a good first project. small, portable, the bike will probably be moving too quickly for people to see any amount of detail.

Good luck, I'll be waiting to see more pictures.
Post edited by: john68, at: 2005/10/27 20:47


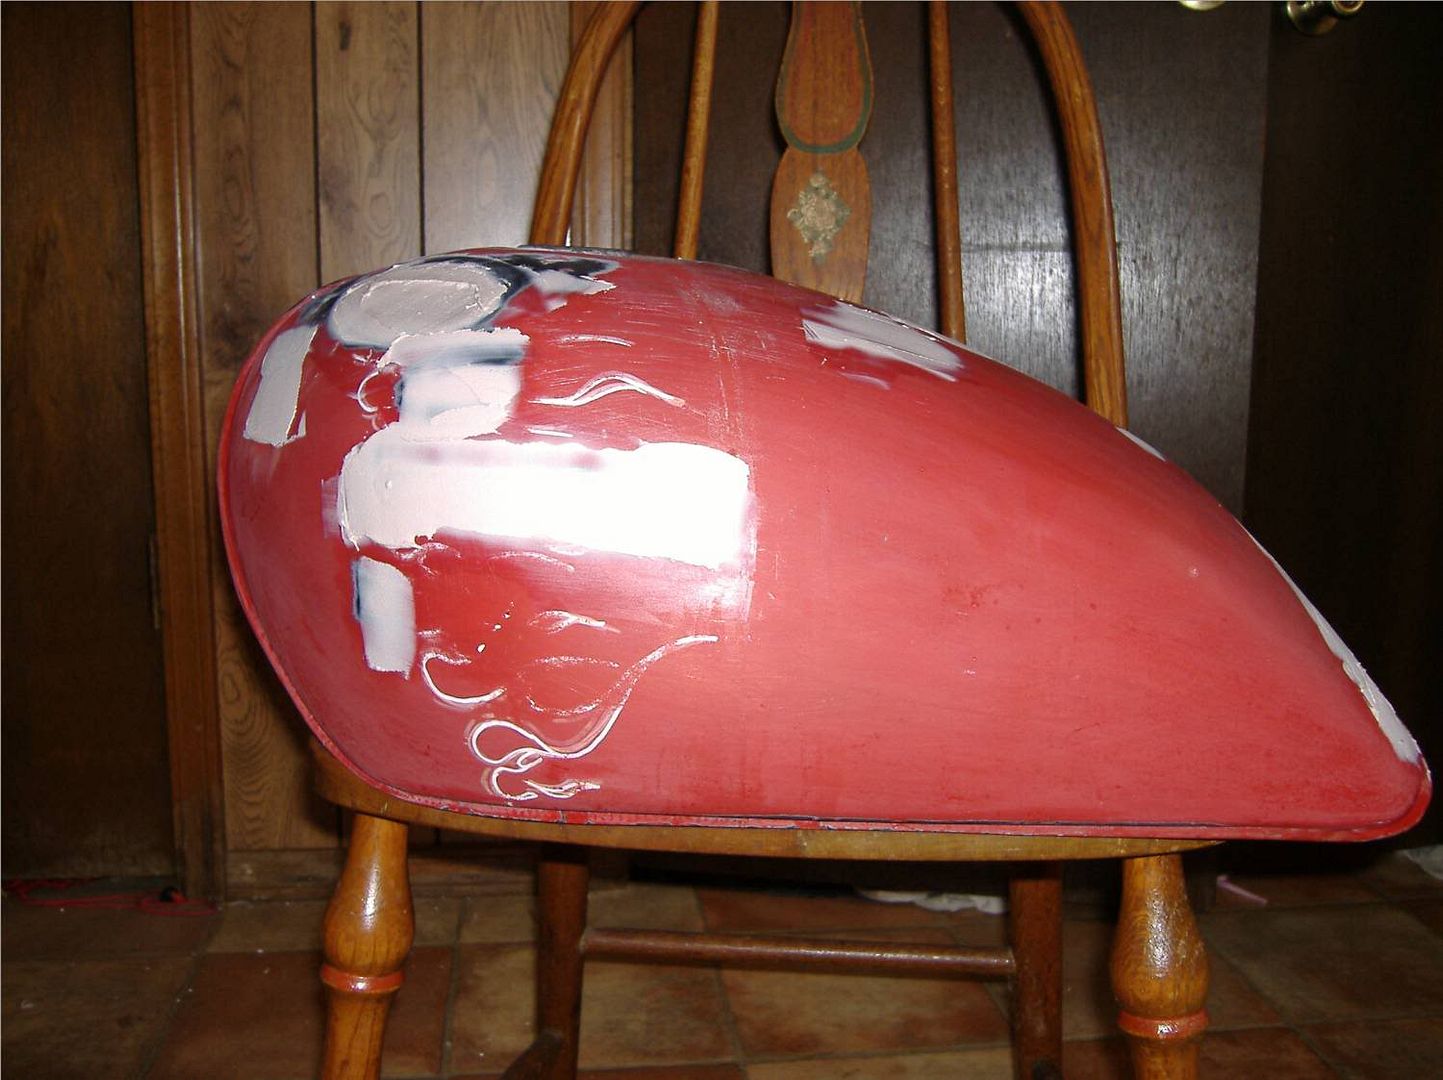
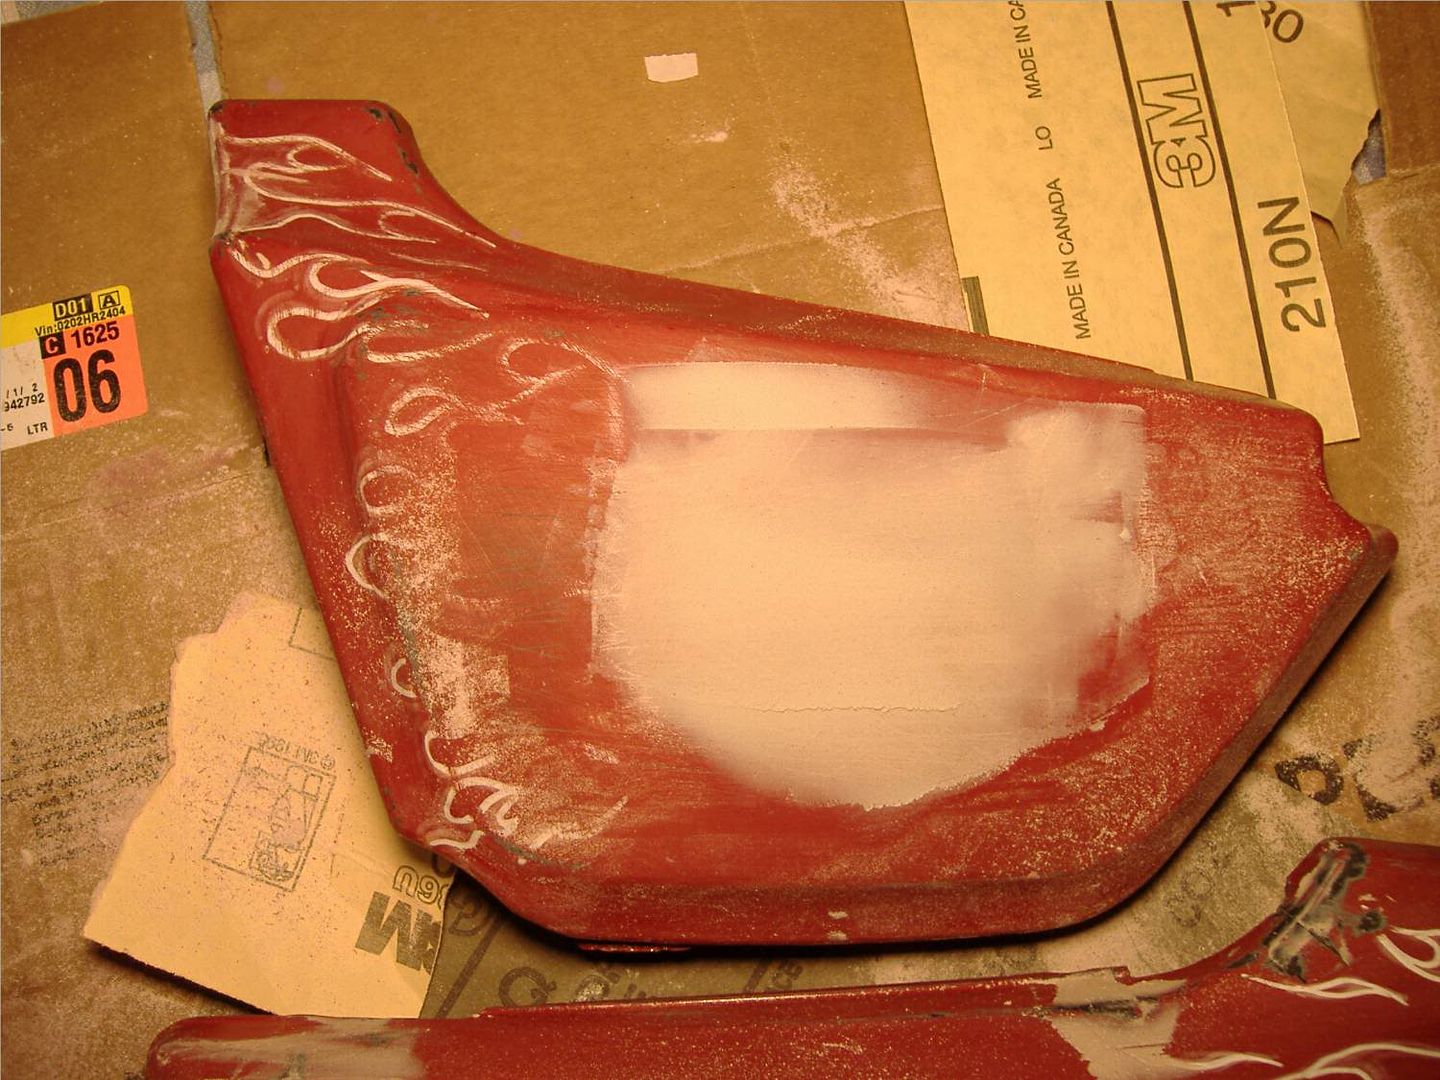


") I just want the nasty red and cheesy flames off!
I just want the nasty red and cheesy flames off! ")


