
Rebuild of KZ1000J engine
- Jonas_Z1000j
-
 Topic Author
- Offline
- User
-

Registered
- Posts: 94
- Thanks: 31
Re: Rebuild of KZ1000J engine
29 May 2023 06:13 - 29 May 2023 06:13
I am a bit tempted to try to squeeze in RTV silicon between the 2 fiber gaskets, creating the functionality of a one piece gasket. anyone had success with that?
Z1000 J2 -82 not so running restoration object anymore
Z900RS -21 Green/Yellow
Z900RS -21 Green/Yellow
Last edit: 29 May 2023 06:13 by Jonas_Z1000j.
Please Log in or Create an account to join the conversation.
- Nessism
-

- Online
- Sustaining Member
-

Registered
- Posts: 8064
- Thanks: 3451
Re: Rebuild of KZ1000J engine
29 May 2023 07:10
There are some around here that advocate using RTV in place of the cam chain tunnel O-ring. I can't say what the pros vs cons of this approach is, though. Hopefully some people that are more knowledgeable than me on KZ engines will chime in here. I can say that I'm NOT a fan of aftermarket gaskets and seals. At their very best, they will match OEM, but many are just plain junk.
Ed
Carb O-ring Kits : www.kzrider.com/forum/14-vendor-forum/62...rburetor-o-ring-kits
www.kzrider.com/forum/faq-wiki/618026-new-owner-things-to-know
1981 KZ750E2
www.kzrider.com/forum/11-projects/604901...z750e-project-thread
Carb O-ring Kits : www.kzrider.com/forum/14-vendor-forum/62...rburetor-o-ring-kits
www.kzrider.com/forum/faq-wiki/618026-new-owner-things-to-know
1981 KZ750E2
www.kzrider.com/forum/11-projects/604901...z750e-project-thread
The following user(s) said Thank You: Jonas_Z1000j
Please Log in or Create an account to join the conversation.
- Dr. Gamma
-

- Offline
- Sustaining Member
-
Registered
- Posts: 1232
- Thanks: 706
Re: Rebuild of KZ1000J engine
29 May 2023 12:07
I too like to use as many O.E.M. factory gaskets as I can. I always use the factory cam chain o-ring. But I put some Three Bond TB-1211 silicone type sealant in the groove before I place the o-ring into the groove. Then I apply a thin coat of TB-1211 to the top of the o-ring before I drop the cylinder head into place. Then I let the motor sit at least 24 hours before I fire it up. That way the TB-1211 has time to set up.
I have been doing my Kz motors like this since back in the mid '70's and I can't remember ever having one that starting leaking from the center o-ring!!!
I have been doing my Kz motors like this since back in the mid '70's and I can't remember ever having one that starting leaking from the center o-ring!!!
1972 H2 750 Cafe Racer built in 1974.
1976 KH400 Production Road Racer.
1979 Kz1000 MK. II Old AMA/WERA Superbike.
1986 RG500G 2 stroke terror.
1986 GSXR750RG The one with the clutch that rattles!
Up in the hills near Prescott, Az.
1976 KH400 Production Road Racer.
1979 Kz1000 MK. II Old AMA/WERA Superbike.
1986 RG500G 2 stroke terror.
1986 GSXR750RG The one with the clutch that rattles!
Up in the hills near Prescott, Az.
The following user(s) said Thank You: Injected, howardhb, Jonas_Z1000j, Wookie58
Please Log in or Create an account to join the conversation.
- MLMG
-
- Offline
- User
-
Registered
- See you in the wind.
- Posts: 127
- Thanks: 39
Re: Rebuild of KZ1000J engine
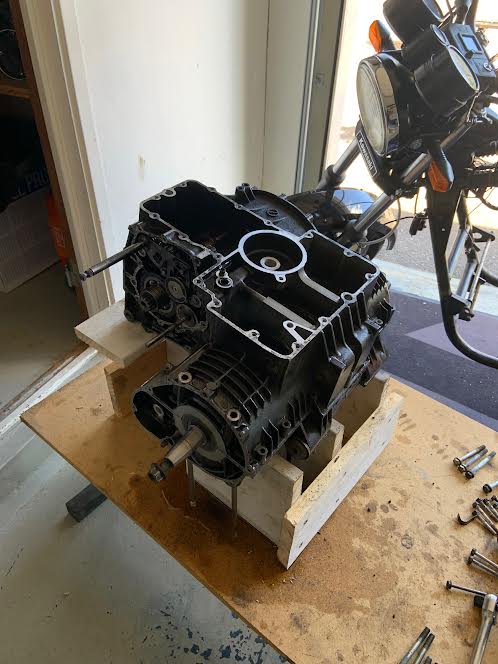
29 May 2023 16:49Hello, what does the original Kawasaki manual look like, where can you get it? thank youDo yourself a huge favor and get a hold of a genuine factory Kawasaki shop manual. I like how you say your Clymer manual makes no mention of using the three 8mm threaded holes used to help to split the case haves. Clymer manuals have a bad habit of leaving out certain information like that throughout the whole shop manual. The factory manuals are always a more complete manual than your Clymer manual.
!!!!Important Note!!!!!! When you use those three 8mm bolts to split the cases. If you leave just ONE case bolt in place and you keep cranking down on those three 8mm bolts. And your cases are still not coming apart and you crank down on those bolts a little bit more. The next sound you will hear is a snapping sound as a put a nice crack in your lower case!!!! I have watched a few dealership "mechanics" make that mistake!!! Its a very distinctive sound you don't want to ever hear!!! Just triple check to make sure ALL the case bolts have been removed!!!!
1977 Kawasaki KZ1000 A1
Please Log in or Create an account to join the conversation.
- TexasKZ
-

- Offline
- Platinum Member
-
Registered
- Posts: 8147
- Thanks: 2653
Re: Rebuild of KZ1000J engine
29 May 2023 19:07 - 29 May 2023 19:09
Here is a pdf copy of the fsm.
www.kzrider.com/modules/ServiceManuals/K...Service%20Manual.pdf
Hard copies occasionally come up on eBay.
www.kzrider.com/modules/ServiceManuals/K...Service%20Manual.pdf
Hard copies occasionally come up on eBay.
1982 KZ1000 LTD parts donor
1981 KZ1000 LTD awaiting resurrection
2000 ZRX1100 not ridden enough
www.kzrider.com/11-projects/620336-anoth...uild-thread?start=24
1981 KZ1000 LTD awaiting resurrection
2000 ZRX1100 not ridden enough
www.kzrider.com/11-projects/620336-anoth...uild-thread?start=24
Last edit: 29 May 2023 19:09 by TexasKZ.
The following user(s) said Thank You: MLMG
Please Log in or Create an account to join the conversation.
- Jonas_Z1000j
-
Topic Author
- Offline
- User
-
Registered
- Posts: 94
- Thanks: 31
Re: Rebuild of KZ1000J engine
29 May 2023 23:13
Thanks for the input,
But the verdict is basically to order new gaskets, OEM style, and remove the head carefully with fingers crossed that the gasket isnt stuck like on old engines?
But the verdict is basically to order new gaskets, OEM style, and remove the head carefully with fingers crossed that the gasket isnt stuck like on old engines?
Z1000 J2 -82 not so running restoration object anymore
Z900RS -21 Green/Yellow
Z900RS -21 Green/Yellow
Please Log in or Create an account to join the conversation.
- Wookie58
-

- Offline
- Moderator
-

Registered
- Posts: 6072
- Thanks: 3809
Re: Rebuild of KZ1000J engine
30 May 2023 00:05The head shouldn't be "stuck" after such a short running time - I guess whether or not the base gasket re-seals is a "crap shoot" once the pressure has been removed. IMHO I think you will be ok but others with more experience of these motors may say differentThanks for the input,
But the verdict is basically to order new gaskets, OEM style, and remove the head carefully with fingers crossed that the gasket isnt stuck like on old engines?
1982 KZ1000 Ltd
www.kzrider.com/forum/11-projects/617631...-82-begins?start=192
kzrider.com/filebase-alias?view=download...d-fault-diagnosis&ca
www.kzrider.com/forum/11-projects/617631...-82-begins?start=192
kzrider.com/filebase-alias?view=download...d-fault-diagnosis&ca
The following user(s) said Thank You: Jonas_Z1000j
Please Log in or Create an account to join the conversation.
- Jonas_Z1000j
-
Topic Author
- Offline
- User
-
Registered
- Posts: 94
- Thanks: 31
Re: Rebuild of KZ1000J engine
30 May 2023 11:04
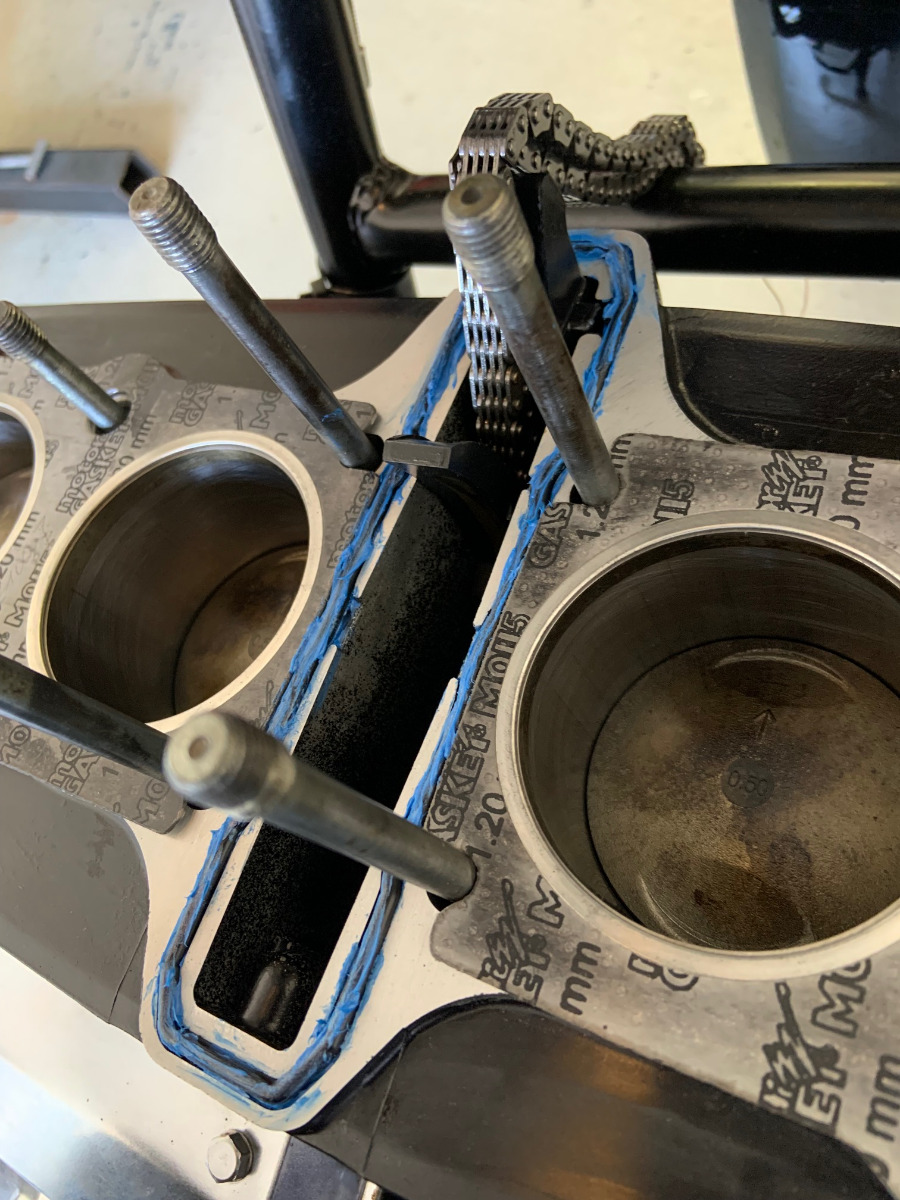
Before I tear it down I will try this:
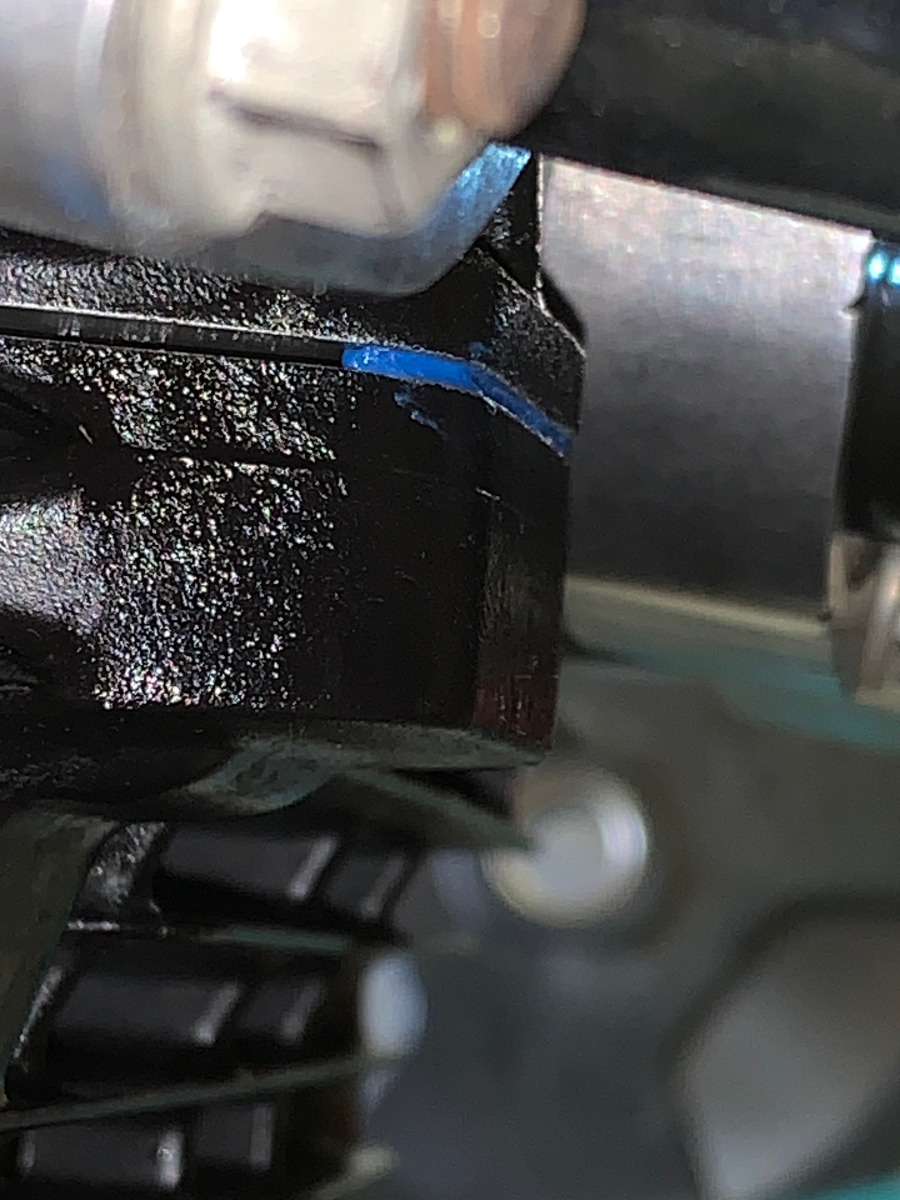
I filled the gap with Permatex blue and will inspect it tomorrow. If it looks good, I continue till it meets the fiber gasket. I will use a syringe to get it in place. The silicone reached the O-ring, so Im quite hopefull this can work.
I filled the gap with Permatex blue and will inspect it tomorrow. If it looks good, I continue till it meets the fiber gasket. I will use a syringe to get it in place. The silicone reached the O-ring, so Im quite hopefull this can work.
Z1000 J2 -82 not so running restoration object anymore
Z900RS -21 Green/Yellow
Z900RS -21 Green/Yellow
Please Log in or Create an account to join the conversation.
- Jonas_Z1000j
-
Topic Author
- Offline
- User
-
Registered
- Posts: 94
- Thanks: 31
Re: Rebuild of KZ1000J engine
06 Jun 2023 05:47 - 06 Jun 2023 05:51
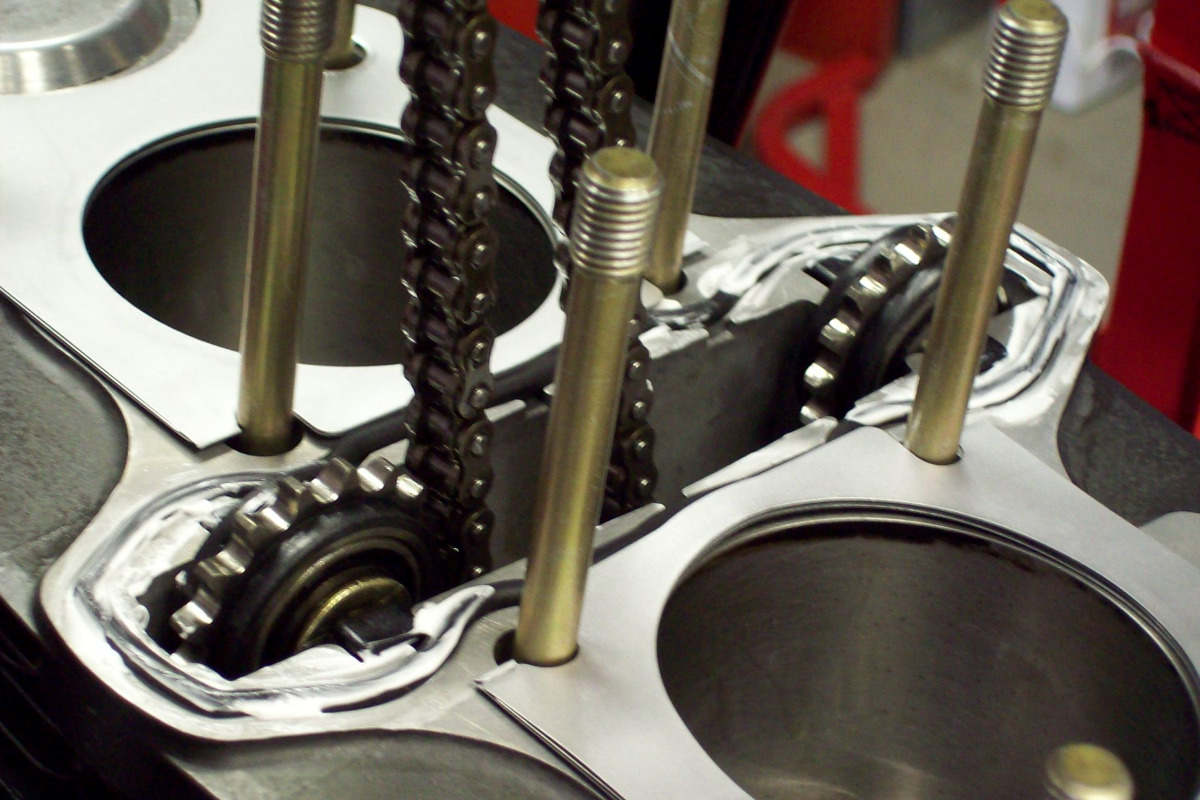
I realized that a quick and dirty solution to this problem will not work, because the head gasket is open at the inner studs.
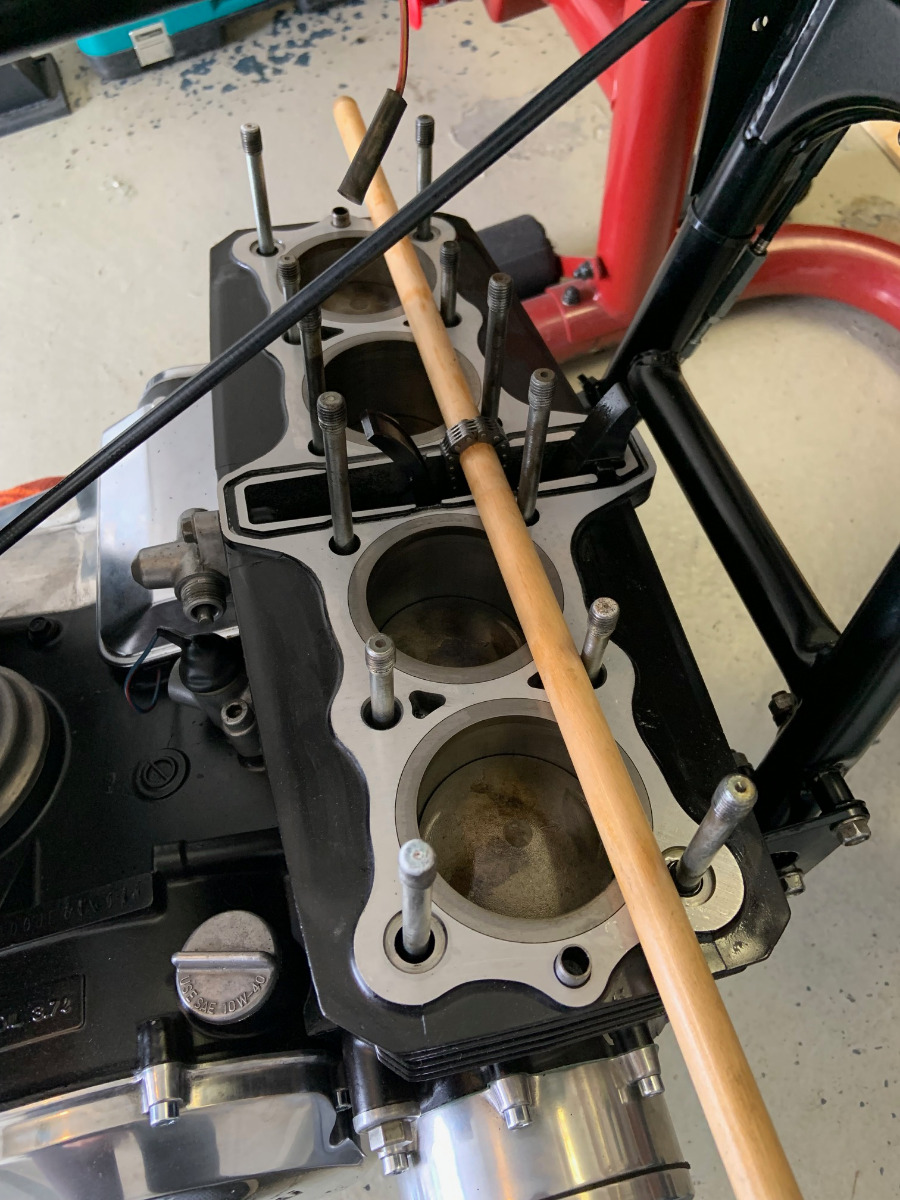
I removed the head today and everything looks nice, a lot of oil around the camshafts and no other visible leak paths.
The O-ring was damaged, either I have squeezed it on the edge of the groove (most likely) or the quality was terrible:
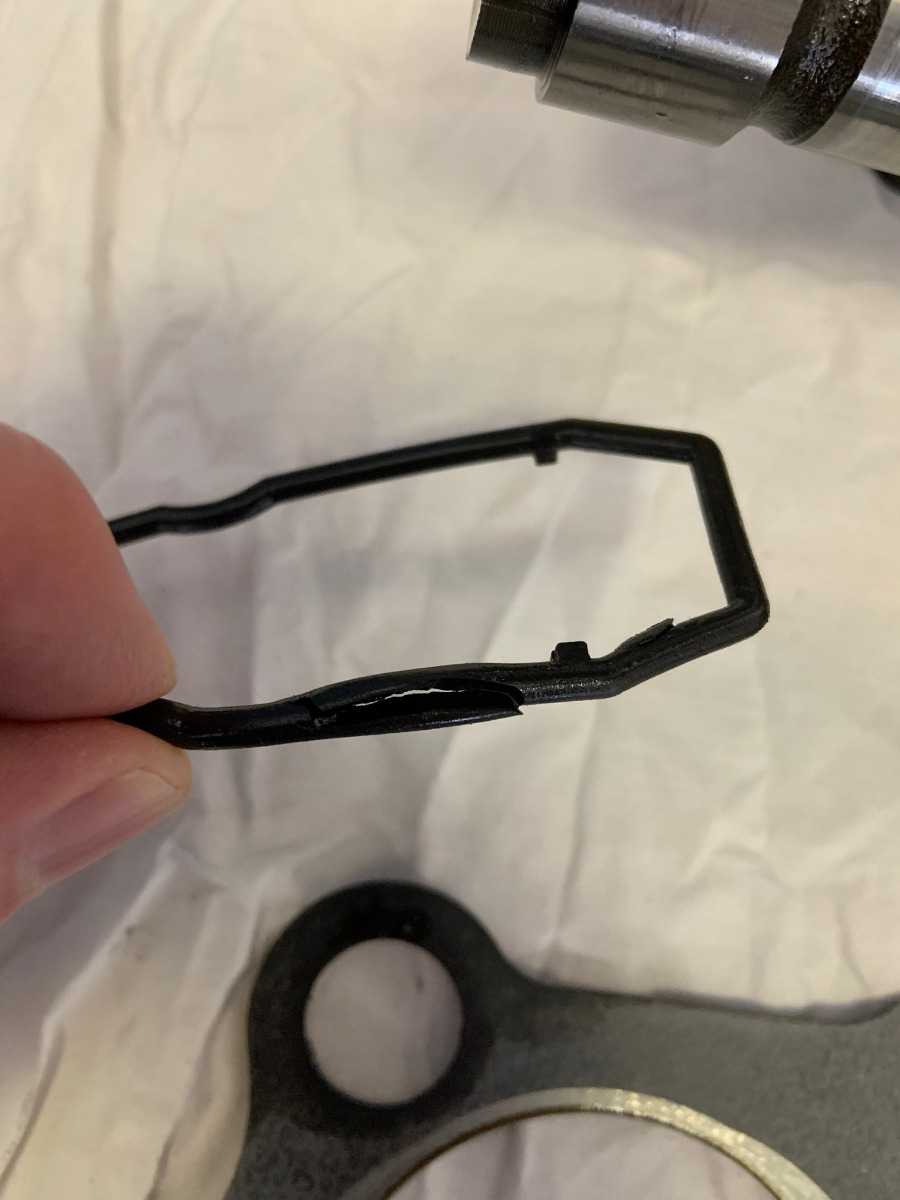
Nothing was stuck:
I ordered a new head gasket and a Viton high quality camchain O-ring. Will install it with RTV this time (thanks Dr. Gamma) and inspect it before I lower the head the last 10 mm.
I removed the head today and everything looks nice, a lot of oil around the camshafts and no other visible leak paths.
The O-ring was damaged, either I have squeezed it on the edge of the groove (most likely) or the quality was terrible:
Nothing was stuck:
I ordered a new head gasket and a Viton high quality camchain O-ring. Will install it with RTV this time (thanks Dr. Gamma) and inspect it before I lower the head the last 10 mm.
Z1000 J2 -82 not so running restoration object anymore
Z900RS -21 Green/Yellow
Z900RS -21 Green/Yellow
Last edit: 06 Jun 2023 05:51 by Jonas_Z1000j.
Please Log in or Create an account to join the conversation.
- Jonas_Z1000j
-
Topic Author
- Offline
- User
-
Registered
- Posts: 94
- Thanks: 31
Re: Rebuild of KZ1000J engine
10 Jul 2023 12:22 - 10 Jul 2023 12:29
Finally took a longer drive today after reinstalling the head with a new gasket and viton o-ring. Did as Gamma adviced and used RTV to keep it in place. It is sealing now, what a relief!

I had to adjust the pilot screw after the first test run, from 2,75 out to 3 out (I also did 2,5 as I first tought it was an air screw, but the idle got really upset
 ). At 3 it is pretty good, but I need to do some more adjustments when I do the vacuum syncing. Also ordered new clamps and plugs for the carb to insure its not leaking.
It was quite nice riding, pulls strong and pretty quiet from the camchain and valves department. It did have some issues. At 5-6k rpm it stutters before it continues to rev. I think this is because in an attempt last year (before tear down) to rule out pinging, I raised the main needles. I will revert that. One of the cam caps is also leaking pretty badly and one a little. I read someone here advicing that you can pull them down with a fastener after you apply RTV to get them to seal. Will try that!
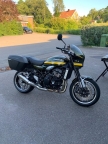
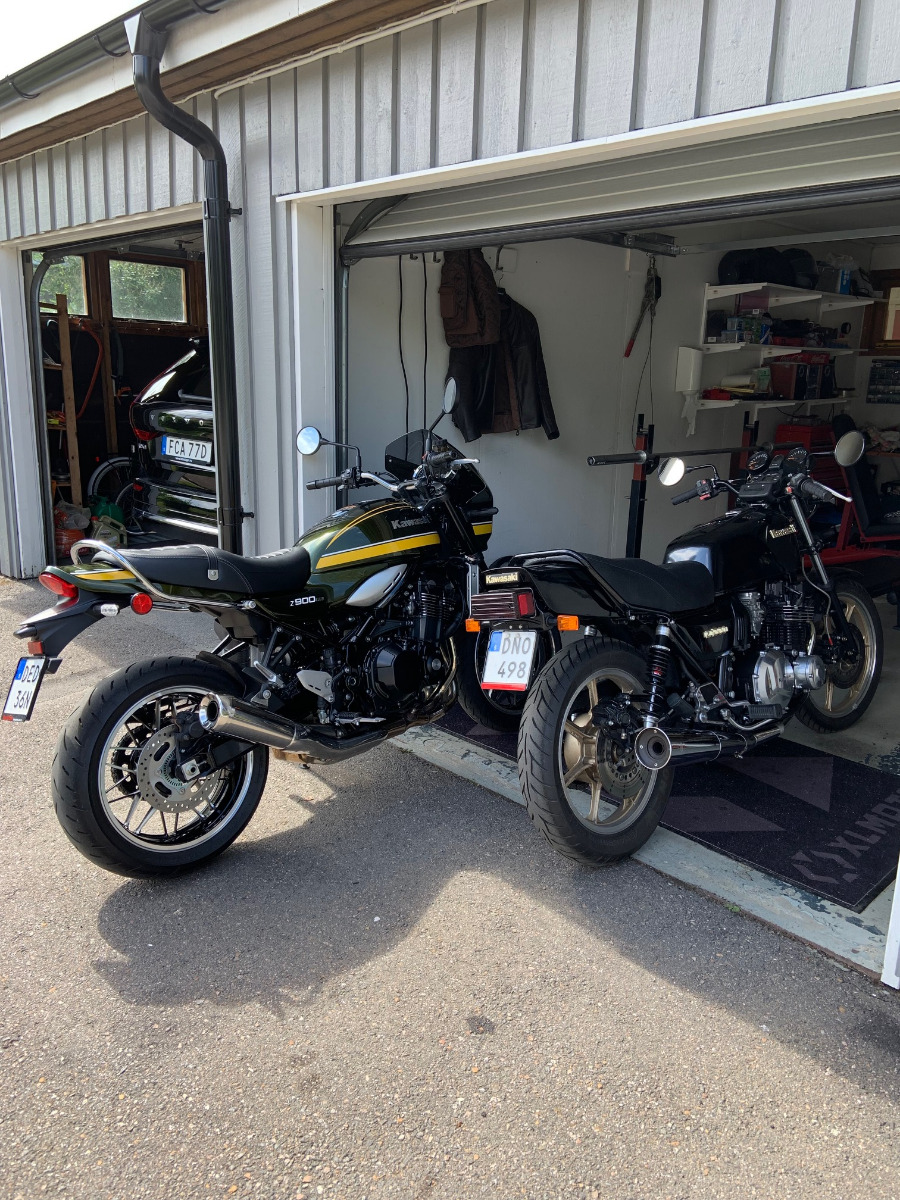
I also bought new shocks, I went for YSS ZRX 1100/1200 shocks as they are bolt on but 360 mm instead of the standard around 350 mm. The old Girling copies where 335 mm and I could not use the center stand without risking of dropping it. The travel lenght increased alot and I like the look with more air between the tire and rear frame:
I had to adjust the pilot screw after the first test run, from 2,75 out to 3 out (I also did 2,5 as I first tought it was an air screw, but the idle got really upset
It was quite nice riding, pulls strong and pretty quiet from the camchain and valves department. It did have some issues. At 5-6k rpm it stutters before it continues to rev. I think this is because in an attempt last year (before tear down) to rule out pinging, I raised the main needles. I will revert that. One of the cam caps is also leaking pretty badly and one a little. I read someone here advicing that you can pull them down with a fastener after you apply RTV to get them to seal. Will try that!
I also bought new shocks, I went for YSS ZRX 1100/1200 shocks as they are bolt on but 360 mm instead of the standard around 350 mm. The old Girling copies where 335 mm and I could not use the center stand without risking of dropping it. The travel lenght increased alot and I like the look with more air between the tire and rear frame:
Z1000 J2 -82 not so running restoration object anymore
Z900RS -21 Green/Yellow
Z900RS -21 Green/Yellow
Last edit: 10 Jul 2023 12:29 by Jonas_Z1000j. Reason: Spelling
Please Log in or Create an account to join the conversation.
- increasing
-

- Offline
- User
-
Registered
- curious to know
- Posts: 47
- Thanks: 18
Re: Rebuild of KZ1000J engine
19 Sep 2023 03:19
Great bike and good job on the Z1000J, have looked at all the pictures and will read through the whole thread soon ")
increasing
1974 Kawasaki Z1A 900, 1976 Kawasaki KZ900-A4, 1987 Kawasaki GPX750R
1974 Kawasaki Z1A 900, 1976 Kawasaki KZ900-A4, 1987 Kawasaki GPX750R
The following user(s) said Thank You: Jonas_Z1000j
Please Log in or Create an account to join the conversation.
- Jonas_Z1000j
-
Topic Author
- Offline
- User
-
Registered
- Posts: 94
- Thanks: 31
Re: Rebuild of KZ1000J engine
27 Sep 2023 10:27
Hello again. My computer crashed in august and I somehow stopped updating this thread.
I have since then:
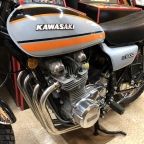
Before the new seat cover but with some additional polishing:
Its fun to drive! feels like a rocket with its narrow cafe style handlebar
I have since then:
- Got the bike completely leakage free! The trick was installing the cam ends with RTV and torque them down level to the gasket surface, then after a day installing the cover.
- I lowered the main needles one step and now it pulls good to 8k.
- I changed oil after 100 km and accidently overfilled it a bit, got worried and had to buy a pump as the Marving header blocks filter and drain plug.
- I increased the idle screw to 3,25. Idle still increase a bit when fully warm, but almost all hesitation when revving down is gone now. I dont know what is normal and what is not here? Maybe 1015 cc and the Marving exhaust needs bigger pilot jets?
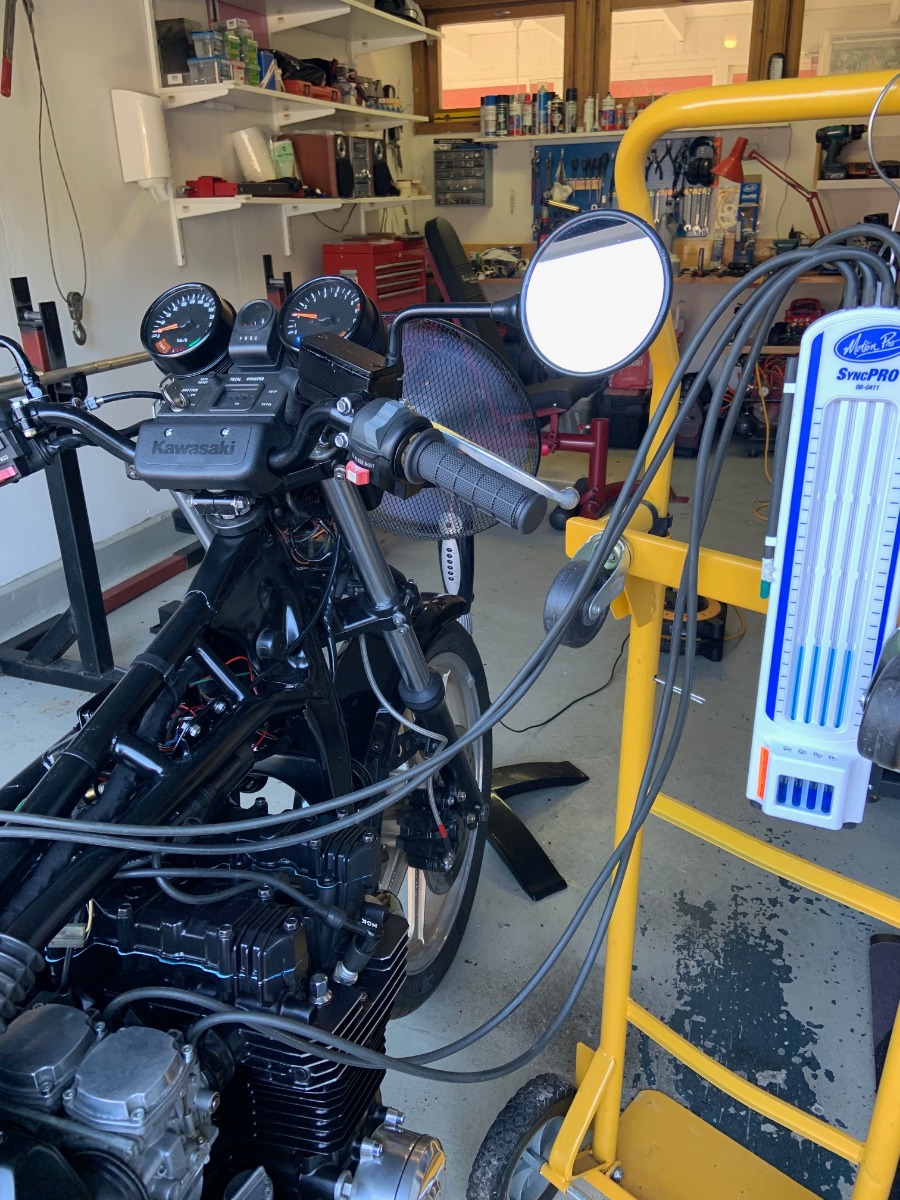
- I did a vacuum sync. the tricky part here was to fasten the set screws without special tools. Very easy to affect the settings. Idle got slightly better when cold, its good!
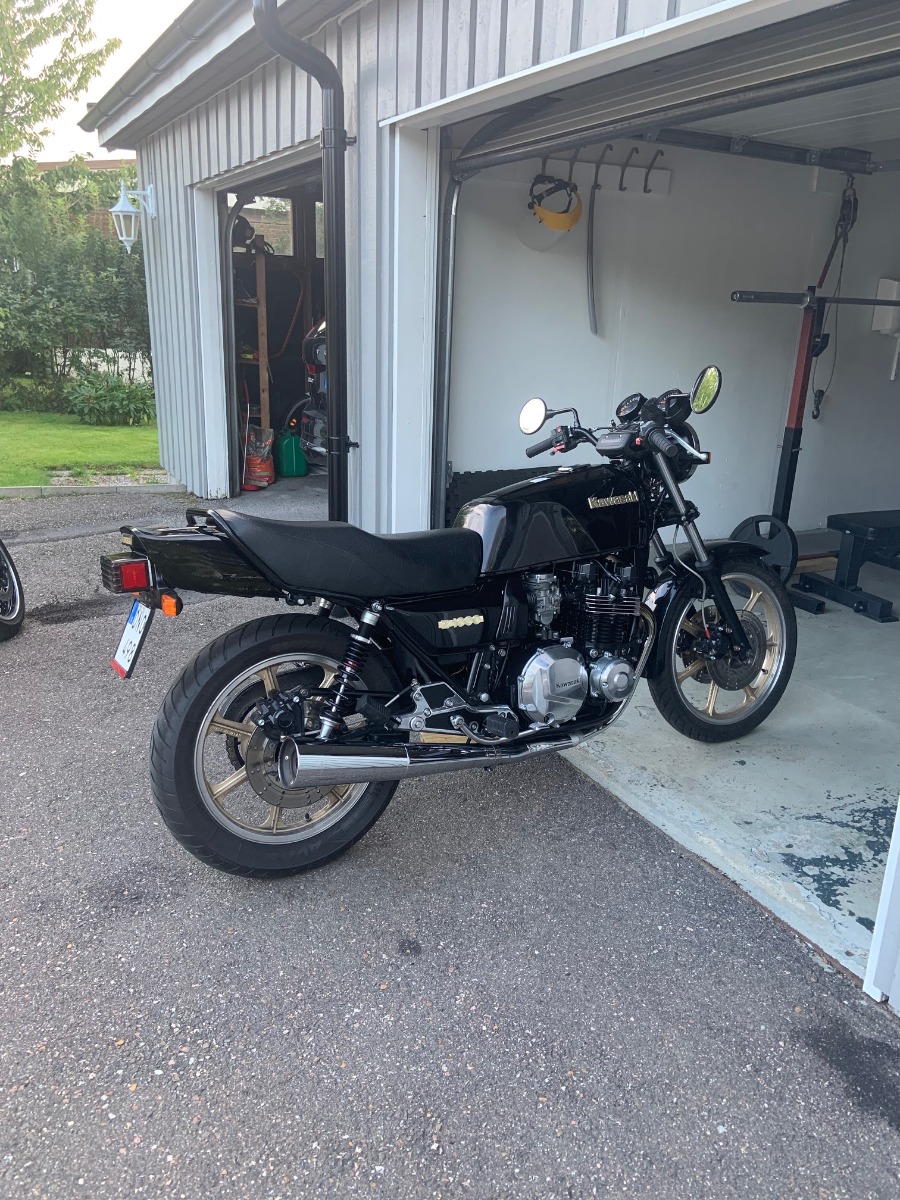
- I installed a reproduction seat cover (from the Thailand company on ebay). Difficult to get it tight, I had to work in steps and remove staples a couple of turns.
Before the new seat cover but with some additional polishing:
Its fun to drive! feels like a rocket with its narrow cafe style handlebar
Z1000 J2 -82 not so running restoration object anymore
Z900RS -21 Green/Yellow
Z900RS -21 Green/Yellow
The following user(s) said Thank You: Nessism, blipco, howardhb, Wookie58
Please Log in or Create an account to join the conversation.
Moderators: Street Fighter LTD