
KZ750H Restoration
- 650ed
-

- Offline
- User
-

Registered
- Posts: 15334
- Thanks: 2831
Re: KZ750H Restoration
07 Nov 2020 17:39 - 07 Nov 2020 17:39Nessism wrote: ............... And speaking of starting, it's bad to start the bike unless you plan to ride it and burn off all the condensation that naturally forms when hot gasses contact cold metal. Exhaust systems in particular are prone to rusting out.
I'm sure this is true if one doesn't let the bike run long enough to get the engine and exhaust system hot. Ten minutes or so of running should normally be enough to prevent any rust from forming. As proof, here's a picture of my bike's original exhaust still on the bike after more than 43 years with zero rust. Ed
1977 KZ650-C1 Original Owner - Stock (with additional invisible FIAMM horn)
Last edit: 07 Nov 2020 17:39 by 650ed.
Please Log in or Create an account to join the conversation.
- calum
-
 Topic Author
- Offline
- User
-
Registered
- Posts: 1144
- Thanks: 415
Re: KZ750H Restoration
08 Nov 2020 10:23
Thanks guys. I already had some stabilizer ready to put in the tank. Filled it up and put the stabilizer in today and went for a quick ride to cycle it through. I'll top up the tank and drain the carbs when I put the bike up on stands this week.
Been asking around here in Germany and it seems that an inline filter may be more of a US thing. It appears to be mostly two-stroke guys that use one (stakes are a bit higher on a 2-stroke). I imagine it's down to fuel quality. I know my Dad bitches about the fuel up in the Yukon, not in the states but still North America. It would be interesting to hear from anyone based in Europe. It may just be that all the guys I talked to over here are just a bit slack")
I did talk to one of the neighbours about putting the bike away for winter. He's been riding and building bikes for a good 40 years and said he just puts in on stands and shuts the garage door.
Been asking around here in Germany and it seems that an inline filter may be more of a US thing. It appears to be mostly two-stroke guys that use one (stakes are a bit higher on a 2-stroke). I imagine it's down to fuel quality. I know my Dad bitches about the fuel up in the Yukon, not in the states but still North America. It would be interesting to hear from anyone based in Europe. It may just be that all the guys I talked to over here are just a bit slack
I did talk to one of the neighbours about putting the bike away for winter. He's been riding and building bikes for a good 40 years and said he just puts in on stands and shuts the garage door.
KZ1000 Restomod (
www.kzrider.com/forum/11-projects/614517-1977-kz1000-restomod
)
1977 KZ1000A1 ( www.kzrider.com/forum/11-projects/616901...-spare-parts-project )
1980 KZ750H ( kzrider.com/forum/11-projects/612054-kz750h-restoration )
2000 BMW F650GS
1977 KZ1000A1 ( www.kzrider.com/forum/11-projects/616901...-spare-parts-project )
1980 KZ750H ( kzrider.com/forum/11-projects/612054-kz750h-restoration )
2000 BMW F650GS
Please Log in or Create an account to join the conversation.
- 650ed
-
- Offline
- User
-
Registered
- Posts: 15334
- Thanks: 2831
Re: KZ750H Restoration
08 Nov 2020 15:15 - 08 Nov 2020 18:18
One thing to be aware of.....
Many years ago I put my bike in my basement over the winter so I could have a warm place to work while replacing the lower fork tubes. To ensure I did not set my house on fire I removed the fuel tank and drained the carbs. In the spring when I took the bike outside and reinstalled the fuel tank the "T" where the fuel line from the tank attaches to the carbs leaked fuel. I was very annoyed and tried to find a new "T", but was not successful. Meanwhile since the "T" now had fuel in it that fuel apparently made the "T" swell just a tiny bit so it no longer leaked fuel. That was 13 years ago and the "T" has not leaked a single drop since then.
So if in the spring you find that the "T" leaks fuel give it a couple days and it may stop leaking. Ed
1977 KZ650-C1 Original Owner - Stock (with additional invisible FIAMM horn)
Last edit: 08 Nov 2020 18:18 by 650ed.
The following user(s) said Thank You: calum
Please Log in or Create an account to join the conversation.
- calum
-
Topic Author
- Offline
- User
-
Registered
- Posts: 1144
- Thanks: 415
Re: KZ750H Restoration
18 Nov 2020 11:56 - 19 Nov 2020 05:42
The petcock has been replaced and the carbs are drained. Now I can get on with some other stuff
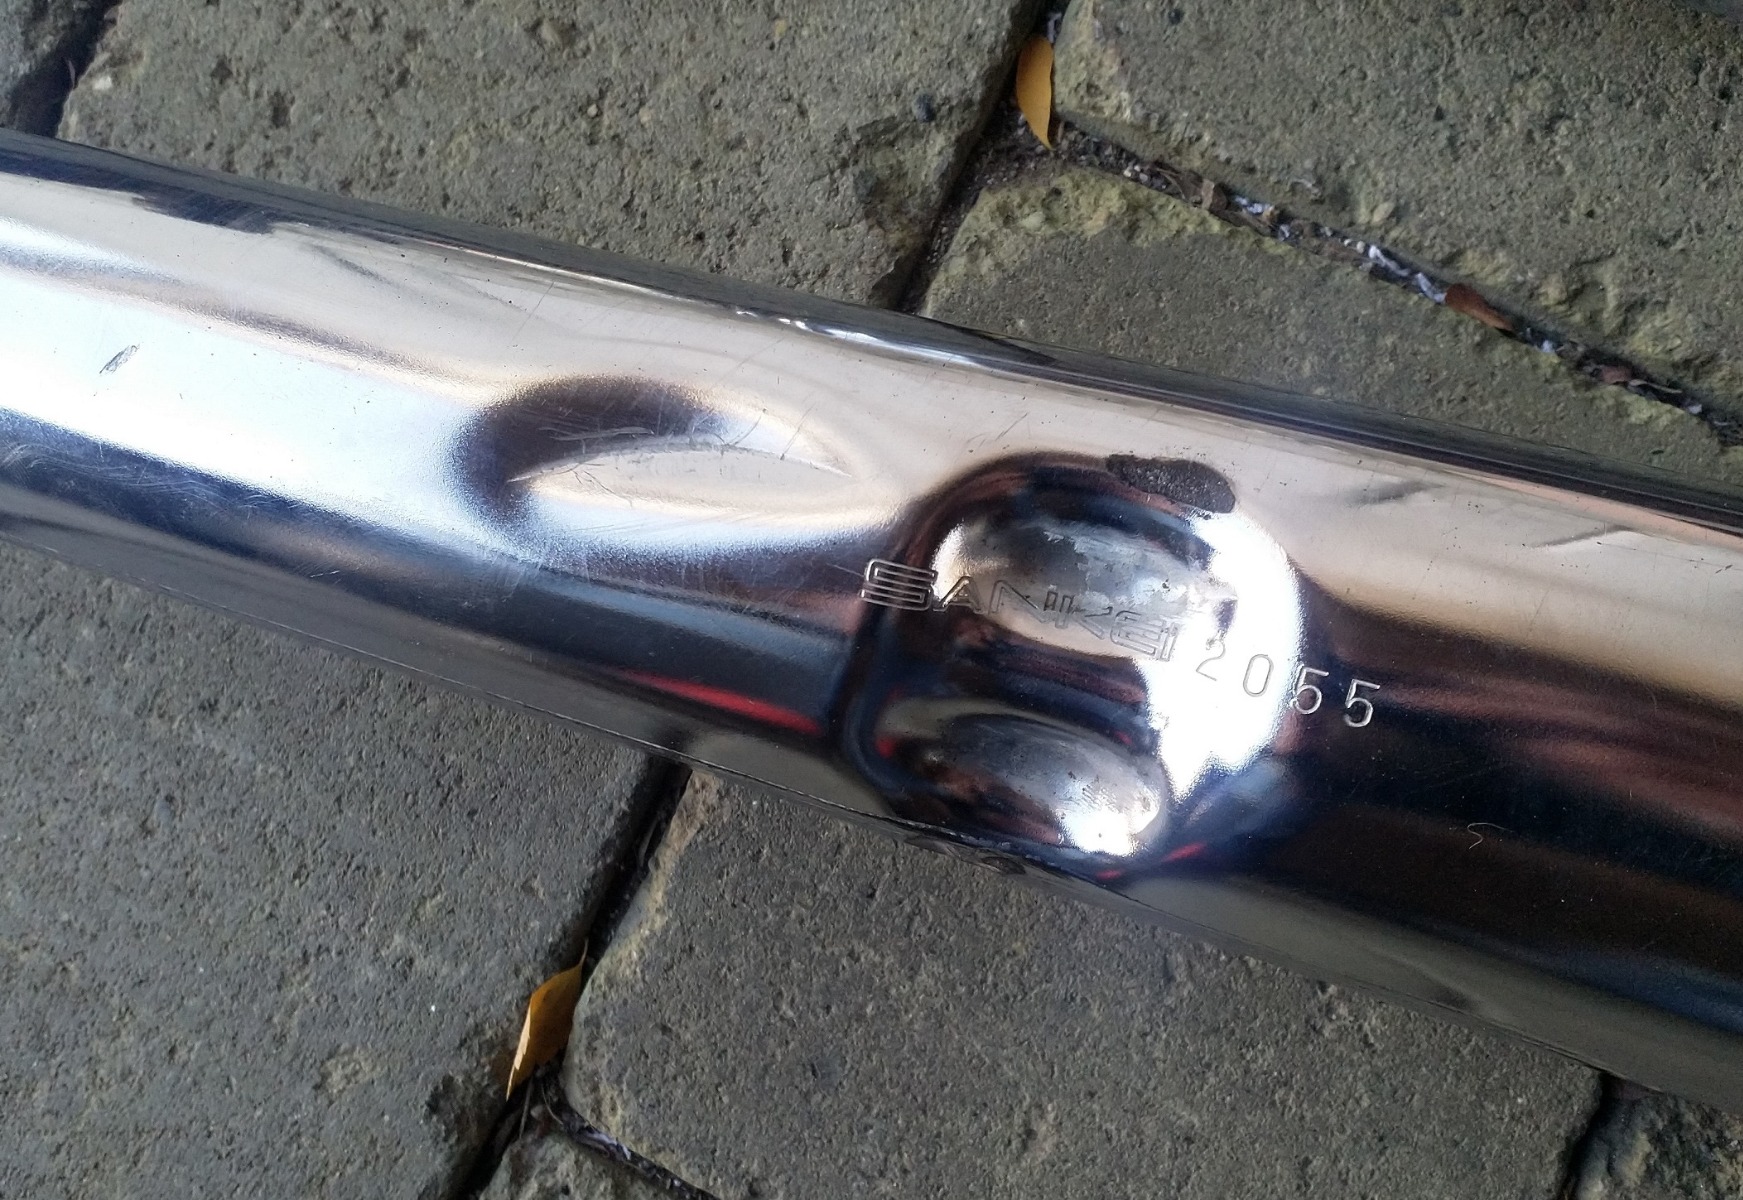
Found an original KZ750H exhaust for cheap:
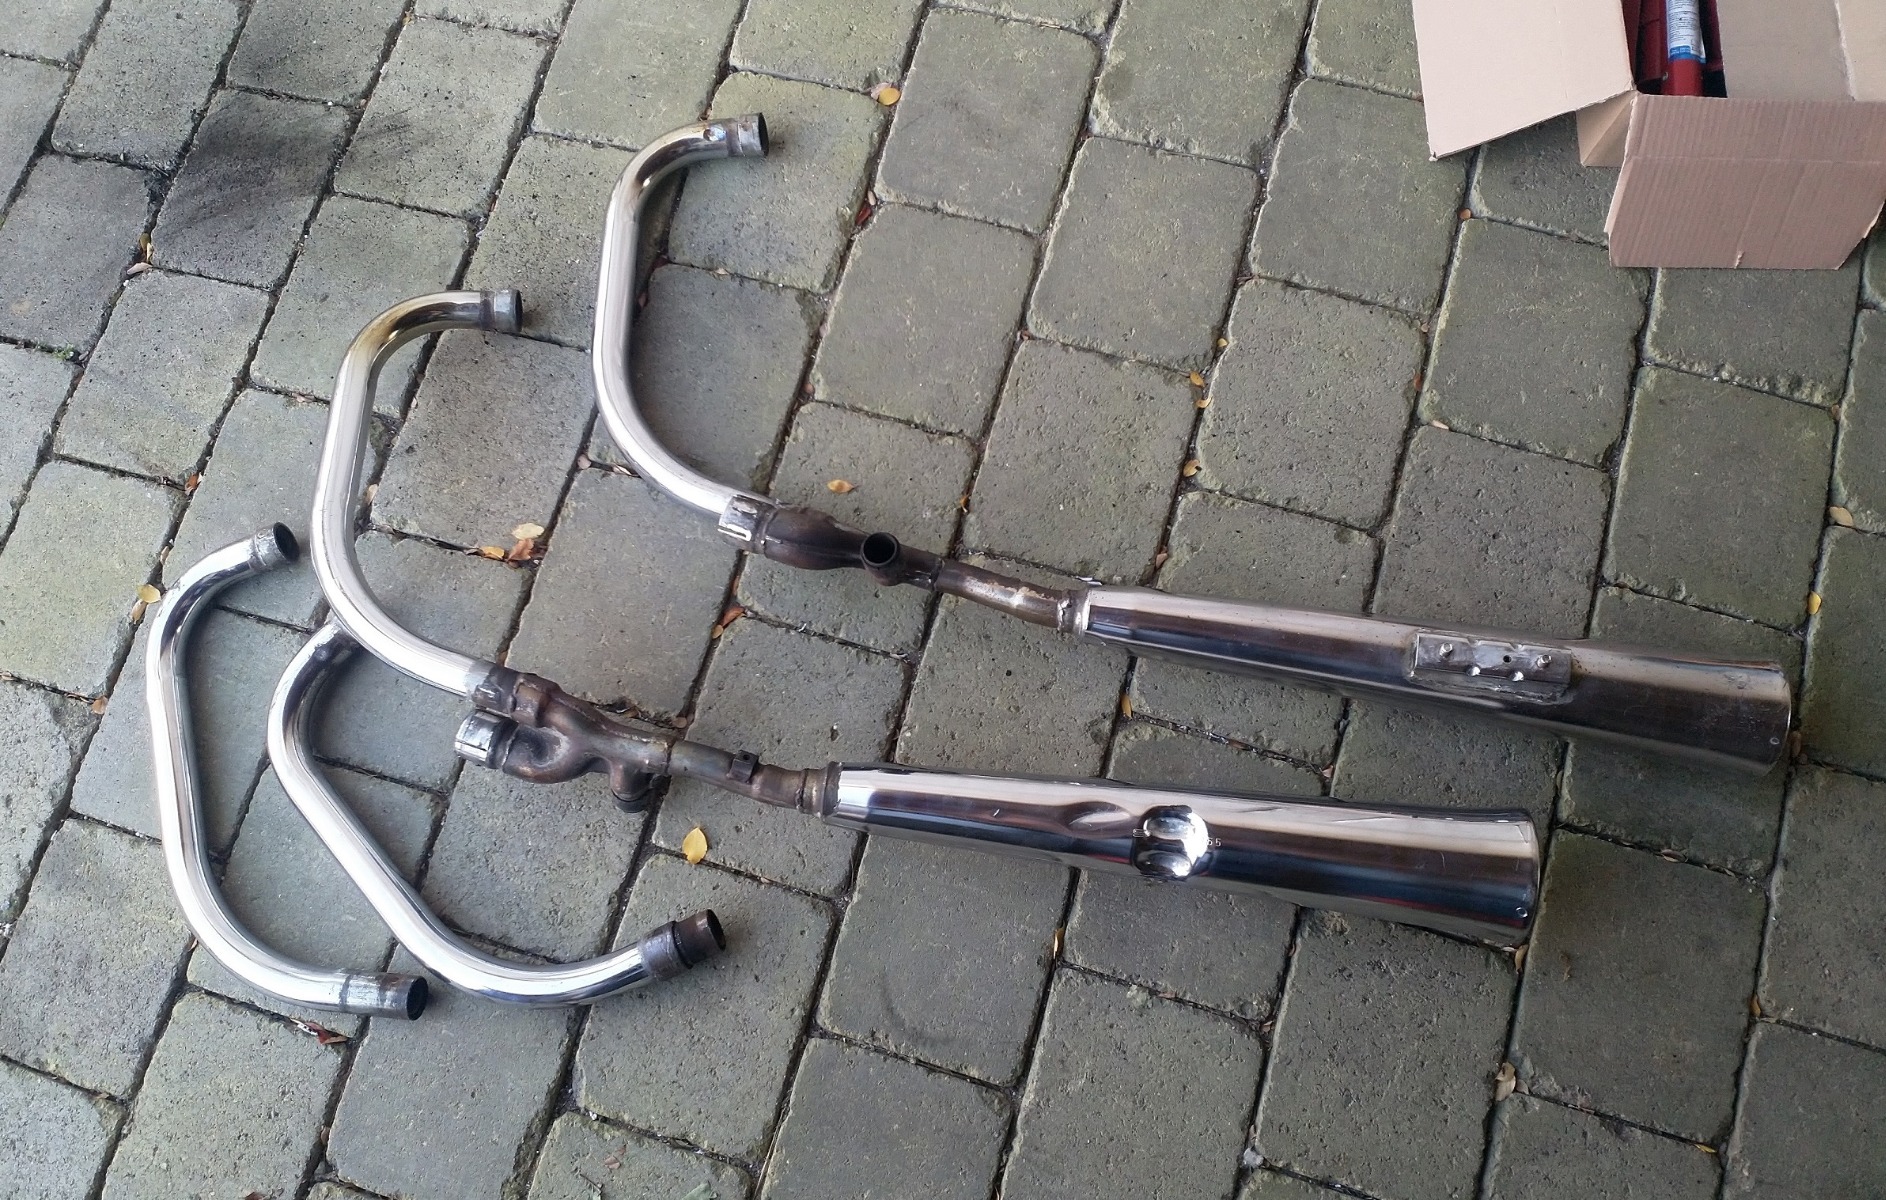
Only one significant dent in them:
I pulled the baffles out and it looks like I'll be making some new ones this winter. Does anyone know of anywhere that does repro KZ baffles? Seems like it would be something a lot of people would need.

Anyway, now that the mufflers are empty I'm trying to find a place that will rechrome them. Wrote to a place in the UK earlier, still can't find anyone that does it in Germany. If it's too expensive I may just get them done with Cerakote chrome - doesn't really look like chrome but should still fit in OK with the rest of the bike.
Found an original KZ750H exhaust for cheap:
Only one significant dent in them:
I pulled the baffles out and it looks like I'll be making some new ones this winter. Does anyone know of anywhere that does repro KZ baffles? Seems like it would be something a lot of people would need.
Anyway, now that the mufflers are empty I'm trying to find a place that will rechrome them. Wrote to a place in the UK earlier, still can't find anyone that does it in Germany. If it's too expensive I may just get them done with Cerakote chrome - doesn't really look like chrome but should still fit in OK with the rest of the bike.
KZ1000 Restomod (
www.kzrider.com/forum/11-projects/614517-1977-kz1000-restomod
)
1977 KZ1000A1 ( www.kzrider.com/forum/11-projects/616901...-spare-parts-project )
1980 KZ750H ( kzrider.com/forum/11-projects/612054-kz750h-restoration )
2000 BMW F650GS
1977 KZ1000A1 ( www.kzrider.com/forum/11-projects/616901...-spare-parts-project )
1980 KZ750H ( kzrider.com/forum/11-projects/612054-kz750h-restoration )
2000 BMW F650GS
Last edit: 19 Nov 2020 05:42 by calum.
Please Log in or Create an account to join the conversation.
- calum
-
Topic Author
- Offline
- User
-
Registered
- Posts: 1144
- Thanks: 415
Re: KZ750H Restoration
07 Mar 2021 07:51
Went for the first ride of the year on Monday and another short one today. Bike is running well, idle mixture is probably a bit lean (fair amount of popping on deceleration). I won't bother adjusting it though as I will be getting the last part of an original exhaust system back soon. Should richen things up a bit.
Only thing causing a bit of concern is the cold starts. It takes a bit of messing around with the choke, and the starter clutch starts to slip a bit if I don't get it right. I'm putting it down to the extra load due to very thick oil (20W-50, temp was about 5°C today). Hopefully I won't have to sort it out before the end of the season.
Only thing causing a bit of concern is the cold starts. It takes a bit of messing around with the choke, and the starter clutch starts to slip a bit if I don't get it right. I'm putting it down to the extra load due to very thick oil (20W-50, temp was about 5°C today). Hopefully I won't have to sort it out before the end of the season.
KZ1000 Restomod (
www.kzrider.com/forum/11-projects/614517-1977-kz1000-restomod
)
1977 KZ1000A1 ( www.kzrider.com/forum/11-projects/616901...-spare-parts-project )
1980 KZ750H ( kzrider.com/forum/11-projects/612054-kz750h-restoration )
2000 BMW F650GS
1977 KZ1000A1 ( www.kzrider.com/forum/11-projects/616901...-spare-parts-project )
1980 KZ750H ( kzrider.com/forum/11-projects/612054-kz750h-restoration )
2000 BMW F650GS
Please Log in or Create an account to join the conversation.
- calum
-
Topic Author
- Offline
- User
-
Registered
- Posts: 1144
- Thanks: 415
Re: KZ750H Restoration
25 Apr 2021 10:12 - 25 Apr 2021 12:15
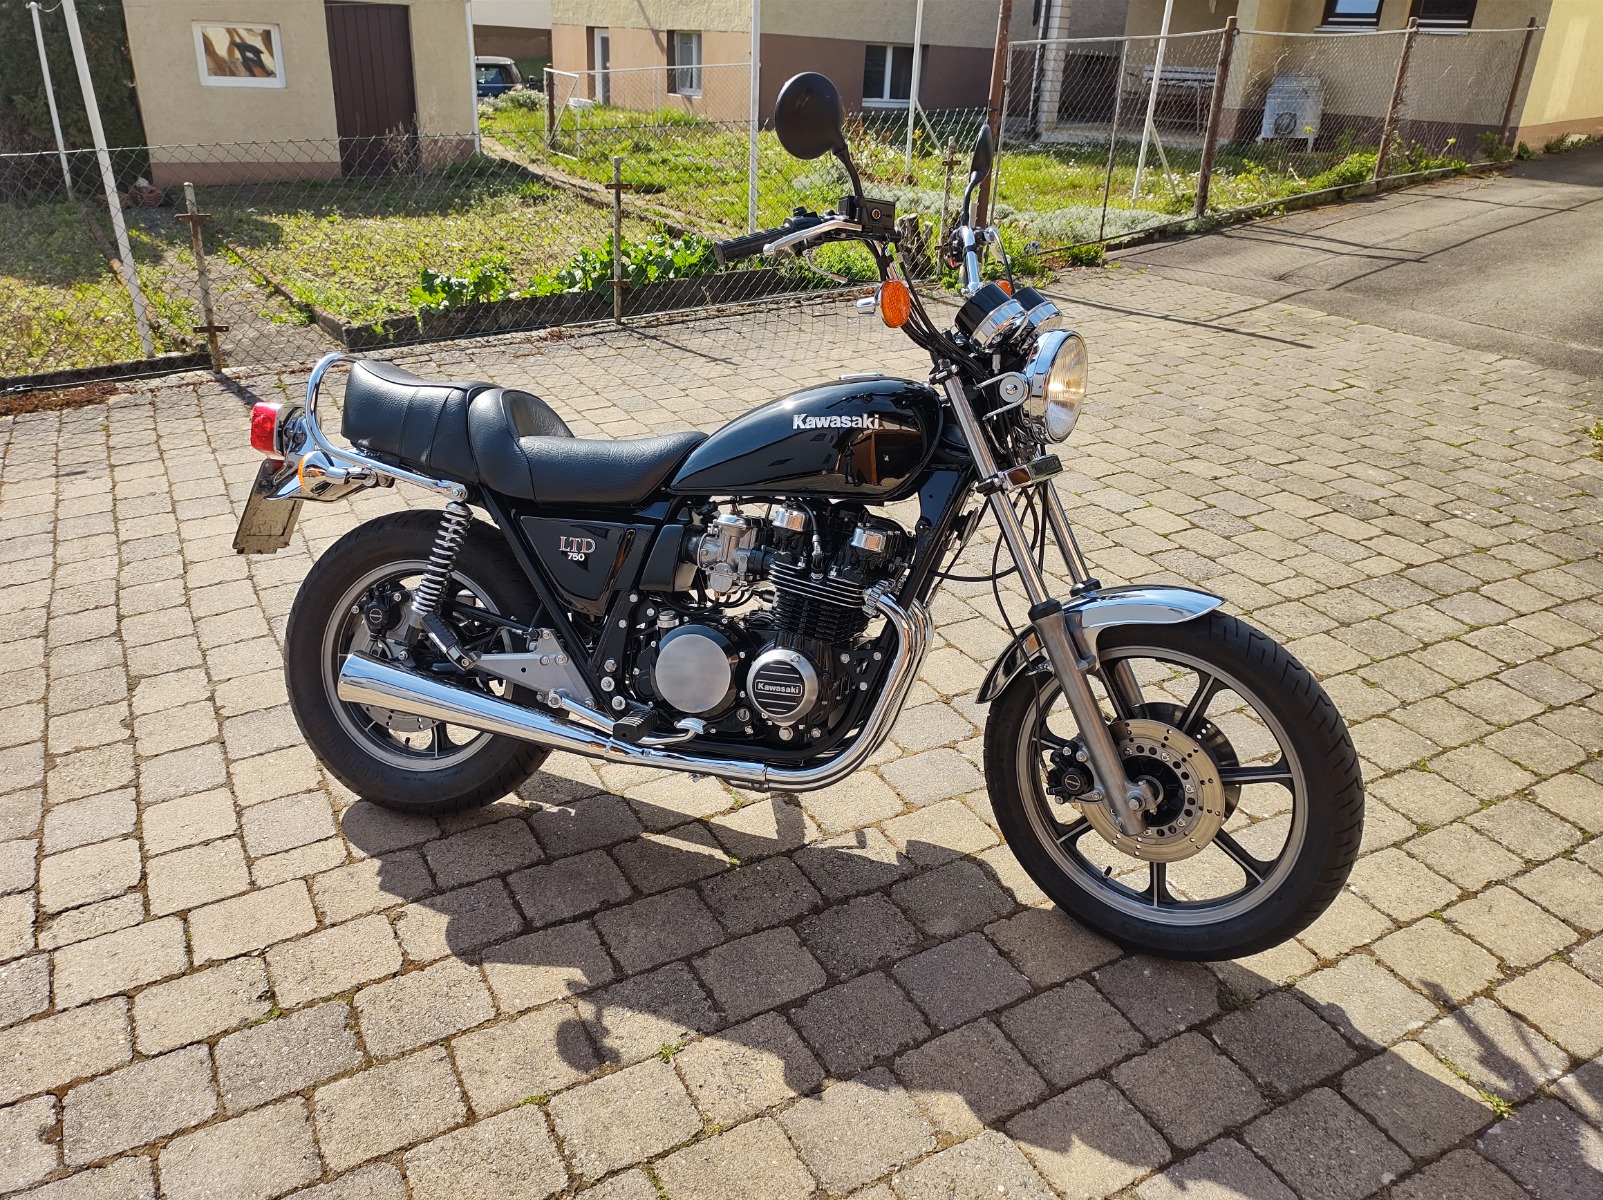
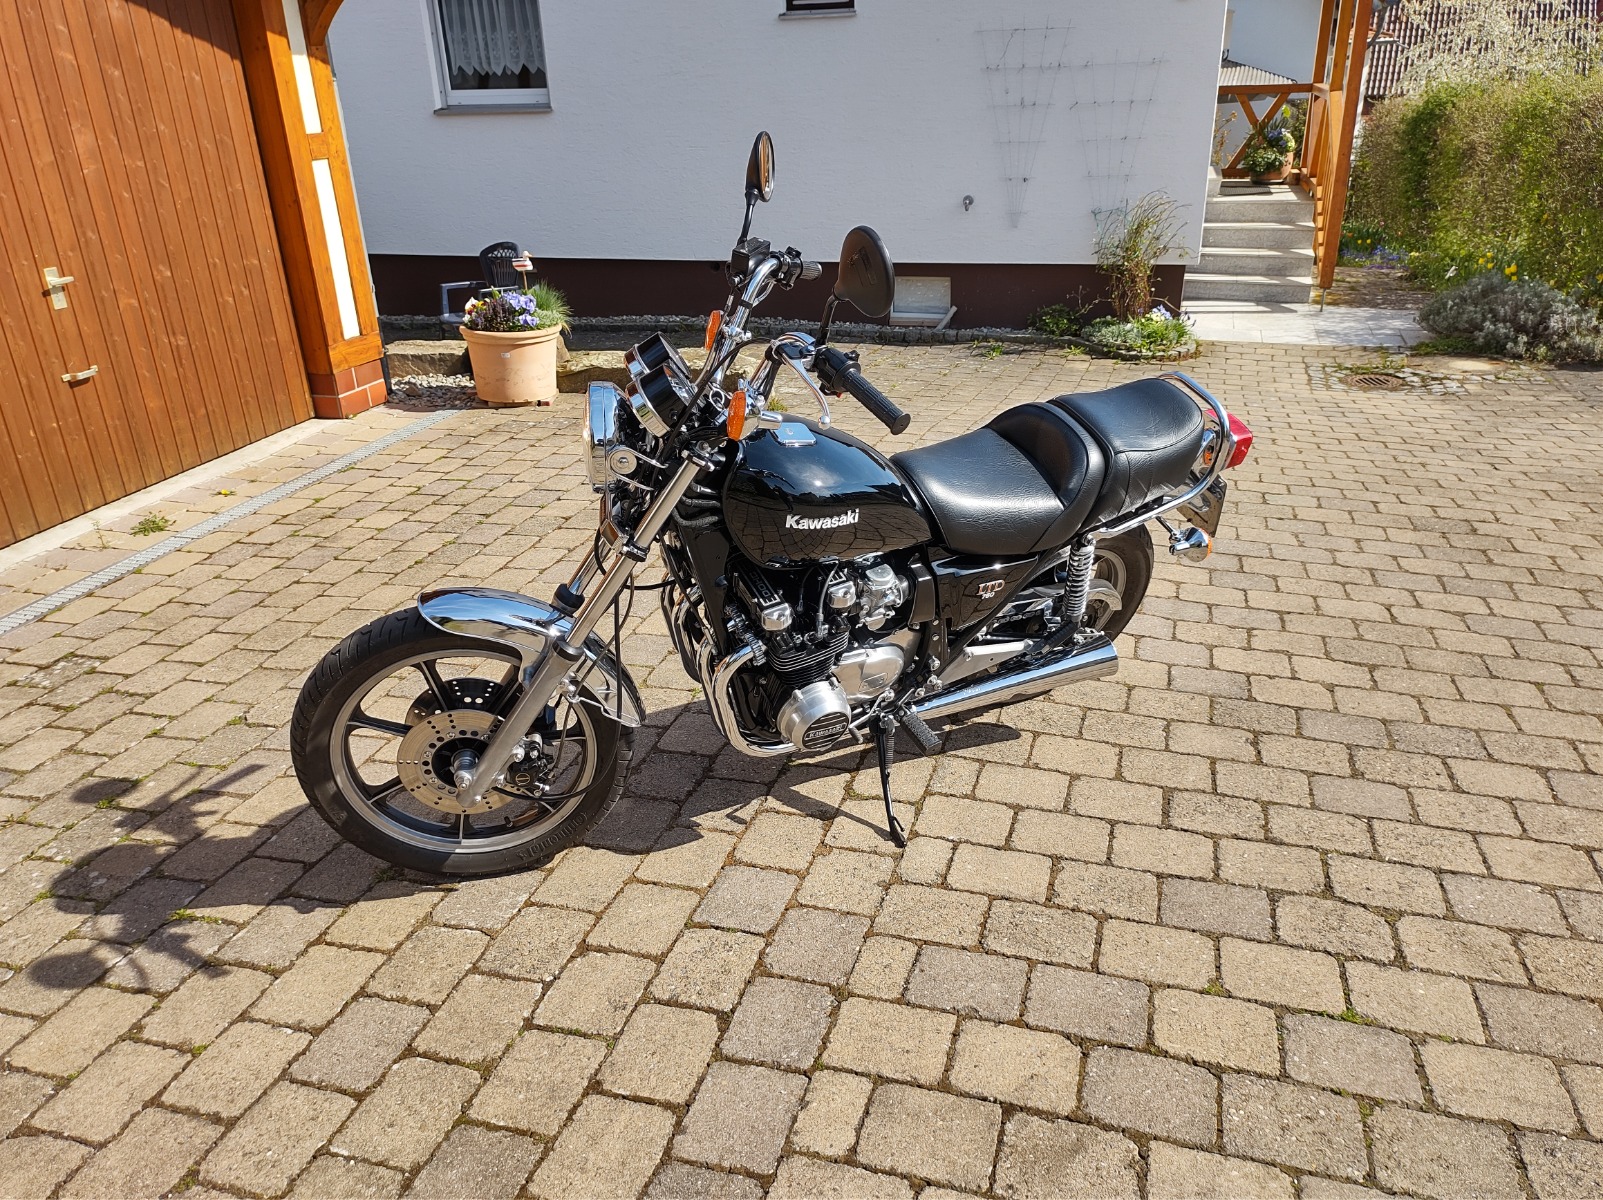
Finally got all the pieces of an original exhaust system together - put it on yesterday. The right hand side fits perfectly, the left side was a bit warped and the bracket wouldn't line up. I had to drill out the holes in the bracket from 8mm to about 12-14mm. Stuck some extra washers on and tightened eveything up from front to back. There was a lot of creaking going on, but I can undo the nuts on the exhaust studs and the flanges loosen up. This means that the exhaust ist tensioned between the head and the footrest bracket and there is no extra pressure on those tiny 6mm studs. I'm hoping that the heat cycles will get the exhaust to relax into the new position - we'll see when I have to take it off again
Speaking of removing the exhaust: I guess it has to come off if I want to do the chain tension. I can loosen the rear axle with a couple of spanners, but there's no way I'm getting it torqued up again with the exhaust on. How do you guys deal with this? I also can't use my rear paddock stand so I guess I need a centre stand.
Not really too worried, just makes some jobs a bit longer. There's no way it's coming off though, it looks so much better than the 4-1, it doesn't deafen me and the mid-range is awesome
(To be fair I never really put any effort into sorting out the mid-range on the 4-1)
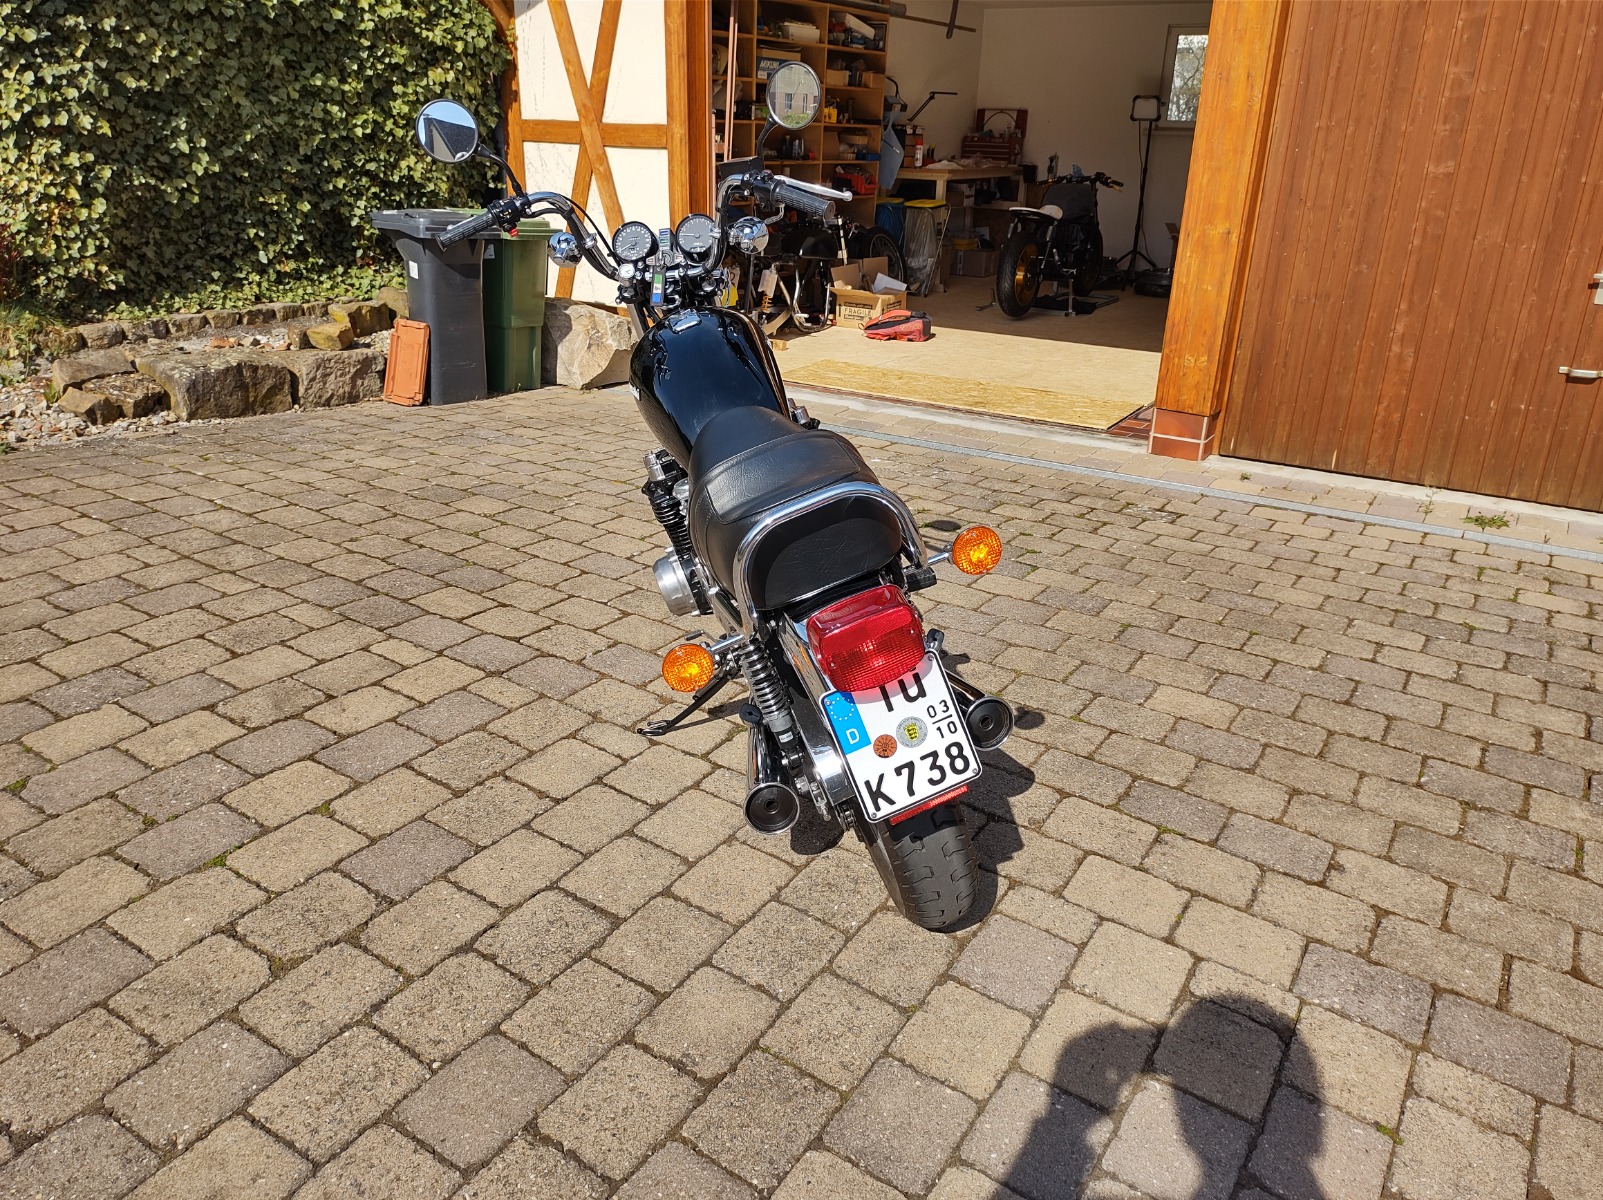
KZ1000 Restomod (
www.kzrider.com/forum/11-projects/614517-1977-kz1000-restomod
)
1977 KZ1000A1 ( www.kzrider.com/forum/11-projects/616901...-spare-parts-project )
1980 KZ750H ( kzrider.com/forum/11-projects/612054-kz750h-restoration )
2000 BMW F650GS
1977 KZ1000A1 ( www.kzrider.com/forum/11-projects/616901...-spare-parts-project )
1980 KZ750H ( kzrider.com/forum/11-projects/612054-kz750h-restoration )
2000 BMW F650GS
Last edit: 25 Apr 2021 12:15 by calum.
Please Log in or Create an account to join the conversation.
- Nessism
-

- Offline
- Sustaining Member
-

Registered
- Posts: 8098
- Thanks: 3481
Re: KZ750H Restoration
25 Apr 2021 10:47
Bike looks great with the stock pipes. So quiet too, so you can use lots of throttle without attracting attention.
I use regular wrenches to tighten the axle. No torque wrench.
I use regular wrenches to tighten the axle. No torque wrench.
Ed
Carb O-ring Kits : www.kzrider.com/forum/14-vendor-forum/62...rburetor-o-ring-kits
www.kzrider.com/forum/faq-wiki/618026-new-owner-things-to-know
1981 KZ750E2
www.kzrider.com/forum/11-projects/604901...z750e-project-thread
Carb O-ring Kits : www.kzrider.com/forum/14-vendor-forum/62...rburetor-o-ring-kits
www.kzrider.com/forum/faq-wiki/618026-new-owner-things-to-know
1981 KZ750E2
www.kzrider.com/forum/11-projects/604901...z750e-project-thread
The following user(s) said Thank You: calum
Please Log in or Create an account to join the conversation.
- calum
-
Topic Author
- Offline
- User
-
Registered
- Posts: 1144
- Thanks: 415
Re: KZ750H Restoration
25 Apr 2021 10:53I suppose it should be pretty easy to get a feel for - and the cotter pin makes it less of a problem if I'm a bit off.I use regular wrenches to tighten the axle. No torque wrench.
KZ1000 Restomod (
www.kzrider.com/forum/11-projects/614517-1977-kz1000-restomod
)
1977 KZ1000A1 ( www.kzrider.com/forum/11-projects/616901...-spare-parts-project )
1980 KZ750H ( kzrider.com/forum/11-projects/612054-kz750h-restoration )
2000 BMW F650GS
1977 KZ1000A1 ( www.kzrider.com/forum/11-projects/616901...-spare-parts-project )
1980 KZ750H ( kzrider.com/forum/11-projects/612054-kz750h-restoration )
2000 BMW F650GS
Please Log in or Create an account to join the conversation.
- calum
-
Topic Author
- Offline
- User
-
Registered
- Posts: 1144
- Thanks: 415
Re: KZ750H Restoration
16 Oct 2021 15:12 - 16 Oct 2021 15:42
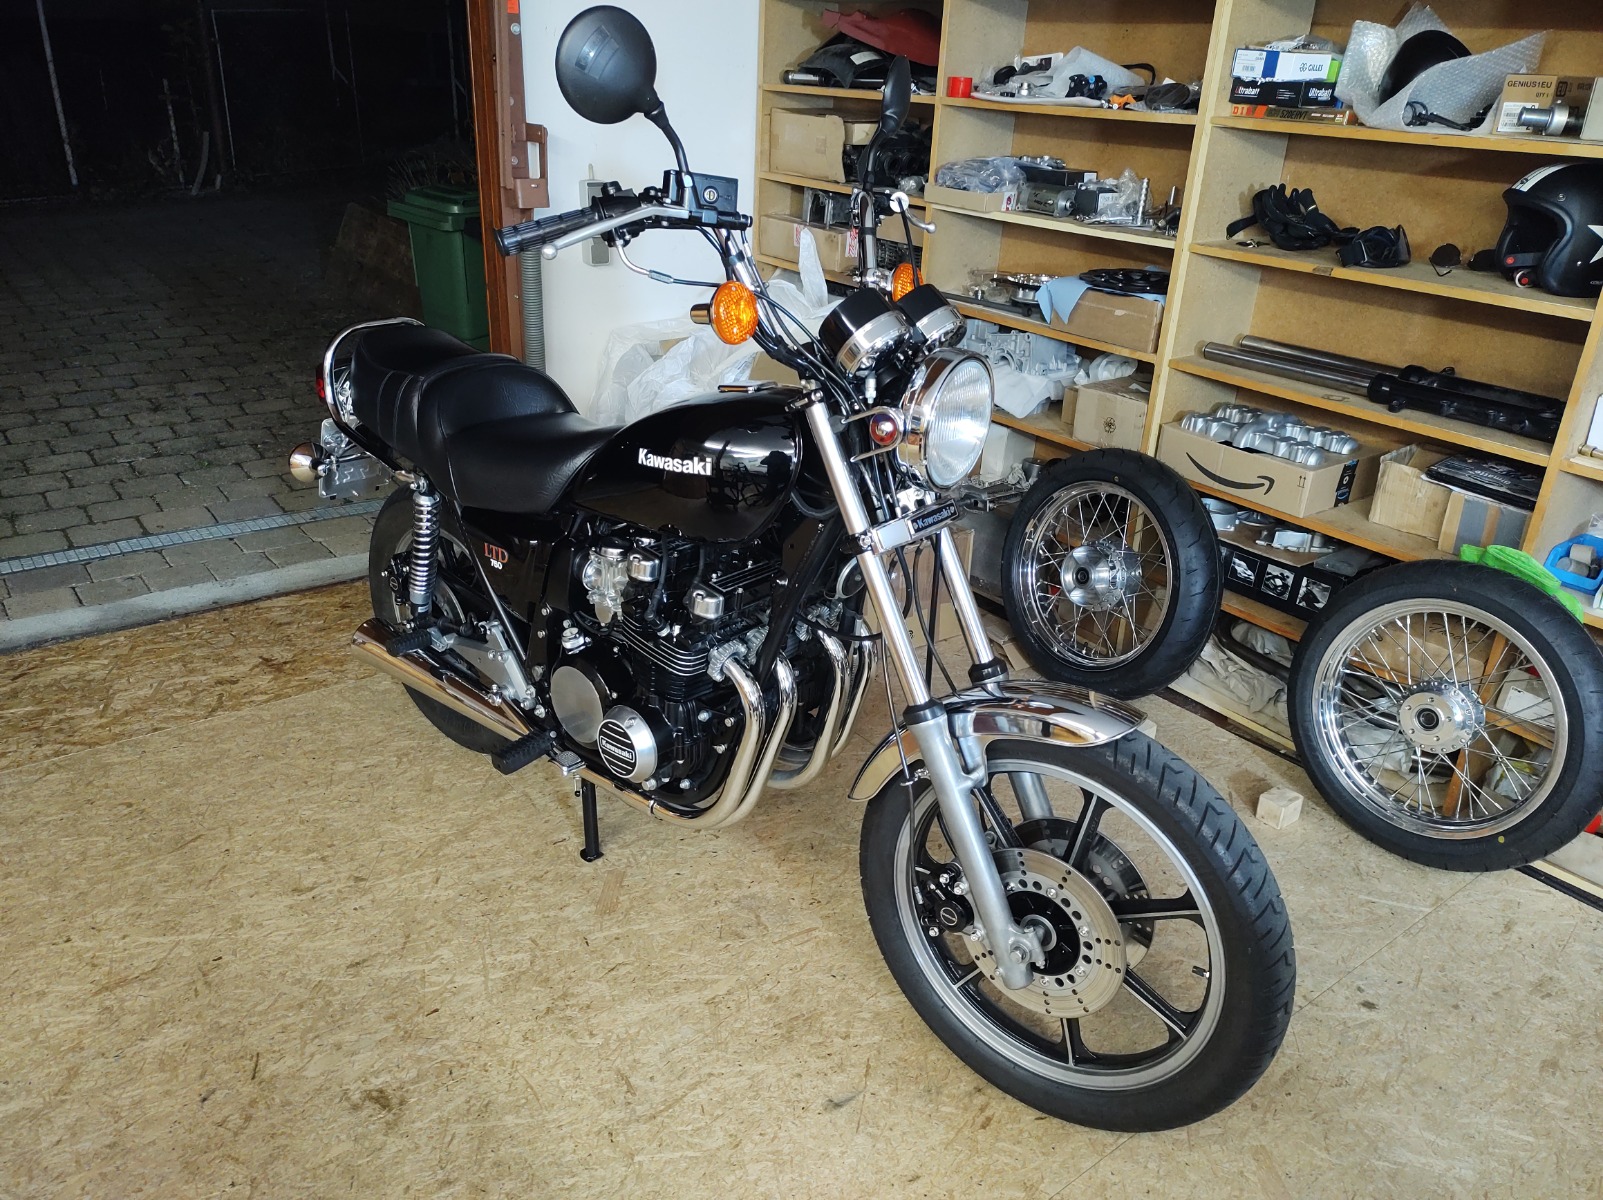
Just a quick update. Got the original carbs back on the bike - the ones that were giving me grief last year. Over winter I pulled them apart and did another round with the ultrasonic cleaner. This time I also used some carb spray to make sure all the passages were properly cleaned out. I need to do some fine tuning (idle jets and fast idle setting) but now they're running fine.
Also got the centre stand on so I can finally get the back wheel off the ground for maintenance. I had to weld some plates to the top of the stand so the back wheel cleared the ground - the brackets were a bit bent so the stand went too far forward and didn't hold the bike upright. After that was sorted and the stand was powder coated I put it on and realised that it hit the back tire when it was folded up. I only checked the ground clearance when the bike was on the stand and never realised that the mounts were twisted so the stand folded back and to the right. No way to get the mounts sorted out now and the bike is stable on the stand, so I just shortened the left side of the stand and put a spacer on the right. This shifted the whole stand far enough across to give me 2-3mm of clearance.
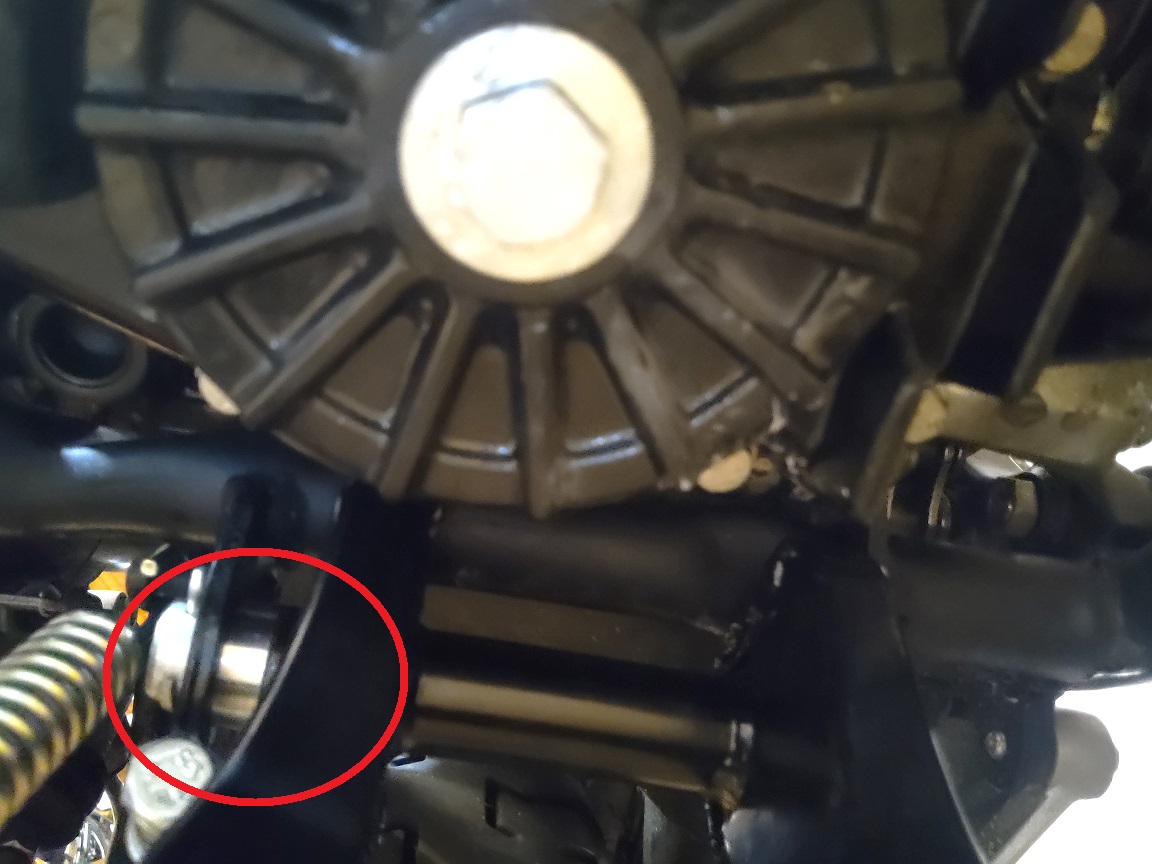
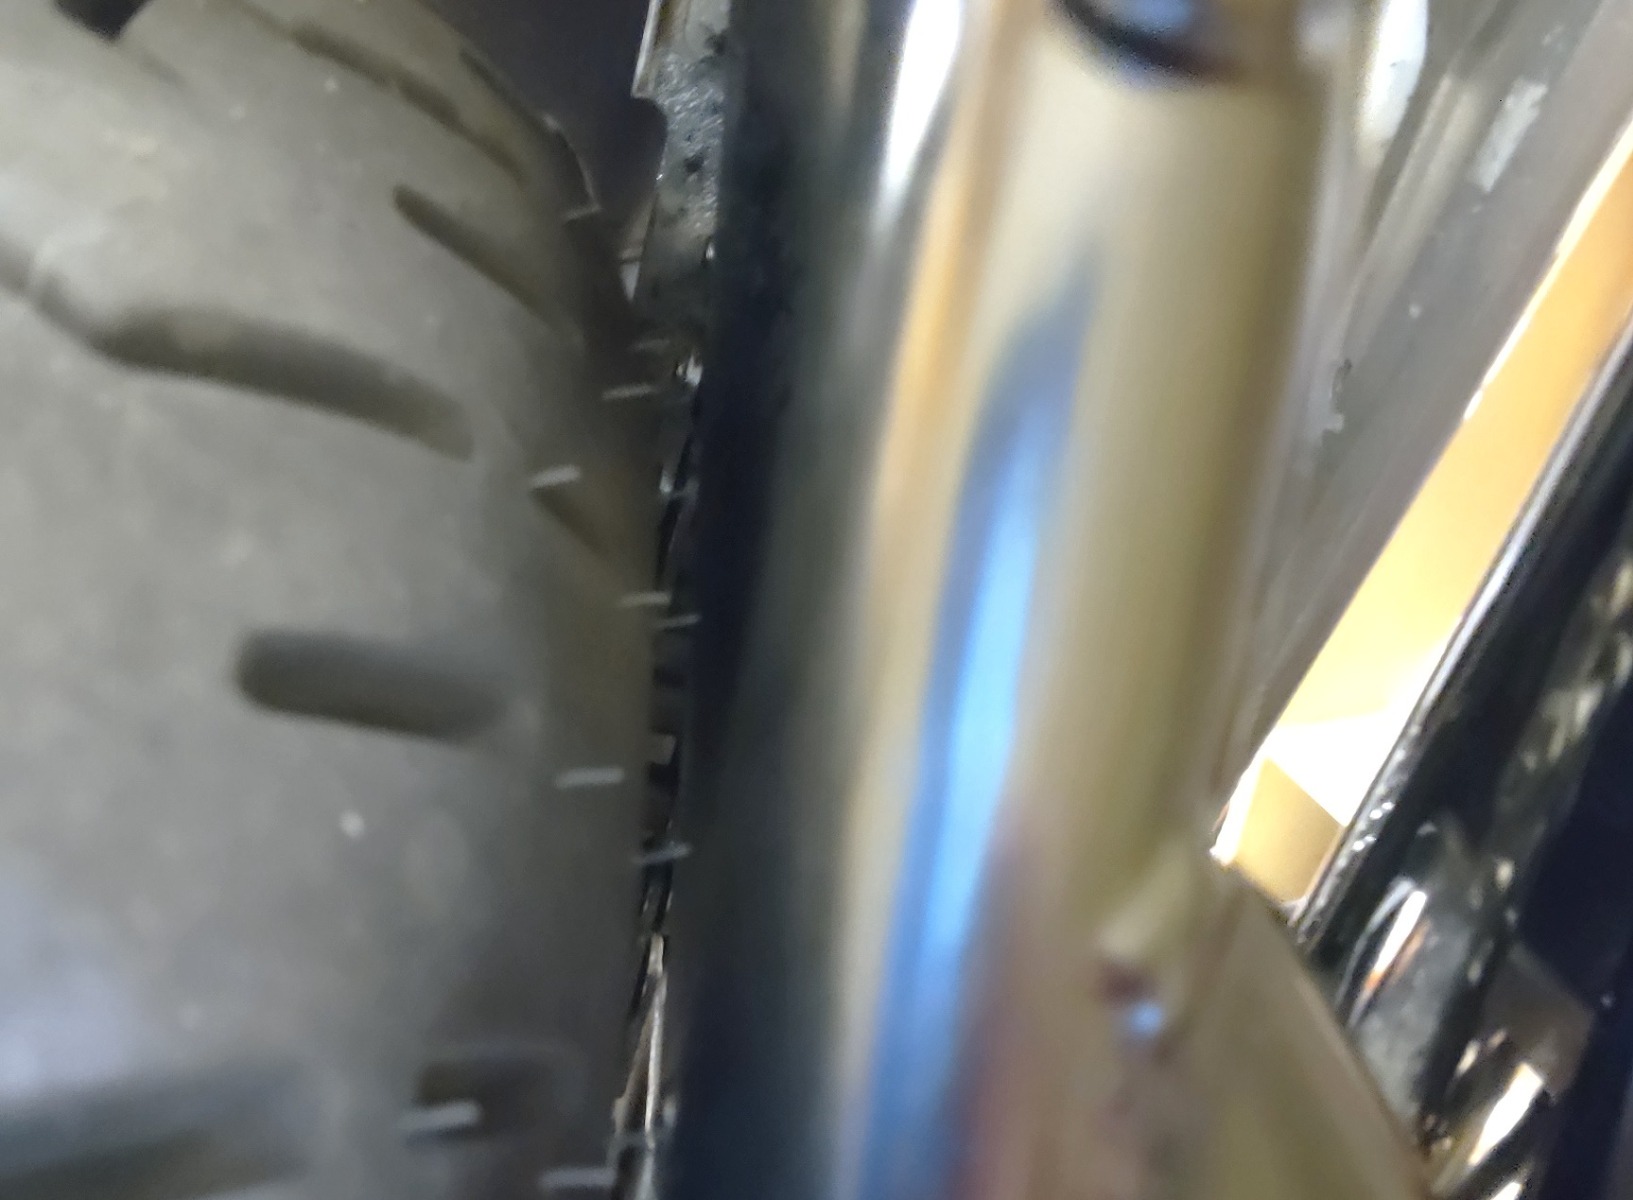
Also got the centre stand on so I can finally get the back wheel off the ground for maintenance. I had to weld some plates to the top of the stand so the back wheel cleared the ground - the brackets were a bit bent so the stand went too far forward and didn't hold the bike upright. After that was sorted and the stand was powder coated I put it on and realised that it hit the back tire when it was folded up. I only checked the ground clearance when the bike was on the stand and never realised that the mounts were twisted so the stand folded back and to the right. No way to get the mounts sorted out now and the bike is stable on the stand, so I just shortened the left side of the stand and put a spacer on the right. This shifted the whole stand far enough across to give me 2-3mm of clearance.
KZ1000 Restomod (
www.kzrider.com/forum/11-projects/614517-1977-kz1000-restomod
)
1977 KZ1000A1 ( www.kzrider.com/forum/11-projects/616901...-spare-parts-project )
1980 KZ750H ( kzrider.com/forum/11-projects/612054-kz750h-restoration )
2000 BMW F650GS
1977 KZ1000A1 ( www.kzrider.com/forum/11-projects/616901...-spare-parts-project )
1980 KZ750H ( kzrider.com/forum/11-projects/612054-kz750h-restoration )
2000 BMW F650GS
Last edit: 16 Oct 2021 15:42 by calum.
Please Log in or Create an account to join the conversation.
- JR
-
- Offline
- Sustaining Member
-
Registered
- Posts: 2967
- Thanks: 482
Re: KZ750H Restoration
16 Oct 2021 18:40
Wow
Great looking bike
Great looking bike
1980 kz750E1, Delkevic exhaust
The following user(s) said Thank You: calum
Please Log in or Create an account to join the conversation.
- Michel3007
-

- Offline
- User
-
Registered
- Posts: 92
- Thanks: 15
Re: KZ750H Restoration
10 Feb 2023 00:11
Hi Callum,
First off, congrats on the restoration job, it's quite amazing! You did a great job.
I have a question, since you rebuilt the entire wiring harness for your bike. I am thinking that it's time to rebuild mine and I was wondering if you had an already made list of supplies I would have to buy for it (diameter, colours and length of cable, amount and types of connectors, parts better replaced than reused(reg/rec, solenoid, etc.)) ?
I know, I can do that by looking at my wiring diagram but I am hoping for a shortcut and you might have some tips as well.
Would definitely be a nice info to have readily available on the forum ! Rebuilding a harness feels quite a task and this is a first obstacle that can be a bit discouraging...
Cheers
First off, congrats on the restoration job, it's quite amazing! You did a great job.
I have a question, since you rebuilt the entire wiring harness for your bike. I am thinking that it's time to rebuild mine and I was wondering if you had an already made list of supplies I would have to buy for it (diameter, colours and length of cable, amount and types of connectors, parts better replaced than reused(reg/rec, solenoid, etc.)) ?
I know, I can do that by looking at my wiring diagram but I am hoping for a shortcut
and you might have some tips as well.Would definitely be a nice info to have readily available on the forum ! Rebuilding a harness feels quite a task and this is a first obstacle that can be a bit discouraging...
Cheers
KZ 750 H2 LTD 1981
GPZ750R1 1982
GPZ750R1 1982
Please Log in or Create an account to join the conversation.
- calum
-
Topic Author
- Offline
- User
-
Registered
- Posts: 1144
- Thanks: 415
Re: KZ750H Restoration
10 Feb 2023 15:12
Unfortunately I didn't write anything down. This made it a bit of a nightmare as I was constantly ordering missing wires and connectors. If I was to do it again I would go with the stock connectors as they are a lot smaller than the waterproof ones I used (pretty unnecessary as this bike doesn't see much rain). It would also save on rewiring the connectors on the regulator, ignitor etc.
The only place I know where to get the connectors from is Kojaycat in the UK, but I think I may have seen somewhere in the states that stocks them. I'm using them on my current restomod build and they are a lot less bulky.
The only thing I replaced on my bike was the coils as the old ones were shot. I put some dyna mini coils on and got some new brackets laser cut (I have the dxf files if you need them). Everything else is original (I did test the charging circuit but it was fine and is still going strong).
One more thing I can add is the gauge of the wires I used:
- Starter and engine ground (black, but I used red on the starter): 10mm² (7 Gauge) - but you could probably go up a size here...
- Charging circuit (yellow), main power (white/red, white and brown) and main ground (black/yellow): 2.5mm² (13 Gauge)
- Power and ground branches to the ignitor, coils, starter relay, horn, headlight and brake light: 1.5mm² (15 Gauge)
- The smaller loads (dash lights, indicators, rear and park lights): 1mm² (17 Gauge)
I lay one 13 gauge white wire from the fuse box to the ignition and one 13 gauge brown one from the ignition back to the reg/rec. The rest of the power circuits branched off this brown wire. I also crimped a short 13 gauge black/yellow wire to the 7 gauge engine ground terminal (on the battery side). This had a bullet connector plugged into another 13 gauge black/yellow wire running to the reg/rec and then to the front of the bike (branching off to the dash, headlight etc.). The short wire from the battery is the same as the original wiring and the same is done on the positive terminal with the white/red wire for the fuse box (this is crimped into the 7 gauge starter cable on the battery side).
KZ1000 Restomod (
www.kzrider.com/forum/11-projects/614517-1977-kz1000-restomod
)
1977 KZ1000A1 ( www.kzrider.com/forum/11-projects/616901...-spare-parts-project )
1980 KZ750H ( kzrider.com/forum/11-projects/612054-kz750h-restoration )
2000 BMW F650GS
1977 KZ1000A1 ( www.kzrider.com/forum/11-projects/616901...-spare-parts-project )
1980 KZ750H ( kzrider.com/forum/11-projects/612054-kz750h-restoration )
2000 BMW F650GS
The following user(s) said Thank You: Michel3007
Please Log in or Create an account to join the conversation.
Moderators: Street Fighter LTD