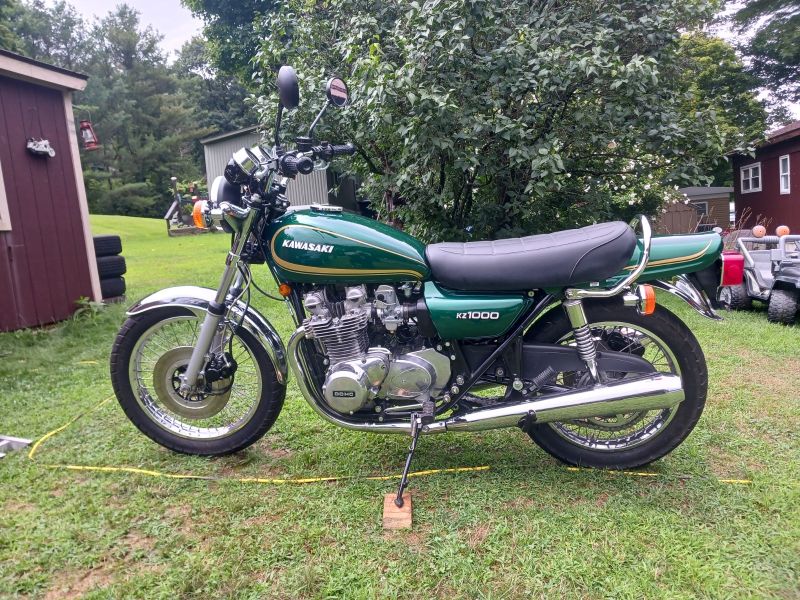
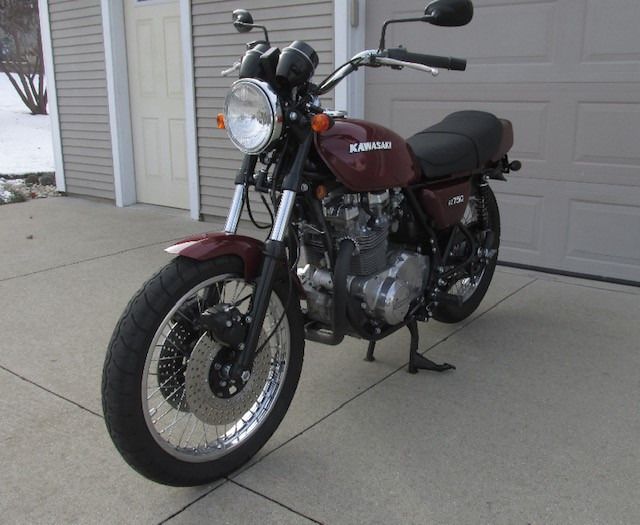
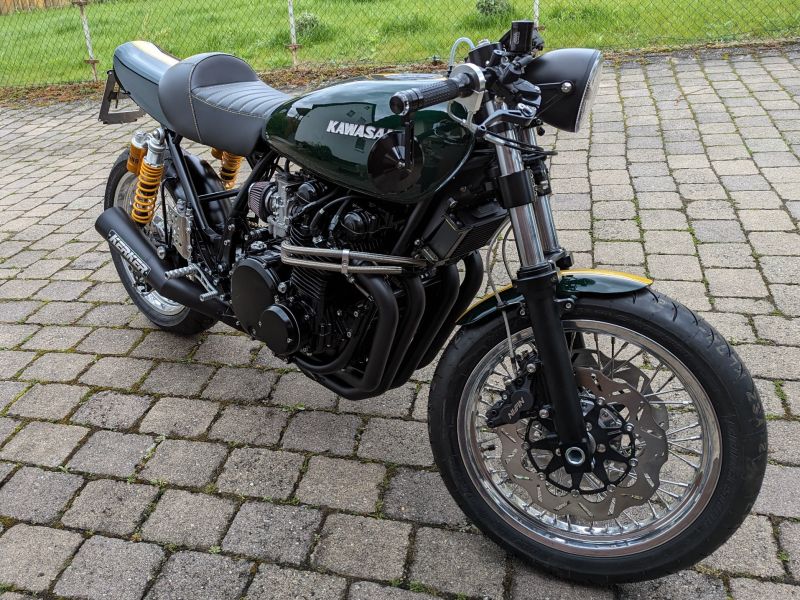
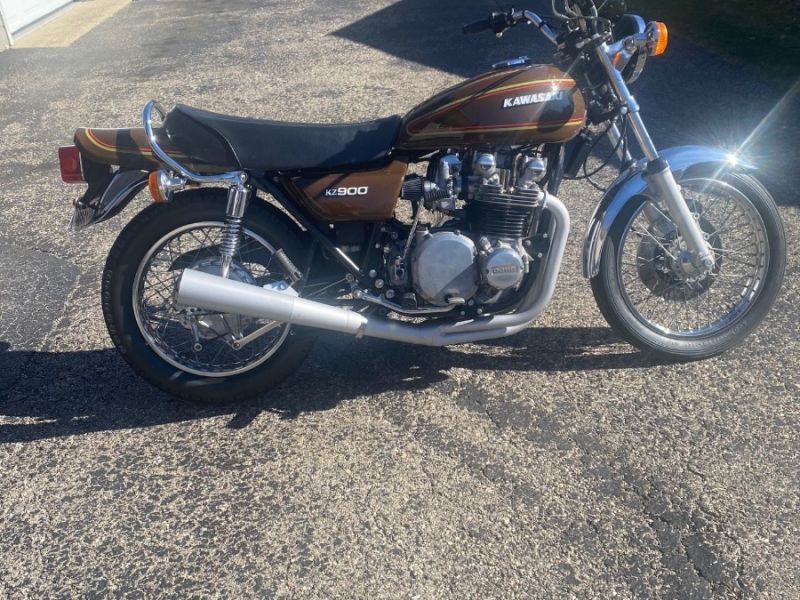
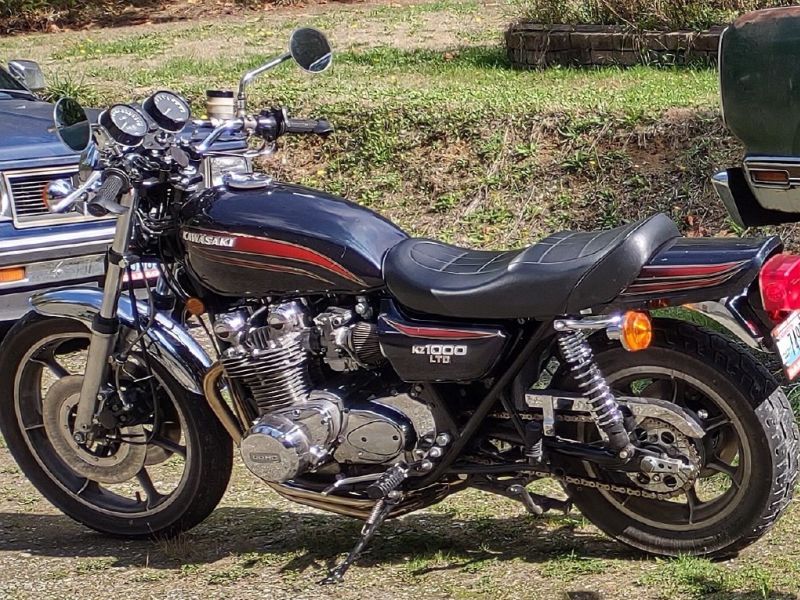
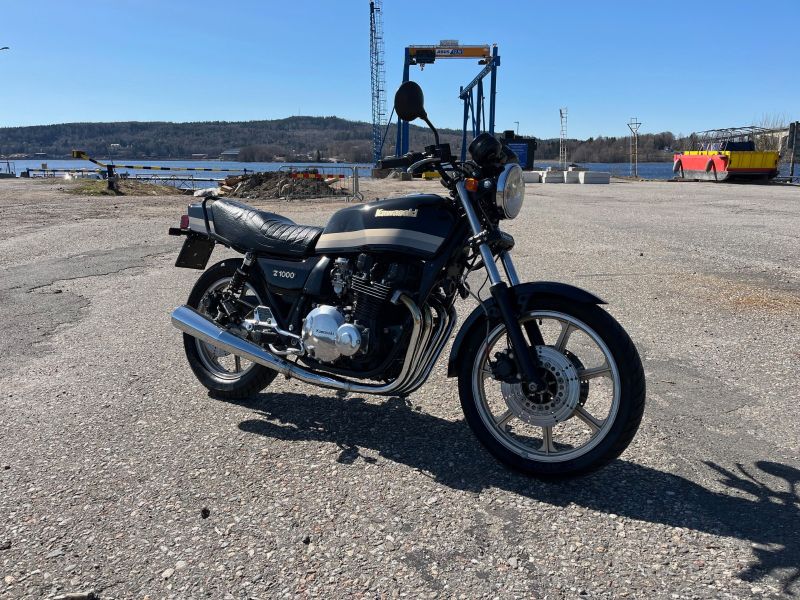
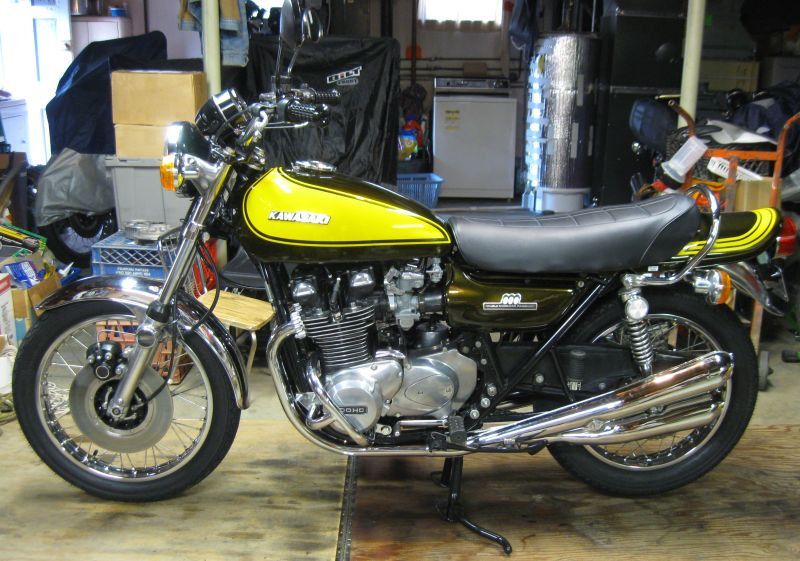
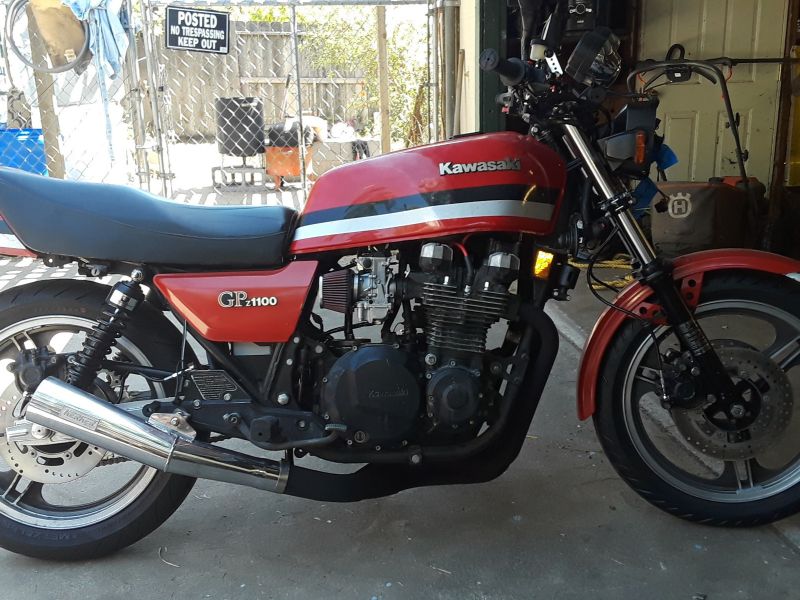
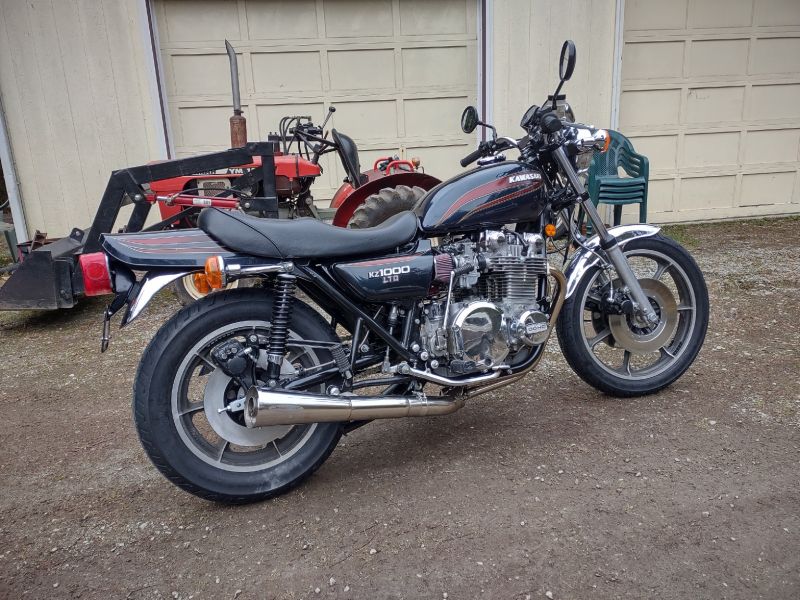
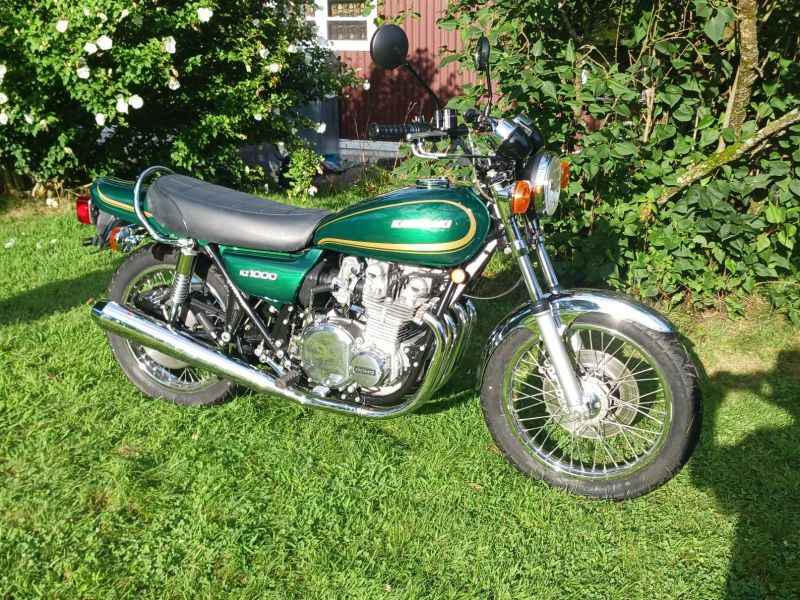
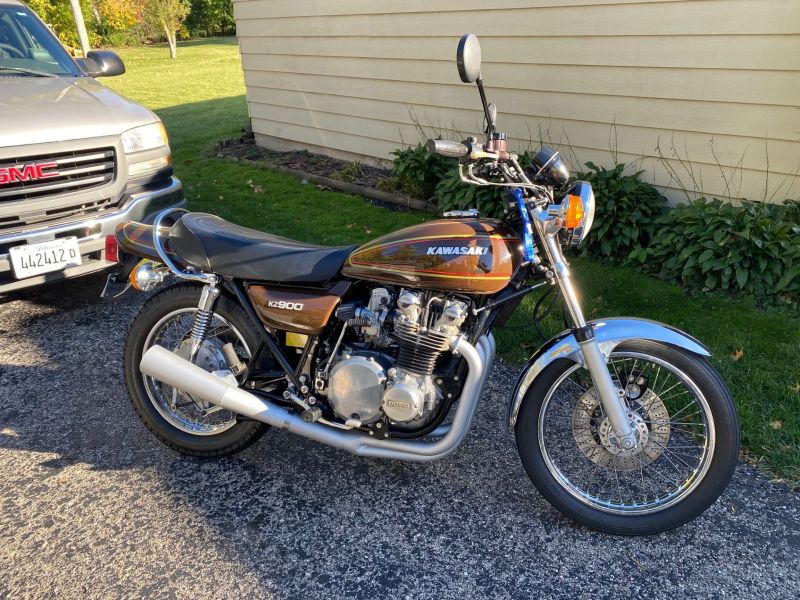
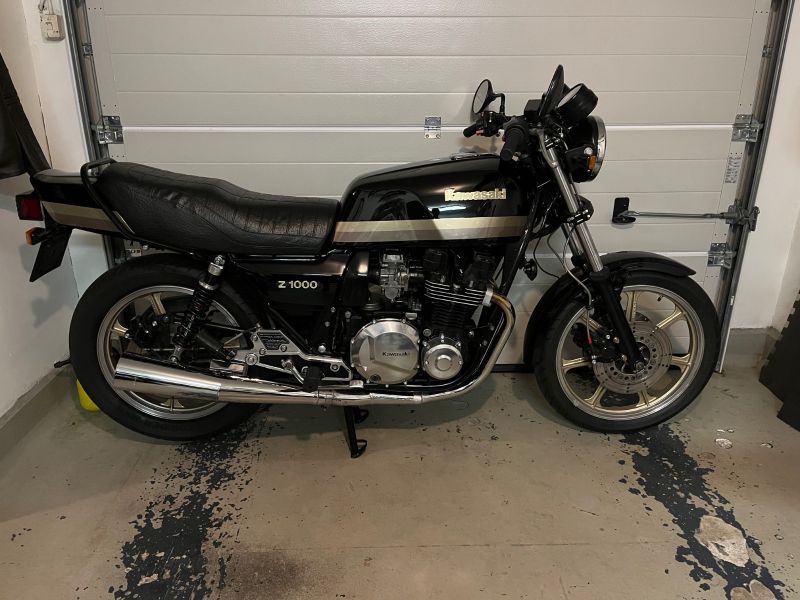
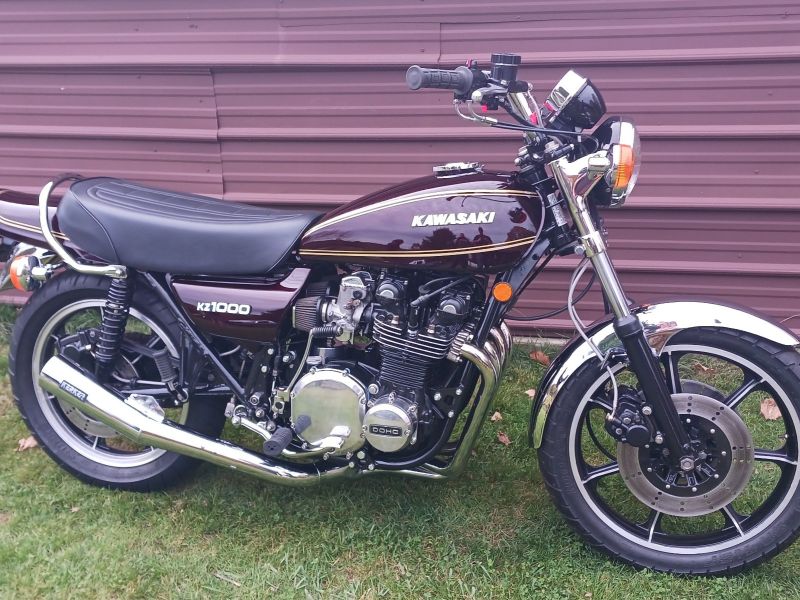
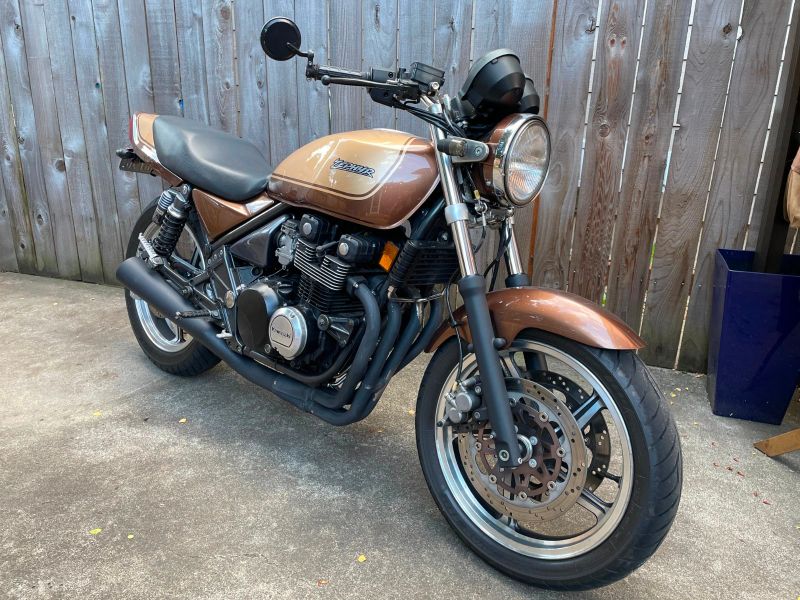
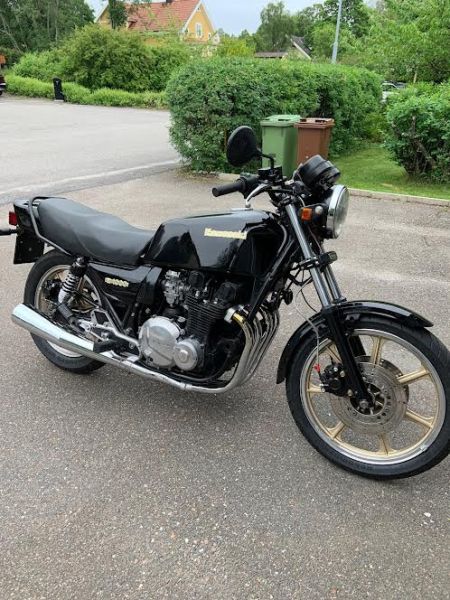
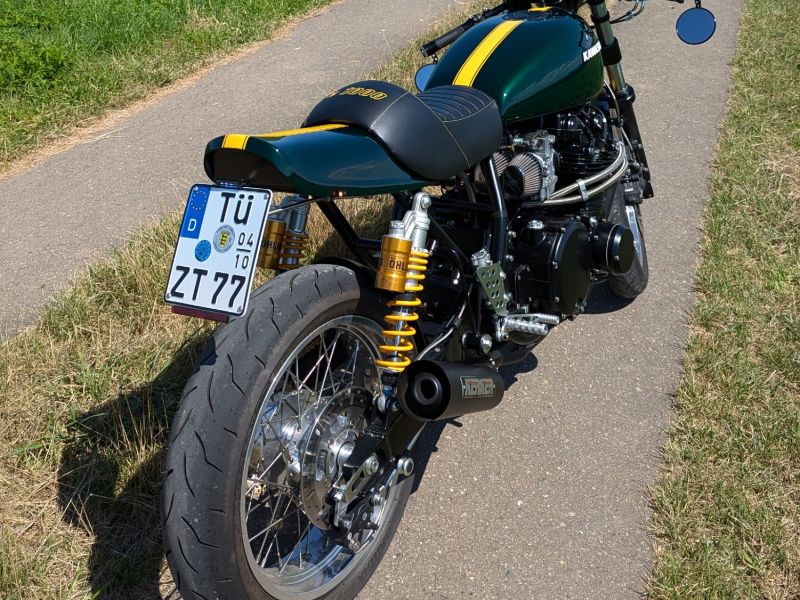
KZR's Bikes of the Month for 2024

Creating new side covers

More
23 Oct 2005 15:25 #3667 by Bud1
Creating new side covers was created by Bud1
Has anyone attempted to make side covers out of fiberglass? I've seen a couple of fender fabrications done in fiberglass. Both of those came out looking great! Got me to thinking why couldn't a person do the same with the side covers?

I was thinking I might try it this winter. Never messed with fiberglass before but won't learn how until I try.

Please Log in or Create an account to join the conversation.

More
23 Oct 2005 16:16 #3672 by ronboskz650sr
Replied by ronboskz650sr on topic Creating new side covers
I considered it for my project, and just got tired of messing with it. My plan was to copy the shape by molding some aluminum gutter material over the covers, then duct tape it and use it for a mold. Then I' was going to mold the push latches in from kneadable epoxy for a finger made copy of the originals. It should work...and I may do it yet to get a bigger cover that goes all the way down to the gusset.

Please Log in or Create an account to join the conversation.

More
23 Oct 2005 20:52 #3723 by Wicked_KZ
Replied by Wicked_KZ on topic Creating new side covers
Actually it's really easy to do if you have a good set of covers to copy...

Just clean up the covers and coat them with silicone grease, wiping off the excess. next thing you need to do is cut the fiberglass cloth into several 3" by 3" squares (smaller pieces will follow compound curves a lot better than bigger pieces).

if you can get some Really cheap paint brushes (dollar store specials here) they will help. next mix up a small batch of resin... small meaning enough to coat a decent sized part of the original side cover and apply it on with the paint brush. Now you can lay the small glass pieces over the side cover making sure it's completely in contact with all the contours... work it in with the paint brush if needed... also since you ARE wearing rubber gloves (just buy the box of 100, you'll go thru quite a few of these), you may need to work the cloth in by hand as well.

keep going until you have the side panel completely covered at least 2 layers thick.. tho 3 would be better.

Let it set up for about half an hour then try to remove it from the side panel... be careful here, it needs to be flexable but still able to hold it's shape without the support from the mold.

Now you have a mold for making an exact duplicate side cover... let it harden up for about a day and if it needs to be more rigid you can always add a few more layers to it's outside.

With your new mold you can coat the inside with silicone grease and wipe off most the excess and repeat al the steps above... except this time it's going to be the side cover and not the mold you're making.

When doing the actual part if you want it to be at it's strongest, you can cut your glass into 3" by 9" strips and use them whenever possible and use the smaller pieces only where the compound curves are... and make the parts at least 5 layers thick.

Please Log in or Create an account to join the conversation.

More
24 Oct 2005 08:03 #3813 by John68
Replied by John68 on topic Creating new side covers
actually, silicone grease is a bad bad idea. Also, you need a gelcoat... well, instead...

Wicked_KZ did describe a pretty good explaination of the process, but some things you really should do when dealing with bodyparts, or anything that will be painted (and the paint job will matter) include:
-using PVA instead of a silicone based product for a release agent.
-laying a gel-coat into the mold before you begin the resina dn cloth build-up
-wetsanding and buffing the sidcover to be used as a plug, since any scratches or roughness that exsist on it, will exsist on your mold, and having a perfectly smooth surface will always aid in the removal from the mold.
-primering the mold with 2k build primer, then wetsanding and buffing the primer will also help to remove any imperfections that exsist in the mold.


You can see that I have done quite a bit of custom work with fiberglass, and other composite materials.
Bud, something you might want to consider, since it is a motorcycle... Carbon fiber or Kevlar. Both materials are readily available just like fiberglass is, and you can have lighter and stronger parts that are impact resistant. Imagine doing your whole bike in carbon fiber or kevlar. Yes, gas tanks can be made from fiberglass, and carbonfiber and kevlar! Interesting bit of trivia for those who like that sort of thing... the 1967 bigblock corvette coupes had fiberglass gas tanks. wierd? Chevy didn't think so, and lots of them still hold up today.

imagine the possibilities... imagine the looks you'd get with a carbon fiber bike.

Well, I left a bunch of very important things out, and the best way for you to get more information on this sort of thing is to visit a discussion forum that is solely dedicated to this sort of thing. The best one out there is www.fiberglast.com Check them out. They will take you from explaining all the words and terminology, to finished pieces that are bulletproof(and ten feet tall if you want them to be :silly: )

EDIT: Bud, since you said you wanted to make a newone from fiberglass, I never even thought to ask... What is wrong with yours? I can fix a lot of plastics, between plastic welding and special plastic "glues." Heck, they even make a new glue that replaces welding sheetmetal on cars. yeah, think about that! You might be driving a car that has had the roof glued on! :) Anyhow, if yours is just plain missing, have you thought of casting a new one, from someone elses in a silicone mold, from plastic? That can be done at home, on the dining room table with virtually no more smell than that of a new pair of shoes, and it's readily available. I'm not gonna say "cheap" but if you can't find a side cover anywhere, any price within reason is better than no sidecover. Fibeglass would be cheaper, but casting things from plastic is fun, and les time consuming, and let's face it, more original looking for sure.


Wes gesund,

Post edited by: john68, at: 2005/10/24 16:46

Please Log in or Create an account to join the conversation.

More
24 Oct 2005 17:33 #3937 by Bud1
Replied by Bud1 on topic Creating new side covers
I have one side cover that has one of the tabs broken off. It's a clean break and it took 4 tries before I was able to find something that even began to stick. Tried two part epoxy, gorilla glue, crazy glue, finally found some two part epoxy called Plastic Weld.
It worked long enough for me to install the side cover and ride for about two weeks. Then I needed to remove it so I could figure out the rear brake light switch adjustment. I tried as hard as I could to gently remove the cover and it basically just fell apart. The other tabs and the the tabs on the other side cover all have what look like stress cracks around them. It could just be the paint but I figured it was just a matter of time before more of them broke off. If I could find something that would repair them permanently I could add some bracing to the tabs to take some stress off of them. Of course money is always a factor I have to keep costs down as much as possible.

Thanks for the info tho!

Please Log in or Create an account to join the conversation.

More
24 Oct 2005 17:38 #3939 by rstnick
Replied by rstnick on topic Creating new side covers
One of my bottom tabs are missing. I drilled a small hole near the edge of the cover and near the frame and Zip tied them together. Keeps the cover from wanting to fly away.:whistle:

Rob
CANADA

Need a key for your Kawasaki? PM me

1978 KZ650 C2, 130K kms, Delkevic ex, EI, CVK32, PMC easy clutch, ATK fork brace, steering damper, braced swingarm, ZRX shocks, 18" Z1R front wheel.
2000 ZRX1100
2011 Ninja 250R - Wife's
2005 z750s (aka GPz750)
1978 KZ1000 project

Please Log in or Create an account to join the conversation.

More
24 Oct 2005 18:13 #3952 by John68
Replied by John68 on topic Creating new side covers
This is a case where determining the type of plastic is essential. I bet I can figure a way to get the thing back into 1 piece, but unfortunately you might have to shell out some cash for the glue. I use very special glues that cost about $30-60 for a single tube. Then, you need the special glue gun to get it out of the tube, and that's another $30-150. sounds kinda steep for a glue gun, but the darn stuff is so good that it's worth it.

The first thing is that you need to determine the type of plastic, first. If it's thermoplastic, it doesn't need glue and can be welded back together. the two main types of plastic are thermo plastics adn thermo-set plastics. Type I and Type II as some call them. Thermoplastic or Type I as I will now reffer to it is actually hard plastic pellets and then they melt them down and fill the mold, and when the plastic cools, it's hard again. sometimes they sheet mold them, from big sheets of this plastic so there is no pouring involved, more like stamping. there are different types of Type I plastic. Rigid, semi-rigid, and flexible, but that's pretty obvious when handling a side cover, that they are rigid.
There is an easy test to determine if your sidecover is weldable or not. If you shave off a tiny piece of the sidecover, and push it to the bottom of a cup of water, and it floats back up, then it is Type II. If it stays at the bottom, then it is Type I or weldable.

If it sinks, or stays sunk, then proceed with the welding. welding can be done through lots of different techniques, and to save my fingers, I will let you tell me if it sinks or floats first, then I will proceed to explain welding processes, adn also gluing if nessesary.

I know, all this for a tab... get out the zippy-ties! but, if you would be happy knowing there was a zippy tie holding your sidecover on, then you wouldn't have asked how to fiberglass up a new sidecover. :)

Cuídate,

Please Log in or Create an account to join the conversation.

  • rivieracadman
  • Visitor
25 Oct 2005 06:04 #4046 by rivieracadman
Replied by rivieracadman on topic Creating new side covers
Man, you guys do things the hard way. Personally I use plaster of paris to make a mold. When it dries, coat it with mold release and then lay in your fiber. When I get done I remove it from the mold and take the part to the local boat shop and have them gel coat it for me. The major benefit here is that you can inlay your mounting tabs into the fiber and the face is almost smooth when it's removed from the mold. I would inlay Aluminum strips for something like side covers. You can also inlay Aluminum screen wire mesh().

Please Log in or Create an account to join the conversation.

More
25 Oct 2005 08:29 #4088 by mariozappa
Replied by mariozappa on topic Creating new side covers
Bud1 wrote:

I have one side cover that has one of the tabs broken off. It's a clean break...


I mended a broken tab with bondo on the back side of the cover. It's pretty durable and I'm able to take the side cover on and off with out praying to the KZ Gods it doesn't brake!

1977 KZ650C1
and the KZ650/KZ750 Conversion ;)

Please Log in or Create an account to join the conversation.

More
25 Oct 2005 08:43 #4090 by Tazzmann
Replied by Tazzmann on topic Creating new side covers
I personally would like to hear about both the glue and the welding way of fixing plastic. I have another project (1981 Honda 185s ATC) that needs some fender work done. If I could fix it, it would save me some problems later. :D

Please Log in or Create an account to join the conversation.

More
25 Oct 2005 12:14 #4146 by hwms
Replied by hwms on topic Creating new side covers
Tazz:
You say "plastic". Is the fender plastic or fiberglass?
Harry

Please Log in or Create an account to join the conversation.

More
25 Oct 2005 18:38 #4257 by Bud1
Replied by Bud1 on topic Creating new side covers
John68 wrote

I know, all this for a tab... get out the zippy-ties! but, if you would be happy knowing there was a zippy tie holding your sidecover on, then you wouldn't have asked how to fiberglass up a new sidecover.


Well your %100 right about that. I'm a firm believer in zip ties and to tell the truth that's what I'm using right now to hold it on. But it really bugs me!

I tried the cut a small piece and see if it floats test. I learned two things.

One: If the piece you cut off curly cues, you should flatten it back out to prevent it from trapping tiny air bubbles that would invalidate the test, and remove any paint that is still on the piece because apparently some paint is bouyant enough to also invalidate the test.

Two: Once completely clean of paint and air bubbles my small sliver of plastic sunk.

So in conclusion it must be weldable.:huh:

Please Log in or Create an account to join the conversation.

Powered by Kunena Forum

If you like KZR Please consider making a donation. Thank you.

KZRider is free, but not without cost.

Please consider chipping in a few bucks to help cover the cost of running the KZR servers.